

Despite the fact that I have already had several tunings made with self-adhesive vinyl, I never cease to be amazed at the versatility of this material since it is used both to cover doors, such as furniture, as well as to make decorative murals or a border Precisely this weekend I have been quite entertaining making my own vinyl valance for kitchen.
I don’t know if you remember the update my kitchen (you can see it here), my tile border was not horrible (at least when you compare it with other older kitchens), but I didn’t like how it combined with the wooden cabinets and the granite countertops.
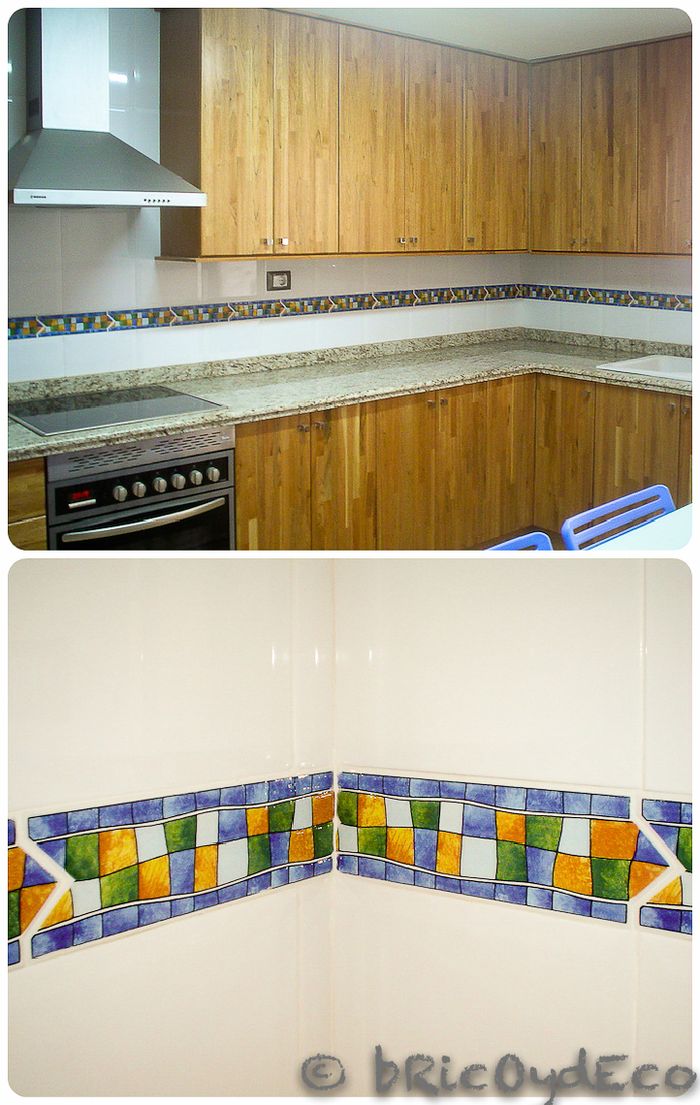
In addition, in the union of the pieces, the arrow-shaped joint was marked too much, something that did not give a sense of continuity to the border.
When I updated the kitchen what I did was paint the border white with special tile paint. In this way, it eliminated the “colours” on the walls and the border was better integrated with the decoration.
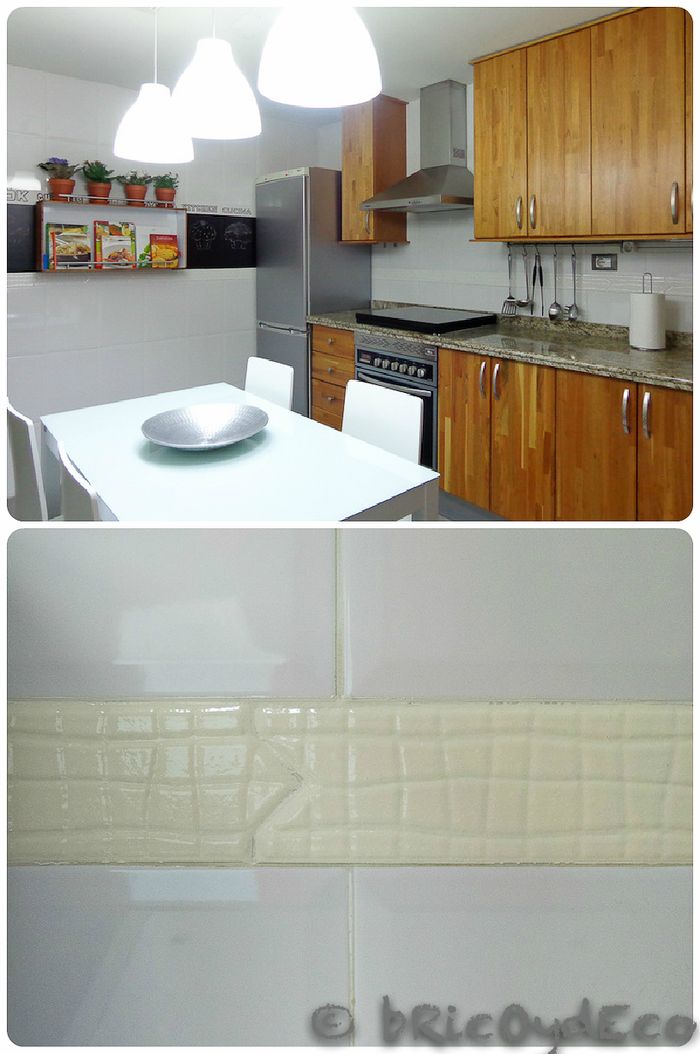
However, as you can see in the image above, the white tone of the tile paint is not the same white as that of the kitchen tile, so the final effect did not convince me. It is clear that it was very difficult for both whites to coincide, in addition, the border could have been painted in another color, but precisely what I wanted to avoid was to introduce more colors.
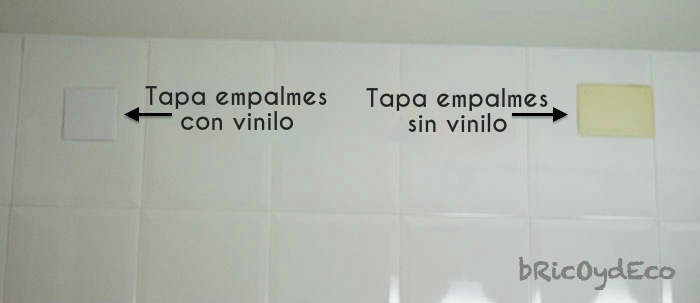
After thinking about it, I thought about placing a gloss white vinyl on top of the border as I had already done to hide the cover of the electrical junctions, since the vinyl has a practically identical tone to that of the tile.
But placing only white vinyl on the border didn’t seem like a completely successful solution either, it gave me the feeling that it was going to look like a patch. In addition, my border has a certain relief that was appreciated after painting and that was going to continue to be distinguished by placing self-adhesive vinyl on top, although a little less.
Since I like to squeeze my neuron, I kept thinking about it and it occurred to me that I could make my own self-adhesive vinyl border if on top of the white vinyl I placed some motif or drawing, just as I had already done when I tuned the closet doors.
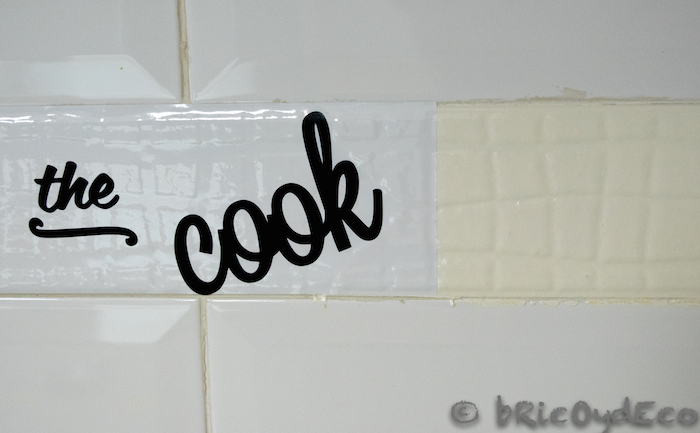
To do it vinyl border First of all, I cut some rectangles of white vinyl the same width as the wall border (mine is 8 cm) and about 30 cm long so that the strips would be more manageable since the longer they are, the easier it is to twist. time to put them on. Each strip is glued a few millimeters on top of the previous one so that there is no joint (I was finally going to get rid of those damn joints!).
To decorate the border I used black vinyl words with different fonts that I placed on the base vinyl. The design that we choose can be made following the same steps that I gave when I made the vinyl for the wardrobe (you can see it here), although this time I have done it with a die-cutter with which I can cut designs on different types of materials (the vinyl among them).
Even so, I also tried to cut some words manually to compare the result. It is clear that with a die cutter the cuts are more perfect but with patience and the appropriate scissors we can achieve very good results. Surely when you see the final result it seems like time well spent.
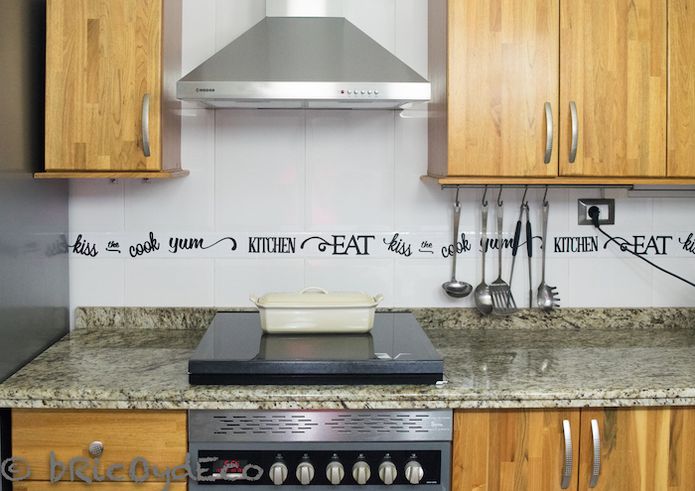
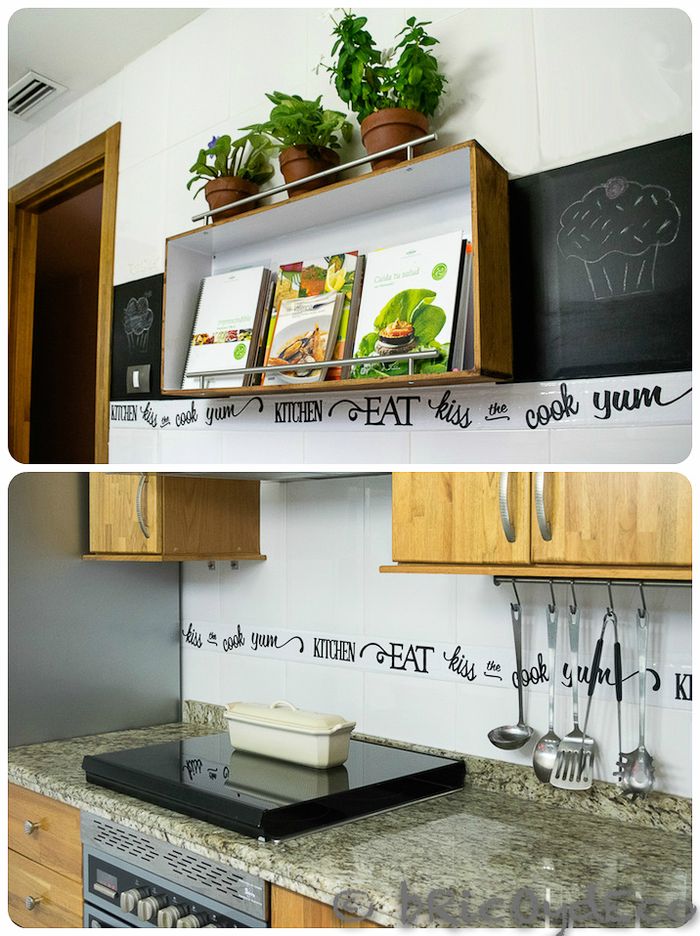
In the following images you can see how my vinyl border diy once placed on the old border. The white vinyl has a tone closer to the tile than the paint that was before, in addition, the black vinyl letters combine with the rest of the kitchen decoration and hide the relief of the border.
Lastly, I would like to give you a series of tips in case you dare to make your own self-adhesive vinyl border.
1º.- Before sticking the design or decoration that we have chosen on the vinyl that will serve as a base, I recommend moisten it with spray to be able to take it off easily in case of placing it wrong (twisted, wrinkled, etc.).
2º.- The vinyl is usually quite opaque but if, despite this, the color of the old tile is appreciated, try placing two layers of base vinyl.
3º.- The vinyl It can be easily cleaned and is resistant, but as long as we have chosen one of the good quality. Taking into account that it is already a fairly cheap material, always try to buy one with a good quality/price ratio.
4th.- In the fire zone I recommend placing a protective for splashes. In principle, vinyl resists heat well, but too much would soften it.
As you can see with this solution we can easily tune the border of our kitchen or bathroom, also sf we make our self-adhesive vinyl border ourselves we will have achieved a personalized design for little money, something that comes in handy in these times of crisis. It may not be a definitive solution, but it has the great advantage that you can achieve spectacular changes without making reforms (also very interesting for people who rent).
I have used a white vinyl base with black motifs but for tastes there are colors, everyone can adapt the idea to their own decorative style And, if over the years you get tired of the design of your vinyl border, you take it off and that’s it!
What do you think of this DIY? If you liked it please share it with your friends.


