
")

I recognize myself a fan of self adhesive vinyl (also popularly known as «aironfix») since it allows you to renovate and tune up furniture, doors, etc., quite simply and cheaply, there are also many colors and it can be easily purchased at DIY centers, large surfaces or online. However, the self-adhesive vinyl installation requires some practice so that there are no bubbles and the result is impeccable, so I am going to give you a series of tips to prevent air bubbles from forming when applying self-adhesive vinyl.
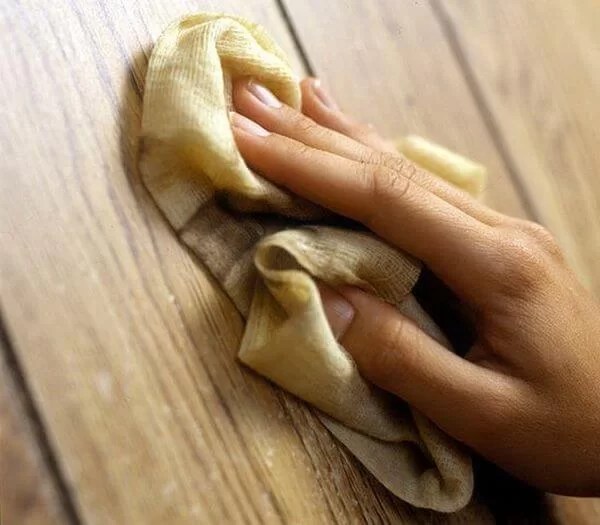
First the surface has to be clean and free of wax, grease, dust, etc., for this it is best to clean it with Alcohol to burn. Avoid ammonia-based cleaning products since they can favor the formation of bubbles by releasing gases during drying.
It is also very important that the vinyl has no wrinkles, folds or warping since they will be transmitted to the surface to be covered once we have removed the protective paper. A trick to smooth vinyl is to iron it on the paper side, placing a cloth between the paper and the iron, at a minimum temperature and without steam.
The vinyl application can be dry or wet. Dry application is more appropriate for small surfaces while wet application is recommended for large surfaces and materials such as glass, melamine or formica. Personally, I like the wet application better as it allows the vinyl to be glued on and off without deforming it.
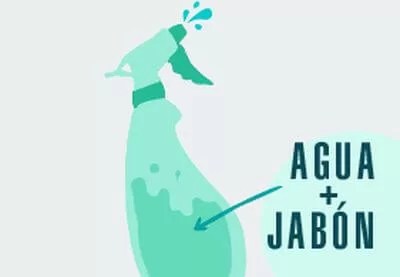
For apply vinyl wet we must put water in a sprayer with a drop of detergent to make the solution more viscous. Then we will lightly spray both the adhesive part and the surface on which we are going to place the vinyl. Once this is done, we will place the vinyl and stretching it with the spatula from the center to the sides, in this way we will eliminate the excess water. If we want to rectify the placement of the vinyl because it has been crooked or with too many bubbles, we only have to take it off and reposition it, being wet it will not be necessary to stretch too much and the vinyl will not deform.
Surely we will have some small bubbles after placing the vinyl wet, you have to wait for an hour to pass since most are reabsorbed once the interior of the vinyl has dried.
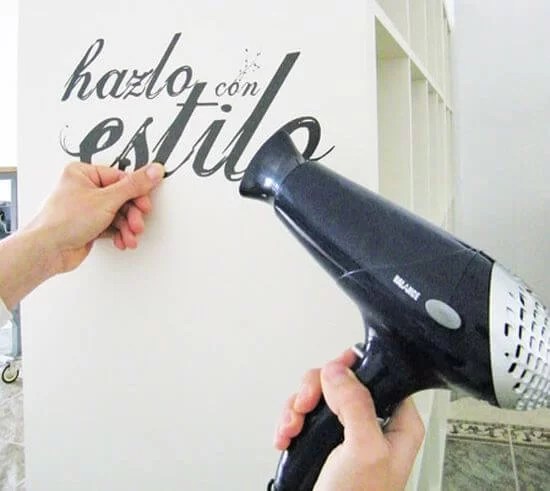
If after a few hours there are still some bubbles, what we have to do is apply a little hot air with a hair dryer (better at the minimum temperature), at the same time that we smooth the bubble with the spatula. If despite the hot air there are still some bubbles, what we have to do is puncture them with a needle or pin and repeat the operation of hot air and smoothing with the spatula.
Applying hot air to the vinyl is also very useful for placing the vinyl on both protruding parts and gaps.. If, for example, we are going to install it on a door and it has a small molding, we must puncture it with a pin and adapt the vinyl with the hot air dryer and the spatula, as seen in the following image:
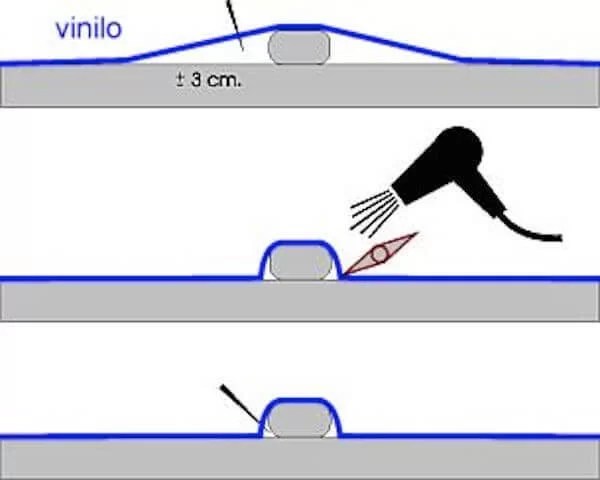
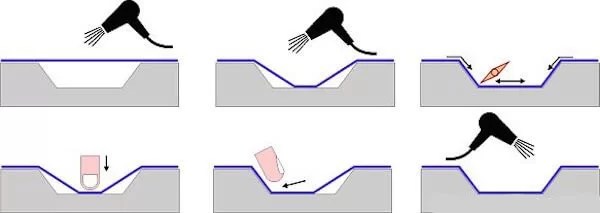
If what we want is to place the vinyl on a hole, first we will heat it with hot air and then we will use the spatula or our finger to adapt the vinyl to the hole. In the following image we can see the process:
I hope with these tips make it easier for you to install self-adhesive vinyl on furniture and doors. Don’t despair if you don’t get it right the first time as it requires a bit of practice, but surely you will get the hang of it in a short time and you will be able to enjoy the advantages of lining or tuning furniture with self-adhesive vinyl. I started lining the fridge (you can see it here) and then I got involved with the legs of the kitchen table (click here), also the interior of a bookstore (click here) and now I am doing it with the doors of a wardrobe. .
what is your trick or advice for tuning with self-adhesive vinyl?
[elfsight_youtube_gallery id=»1″]


