I am sure that if you are thinking of purchasing an 18V drill driver, you will have been seeing part of the immense variety of options and prices that exist in the market. Moreover, I am certain that you are still more lost than before.
Don’t worry. In this article we will see the benefits of a specific 18V drill driver, what its behavior is compared to the different materials it faces, and we will check if it is up to the task in most DIY jobs that we can carry out.
Specifically, I am referring to the Ryobi 18V drill driver. This drill driver is part of their One Plus range of tools.
In another article that we published last month, we talked in depth about this interesting system. If you couldn’t see it, you can do it now with this link Power tools and their evolution.
However, very succinctly, I will tell you that One+ is a single battery system. Which means that the same battery is used for the more than 70 tools that make up the range. Interesting, right? The truth is that it is.
Well, as I started by saying, we will dedicate this article entirely to the “King of DIY”. I am referring to the drill.
To do this, we will rely on the R18PD3-220S drill driver. It works with 18V battery, and it’s from Ryobi.
What reason has pushed us to opt for this and not for another drill? After the tests we have carried out, we have been able to verify that the value for money, in our opinion, is one of the best.
Video of the tests carried out
Analysis planning
Therefore we will test this tool with different materials.
Wood
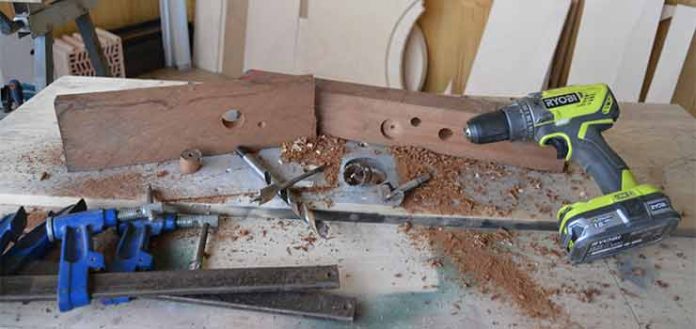
We’ll start with the wood. For this we will use:
- 22mm spade bit.
- Forstner bit for cup hinges, with a diameter of 35mm.
- 32mm crown bit.
- And specific drill bit for wood of 12mm diameter.
The tests will be carried out on sapele wood, which is a medium-hard wood. It is not exactly one of the softest woods.
Steel
We will also test it with steel. We will drill a 6mm thick steel plate, with 6 and 12mm diameter bits.
screwed
We will test its capacity as a screwdriver, with different tightening torques.
building materials
And regarding the construction material, we will put it to the test with a block of cellular concrete, tiles, a block of thermoclay with a very dense interior, and with a reinforced concrete pillar.
For this we will use a crown bit, and several bits with diameters that are normally those used in home DIY, which usually go up to 8mm. But we will also use other larger diameters.
The technical sheet indicates that this drill is indicated for drilling wood, iron and masonry. With which, with these tests we would cover all its benefits.
However, one of the materials that can be worked on more than once in DIY is concrete. For example, to hang a lamp or a fan from the ceiling.
Therefore, although it is not recommended, we will also test it on reinforced concrete.
Technical characteristics
Well, before we start, we will briefly review the technical characteristics of this 18V drill driver.
The tool has a flexible bag for transport as an accessory.
I particularly prefer this type of bag to the rigid ones, since in them you can carry other utensils besides the tool itself, its batteries, and the charger.
Well, this Ryobi 18V Drill Driver has…
- A 13mm automatic chuck, making it compatible with any type and size of drill bit.
- It has a selector for normal drilling, screwdriver, and hammer drilling.
- Although it has an electronic speed regulator, you can also choose between 2 speeds by means of a switch.
- It has 24 torque settings, making it possible to flush screws into materials with varying hardness.
- By means of a button you can change the direction of rotation, to screw/drill, or unscrew.
- It has LED light to illuminate the work area.
- Works at 18V with batteries, more than enough power for home DIY jobs.
- And finally, the total weight which, including the battery, is 1.7 kg.
Tests with the 18V drill driver
Well, we now move on to the tests, which I am sure you are looking forward to seeing.
1st tests – Solid wood
As I told you before, the first ones will be on wood.
In the first place we have used the Spade Drill which, despite having a diameter of 22mm, drills it as if it were butter. If you watch the video included in this article, you can see for yourself.
The wood-specific center point drill bit has also gone super smooth.
With the forstner bit, it has been much more rushed. But not for lack of drill power, but because the drill was crying out for sharpening.
The crown drill has gone better than we thought. Since, it must be said, that the evacuation of sawdust is not the strong point of this type of drill, which causes the teeth to become dull and, therefore, it is normal that they offer greater resistance. However, he carried out the work without further complication.
2nd tests – Steel
Now we turn to steel. This is a tough test, since it is 6mm thick steel.
When drilling steel, take it easy. Since we have to work it at low revolutions in addition, from time to time, to lubricate with oil. Since, in case of not drilling it in the correct way, we will burn the drill in a second, no matter how good it is.
However, he just drilled through it, even with the 12mm diameter drill bit.
3rd tests – Screwed
In normal drilling, without hammer, it has been shown that it behaves correctly.
Now we will move on to the screwing.
We have used 40mm long and 3.5mm diameter screws.
Before we start, we must put the selector on the screwdriver. And we start with the lowest pair, the 1.
First of all, we will use plywood.
We have tested pair 1, 5, 10, 15 and 20.
In the video you can see that, as we increase the tightening force, the screw goes deeper into the wood.
With plywood, being a soft wood, we have flushed the screw with tightening torque 11.
We also tested solid sapele, using the same torque levels as plywood. However, in this wood, being harder, the screws enter less.
We achieve automatic leveling with a par 20.
4th tests – Work material
And finally we come to the building materials.
We start with the thermoclay. We make holes on the block with an 8mm drill bit, first without, and then with a hammer. No problem in either case.
In the case of tiles, we even drill them with a 14mm drill bit. We got a flawless result too.
In the case of the cellular concrete block, by using a crown drill with a large diameter, it cost us more work. But in the end he fulfilled his mission.
As I indicated before, in theory, this drill is not indicated for reinforced concrete. However, we decided to put it to the test. Which we did with a pillar.
To avoid important and unnecessary physical wear, as well as to achieve a cleaner and tighter drilling, it is recommended to make a first drilling with a bit a couple of millimeters smaller. And, later, make a second pass with the final bit.
Therefore, we start drilling with a 5 or 6mm diameter drill bit.
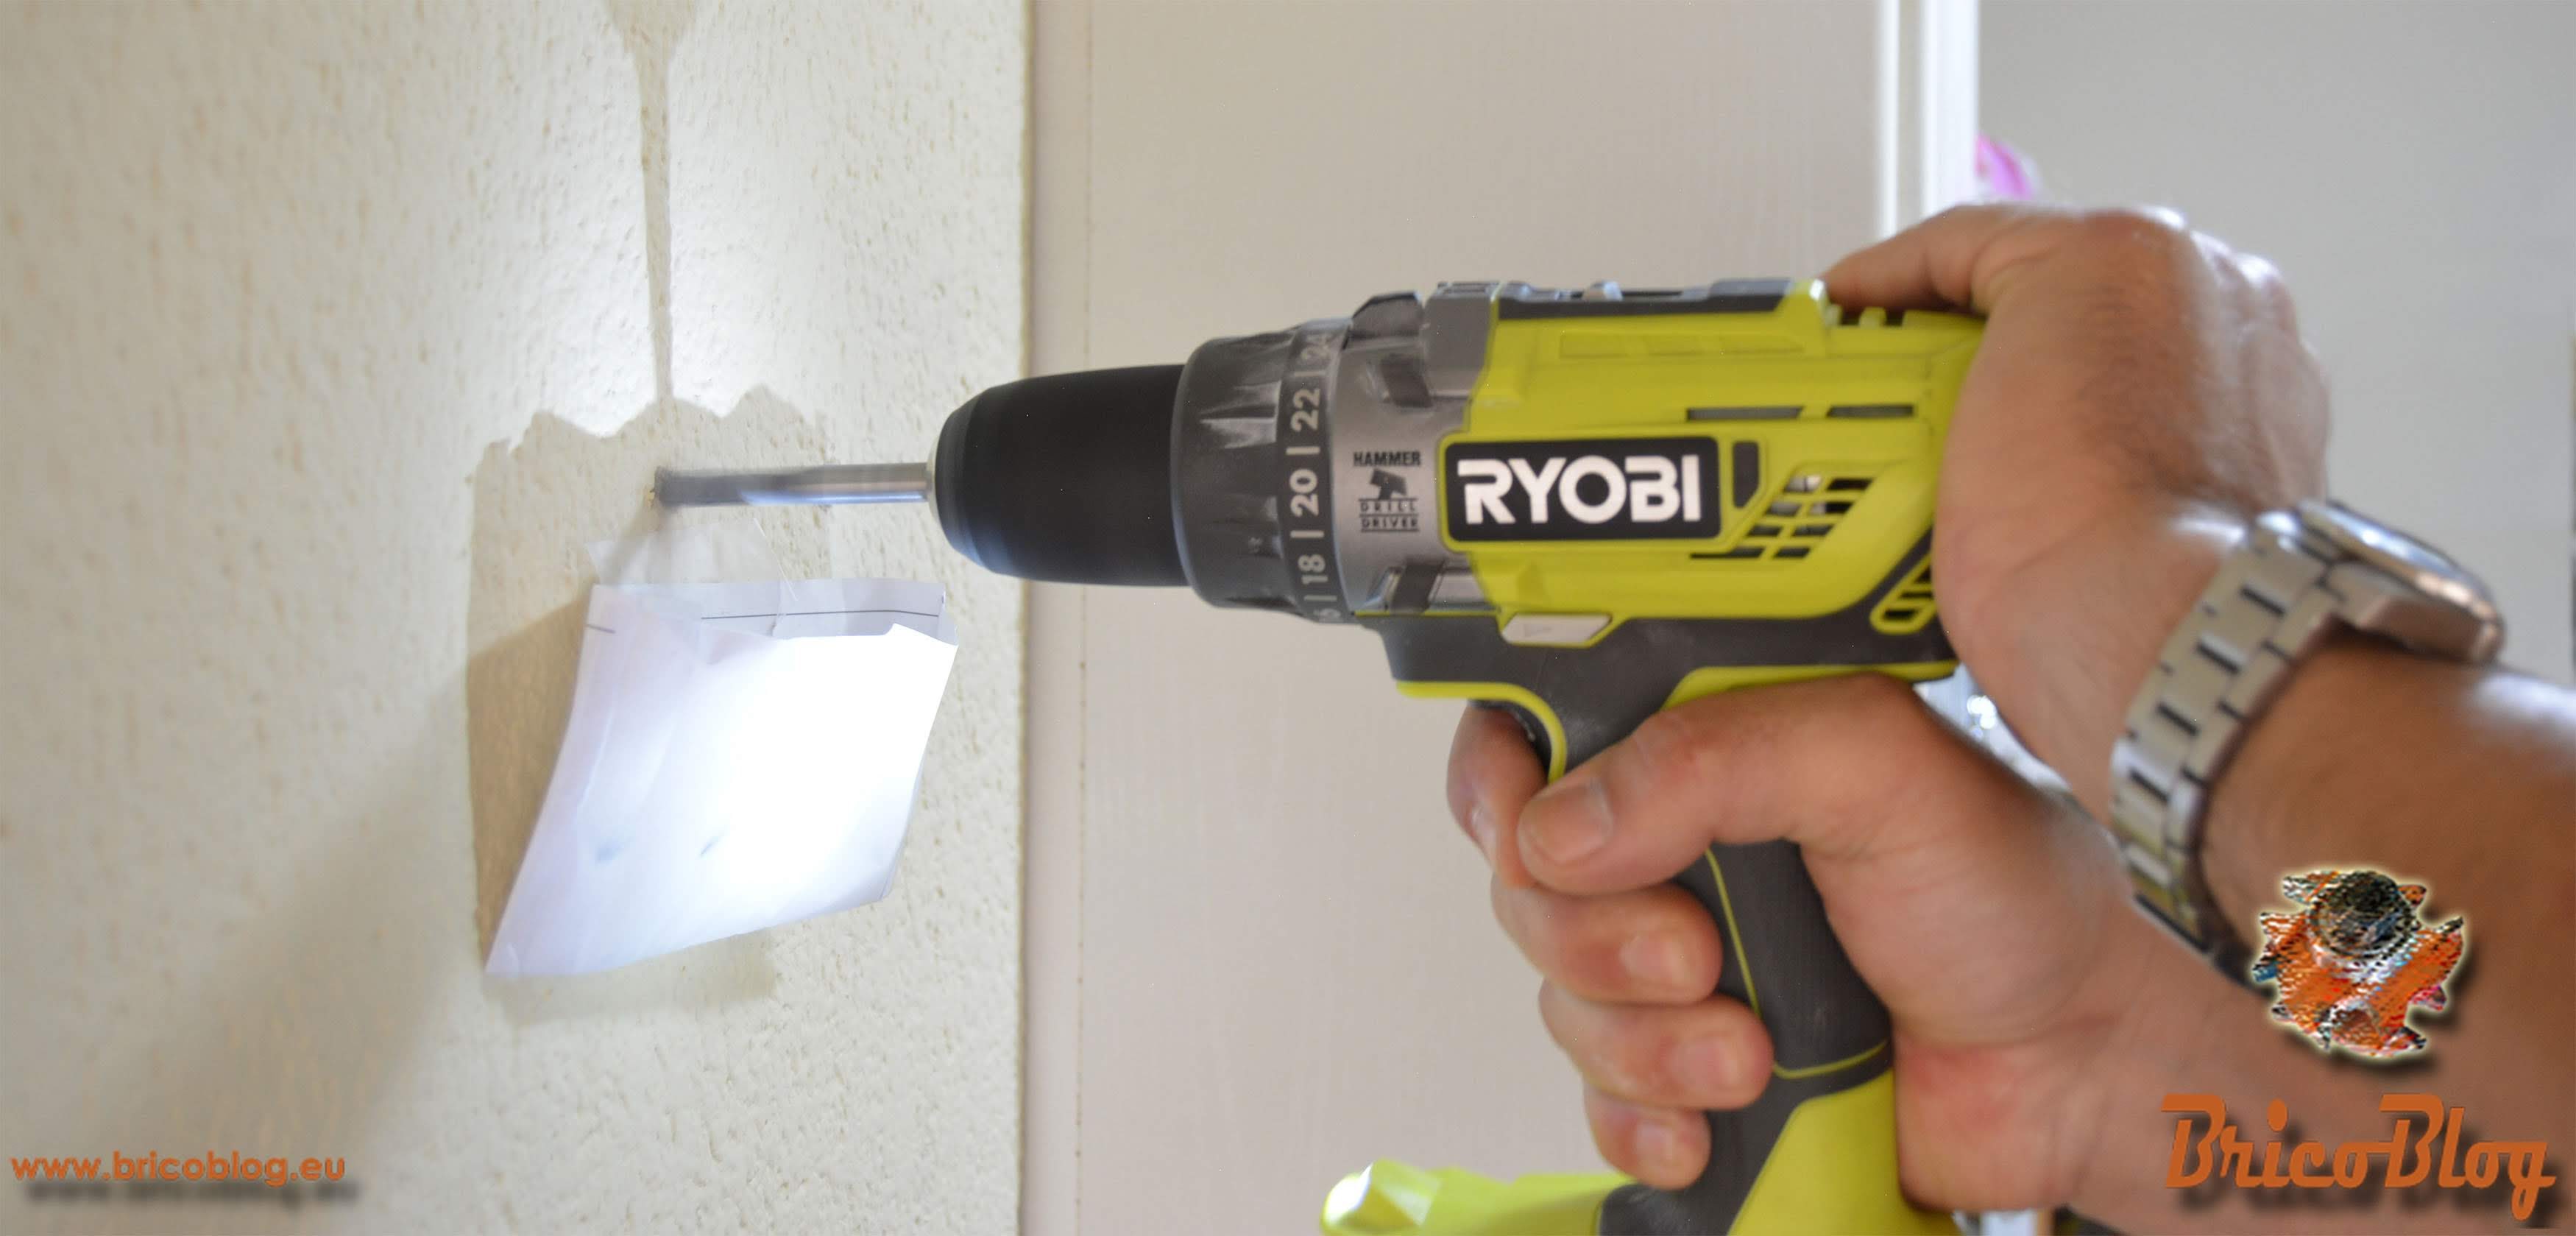
Trick: Paste an envelope just below where we will drill. In this way, most of the generated dust will fall inside.
If you have seen the video, you will have noticed that we have made it clear that using good quality drill bits that are in good condition is as important as having a good drill.
As I mentioned before, once the holes are open, we drill again with the 8mm bit, which is the size of the plugs.

Conclusions
Well, I don’t know what you think, but I, after testing, have been satisfied with the behavior of this 18V drill driver. Moreover, on occasion it has even exceeded my expectations.
Obviously in some of the tests it has been somewhat rushed, although in the end it has fulfilled its mission.
But here we have to be clear about what we want:
If we are looking for a SUPER-powerful drill that drills EVERYTHING, we would have to go, to start with the professional segment, to a heavier, much more expensive, larger volume, and much less versatile drill.
On the other hand, if what we are looking for is a light drill, that can be used for EVERYTHING, even for screwing in awkward positions, with an unbeatable quality/price ratio, and that satisfies our needs as DIYers, this is our best choice.
I hope you liked this article but, above all, that it has been useful to you.
I am sure that if you are considering buying an 18V drill driver, it will have been of great help to you.
In the marketplace of amazonyou can see both this 18V drill driver, as well as the complete range of Ryobi tools.
To do this, you just have to click on one of these two images:
next article power tools
Well, I can only tell you that in the next video dedicated to DIY power tools, we will analyze the 18V multitool, also from Ryobi.
This tool is the great unknown. So, we will analyze it, we will put it to the test. And I will show you something that you will see in few blogs specialized in DIY.
These are certain accessories for you to get the most out of it, as you could not imagine.


