.
How to do the mounting of DIY fences in 7 steps, I thought it was a good argument to write today’s article. Many times we need to be told the process and thus avoid many comings and goings that translate into wasted time when we want to do DIY, whatever it is.

.
.
.
- REPLBEFORE: It is necessary to mark and signal on the ground, wall, or surface where we are going to mount the fencethe polesstruts or supports that support the fencebe of mesh metallic, wood, pvc, aluminum or steel. It is important to mark the location and situation of the polesto be able to carry out all the perforations at once and to check that the material to be mount fence What we have is enough and if everything is going to fit correctly, we will use thread and plaster mainly for the layout.
- DRILLING: It is very important that any mounting of fence higher than 1m50 stands on poles or uprights that are cemented with concrete, on the ground or on the wall. The first thing we have to do is drilling of sufficient dimensions: 30x30x40 minimum if it is on the ground, and if it is on the wall of a diameter that will depend on the dimensions of the post 30 cm deep.
- DISTRIBUTION OF MATERIALS: You have to distribute the material fence what are we going to mountleaving at each installation point the post, strut or necessary upright, with or without accessories as we will see later. The fence we will distribute it in the phase after the placement of the poles so that it does not bother us while we place them.
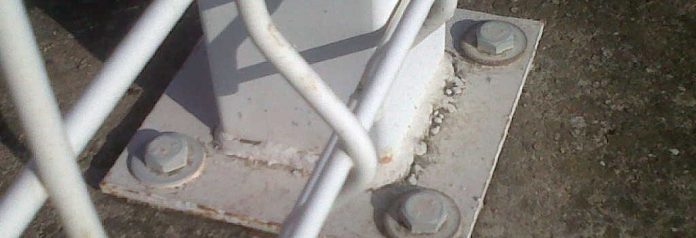
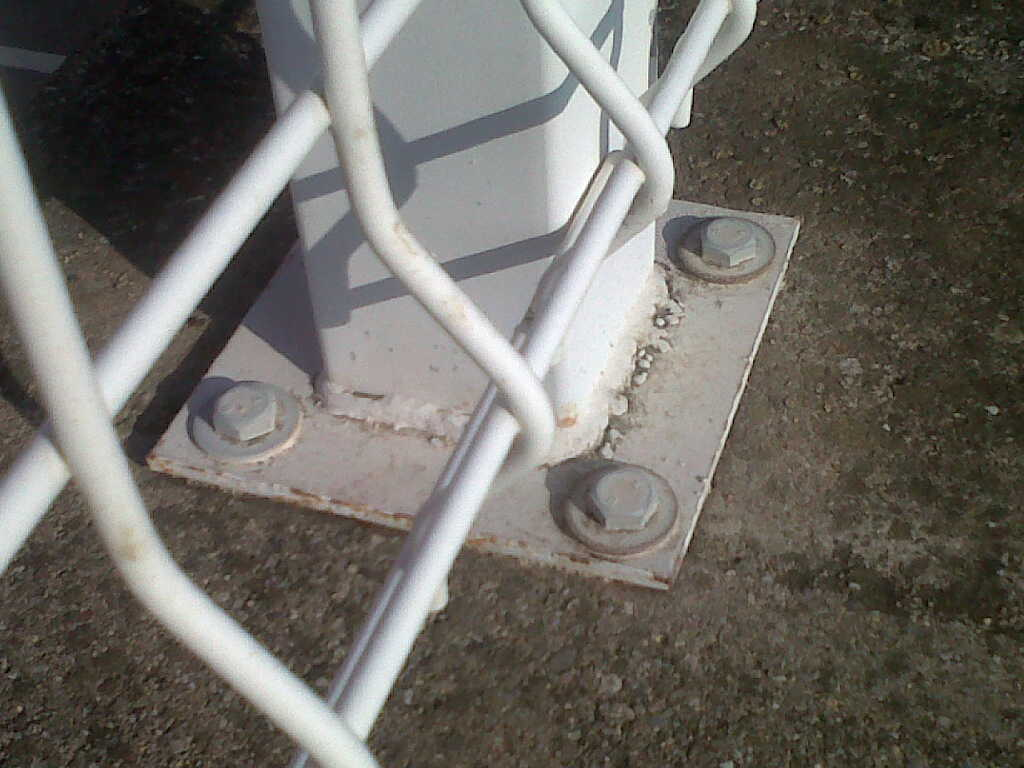
- FOUNDATION OF POSTS: Holes made in the ground or wall to mount the fencethey are filled with the concrete mixture or (rapid setting resins that are on the market), then we place the poles or vertical supports, in this way we ensure that the concrete penetrates inside and has adequate mechanical resistance. So that they do not move once placed and until the mixture hardens, we will use what we see as most appropriate on each occasion: wedges, supports or props. We will use thread for alignment and a level to make them plumb. If we place the posts with a base plate, we will make the 4 holes that go on each plate using one of them as a template to mark the holes.
- ACCESSORIES: Today in most mounting of fence accessories are used that have to be placed on the post or support of the fence, they are usually interchangeable and make the fence more versatile and we can have more flexibility with the measurements. Since this article is aimed at all types of fence, it is necessary to evaluate in each case the convenience of mounting them before or after placing the posts. If we do it before, we have the advantage of having all the materials at hand and we avoid walks and trips to each pole and if we do it later, it is convenient to leave the necessary accessories on each pole at once, also to avoid trips and walks of round trip. If we are in our garden and there are only two steps, nothing happens, but if the storage area or area where we have the material is the garage and the fence is at one end of the farm… things change.
- DISTRIBUTION OF FENCE: In this phase, the way of distributing will depend on the type of mounting of fence that we are doing. If we mount panels metallic, of wood, or similar, we must leave one by one in each section, if we are assembling rolls of any type of mesh, we will have to leave one for each distance of the roll, if it is 10m one every 10m and if they are 25m one each 25m.
- FENCE ASSEMBLY: We have reached the final phase of the mountingwhere we have to have at hand the necessary tools for its mountingwhether they are screws, pieces, wedges or whatever is appropriate depending on the mounting of fence that we have chosen. If we mount panels, we will use supports on the ground so that they do not touch the ground, all of a certain height and level. If we assemble rolls of metal mesh or plastic, we must extend the roll of mesh on the ground, fix at one end and go lifting, tightening and tying in each post until the entire roll is raised, place the necessary horizontal wires and tighten them.
My advice is that for projects of large dimensions or of a certain complexity, we have the collaboration of professionals in the assembly of fences. Normally, it is profitable and avoids many unforeseen complications.
.
Source: Vinuesa Fences
.


