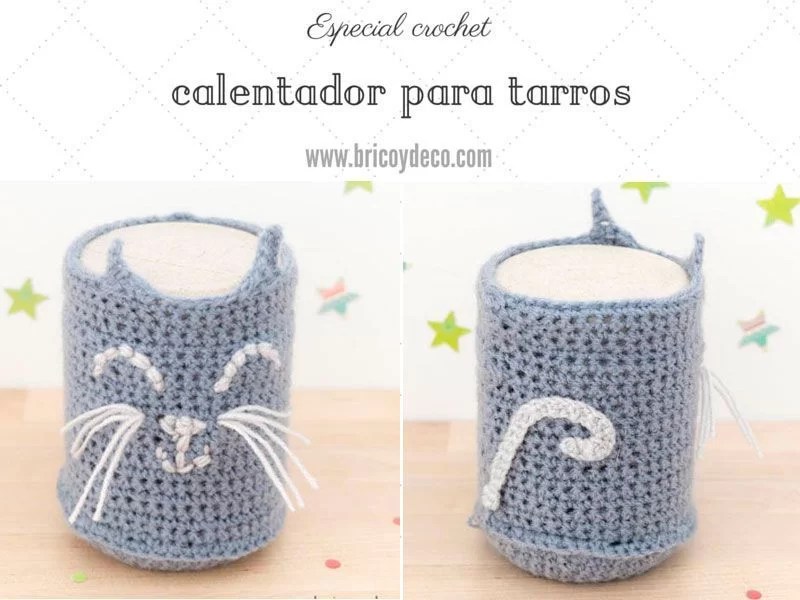
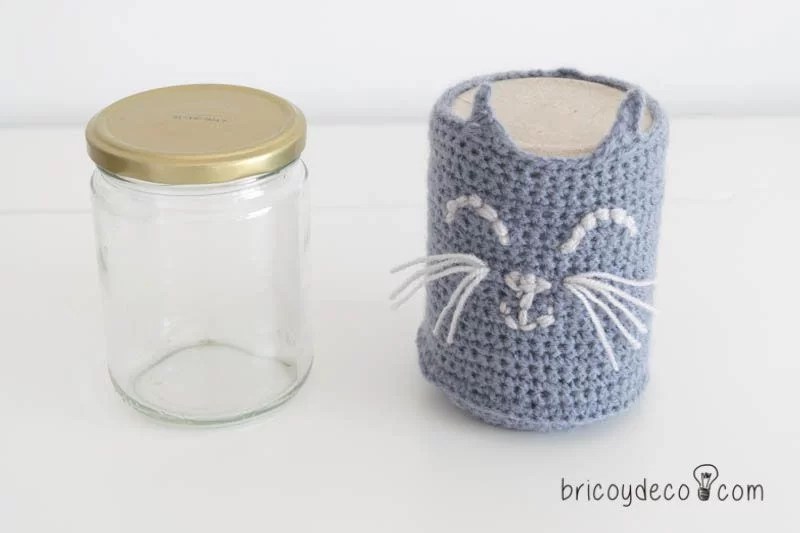
With this crochet cover for mason jars you will protect your hands and avoid burning yourself with very hot drinks. It will also serve to decorate the jars that you recycle and hide what is inside. If you also like felines, you will love its cat inspiration.
I have already told you once that I usually recycle glass jars to give them different uses. I mainly reuse them to store food and groceries, both leftovers and grains and pasta. I also use them to preserve creams and vegetable broths that I like to drink very hot.
When you drink a very hot drink or broth in a cup you can take it by the handle to avoid burning your hands, but with a jar or bowl it is impossible, so in these cases I used cloth placemats around the jar to protect my hands. Until one day I thought of making a crochet cover.
This not only protects the hands, but also conserves internal heat. Of course this crochet mason jar cover also has a decorative functionapart from hiding what is inside, it serves to decorate any corner or shelf.
How to make a crochet jar cover
First of all, you have to start with chain stitch. The length will depend on the width of the jar, so we will make sure that the chain surrounds the jar perfectly.
Next we will start raise with half a point until completing the entire height of the jar.
For the cat ears we will do one last round with slip stitch until we reach the place where we will make the first ear. At that moment, make 5 chain stitches and return to them increasing half a point, that is:
– 5 chain stitches
– 1 slip stitch over the 5th chain stitch
– Half stitch over the 4th chain stitch
– 1 double crochet stitch over the 3rd chain stitch
– 1 double crochet stitch over the 2nd chain stitch
– 1 double crochet stitch over the 1st chain stitch.
Finally, it is joined with slip stitch to the upper part and continues slip stitch until you reach the place where the other ear will be made.
Trick: If you find crochet ears too complicated, you can always make them out of felt triangles and sew them to the top.
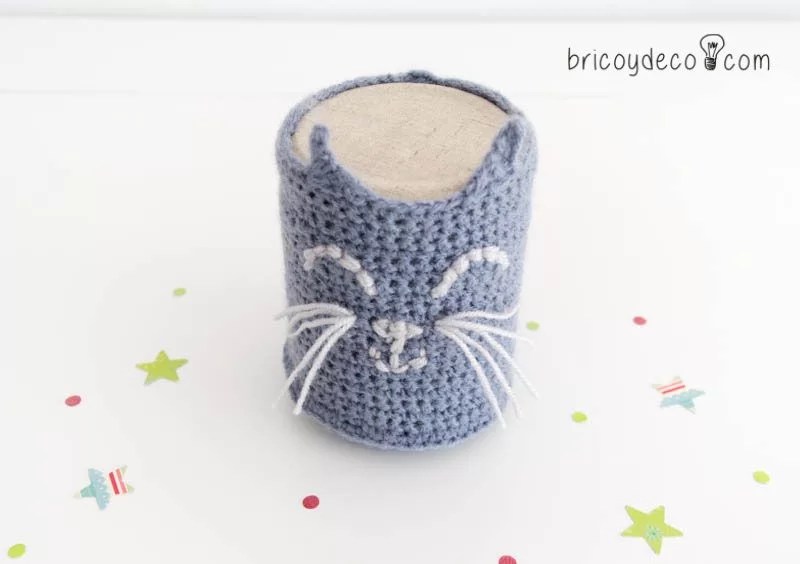
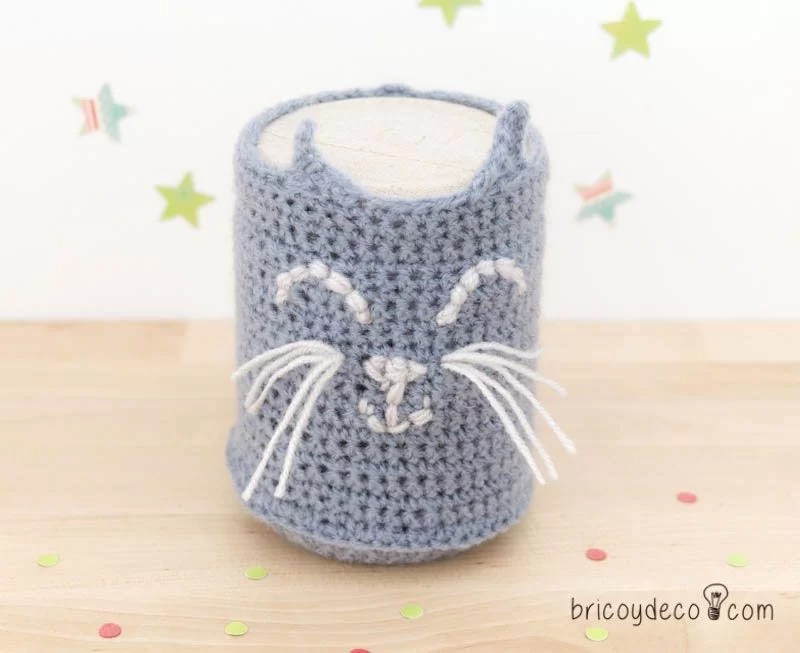
For the eyes, nose and mouth you have to thread a needle for wool with a contrasting color. Then embroider the crochet piece as if it were burlap fabric. In this case, the eyes are arch-shaped and the nose is a triangle from which a kind of anchor emerges that simulates the mouth.
Mustaches are made by wrapping woolen thread several times around the palm of the hand, cutting off the upper part and tying a knot in the lower part. Finally, the part of the knot is sewn inside the crochet piece and with the help of the crochet needle the threads/whiskers are extracted.
Once we have made all the features of the face, the next step will be to give the cover a cylindrical shape by joining the two ends with slip stitch.
Next weave the holster base starting with 5 chain stitches and joining the last to the first. Next, half stitches are made following the circle until the crochet base has the same diameter as the base of the glass jar. Finally it is joined to the top of the pillowcase with slip stitch.
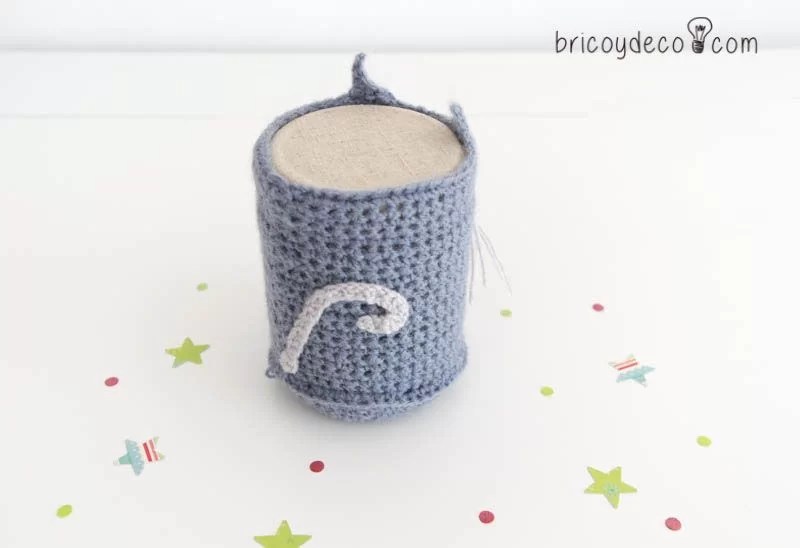
Lastly, it will be cat’s tail, for this we will start with a chain stitch and a round with a half stitch. It is then sewn with the same color thread to the back of the jar cover.
After all these steps, it only remains to put on the cover. The truth is that seen like this, nobody would say that it is a simple glass jar, right?
Summarizing…
We review the steps so that it is very clear:
1º.- Chain stitch to completely surround the glass jar.
2º.- Go up with a midpoint until reaching the height of the jar.
3º.- Make the crochet or felt ears if it is difficult for us.
4º.- Embroider the features of the face with wool.
5º.- Join with slip stitch both ends of the crochet rectangle to form the cylinder.
6º.- Knit the crochet base and join it to the cylinder with slip stitch.
7º.- Knit the tail with chain stitch and one round with a half stitch. Sew it to the crochet cover.
did you like this crochet cat mason jar cover? It is an idea that you can customize as you prefer, giving it the shape of the animal that you like the most or embroidering different motifs (stars, moles, geometric, flowers, etc.). Also remember that if you do not dare with embroidery, you can replace them with felt decorations, it will be just as beautiful.
If you liked this post, you can see many more ideas about recycling and DIY projects at .