

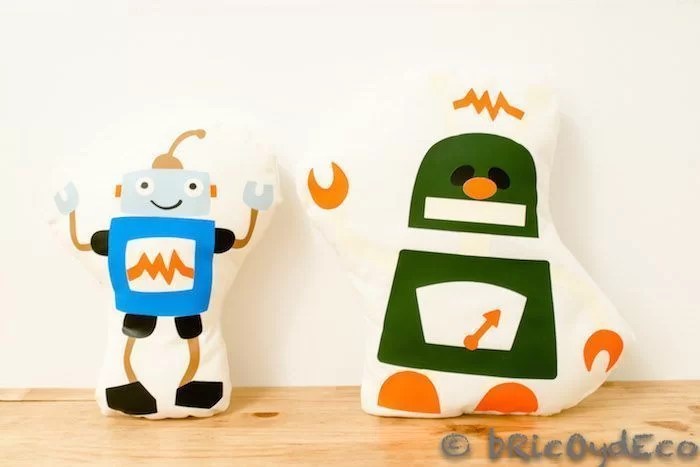
You already know that I am a cloak-and-dagger defender of customizing basic objects to adapt them to our style and make them unique. This time I want you to see how with textile vinyl you can decorate a children’s room, choosing for this the images of cute robots to make a couple of small cushions and decorate a blind and some fabric boxes. In this way we manage to create a unique environment, adapted to the taste of the little one and with a low cost budget.
The first thing I did was take advantage of a scrap of canvas fabric that I had left over from a blind. With textile vinyl of various colors From Vinilosametros I traced and cut out the pieces that made up each robot. In this link you can see the step by step of how to apply textile vinyl on fabric.
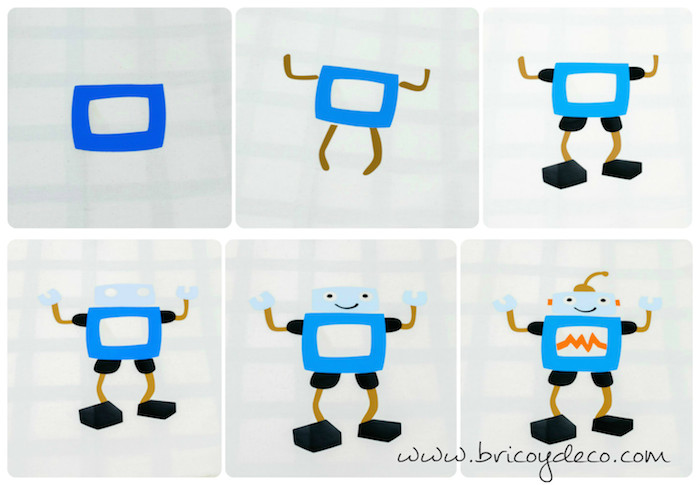
Also in the following image you can see how I was placing the pieces of the robot in blue tones.
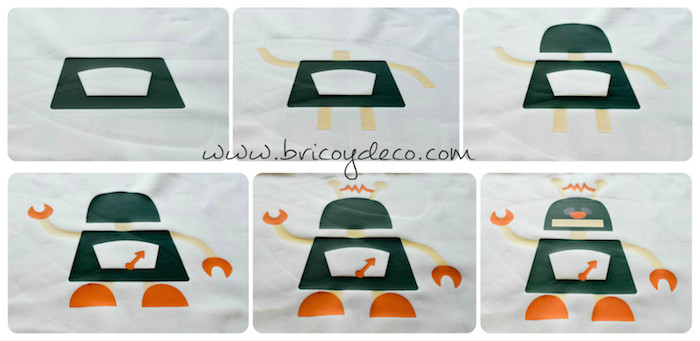
As well as those of the robot in green and orange tones.
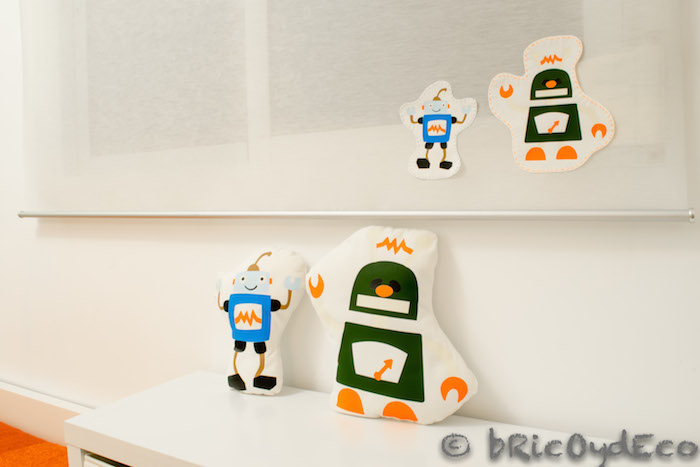
Once I assembled all the pieces, what I did was cut the fabric around the robots leaving a margin, join it to another piece of fabric with a stitch, turn it over and fill it with wadding so that it had the shape of a cushion. You can see the result in the cover image.
But if you don’t know how to sew or you simply don’t feel like it, you have two solutions:
1st.- Buy a smooth cushion and apply the textile vinyl on it. You can see examples at this link.
2º.- Cut out the silhouette of the robot, make a decorative stitching and attach it to a cushion with textile glue or thermo-adhesive tape. You can see an example in this link.
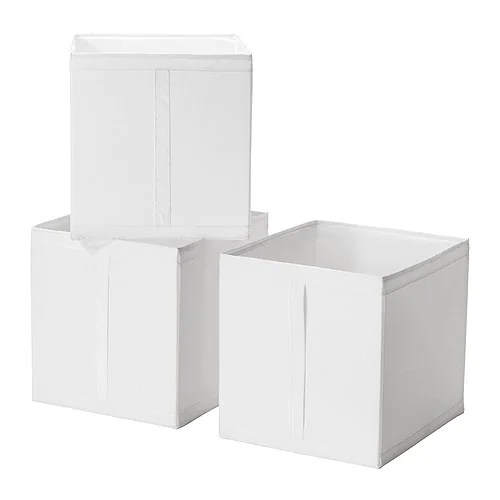
The second solution is the one I used for decorate cloth boxes. These specifically are some basic Ikea boxes for closet storage.
To decorate them, what I have done has been to resize the drawings of the robots to adapt them to the box and repeat the process with the textile vinyl. This time as the base fabric I have used that of an old blind that I removed and that has been treated so that it does not fray when cut. Also, to give it a little more grace, I cut out the silhouette of the robot and stitched color around it.
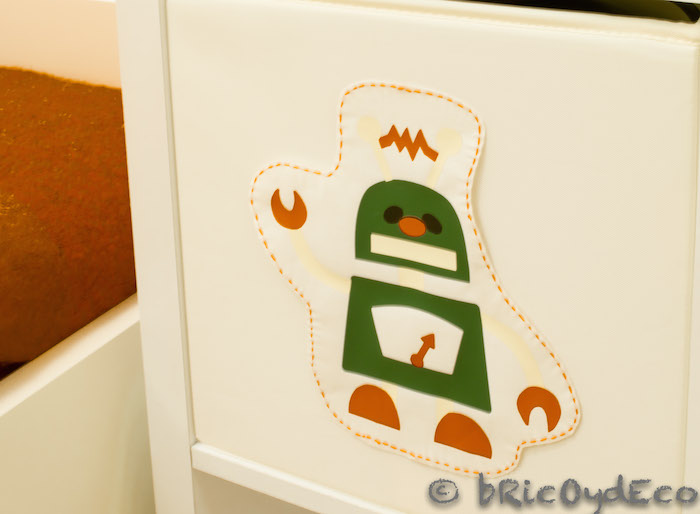
If we are one of those who like to renew the decoration frequently, instead of joining the silhouette of the robot to the box with textile glue, we can take advantage of the stitching to sew it. In this way it can be unstitched when we want to change it.
Finally I also wanted to do a detail for the blind, which is also one of Ikea’s basic blinds. For this I have reduced the images of the robots a little more and I have cut them out on the textile vinyl. Later I have applied it to the fabric of the old blind (the same one I used to decorate the boxes) and I have joined it to the new blind with a stitching.
The great advantage of textile vinyl is that a meter of different colors is enough to make many drawings of different sizes. In fact, to make the robots that I have shown you, I have not spent even half a meter of the color that I have used the most.

What do you think of this idea? decorate a children’s room with textile vinyl? As you have seen, you can create a personalized decoration and unique, with the personal satisfaction of saying that we have done it ourselves. It also supports the hustle and bustle of the little one’s room because if something gets dirty, it goes to the washing machine and again like new.
If you liked this post, I would appreciate it if you shared it on your social networks.


