

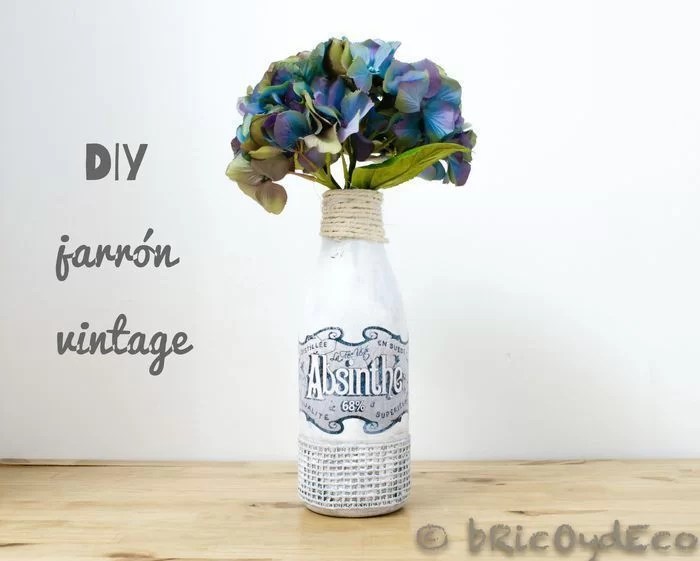
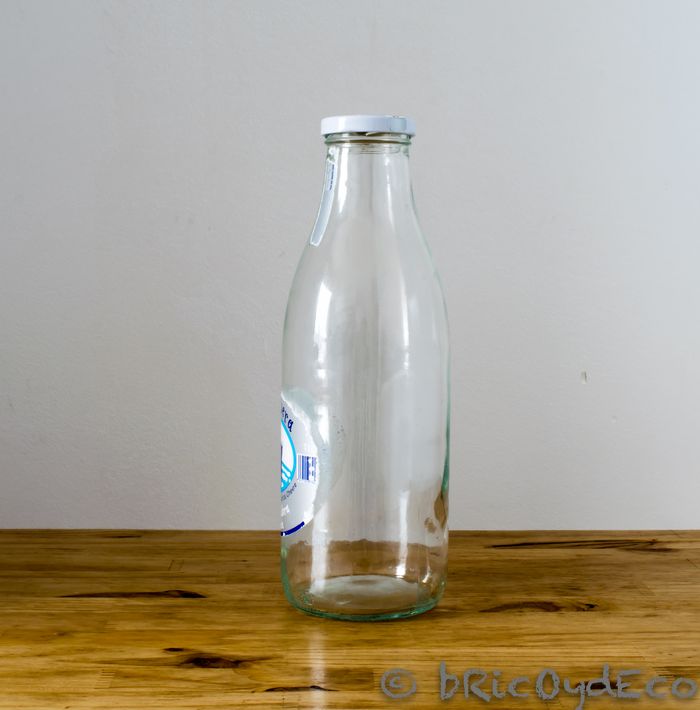
A few weeks ago I bought a bottle of goat’s milk because I wanted to make kefir at home. The bottle itself was nothing special but I thought I could get some use out of it instead of taking it to the glass container, so after giving it a few turns I decided to transform it into a DIY vintage vase.
To do this, the first thing I did was clean the bottle inside and out, removing the tags that were attached to the glass (to learn how to remove the most persistent labels see this link).
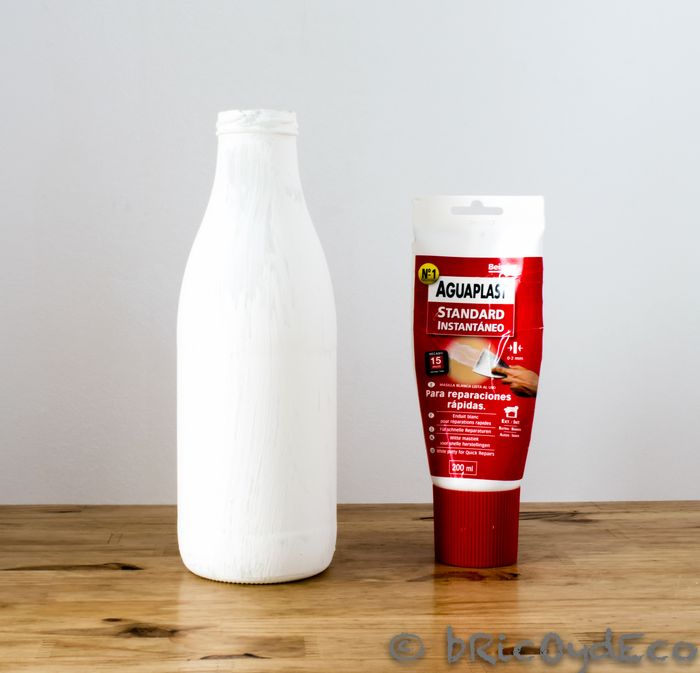
After I applied a primer since it is necessary for the paint to be fixed on the glass. As a primer you can use homemade chalk paint (you can see how to do it here) or gesso. I used a kind of homemade gesso that I made with putty for joints (the one that is sold in a ready-to-use tube), thinned with a little water so that it would not be so thick and be able to slide the brush better.
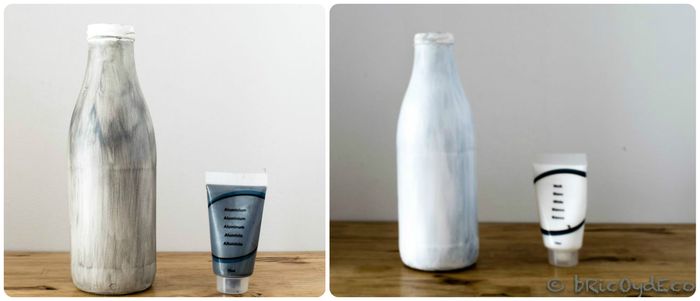
Once the primer was dry (approximately one hour), I applied a layer of acrylic paint. My intention was that the vase had a aged lookthat’s why for this first layer I chose a gray acrylic paint.
When the first coat of paint dried and I gave it a second coat with white acrylic paint. I didn’t do it evenly so as not to completely cover the gray paint, as the intention was to give the bottle a worn look.
The next step was to find a vintage label. I have uploaded a folder with several images of vintage labels to the subscribers area (if you are not a subscriber you can do it for free from this link).
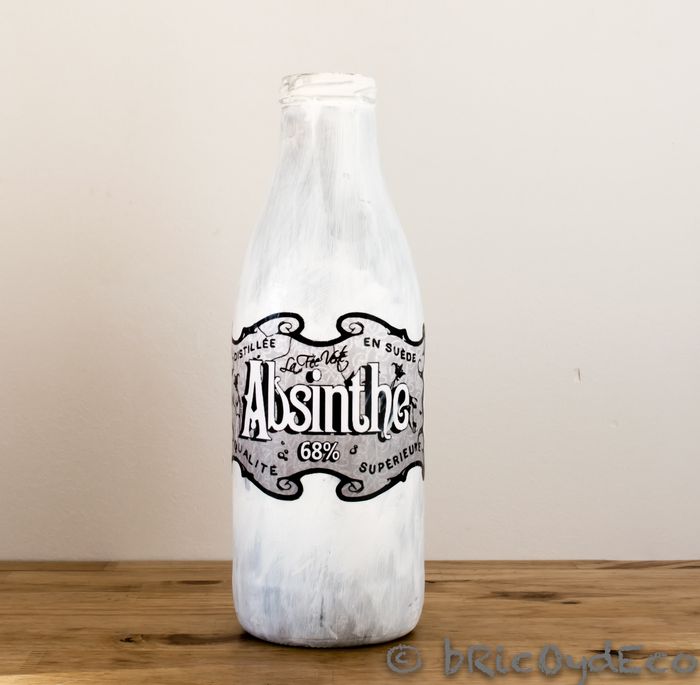
I then printed the label, cut it out, and glued it to the bottle with Mod Podge. Mod Podge is a glue-varnish that is widely used in decoupage and serves as an adhesive and to protect the work once it is finished.
With the label attached, the vase was already taking shape, right?
To decorate the base of the bottle I used a esparto ribbon that years ago I took from a flower arrangement that was given to me. I always like to save these details since you never know the benefit you can get from them. If you don’t have anything similar, you can replace the esparto grass ribbon with lace or burlap fabric, for example.
To fix the tape to the bottle I also used Mod Podge, giving it several coats to make it hold well.
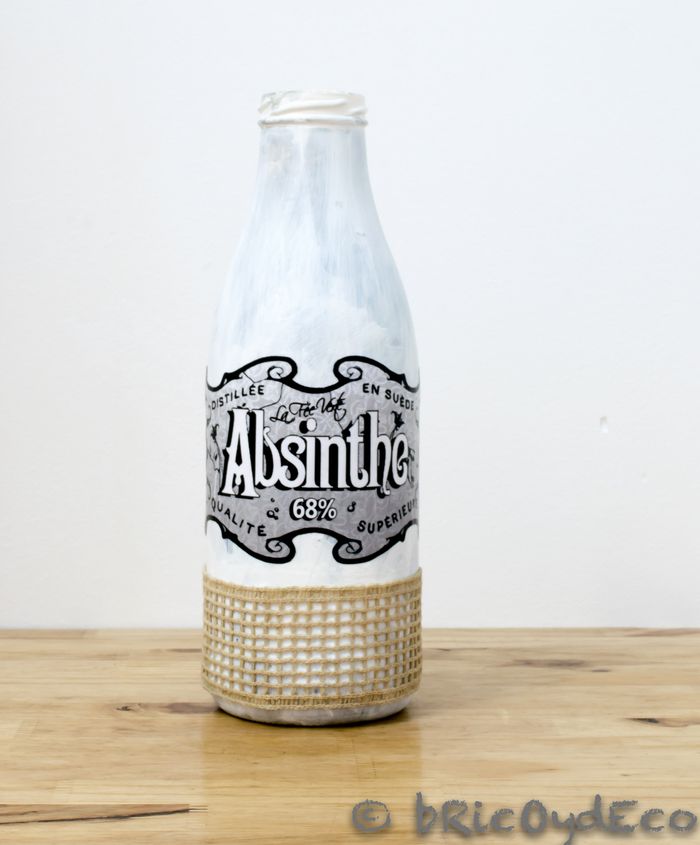
I then applied the same treatment to the tape as to the bottle: first I painted it gray and then I gave it a few strokes of white.
To decorate the neck of the bottle I used esparto rope wrapped around it.
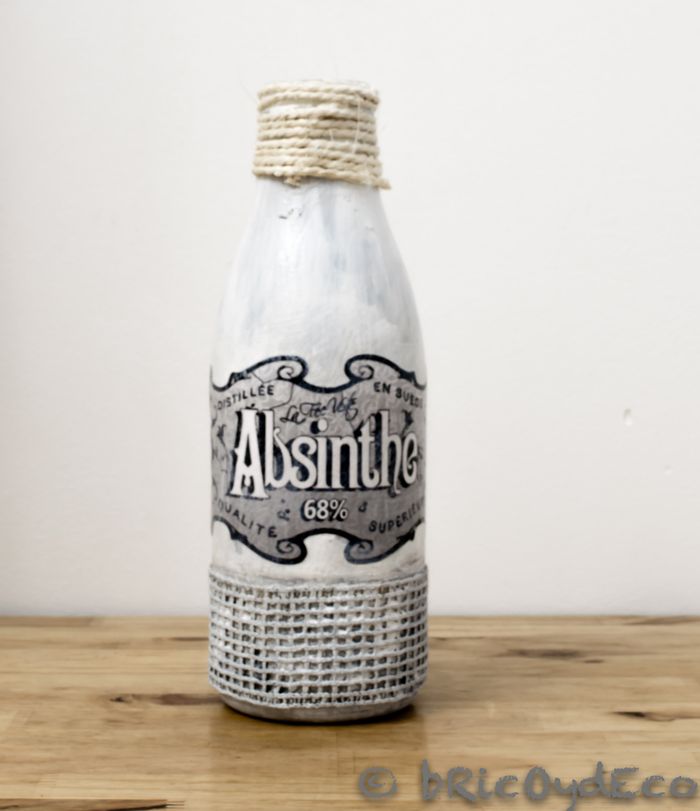
Lastly I brushed the white smudged brush over the label to give it the same aged look as the rest, and gave the whole thing a coat of Mod Podge to protect the end result.
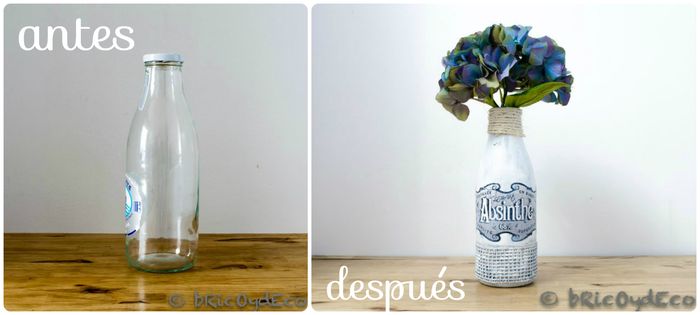
In this simple way and in a few hours managed to kill two birds with one stone. On one hand I recycling something as common in our homes as a glass bottle, and on the other hand I have made a DIY vintage vase.

I always encourage you to carry out this type of DIY work because from objects that we have at home we can create other unique and personal ones. My intention is to create a composition of four vintage vases with which to decorate a special corner, so for now I keep saving the glass bottles that I buy.
Did you like the final result? If so, I would appreciate it if you would share it on your social networks.


