I’m getting a taste of this tune the wine boxes what I have at home A few weeks ago I showed you how I had transformed a box into a tray but since I like to do new things, with this second wine box I have made a jewelry box. don’t miss the Step by Step.
Materials
- A cash register, it can be wine, fruit and even hard cardboard.
- primer, I have used a homemade primer that is a variant of the blackboard paint that I have already told you about.
- Acrylic paintthat of the tubes that we can find in craft stores and also in the Chinese although of inferior quality.
- A brush to paint and a sponge.
- a wad of sandpaper.
- painter’s tape.
- A sheet or napkin for decoupage.
- white woodpecker glue
- sequins.
- ceramic varnish to protect the surface or wax.
- hangers to place jewelery and jewelry.
Step 1 – Sand and Primer
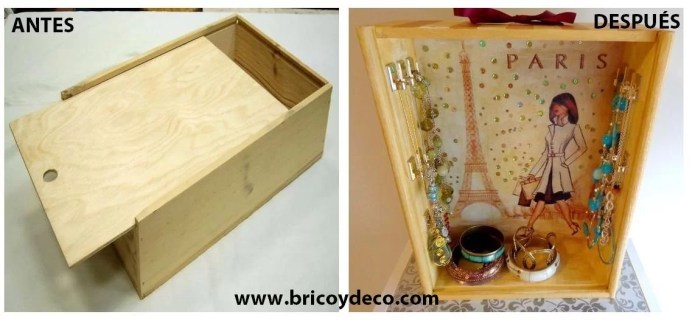
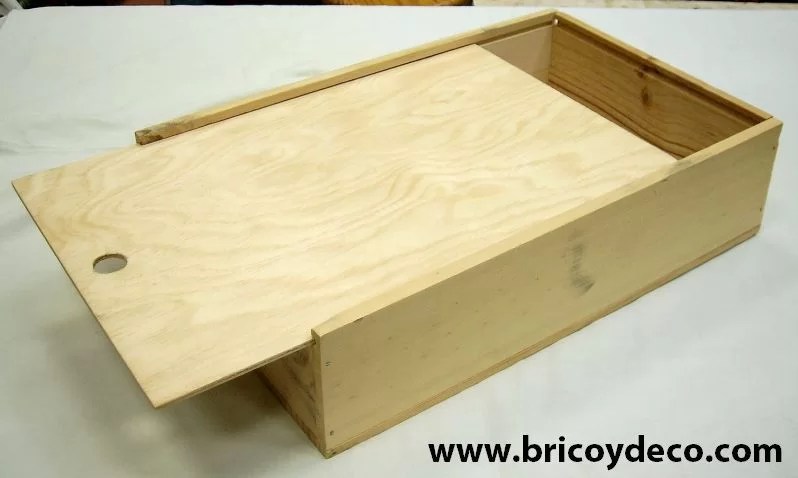
We have one wine box ordinary:
The first thing we’re going to do is sand the entire surface to a fine touch. In this way we will also make it easier for the primer to grip better.
Once sanded, we will apply the first layer of primer. If you have primer at home you can take advantage of it, I used a homemade primer very economical made with carpenter’s glue, plaster and titanium white pigment. To do this, mix 20 grams of plaster and 20 grams of white titanium pigment with a little warm water (enough to dissolve without leaving a glob), then add 100 grams of white carpenter’s glue and stir all until a homogeneous mixture remains.
Here you can see how the box turned out after giving it a first layer of the homemade primer that I have mentioned:
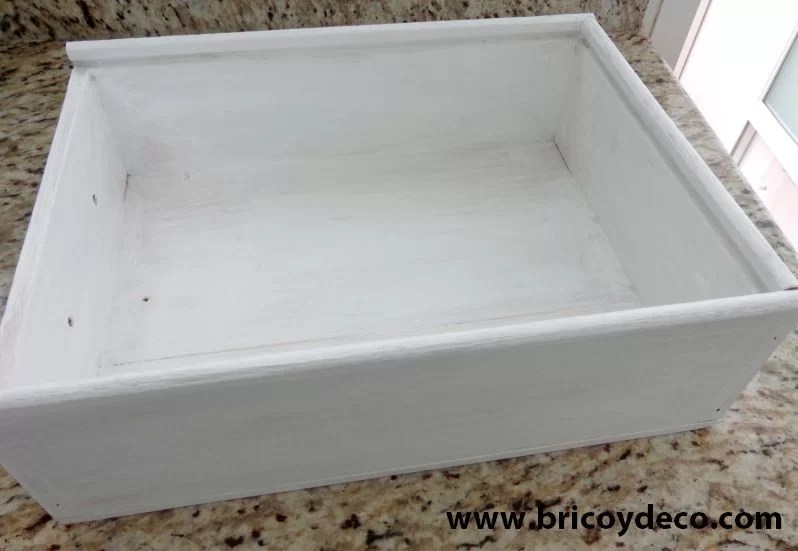
As you can see, it is a primer that covers a lot. It also dries quickly (in less than an hour), so once dry, we sand the entire surface again and apply a second coat of primer:
Step 2: Acrylic Paint
Once the second layer of primer is dry, we will give two layers of acrylic paint. We can buy acrylic paint in craft stores, although we can also find it in the Chinese, I took advantage of an offer from Lidl to get several tubes of different colors. The good thing about this type of paint is that it is cheap, spreads a lot and dries very quickly. Also if you stain you can wash with water.
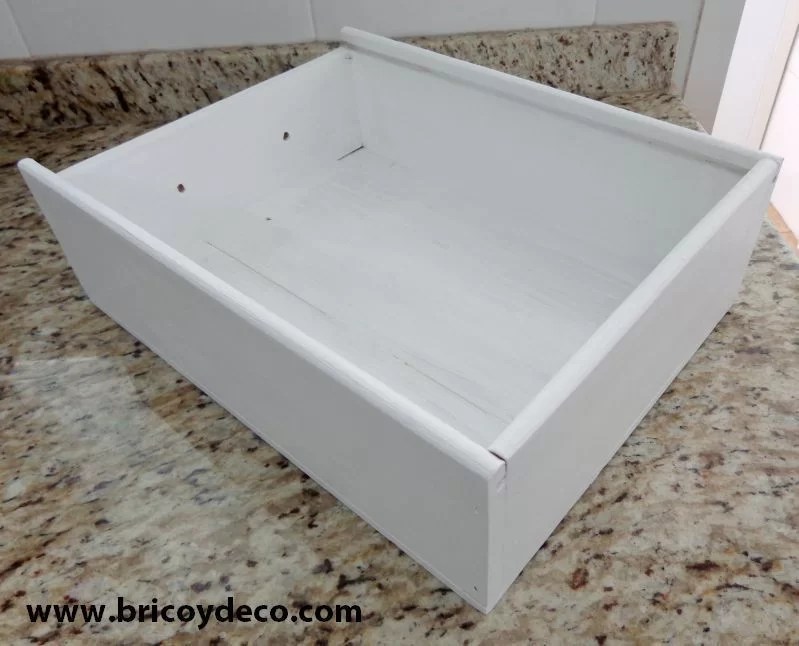
This is how the box looked after two coats of acrylic paint applied with a round brush:
I didn’t paint the background because I was going to put a sheet, although I’ll talk about that later.
Once the two hands have dried, the entire surface is sanded so that the white streak from the bottom comes out a little.
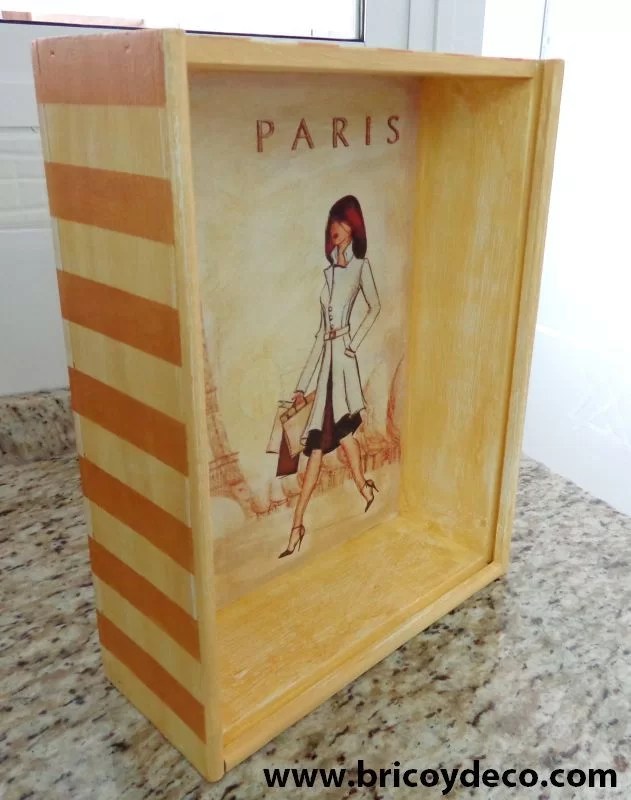
Step 3: Exterior Decoration
I thought of paint coppery gold stripes to decorate the outside of the box. To do this, the first thing I did was put painter’s tape on the four outer sides.
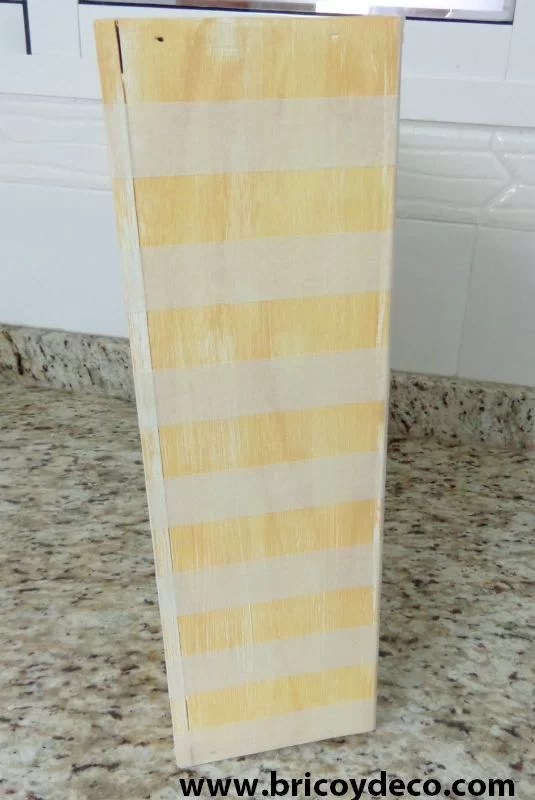
A trick so that there is the same distance between the tapes is to place a painter’s tape that makes us a joker. That is, we put three painter’s tapes in a row, we take off the one in the center and we put three tapes in a row again:
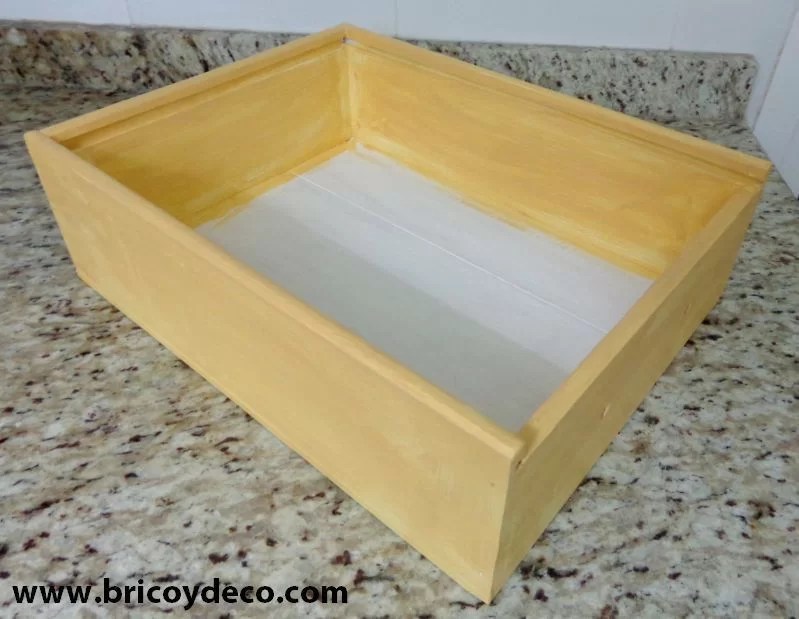
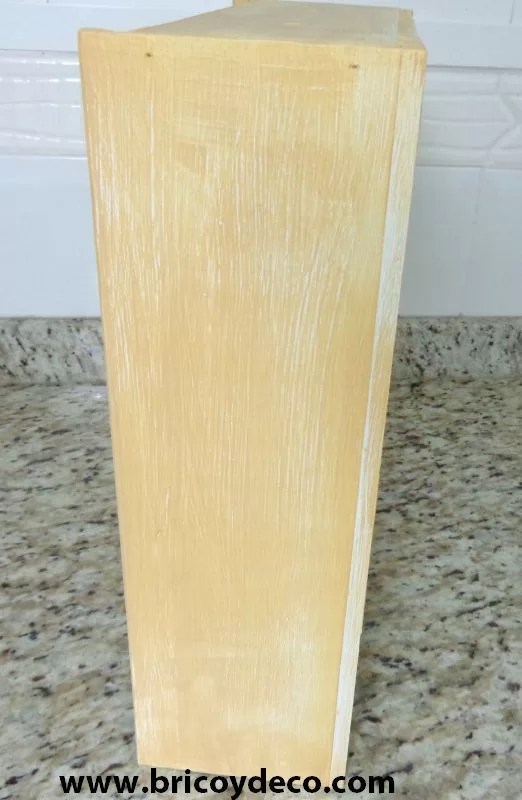
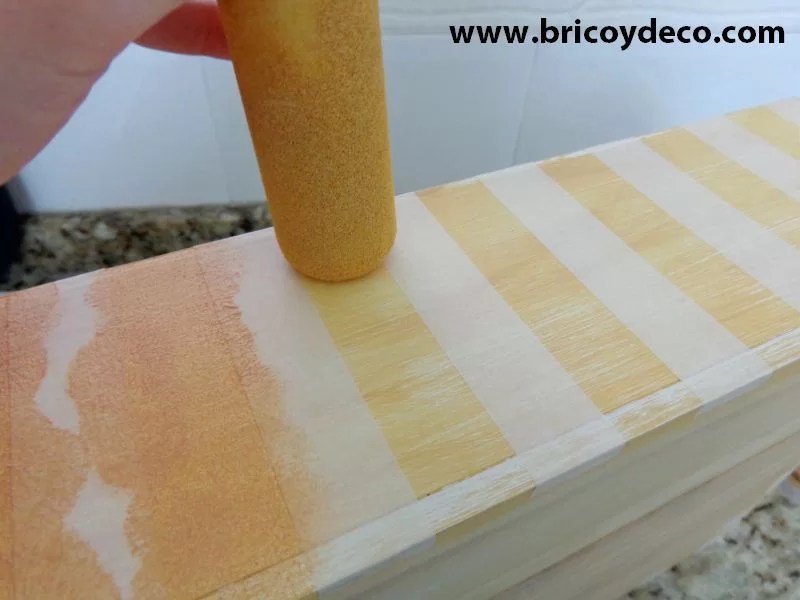
Once we have surrounded the entire box with the ribbons, we choose the color with which we are going to make the contrast (in my case a coppery gold, although it looks orange in the photos) and apply it with a sponge, tapping until the surface we want to paint.
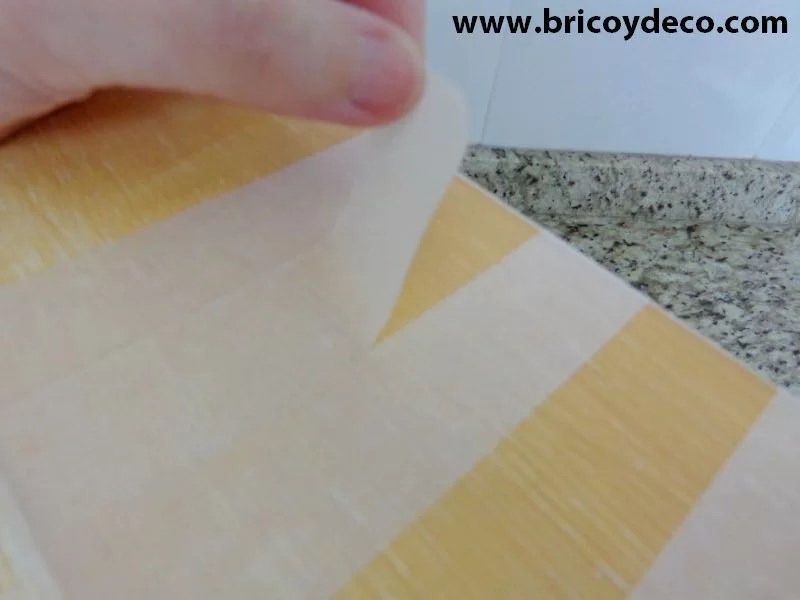
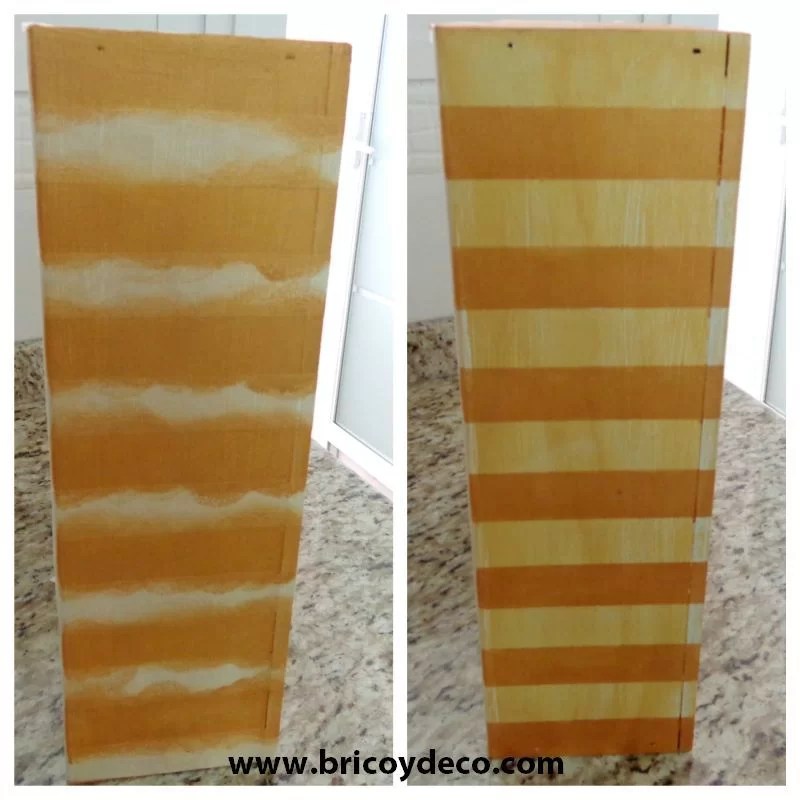
When the first layer has dried, we will give it a second and remove the painter’s tape when it has dried. In the next photo you can see how it looks before and after removing the painter’s tape.
We can protect the paint from the outside with two or three layers of colorless wax.
Step 4: interior decoration
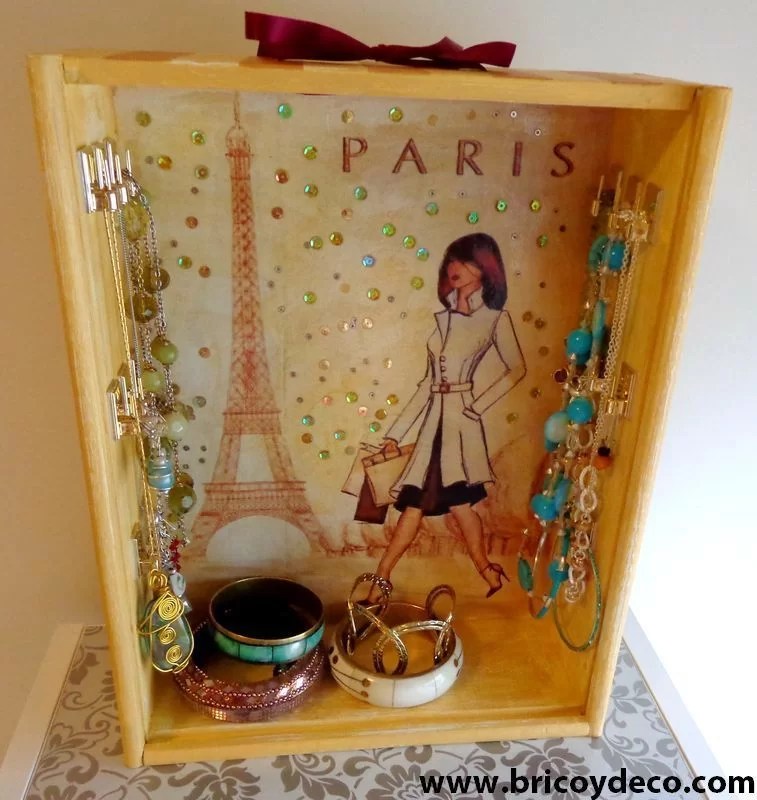
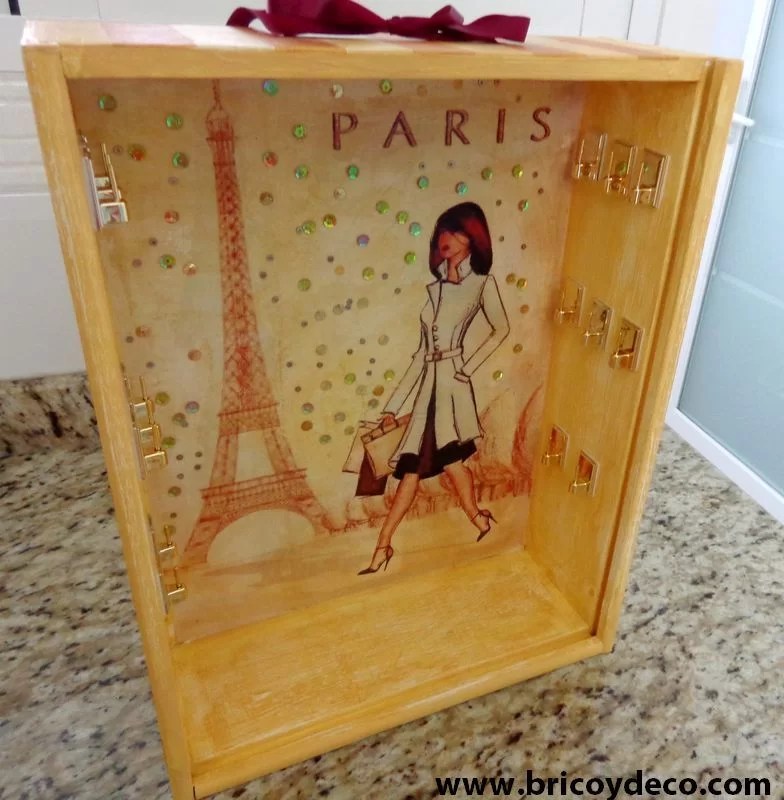
For the interior decoration I found a sheet that I liked a lot and that gave it a toque chic to the jeweler, so what I did was fit the drawing to the bottom of the box and print it on a sheet of paper. Then I applied carpenter’s glue on the sheet and I was sticking it little by little so that there were no wrinkles.

Next what I did was dilute a little of the acrylic paint in water that he had used to paint the inside of the box and pass it over the drawing with the brush. In this way the sheet and the walls of the box acquired a single tone, giving the impression that the drawing was painted on the background.
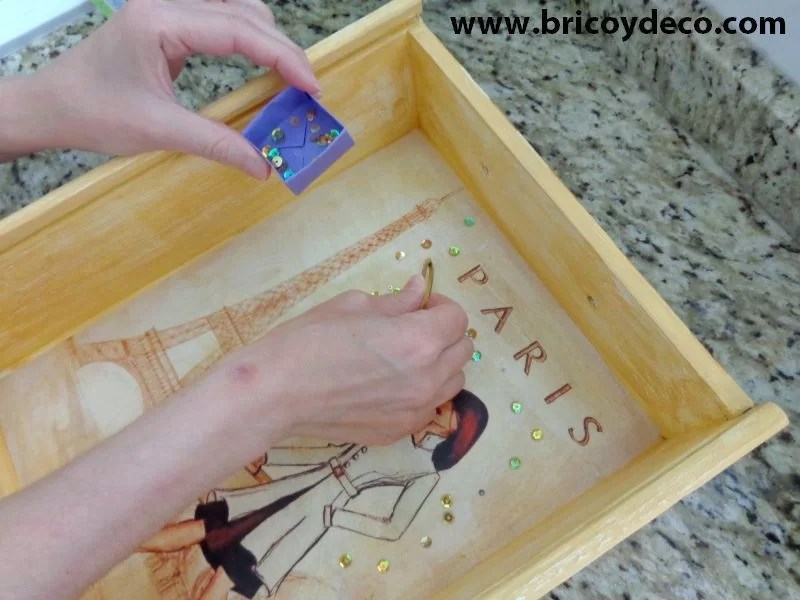
You already know that Paris is the city of light, so to give the jewelery box a little more life, I added some sequins in the part of the drawing that represented the landscape. With a brush I gave it white glue in the areas where I wanted to place the sequins and with tweezers I put them.
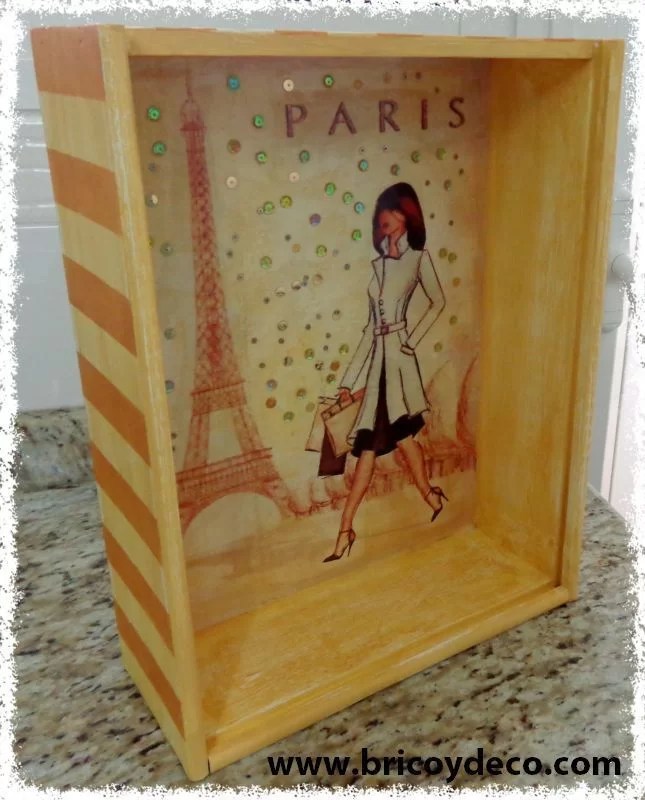
Lastly I gave the entire interior a coat of ceramic varnish that you already had, although you can also protect it with white carpenter’s glue diluted in a little water.
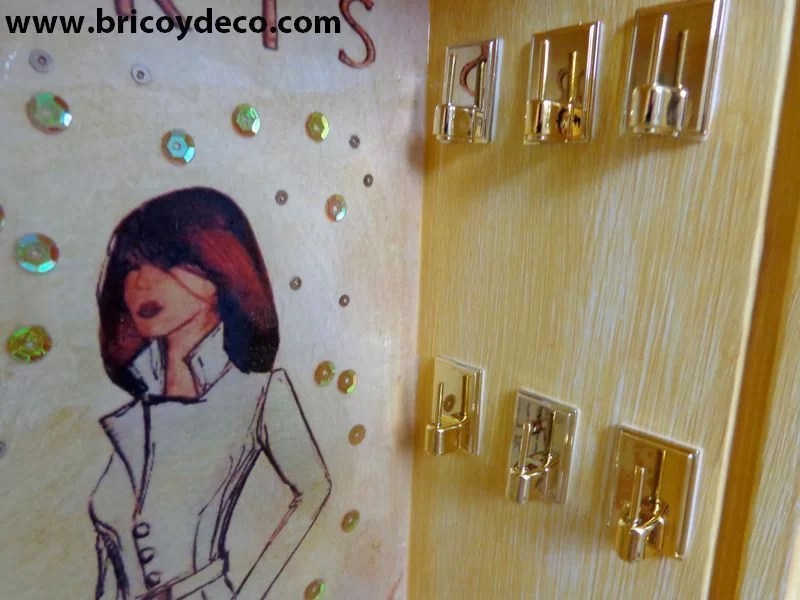
Step 5 – Placing the Hangers
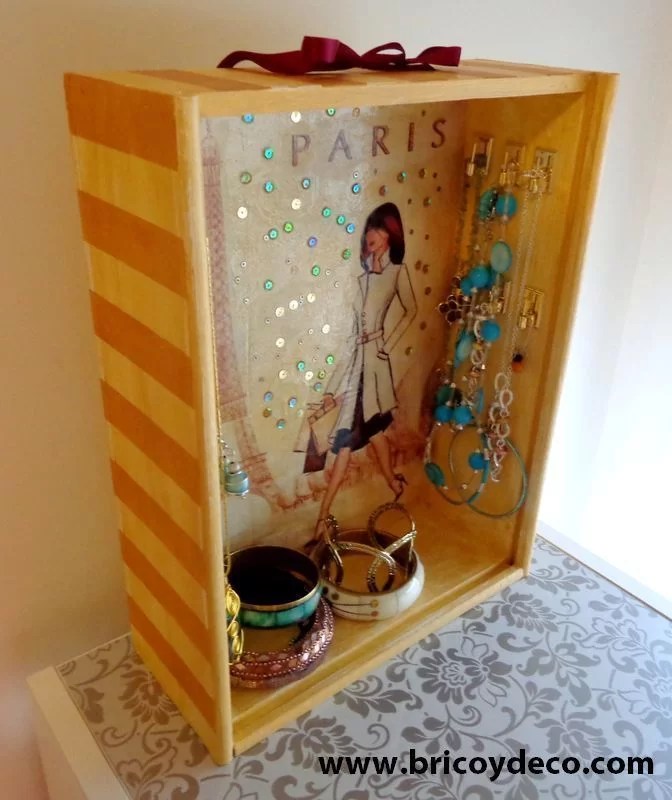
I liked how the bottom of the box turned out so much that I didn’t want to put the hangers in such a way that it would be hidden, so I took advantage of the side walls to place some self-adhesive gold colored hangers. Thus the jewelry box as well as decorative, was functional.
I finally spent a tape through the top two holes and make a bow.
I hope you liked this Step by Step Of how transform a simple wine box into a practical and chic jewelery box do you dare to do yours?