

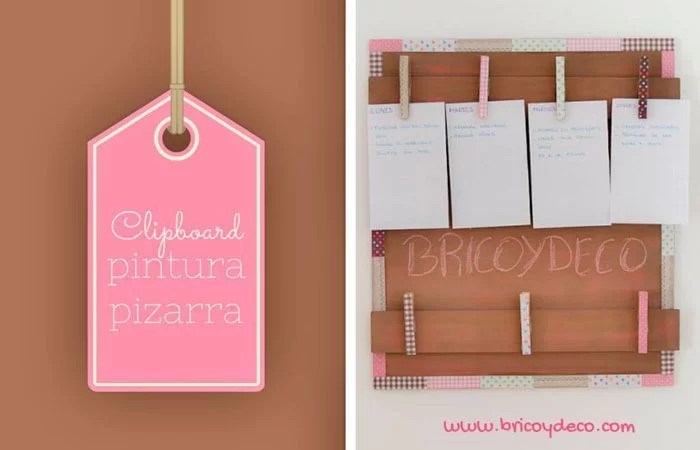
A clipboard or portfolio It will help you organize and plan your week or that of your children. In addition to being practical and decorative, they are now a trend, so with this tutorial you won’t have an excuse to make your clipboard with chalk paint and recycled elements, It is very simple and cheap. Do you dare?
September is a month of vacations and good resolutions. It is also usually a month in which you have to stretch your pocket a little more to meet the expenses of going back to school and the extras of the holidays. For all this I have made a tutorial to make a clipboard with chalk paint and recycled elements with which you can organize for very little money.
DIY clipboard: materials
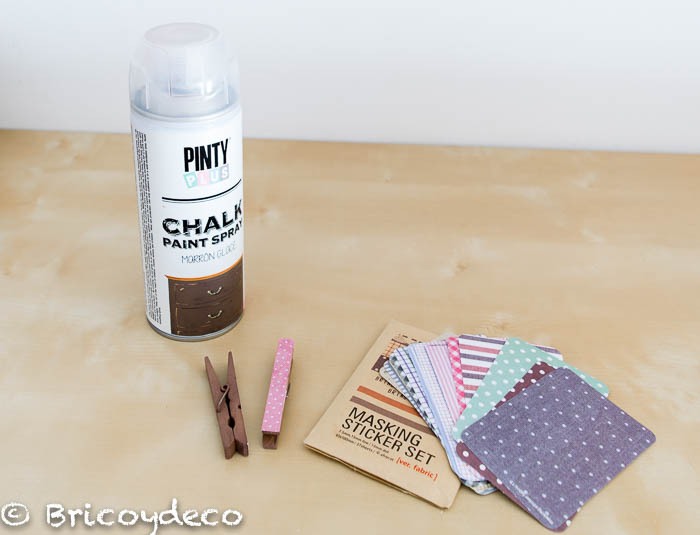
The materials that we will need to make this decorative portfolio are the following:
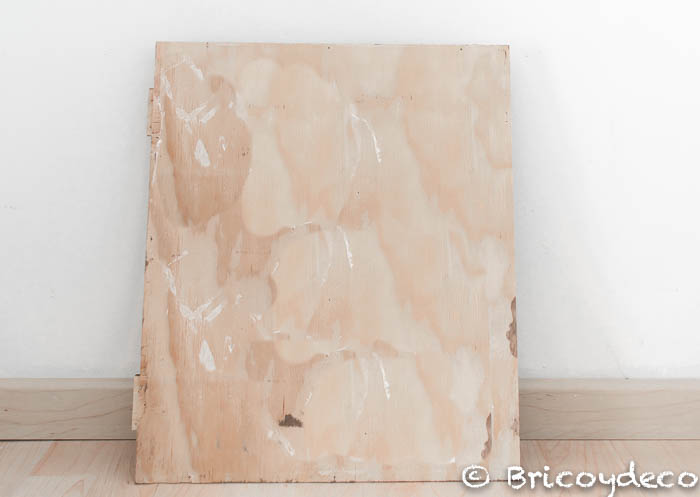
– A wooden or melamine table or board. In this case I have recycled the lid of a wooden box that contained several bottles of wine.
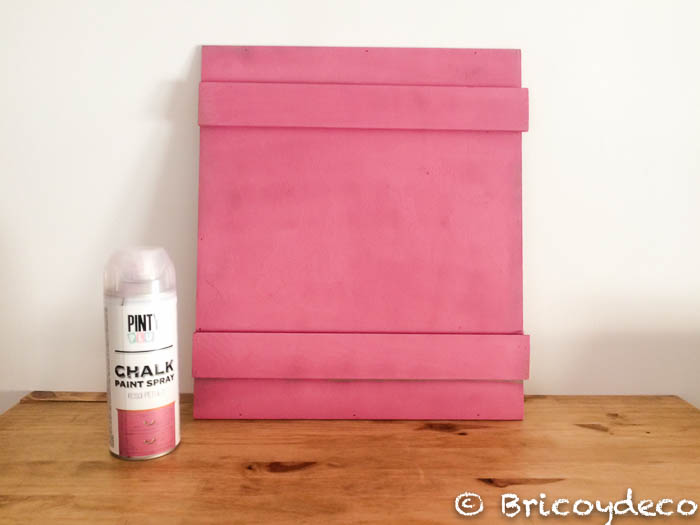
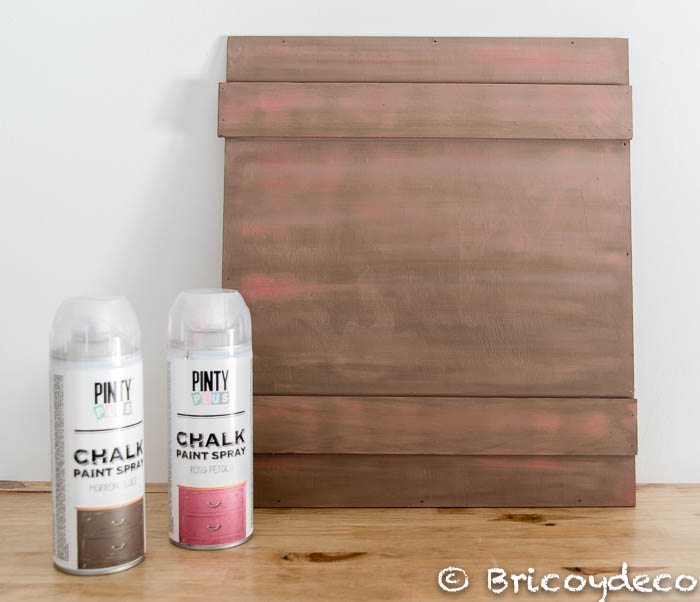
– chalk painting. The paint I used is PintyPlus spray chalk paint in glacé brown and petal pink.
– Clothe pins of wood.
– Washi tape or self-adhesive strips. To decorate the portfolio I have used masking stickers.
– Glue gun hot melt and craft glue.
DIY clipboard: step by step
You must first find a basis for your portfolio, I have used the lid of a wooden box but you can also use the shelf of a shelf, a tray, hardened cardboard, etc. Since I happened to take a photo of the board before painting it, I’ll leave you with a picture of the back so you can get an idea of what it looked like.
Next we will paint the basefor this I have used blackboard paint for a double reason:
1º.- Adheres to practically any surface without the need for sanding or priming.
2nd.- You can write on it with chalk so it provides a double function to the clipboard by serving as a note holder and blackboard.
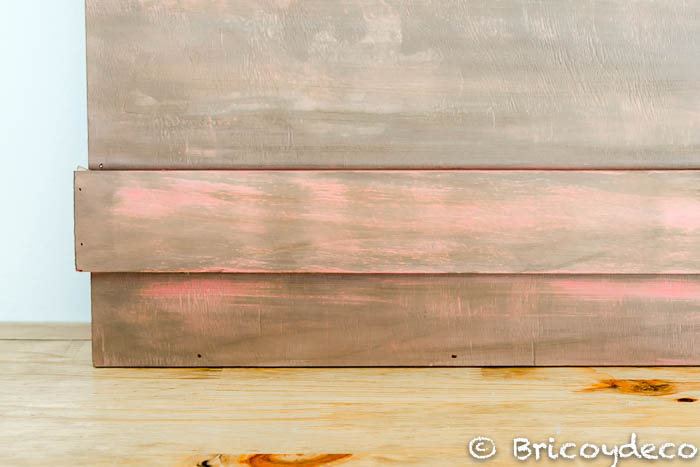
First I gave a coat of petal pink chalkboard spray paint. The advantage of using spray paint is that in a minute you have the board painted:
Once the first coat of paint had dried (between 15/20 minutes), I applied a second coat with glacé brown chalkboard spray paint, creating a stripped effect.
In the following video tutorial you can see how to create a stripped effect with blackboard spray paint without sanding:
In this way, a very homogeneous pickling is achieved, as can be seen in detail in the following image:
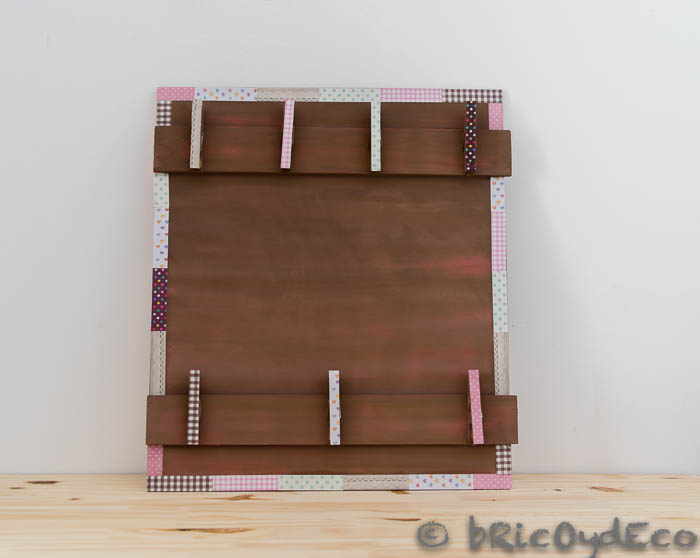
Next we will decorate the wooden clothespins that will serve to hold our notes, for this we will paint them with blackboard spray paint and stick the masking sticker (self-adhesive strips).
The next step will be to fix them to the board with hot glue. You can place the clips you want, leaving enough space between them to fit the notes, in this case I have placed 7, one for each day of the week.
Finally, the entire edge of the portfolio is decorated with masking sticker or washi tape.
Now all that remains is to fix it to the wall to be able to use this DIY clipboard as a blackboard:
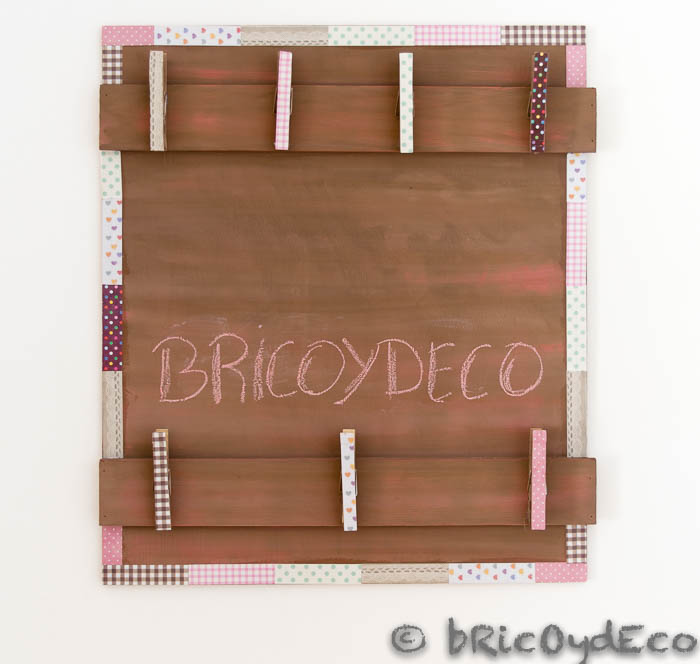
And also as a portfolio to place the notes and organize your week or that of your children with the school tasks:
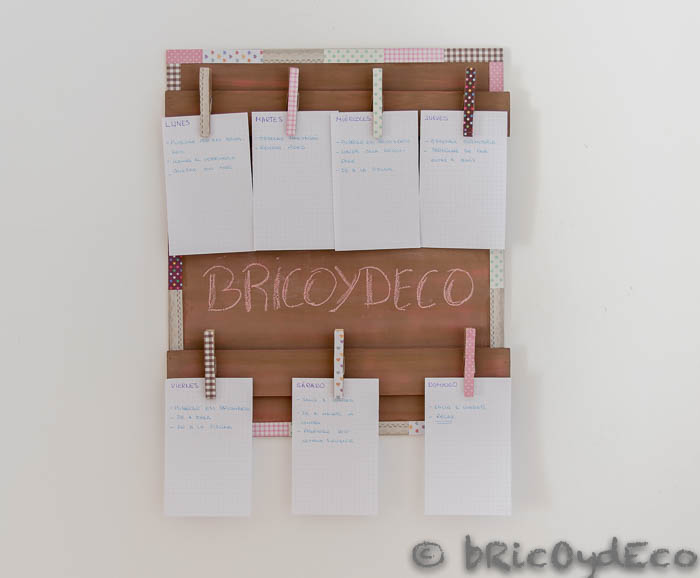
what did you think of this clipboard with blackboard paint and recycled elements? Having a portfolio is a decorative and practical way to plan and organize your tasks, it is also very easy to do it with recycled elements as you have seen in this tutorial. Do you dare to have your DIY clipboard?
If you liked this post, you can see many more tutorials and DIY ideas at .


