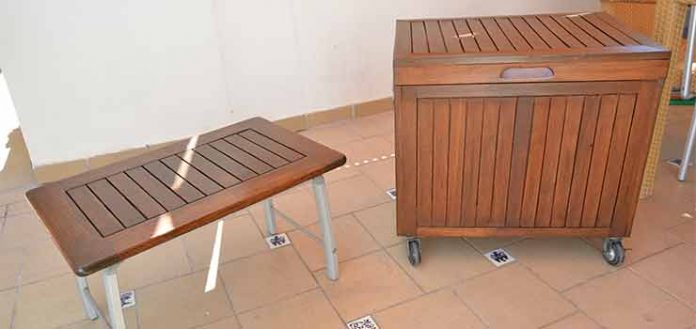
Outdoor furniture made of certain types of wood is widespread, such as teak, ipe, and other species that withstand inclement weather well.
However, wood, as the living material that it is, needs certain care to preserve both its properties and its natural beauty.
These cares, roughly, are included in two. Repair treatments, when there is already damage to the wood of some importance. And preventive treatments, which are applied precisely to prevent damage from occurring.
In this article we are going to focus precisely on the latter. We will see how to carry out the application of a preventive treatment, especially aimed at outdoor wooden furniture, with the aim of making it last for many years as new.
.
Preventive treatment to protect the wood
Last year we already dealt with the protection of wood, but focused on floors. In this article we talked about it “How to maintain exterior wood”.
As I already mentioned, the water, but especially the sun, and even worse, the combination of both, produce very negative effects on the wood, rapidly degrading it.
However, this can be avoided by applying the appropriate treatment.
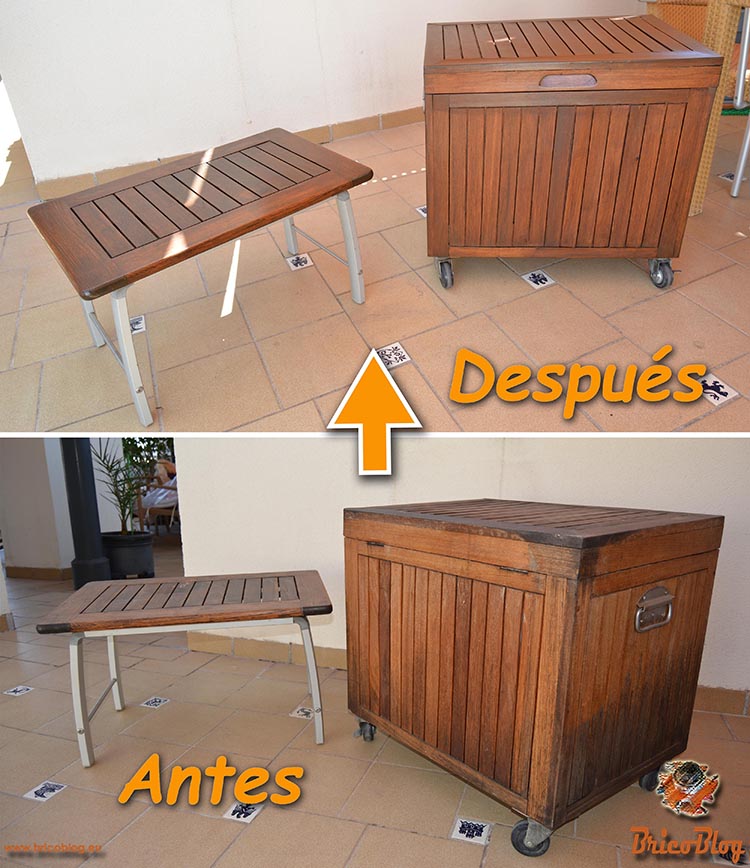
Preventive treatment is not carried out with furniture paints as we know them. It is made with a special product that not only hydrates and renews the wood, but also restores its natural beauty.
The most appropriate thing is to apply the protector, with an open pore finish, which is especially indicated for the wood protection.
In addition to nourishing the wood, it contains a UV sunscreen that allows it to preserve its color like the first day, avoiding bleaching and deterioration of outdoor wood.
However, for in-depth protection, especially in the case of wood that is very exposed, it will be convenient to give a previous layer of protective background.
So in this article, and you can see it in the video that we include below, we are going to bring two garden furniture back to life.
While we go through the process step by step, we will tell you more useful information about these products.
.
Necessary materials
The first thing is to have all the necessary material at hand, such as:
Medium-fine grain sandpaper.
Fine steel wool.
Brushes.
Protective paper and/or plastic.
Gloves.
Mixer.
The protectors to apply.
And, of course, the furniture to be restored.
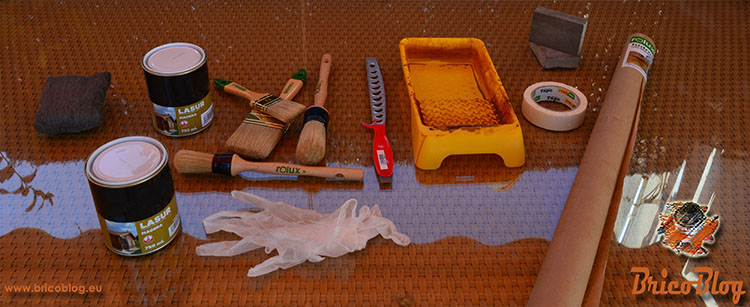
Materials necessary to carry out the protection of wood.
.
Preventive Treatment Procedure
To make this article, we have asked advice to segopi paintingsspecialists in all kinds of paints, varnishes and related products.
First step – Furniture cleaning
Well, the first thing we must do is remove any remaining dirt, as well as previous paint or product, grease, etc. that the furniture may have on its surface. This cleaning consists of a good sanding of the wood.
This task can be done with sandpaper, sandpaper, or even an electric sander. Whatever shape you use, the grit should be medium to fine.
But before sanding, we have to disassemble any accessory that is not made of wood and that can hinder both sanding and the application of the product. In our case we have used the Black+Decker Multievo multitool. If you want to see everything this versatile tool is capable of, here is a link to our article in which we carried out some extreme tests see article.
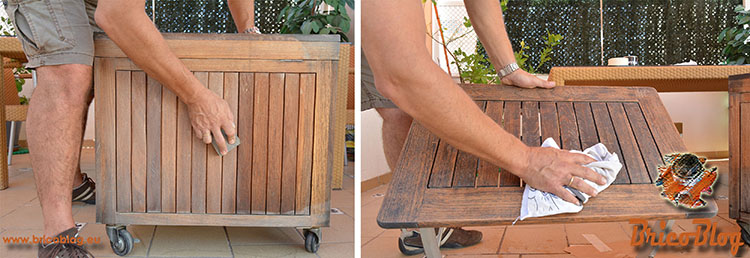
Realization of the first sanding with sanding blocks.
In our case, we have done it with sandpaper blocks since, although it requires more effort as it is a manual method, they are very easy to use.
Once completely sanded, we pass a cloth to remove the remains of the sanding.
.
Second step – Application of the protective background
We stir well (without shaking) the lasur protective background, and give a coat.
Application can be done with a drill, roller, or spray gun.
If you have noticed in the video, the background is more liquid than the finish. This is precisely so that it penetrates deeply into the wood.
Once the background coat has been given, we have to let it dry. Although this product dries to the touch in 30 minutes, for repainting it is necessary to allow between 2 and 3 hours.
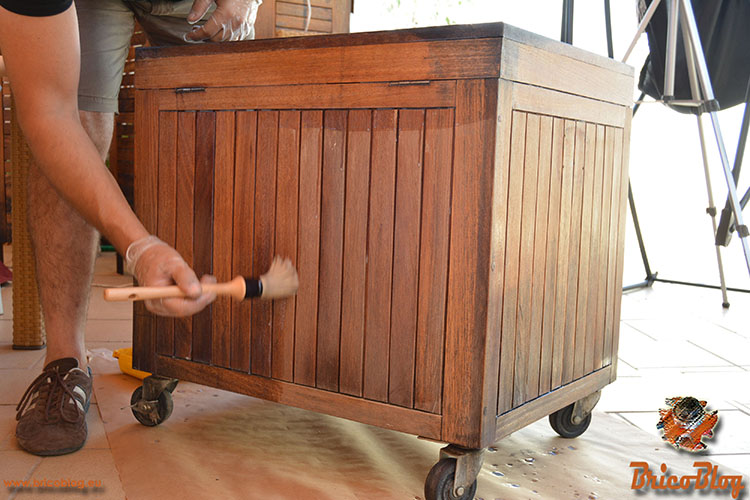
Application of the base layer with a protective background.
.
Third step – Application of the open pore finish
Once the background is dry, and before giving the finishing coat, we will gently sand the surface. To do this, we will use fine steel wool.
Once all the furniture has been reviewed, we remove the dust and, now, we apply the finishing lasur.
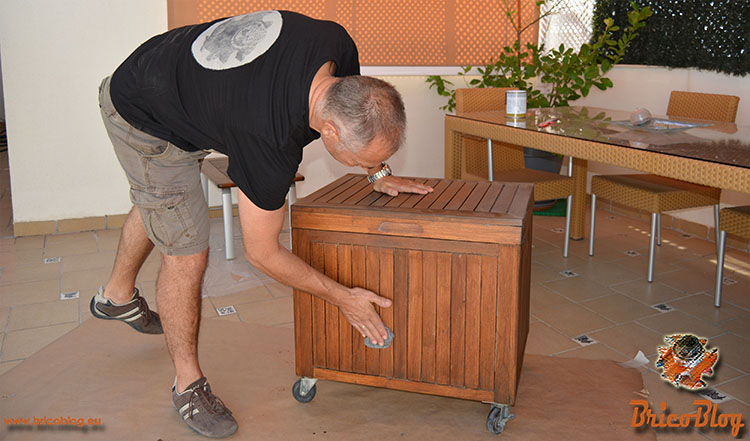
Sanded, between coat and coat of lasur, with fine steel wool.
This product, like the previous one, is formulated in an aqueous base. Which means that they are more environmentally friendly than other solvent-based products. And therefore, the utensils are easily cleaned with water.
This lasur is made up of flexible resins that penetrate through the pore, adapting and effectively combating the harmful effects of weathering and, most importantly, without modifying the natural appearance of the wood.

Second and third hand, both with open pore finish lasur.
Well, once the lasur is applied, we let it dry between 2 and 3 hours, just like before. And we repeat the operation, since we have to apply two finishing coats. Do not forget the soft sanding between hand and hand.
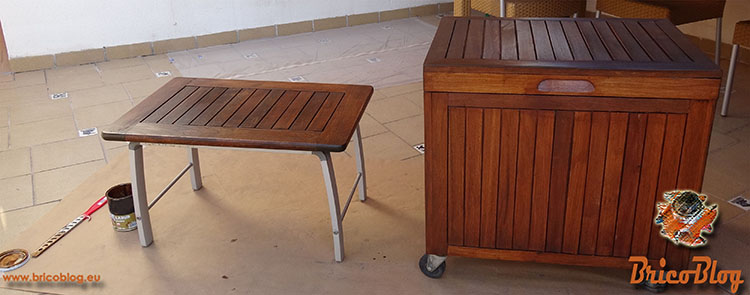
Once given the first coat of open pore finish.
After the second finishing coat, we let it dry… and, once 2 to 3 hours have elapsed, we replace the previously disassembled accessories, which, in our case, are the handles.
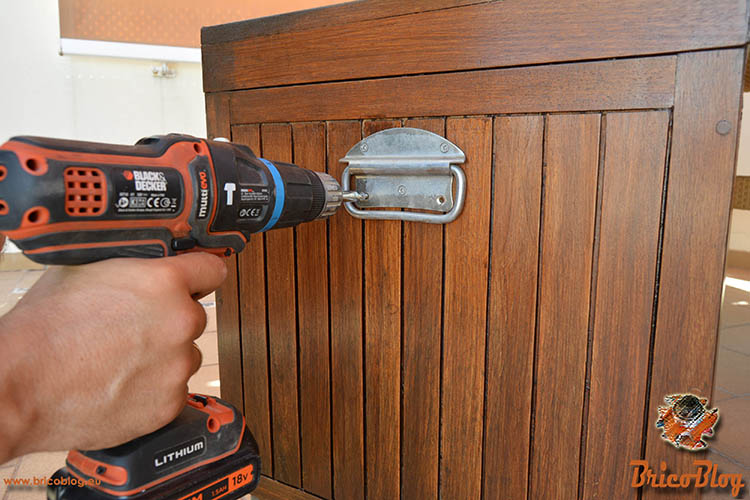
Replacing the accessories that we had disassembled.
Clever!! We already have our wooden furniture finished and like new.
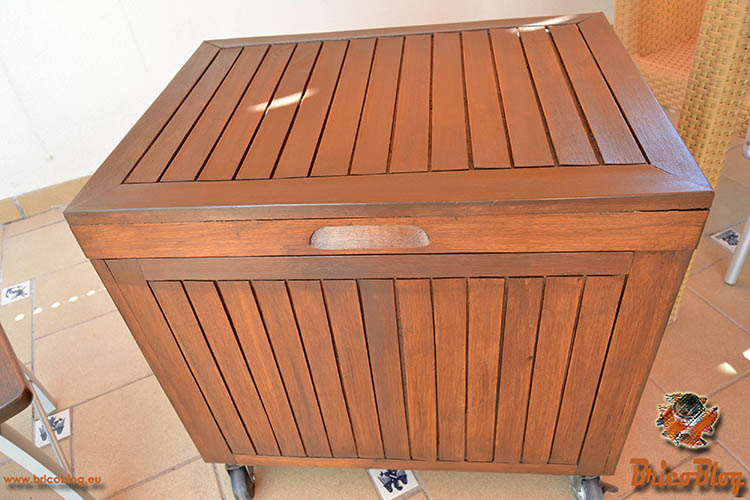
Alcon completely restored.
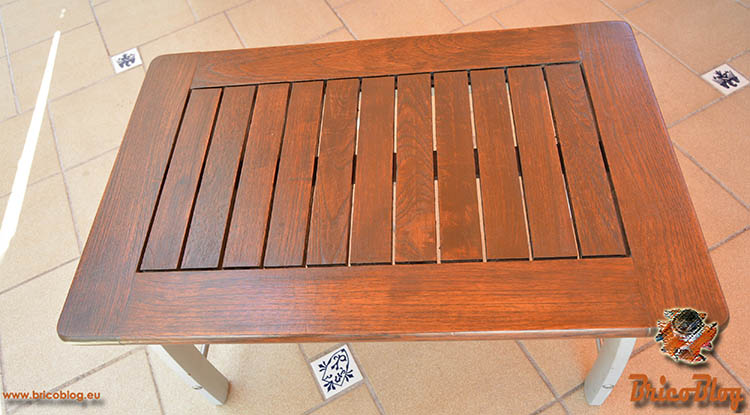
Restored outdoor table.
.
Video Tutorial of the whole process
We have edited a video tutorial so that, in just 5 minutes, you can see and hear all the material that we have exposed up to here.
.
If you don’t want to miss any of our publications, SUBSCRIBE…
to the Blog => I WANT TO SUBSCRIBE
to our YouTube channel => I WANT TO SUBSCRIBE
Once you have subscribed to our YouTube channel, don’t forget to do click on Tinker Bell. This way you will receive a notice every time we upload content.
How to subscribe to our YouTube channel.
.
.


