

Recycling a cardboard box to store objects is a practical idea to which an aesthetic use can be added if we decorate it. So it occurred to me that it might be a good idea. recycle a cardboard box into a personalized gift box, giving it a totally different and charming look.
A few years ago I signed up for one of those sites that send out boxes of beauty product samples for a monthly fee. During the time I was discharged I received several hard cardboard boxes that I have basically used to store sewing accessories and accessories for crafts.

I usually keep them in drawers or in the closet since they are not particularly pretty, but I recently gave a friend a present and it occurred to me that I could decorate one of these boxes to put the gift inside. In this way, she personalized the cardboard box to give it a more attractive and exclusive appearance, in fact the box itself became part of the gift.
Do you want to see more DIY gifts? Do not miss this link.
The materials i used to decorate this cardboard box were the following:
– Cardboard of different colors
– Cardboard decorated with motifs
– Acrylic paintings
– Paint with relief effect
– Brushes
– Sequins and rhinestones
– Silver glitter
– Mod podge or glue for crafts
– Polyurethane varnish to give volume
I don’t have pictures of Step by Step Because when you get a rush of creative inspiration, you shouldn’t waste it, but I’m going to try to explain in as much detail as possible how I got to the end result.
First, I applied a white embossed paint base to the entire lid.
Trick: you will get brighter colors if you paint on a white base
Before the relief paint dried I “combed” some areas of the box to create textures.
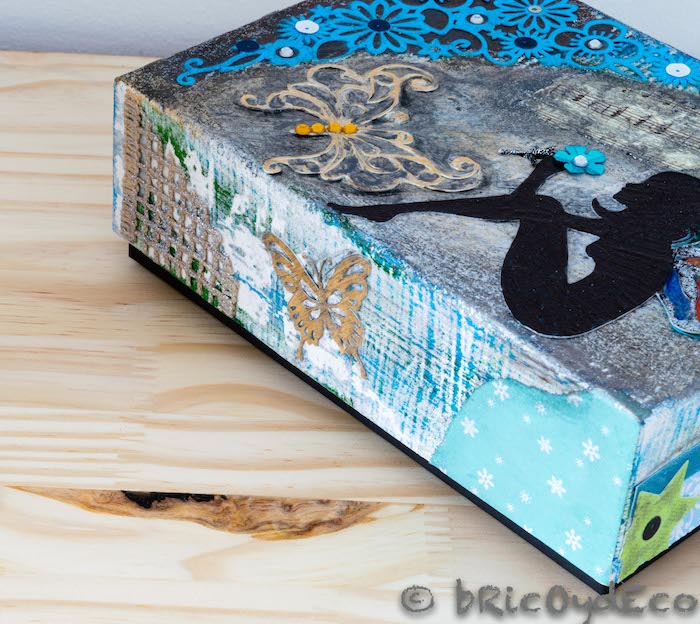
Next I painted the box with acrylic paint in different colors. This part of the work was “free style” since I did not do it in a uniform way but mixing brushstrokes with different tones, depending on what my body asked me for at that moment.
Before it dried I used a piece of cardboard to tear off some parts and create a worn effect, as if the paint had cracked or fallen off.
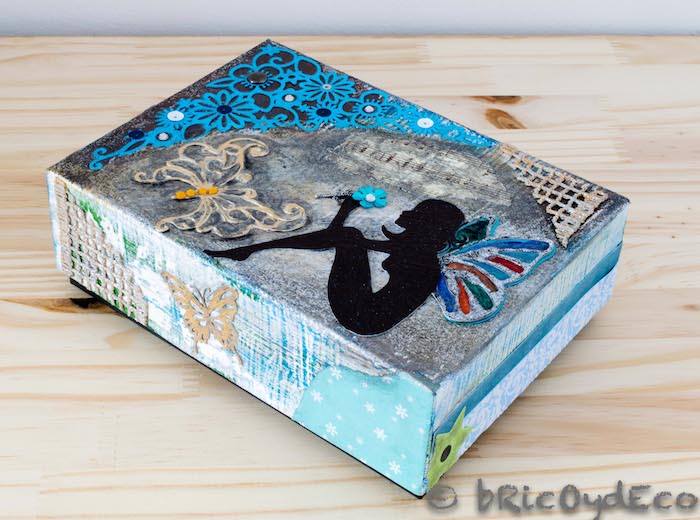
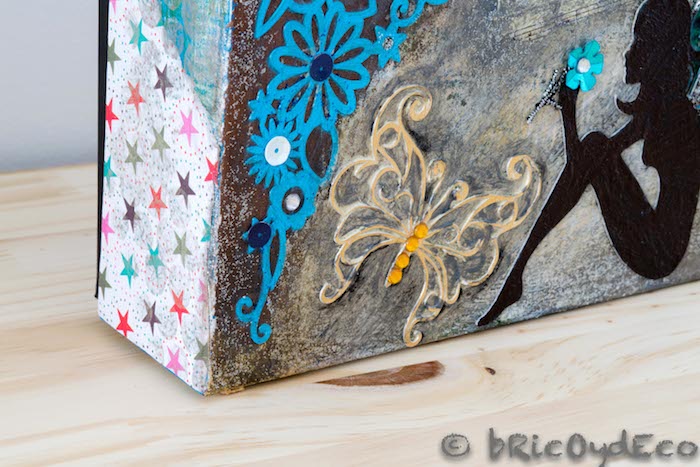
Then I cut out pieces of decorated cardboard and glued them around the box with Mod Podge, combining different patterns and shapes.
On the other hand, with smooth cardboard and a cutting plotter I made the die-cuts (butterflies, flower ornament and fairy-butterfly). If you don’t have a cutting plotter, you can buy die-cuts for scrap or you can also draw them on cardboard and cut them out. As with the card stock, I also used Mod Podge as an adhesive.
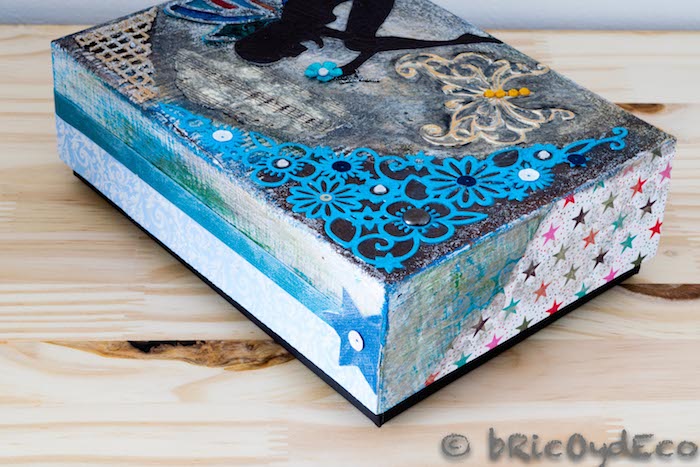
The next step was to make a glaze with acrylic paint mixed with a little silver glitter and diluted with water.
Don’t you know what a glaze? It consists of painting a thin layer of paint so that the lower layer is transparent, thus adding a different hue to the original color.
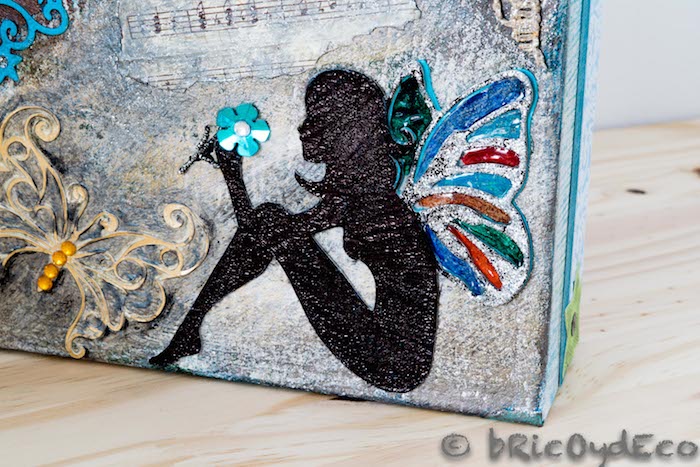
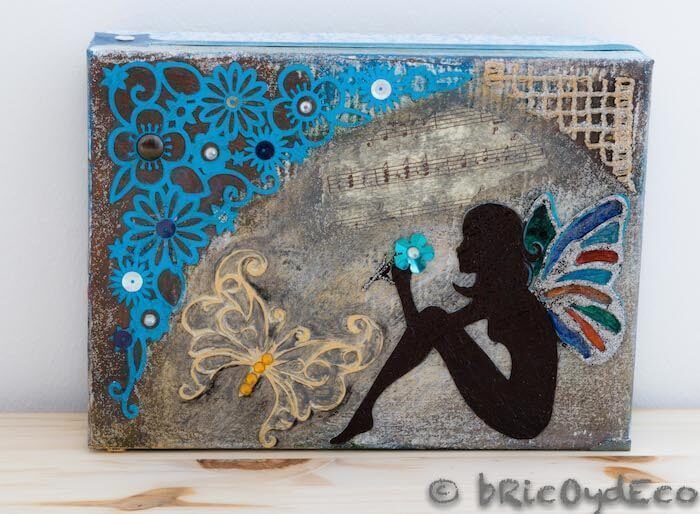
The part of the wings of the fairy was made by overlapping several layers of die-cut cardboard. Then I painted the interior with acrylic paints of different colors and the exterior with silver glitter, finally I applied a polyurethane varnish with a relief effect. I also used the same varnish to create a texture on the silhouette of the fairy.
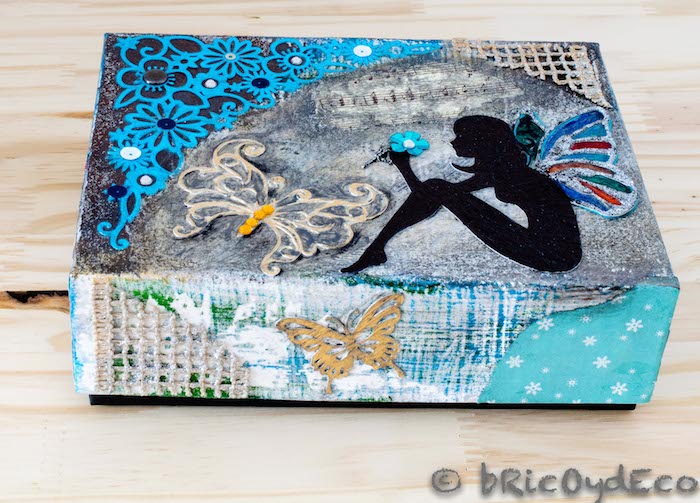
Finally I placed some small sequins and rhinestones and gave a final layer of Mod Podge to the entire lid since it serves both as an adhesive and as a protective varnish.
After all these steps the cardboard box was already ready to be a gift which in turn contained a gift.
What do you think of this idea? recycle a cardboard box to turn it into a gift box? If you liked this DIY project, I would appreciate it if you shared it on your social networks.


