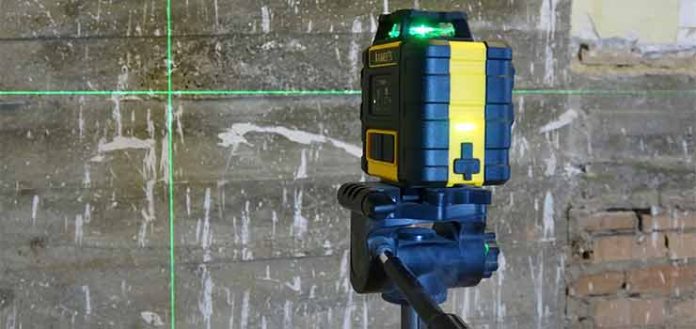
The level is a very useful instrument in practically any type of installation, whether in carpentry, metalwork,…
But where its use is on a daily basis, it is in masonry and construction work. Here it becomes a basic and essential element.
And, of course, where the use of the level is guaranteed is in DIY.
There are different types of levels. We can find the plumb line, the bubble level and the water level, to name a few. The latter is the most reliable and, in fact, has been used in construction and renovations. However, although its use is very simple, its handling is somewhat cumbersome for small jobs.
On the other hand, the bubble level is much more manageable, but the greater the length to level, the more it can increase the possible deviations.
In this article we are going to see an evolution of the bubble level, which eliminates any type of deviation, being 100% reliable. I mean the 3D Laser Level.
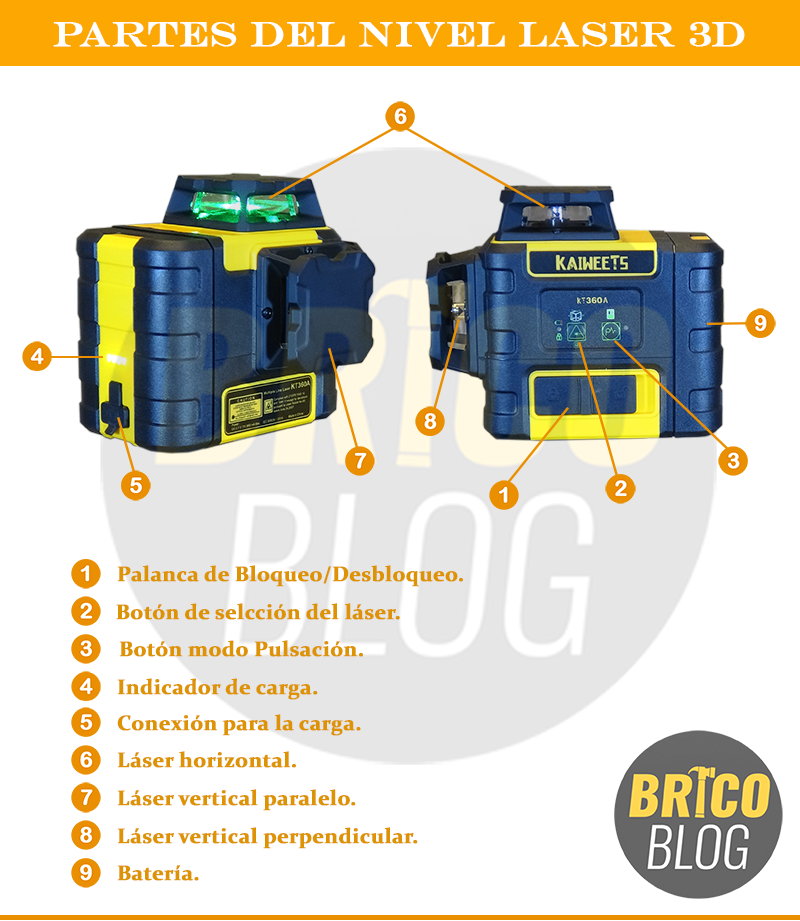
Parts of the 3D laser level
As I was saying, we will see this compact 3D Laser Level, the Kaiweets KT360A, with all its accessories.
3D Laser Level – Unboxing
The first step is unboxing or unpacking.
We note that it comes in a sturdy padded carrying bag that perfectly protects all the equipment.
- We open it and, first of all, we find the instructions which, among other languages, comes in Spanish. An aspect to take into account, at least for me.
- We also have the 3d laser levelinside a protective bag, which comes with a battery already assembled.
- A reflective insert that will help us to better visualize the laser in unfavorable conditions. It is also calibrated to detect possible deviations. And it has a foot and a magnet to fix it in the most comfortable way.
- A second drums.
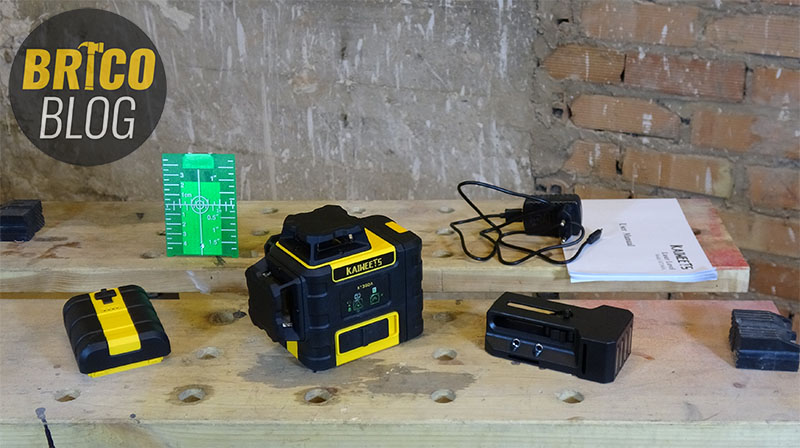
Kaiweets 3D Laser Level Components
- The charger along with the usb connection cable.
- And finally the tripod stand, which has two anchors with different metrics. The small one is the most common of the most common tripods. It also has magnetized two of its faces, to be able to fix it on any metal surface without using the tripod.
3D Laser Level – Review
Now we will go to the review or analysis of the laser level.
Battery charging
Well, once all the components have been checked, the next thing to do is to charge the batteries. Thus, by the way, we take the opportunity to confirm the loading time.
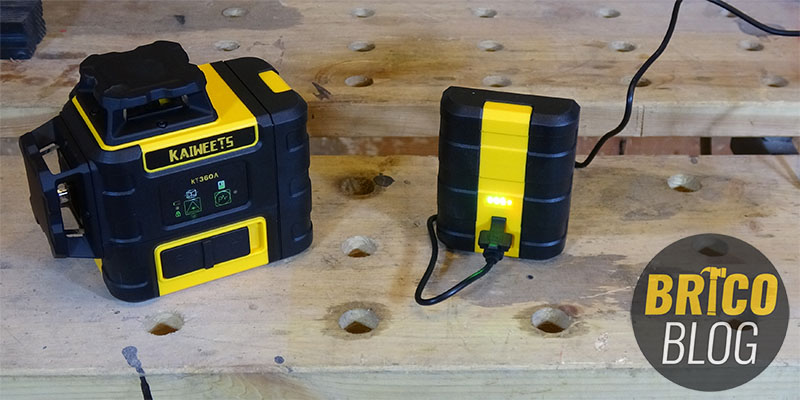
Burden
We can see that the battery connection is protected against water. We open the rubber cap and connect it to the charger. As you can see, it has 4 LEDs that indicate the charge level.
And now we will see how easy it is to handle.
Laser level management
leveling mode
With the lever (1) we unlock or lock the laser pendulum system.
To transport the level, we must put it in the locked position in order to prevent it from being damaged.
To use the level, we just have to slide the lever to the unlock position, which will turn on the horizontal laser. This is the self leveling position.
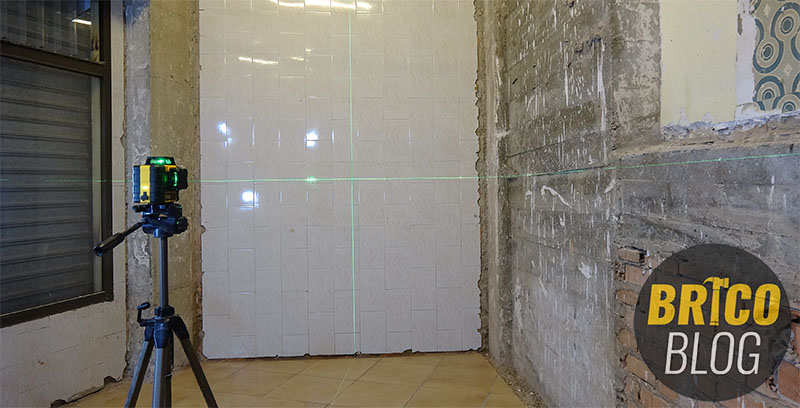
Level
In case we go outside the allowed range, the laser will warn us by blinking.
When we are back within range, it will be fixed again.
The laser selection button (2) will allow us to switch between the different laser combinations.
If we press once, we change to the perpendicular vertical laser. Twice, to have the laser parallel and perpendicular at the same time. We continue pressing to change to the different possible combinations. And finally, we get to have all three lasers activated.
If we press again, we start again.
Pulse mode
Button (3) is for use in pulse mode. Apparently there is no difference, since it works together with the receiver in the following image.
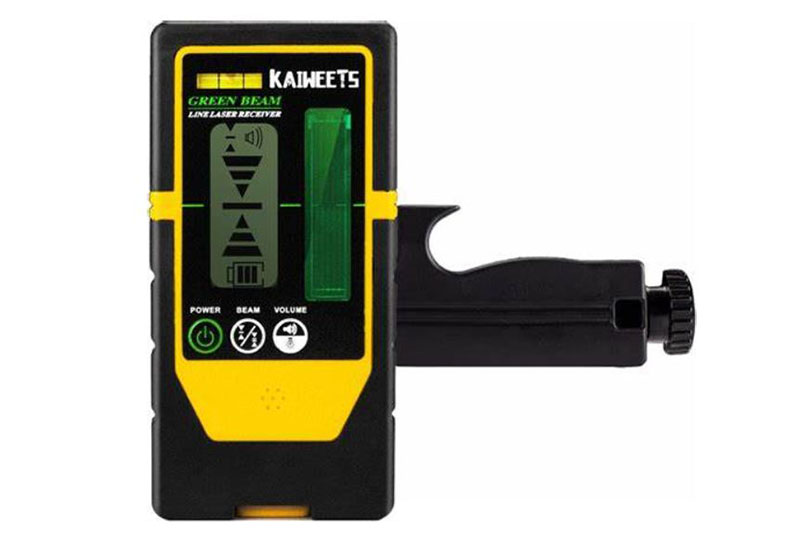
Receiver. 3D laser level accessory
Finally, to turn it off, slide the lever to the left, in the locked position.
The battery LEDs (4) indicate the battery charge status at all times, both during charging and during use of the 3D laser level.
plot mode
The way we have seen is a way of using the laser level, but there is another that we will see next.
With the level locked, that is, with the lever (1) in the locked position, we hold down the laser selection button (2), which we have seen. In this way it turns on but does not self-level, remaining fixed.
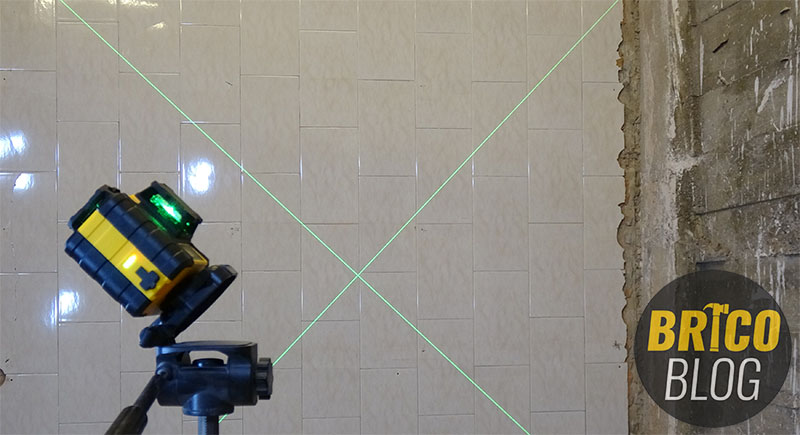
Drawn at 45º
What can this be used for?
Well, for example, mounted on a tripod it can be used to pull the levels in order to install bevel tiling.
To turn it off, we proceed in the same way, that is, we press and hold the button (2) again and that’s it.
Laser level handling video
If we have been able to explain ourselves sufficiently by writing all of the above, we leave you below a video in which we graphically show what is indicated.
Easier to handle impossible, right?
Well, today we have seen the theory; but in future videos we will see this 3d laser level in action, since we will use it throughout the soundproofing that we will carry out in the workshop.
So, subscribe and don’t miss it.
See you very soon.
.


