

.
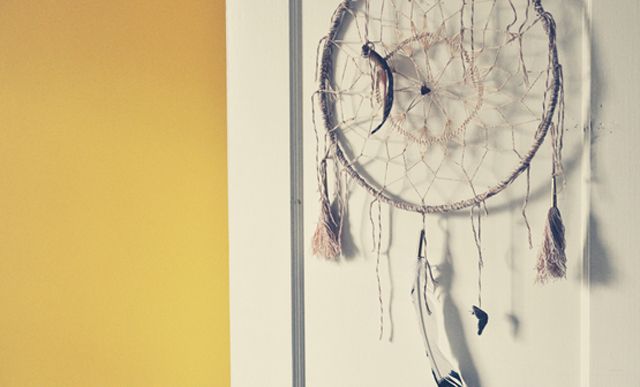
A dreamcatcher or dream catcher is a handmade amulet, originally made with a willow wood hoop, a loose net inside and decorated with various objects, usually feathers.
Its place of placement is the headboard of the bed and, according to popular Indian belief, its function is to filter people’s dreams, letting only positive dreams and visions through. The dreams that are not remembered and are forgotten, are the ones that slowly go down the feathers. On the other hand, the nightmares are trapped in the account (stone), and the next morning they are burned with daylight so that they do not come true.
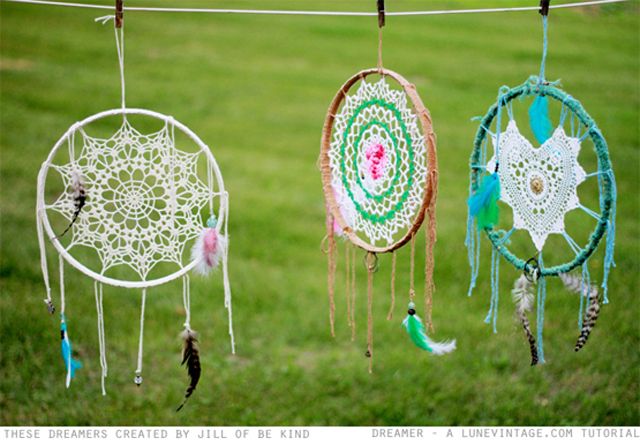
Do you want to see how one of these dream catchers is made?
.
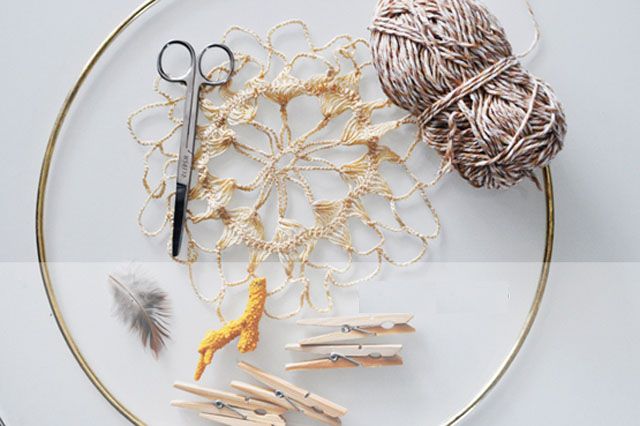
Materials:
- Large metal hoop. You can use hoop wire for macramé.
- Bobbin of thread for crochet. If it is thin thread, it will work better.
- Spool of cheap light weight thread (cotton/poly blend).
- Clothespins.
- Different decorative pieces, such as feathers, shells, stones, pieces of jewelry.

.
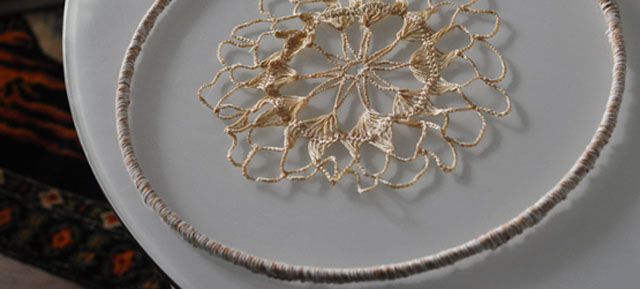
Instead of using the traditional dream catcher style of wrapping the hoop with leather cord, you can cover the metal hoop with multi-colored garter thread.
One way to do this would be to glue the hoop and then carefully wrap the yarn around it. But if you’re familiar with macramé and half-hook knotting techniques, you can cover the hoop as done in the example. These knots are better because they give a braided side, completely and compactly wrapping the ring. Here is a video showing how to do it.
.S
We continue with the dream catcher.
.
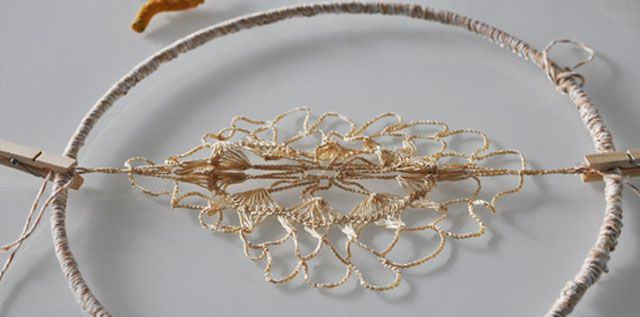
If you used a knot method to cover the hoop, make sure the braid is straight. Knot the two ends of the thread or leather, if you have done it with a leather cord, and do not cut them as they will be used to later hang the dreamcatcher.
Place the mat in the center of the hoop. Look at the size it has with respect to the hoop, and try to make it more or less proportionate.
.
Now you have to stretch the mat and tie it to the hoop. To make it look good, the tie must be done two by two and symmetrically. If we take the hands of a clock as an example, you would first have to stretch the 12 and 6 o’clock simultaneously. Then stretch at 9 and 3 o’clock. After 1 and 7 hours. And so on.
To carry out this step, you can help yourself with some clothespins.

.
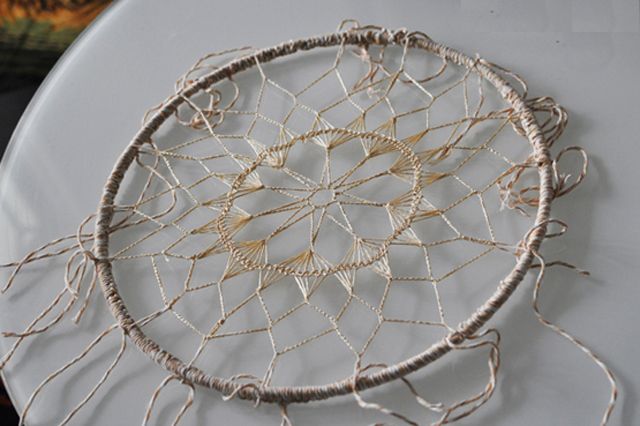
When you tie the ends, don’t cut the ends. Leave them hanging, since the decorations that we will put at the end will be tied to these ends.
.
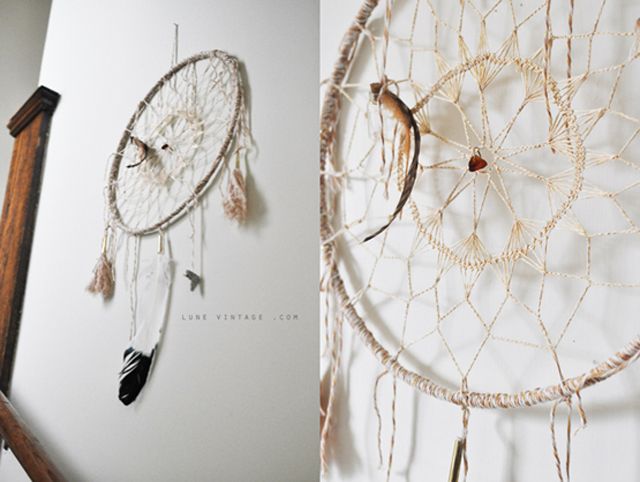
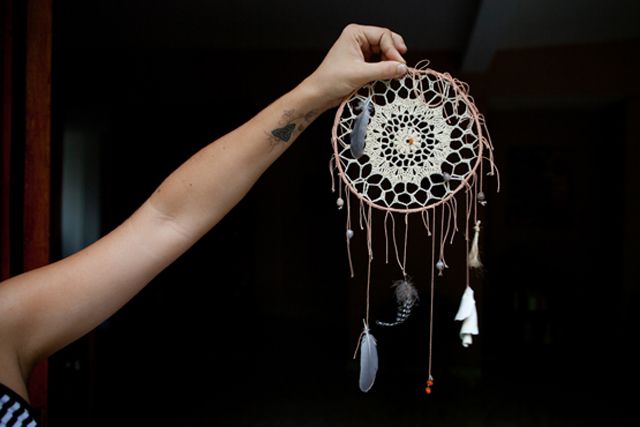
Finally, once all the ends of the rug have been firmly tied to the hoop, we are ready to decorate it.
Tips for creating a seamless look:
- Use wool with mixed fibers of a similar shade to the one used to make the rug, so that it matches well.
- If what is indicated in the previous point is not possible, we could consider for the finish, submerging the rug before putting the decorations in a dye. If you decide to do this, make sure you are using natural fibers of similar content, as synthetics require special acid dyes and heat methods, while natural fibers are dyed by immersing them in cold water.
.
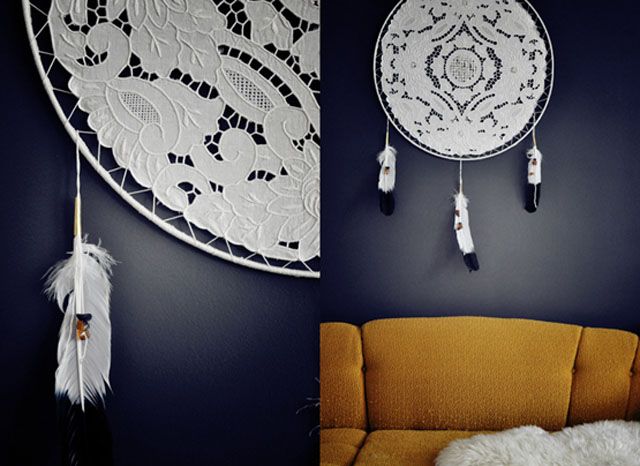
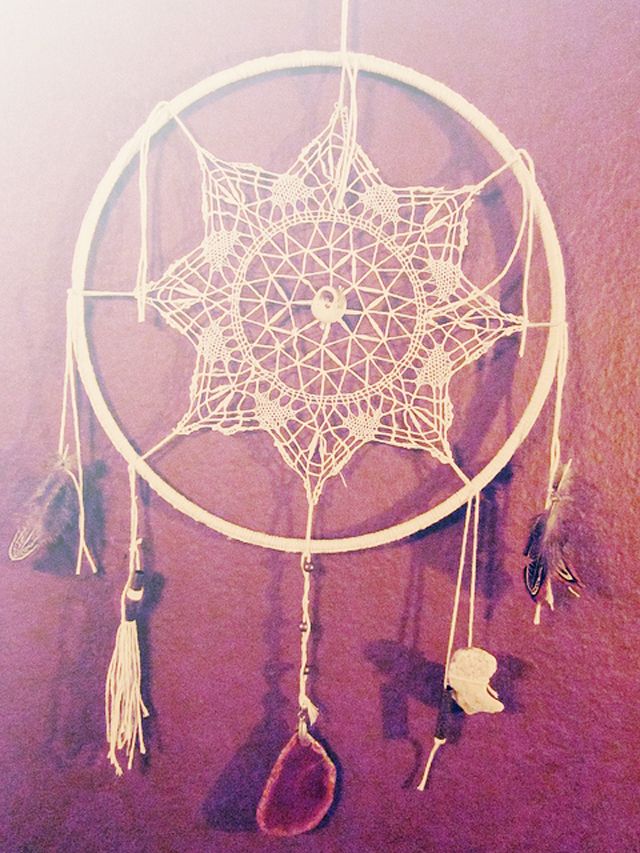
Here you can see another way to do it. This time it has been done with a beautiful piece of lace.
.
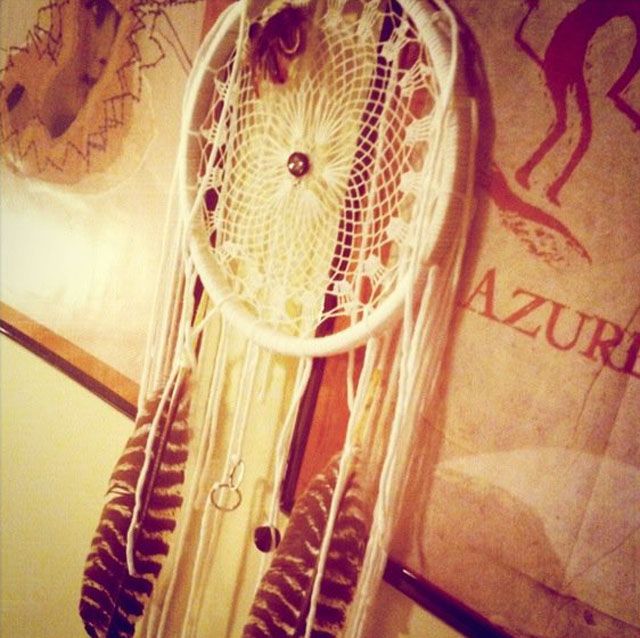
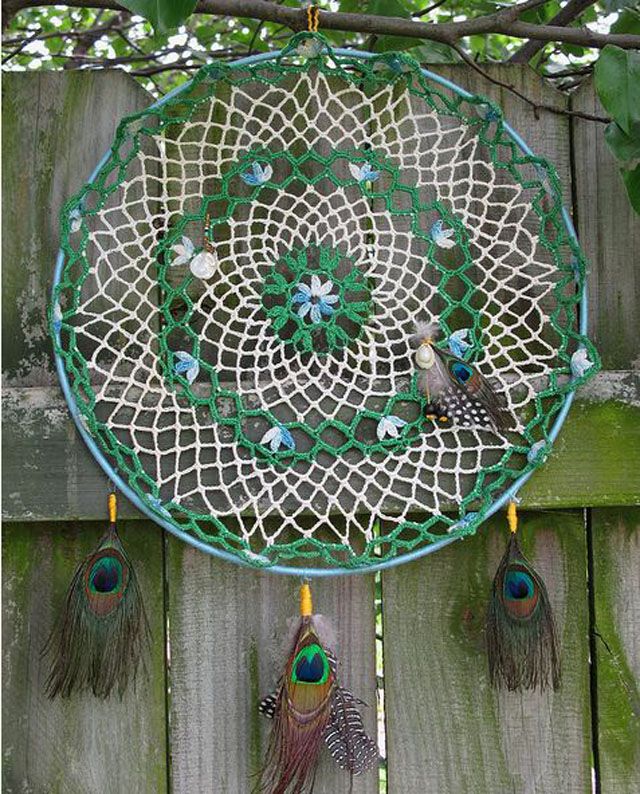
And others more:
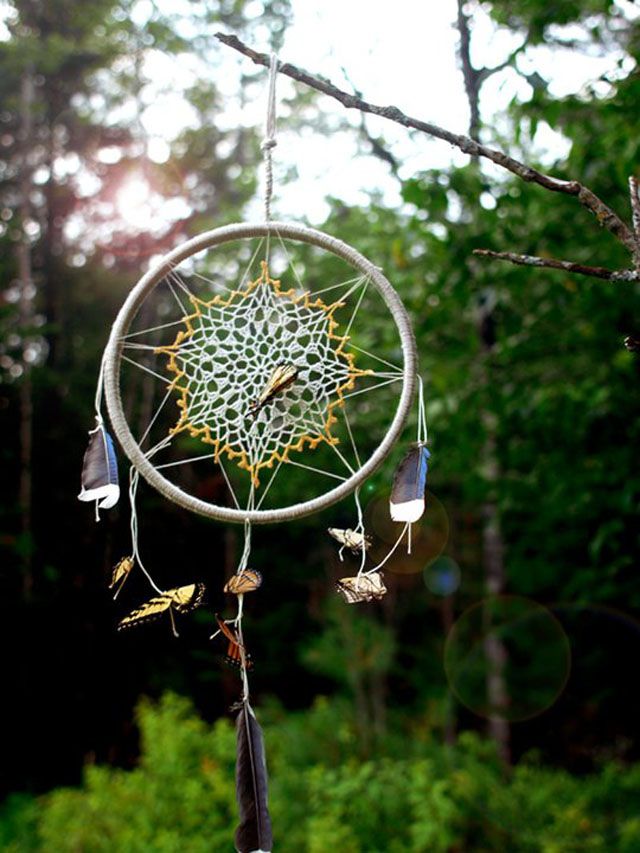 |
| This artist has used blue feathers and butterfly wings that he found on the forest floor as decorations. |
.
If you want to read more about the spiritual meaning of the traditional dreamcatcher and its origin, you can read its history here: http://www.dream-catchers.org/
Font: lunevintage.com
.
Did you like this tutorial? We hope so!
If you decide to make one, send us some photos, and tell us about your experience with this DIY.
.


