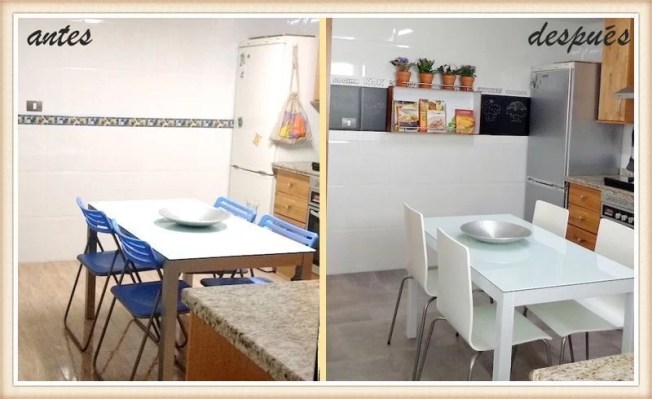
One of my resolutions for 2014 was update the kitchen without works and with a very tight budget. Our kitchen wasn’t too old-fashioned (it’s 8 years old) but it was a hodgepodge of things, the typical “we’ll do this” or “we’ll put this in.” It lacked uniformity, personality and also some functionality.
First you had to focus on what things had to change and what not. The cabinets and countertops are of quality and are as good as the first day, lucky because it is one of the most expensive investments when it comes to renovating a kitchen.

The appliances were all steel-colored except for the refrigerator, which was white. This is because when we moved we had only bought the fridge two years ago, so we thought we would change it when it broke down.
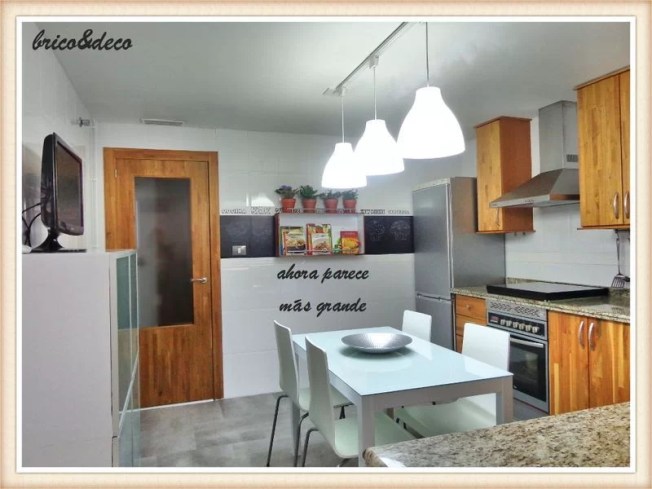
But as time passed and the fridge did not break down, what better way to change it than by tuning it. For it I bought vinyl from silver color and I lined ityou can see the result in the following photo, it is impressive how it turned out, it has the same tone as the stainless steel hood.
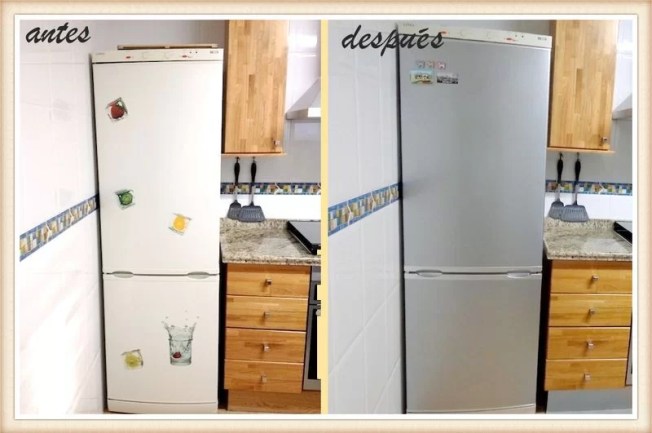
With the leftover vinyl I also covered the plinth under the furniture.
Then I put my hand on the valance. It wasn’t the typical kitchen with little berries, it wasn’t really horrible but it didn’t seem to fit in with the rest of the furniture. I also didn’t want to put any vinyl on it like I did with the bathroom, since there were several meters of border and I ran the risk of getting tired over the years (in the same way that had happened to me with the current one).
So the solution was paint it white, to match the rest of the tiles. For this I used special paint for tiles that I had left over from when I painted the bathroom and this is the final result after two coats of paint:

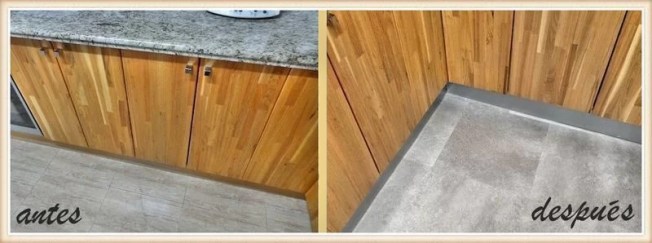
The next step was renovate the floor. The design of the floor never fascinated me, in addition the quality left a lot to be desired, in the short time of use that it had, several tiles had already been chipped.
I didn’t want to do any work (I’ve recently changed both bathrooms and I didn’t feel like swallowing more dust), so we installed self-adhesive vinyl tiles. After trying several colors, we opted for a medium gray, one of the shades that best suited the furniture and the countertop in beige and gray tones. In three hours we had new flooring in the kitchen:
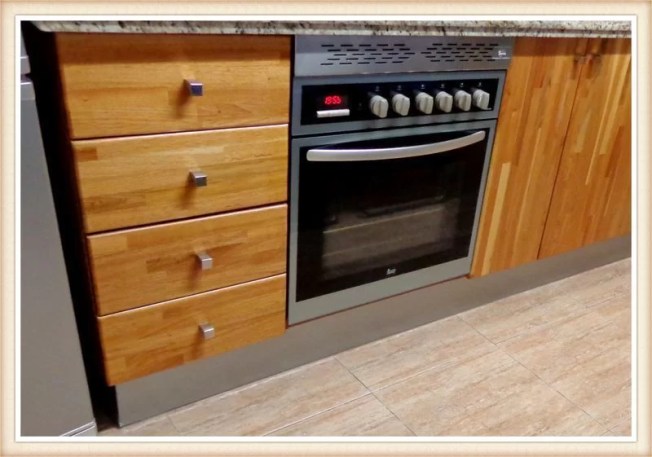
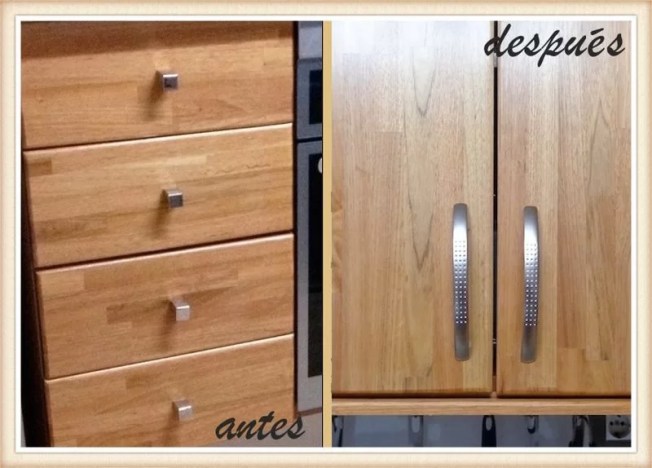
The kitchen cabinet pulls neither were saints of my devotion. They weren’t damaged but they were impractical, they got very dirty. They were also chromed when steel predominated in the kitchen, so I looked for elongated handles that I could grab from behind without staining the front (as happened with the previous ones).
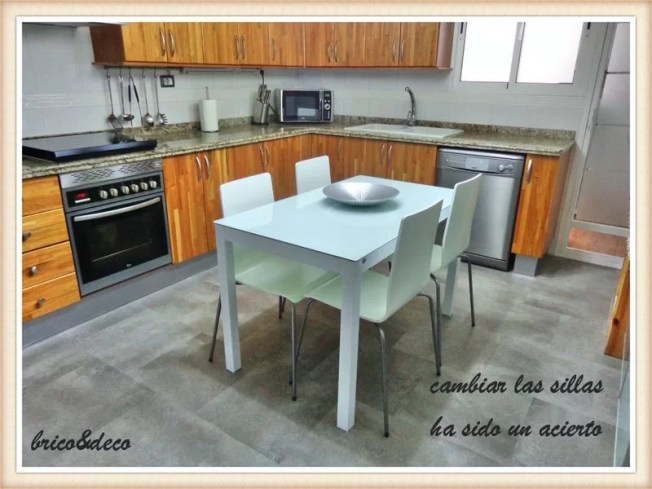
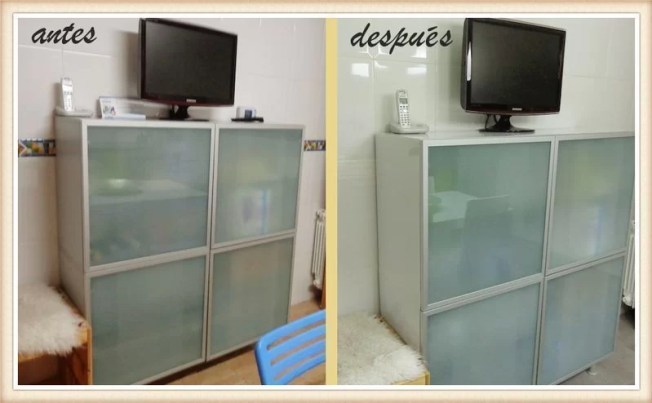
Back in the day we bought the showcase gray with the intention of matching the table, but the reality was that it did not marry one thing with the other. Perhaps it was because the cabinet had translucent glass and the table had white glass, the fact is that the set did not convince me so, seeing the good result that I had obtained with the refrigerator, I decided to cover the showcase with white vinylin this way it blended in with the wall and went more unnoticed.
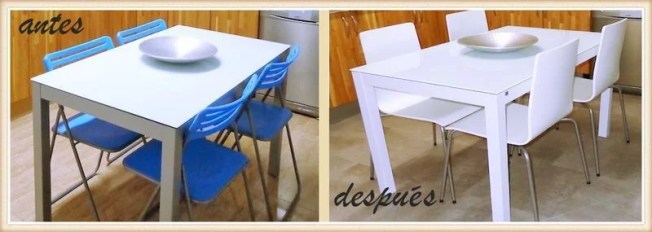
The next step was cover the legs of the table also with white vinyl and change the chairs for more current and white ones, giving a 180º turn to the dining area.
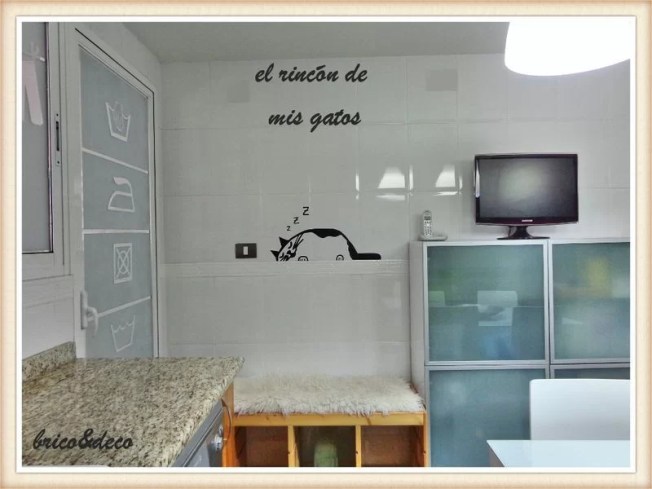
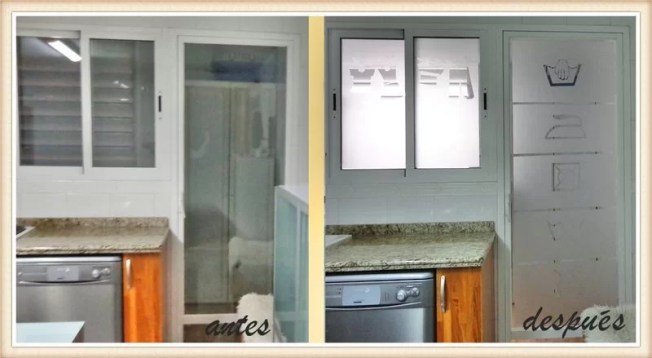
The window and door They give a laundry room that overlooks the outside. I never wanted to place a curtain that would prevent natural light from entering but it is also true that “the views” were not very attractive, so I bought translucent electrostatic vinyl and I cut out some figures that simulated the clothes hanging in the window and the washing symbols on the door. In this way, the laundry room was preserved from prying eyes without losing any natural light.
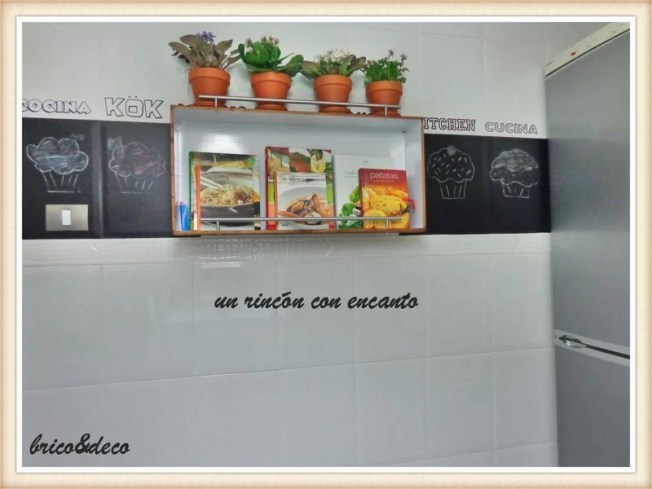
The wall where the entrance door is, which now had been so white and clear, seemed ideal to place a bookcase made with a wooden box to Placing cookbooks and some plants will bring life and joy to the kitchen. I also put a blackboard vinyl in which to write down the shopping list, something that I have been missing for a long time to save me trips to the supermarket. I finished off the top with a sticky paper border with the word “kitchen” written in different languages.
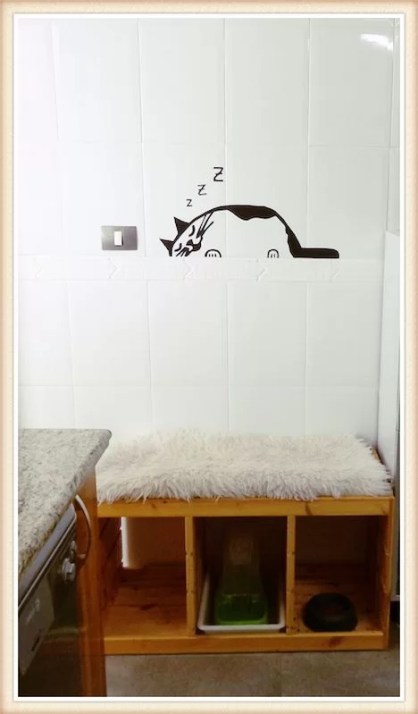
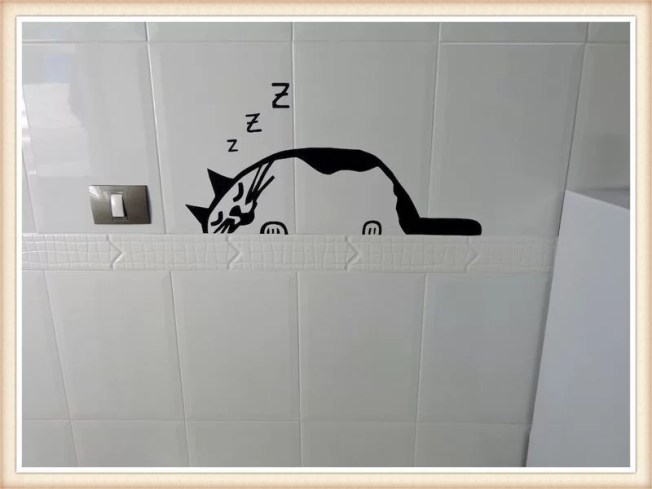
Since my cats also have their space in the kitchen, I took advantage of the blackboard vinyl that I had left over to make a nice sleepy cat above his bed.
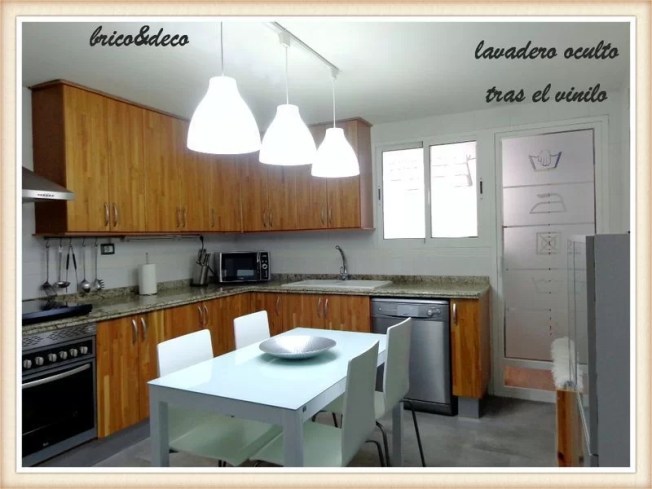
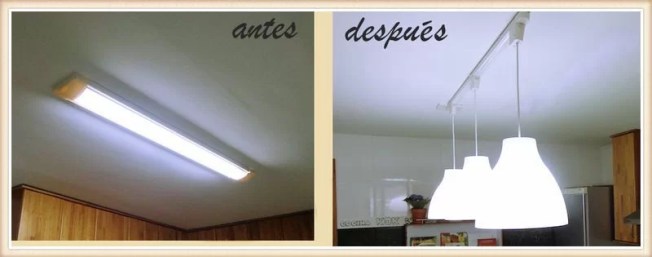
Finally we renew the illuminationfrom the typical fluorescent tube we move on to a system of rails and hanging lamps to which spotlights and extension rails can be added, depending on the lighting needs of the room.
SUMMARIZING
With a €500 bill we have managed to update the kitchen by doing the following:
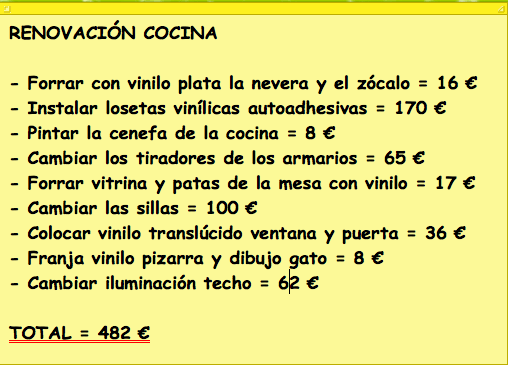
And to finish I leave you some photos of the whole set, what do you think of how it turned out?