There are many materials to which we can give a second chance. An infinite number of ideas circulate on the internet, many of them highly creative, to make crafts and even DIY with waste materials such as plastic or glass bottles, wooden pallets, cans, tires, and much more.
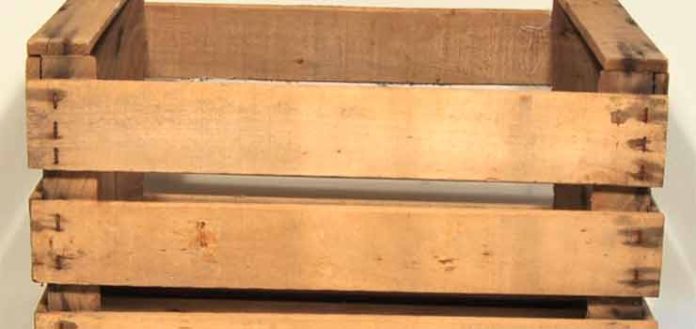
Wooden boxes, such as typical fruit boxes, also provide enormous creative possibilities. With a little idea, we can get decorative and, above all, functional objects.
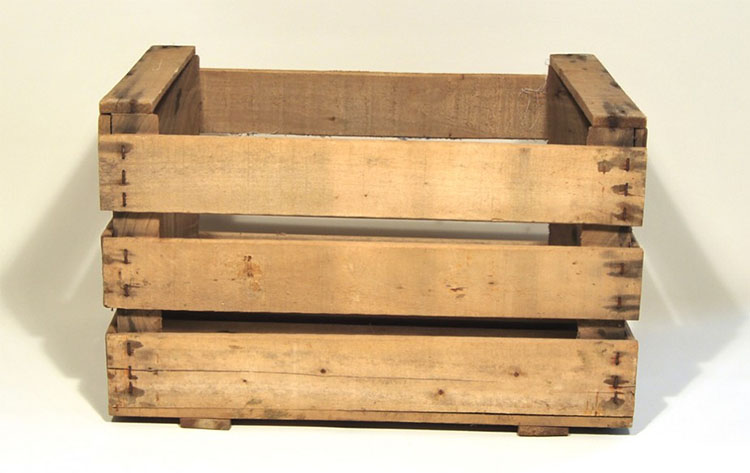
In addition, these types of boxes are very light and easy to work with. However, if you do not have the possibility of obtaining used wooden boxes, you always have the possibility of resorting to solidary wooden boxes, where you can buy them in different models and prices.
Despite the difficult days that are currently taking place, with the spread of Covid-19, in which we have no choice but to remain confined to our homes, we do not have to give up doing a little #DIYAtHome. On websites like BOdeshalom.org, you can buy the boxes that you like the most and they will be delivered to your home within a few days.
DIY ideas with wooden boxes
Here are just a few ideas, which can be carried out without the need for elaborate and expensive tools, and without the need for any specific knowledge of carpentry.
As I said, you can make side tables.
Side table with drawers, decorated with decoupage.
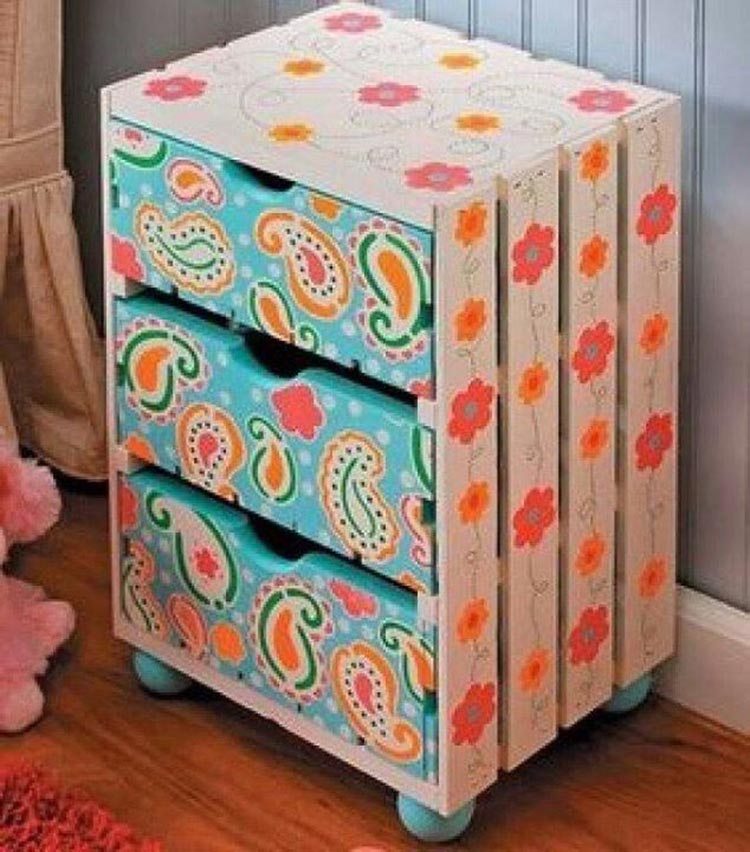
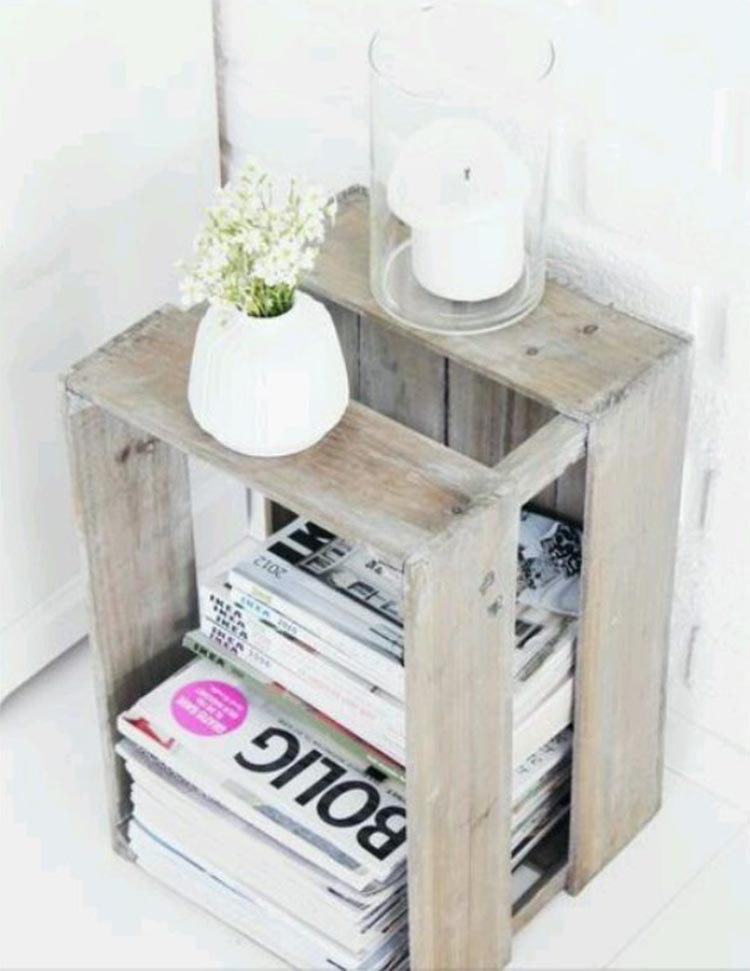
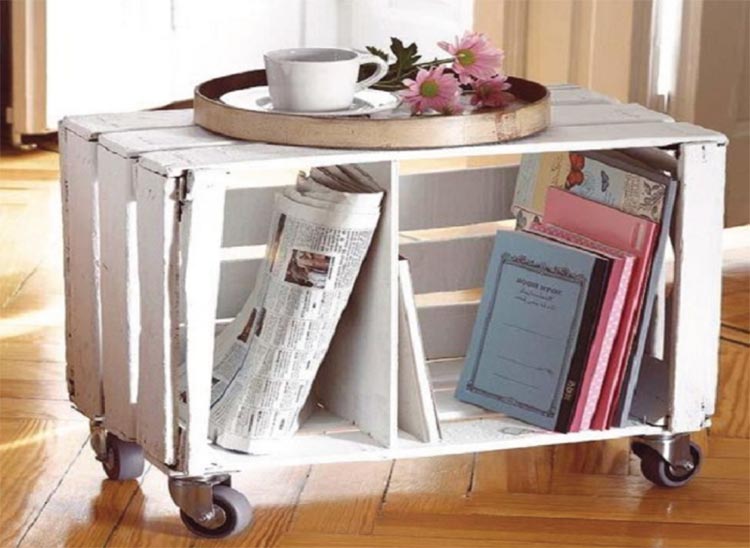
Table – magazine rack.
Minimalist style portable side table with wheels.
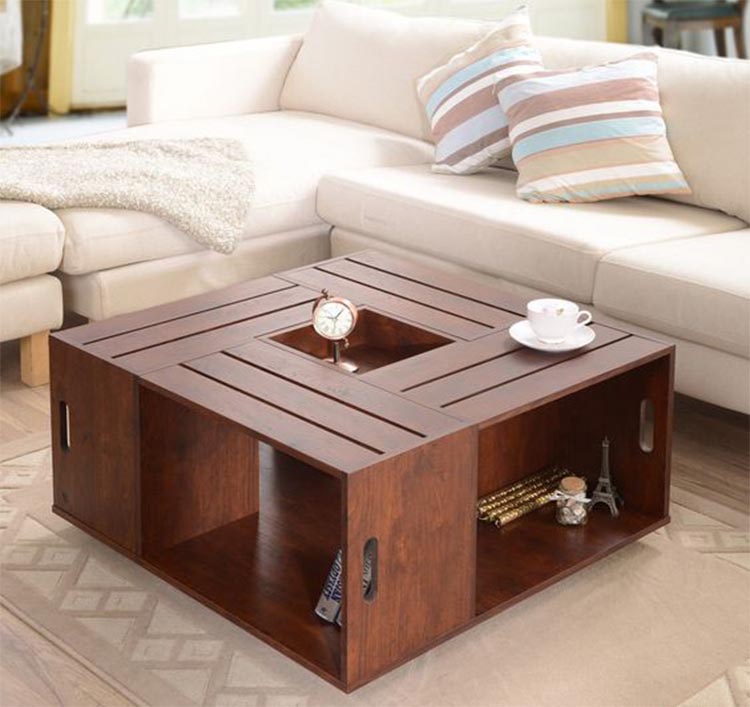
Really nice coffee tables…
It may seem incredible how a table made with fruit boxes can be as elegant as this one…
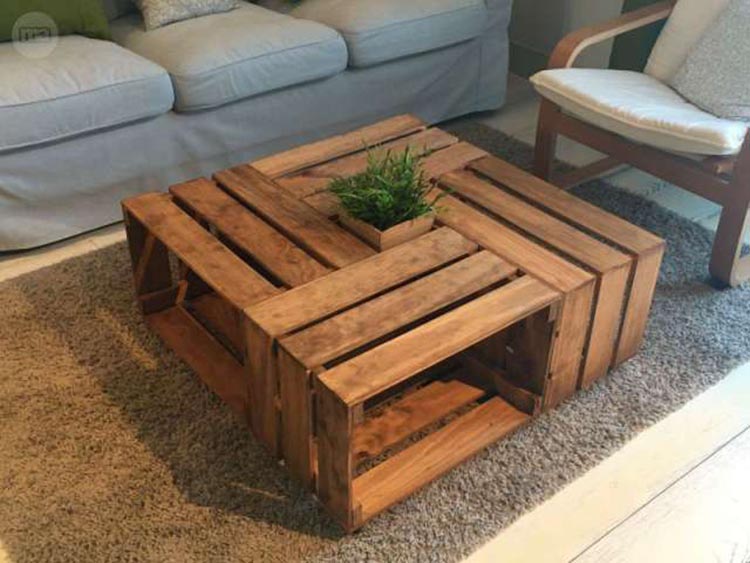
Somewhat more rustic style tables…
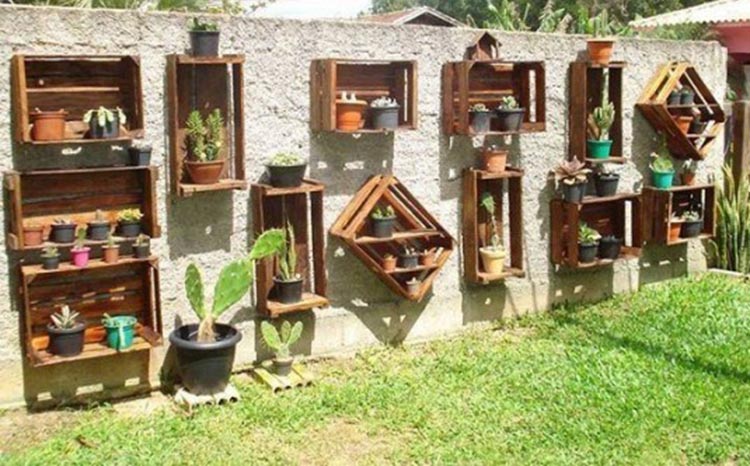
Decorative planters, like these hanging ones…
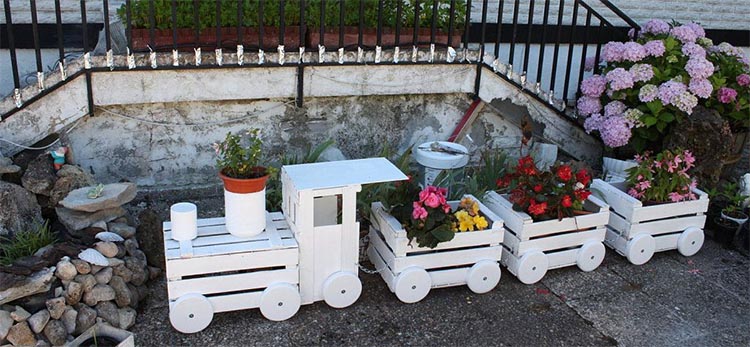
Fantasy decorative planters, like this one for train lovers,…
Barefoot women who, in turn, are shoemakers,…
Beds for pets such as cats or small dogs,…

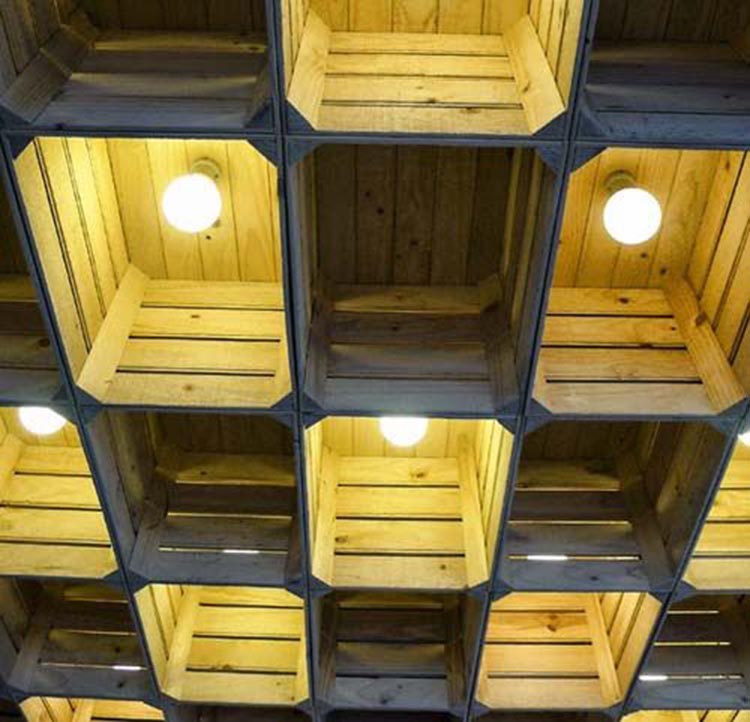
Ceiling lamps,…
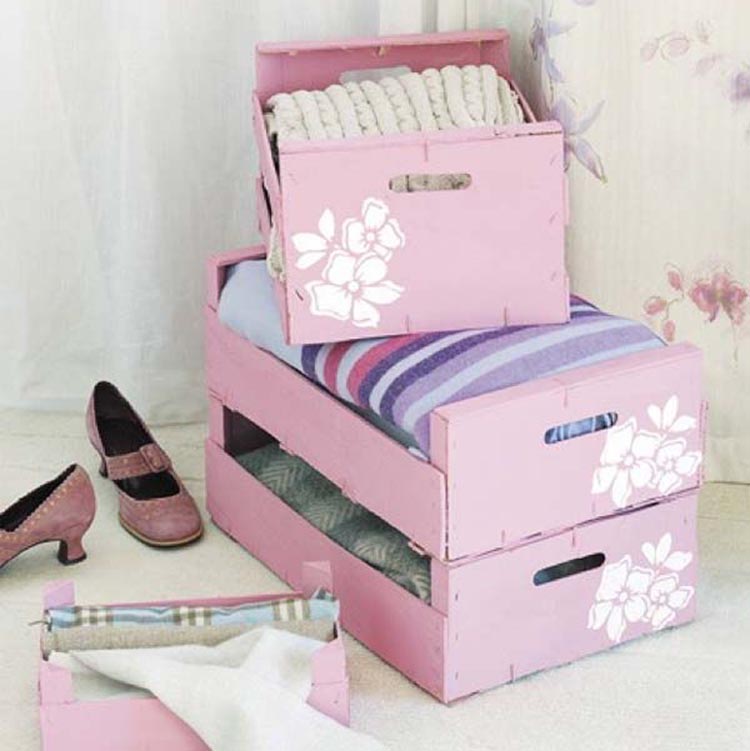
Organizers and drawers “keep everything”,…
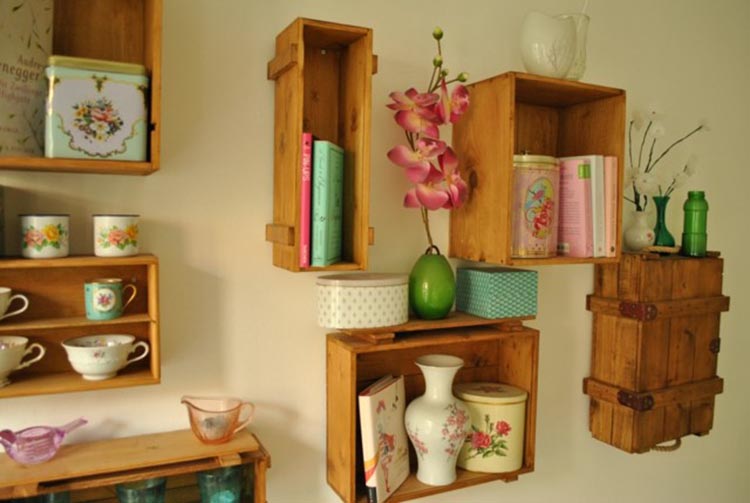
Hanging shelves,..
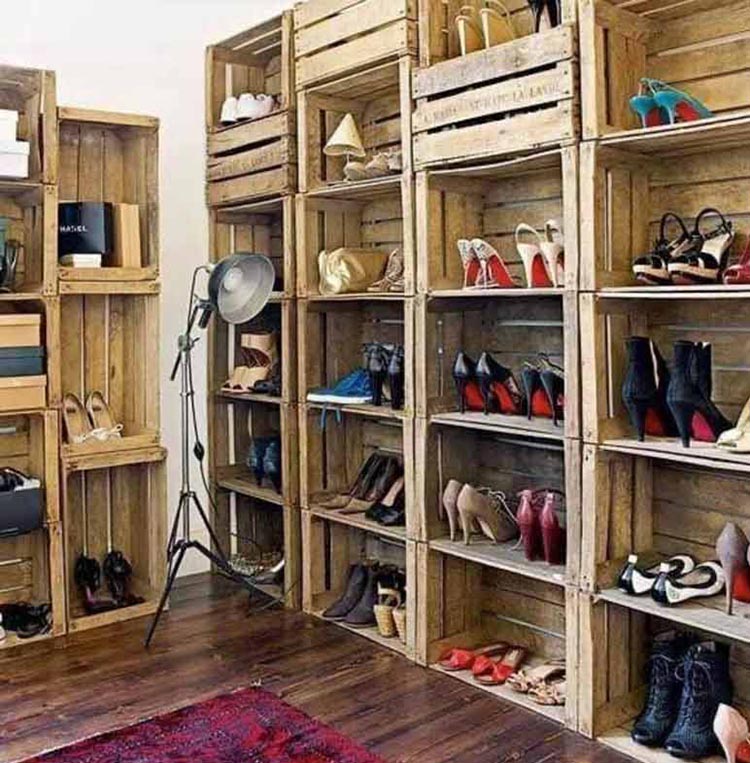
Shelves and organizers for dressing rooms,…
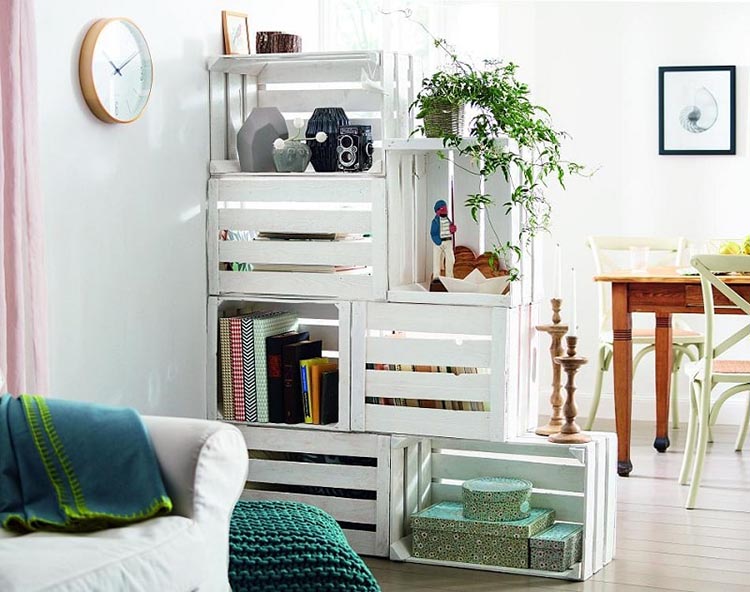
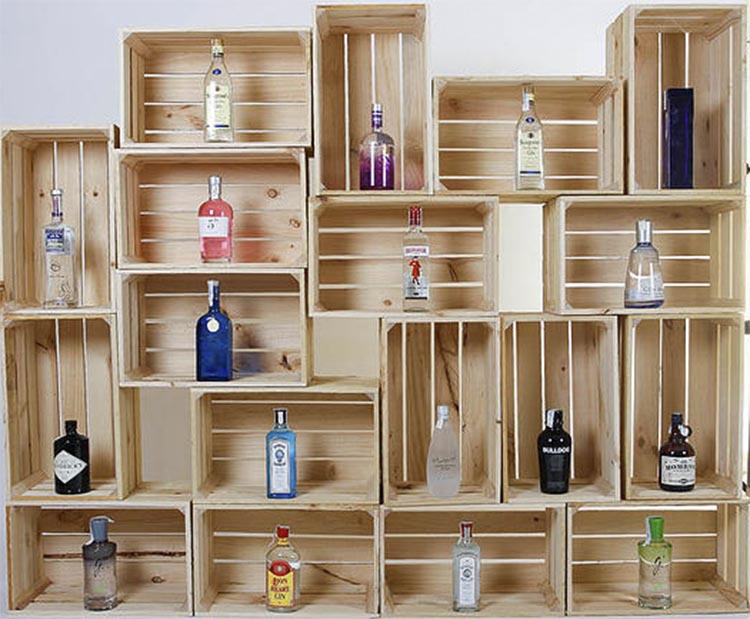
Independent shelves to separate environments,…
Fun attached shelves,…
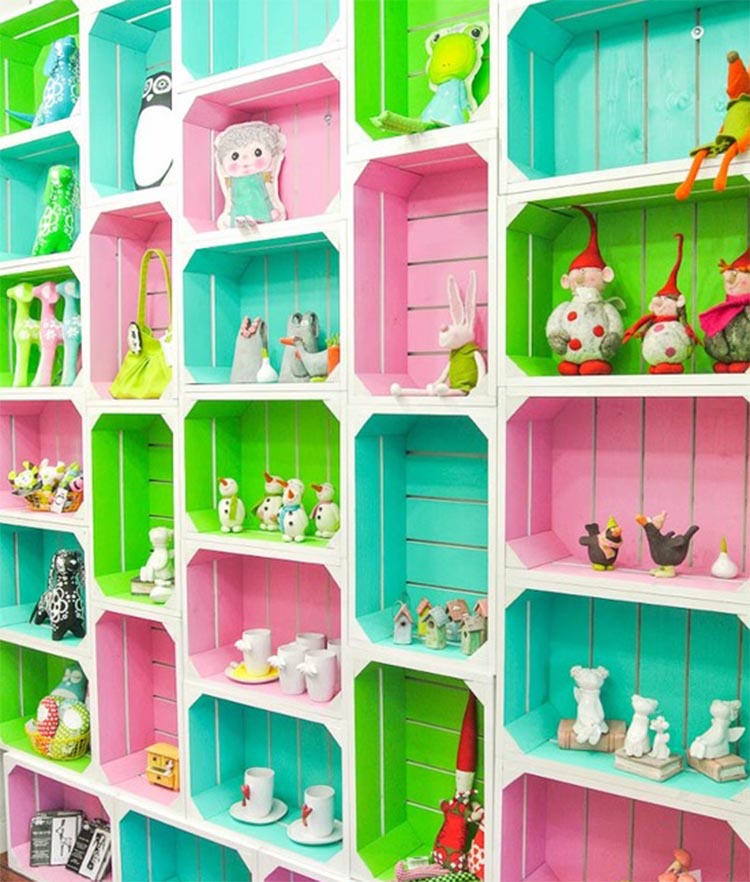
Or more classic attached shelves,…
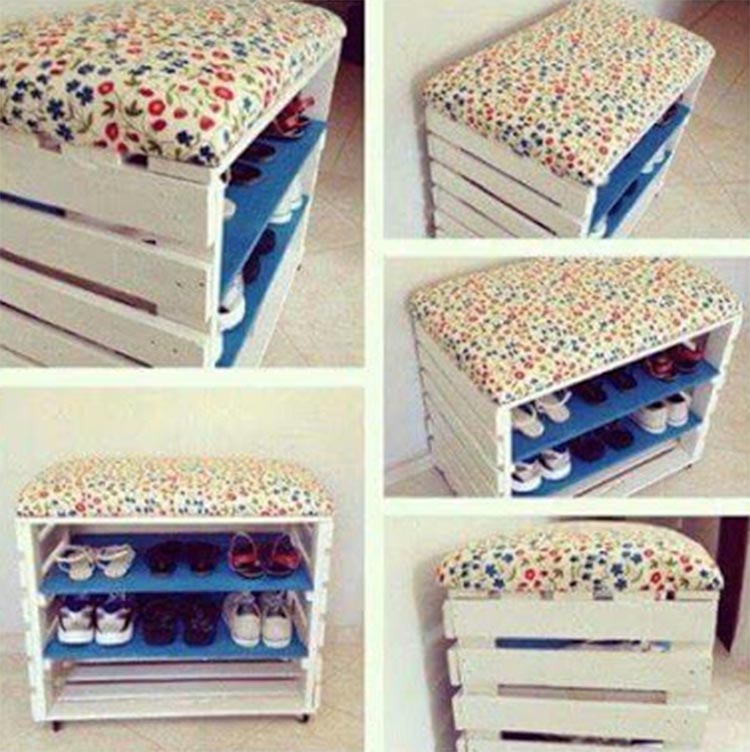
Shoe remover – shoemaker
As you have been able to observe, the proposals that I have just made to you are not too difficult, being quite simple to carry out.
Perhaps one of the least easy, which I’m not saying is difficult, may be the shoe remover. So, below I am going to leave you, in a more or less schematic way, the main steps to carry out the 2 in 1 shoe remover. Shoemaker and shoemaker at the same time.
Box Preparation
The first thing will be to give a soft hand of sandpaper. If the box is not recycled and is new, you can skip this step.
Then we remove the dust and sanding debris, and give a primer coat.
Why is it convenient to prime the part? With the primer you achieve two things:
On the one hand, the pores of the wood are closed. By having the pores closed, the wood will absorb considerably less paint, therefore needing less quantity.
And on the other hand, it provides a better grip for the final painting hand.
On the two sides, on the inside, we nail some little strips, which will hold the floors that we will see in the next step.

additional parts
Depending on the height of the wooden box, we will need two or three wooden planks. One or two to anchor them inside the box, making two or three equal separations.
And the other iron to make the upholstery of the seat.
It is important to make a correct and adjusted measurement.
giving color
We paint, with a brush or a roller, both the box and the interior separators.
At this point, both the color and the decoration are to the taste of each one.
seat upholstery
This step that, a priori may seem the most complicated, it is not.
We buy a piece of foam rubber to measure, that is not too light, that is, that is more or less dense. In this way, when we sit down it will not sink completely, supporting the weight well.
We stick it to the wooden board with a little glue.
Once the glue is dry, we put the board face down on the fabric on the floor or on a stable surface, with the foam rubber in contact with the latter. And we are stretching the fabric, at the same time that we staple it to the wood.
A gas nailer can be used for this operation, although it is not necessary. It can be done perfectly with a manual DIY stapler.
Finishing the shoe remover
We put the upholstered board on the box, and anchor it with a few screws from below.
The DIY project would now be finished and ready to use. However, as an option, we can put some wheels on each corner, which would simply be screwed on. In this way, we could comfortably move our shoe remover.
Have you ever done a DIY project with wooden boxes?
I would like you to share your experience with all of us.
.


