

Some take advantage of the holidays to rest (lucky ones!) and others to cross off pending work from their to-do list. If your list includes any projects that involve using the brush and roller, you can’t miss these 35 painting tricks They will be very useful throughout the process.
Painting is not one of the most complicated tasks in DIY jobs, but it still requires some practice to get a good finish and if we also know some painting tricks, we will make this task even easier. A few months ago I posted some roller painting tricks (you can see them in this link) and also for paint the ceiling like a pro (you can see the entry in this link), and along with these 35 painting tricks you are going to have more than enough weapons to embroider your next project.
1.- When we paint on a surface that is parallel to the ground (the plank of a table for example), paint drips can occur that are sometimes difficult to remove, to solve it place the surface you want to paint perpendicular to the groundin this way the drops will go to the floor and not on the furniture or object.
2.- If you are going to paint a window frame, another way to protect the glass without using masking tape is to moisten newspaper and adhere it to the glass. Like painter’s tape, you’ll need to peel it off once you finish painting the frame.
3.- Use a elastic band to drain the brush or brush before you start painting, you will avoid paint build-ups and drips without staining the can or surroundings.
4.- The doorknobs can be protect with aluminum foil or transparent film which is normally used to wrap food, thanks to its elasticity it will adapt like a glove to the knob or handle.
5.- Another way to protect knobs and handles without removing them consists of cover them with VaselineThis will prevent paint from sticking to them and they can be easily cleaned.
6.- Place the paint can on a plastic plate or Styrofoam tray of those used in the food industry, so you will avoid stains and drops of paint that usually occur around.
7.- If when removing the bodybuilder tape you see that the paint has dried and you are lifting it, before continuing to remove the tape outline the edge with a cutterin this way you will be able to separate the painting without dragging it.
8.- Protect hanging lamps when you go to paint the ceiling by loosening them and covering them with a plastic bagyou will not only avoid paint stains around them but also splashes.
9.- Before starting to paint spread your skin with a generous layer of body butterin this way you will more easily remove stains and paint splashes on your skin.
10.- You can easily remove the paint splatters in hair with baby oil.
11.- The paint stains on glass they are eliminated by moistening them with alcohol and passing a scraper for vitroceramics.
12.- To delete dry paint stains on fabric leave it to soak for several hours, then rub the stain with white spirit or turpentine and wash with detergent.
13. In the case of dried paint stains on woodthey can be removed by wiping with a steel wool moistened with an oven cleaner.
14.- For remove freshly painted smell In a room place a bowl with water, vinegar and some slices of onion. Keep the room closed and remove the bowl the next day.
15.- Some enamels have a quite strong smellto reduce its intensity, mix a tablespoon of vanilla extract in the paint can.
16.- If the layer of paint is too thick, you can correct it sanding the surface once the paint has completely dried (do not miss this quick sanding guide to know what type of sandpaper to use on each occasion).
17.- Before choose a paint color keep in mind that artificial light darkens the color and that in daylight it looks lighter.
18.- We must also keep in mind that the freshly painted color it may be darker than when fully dry. This usually happens in the case of low-quality, lime-based paints. With plastic paints the opposite happens.
On the other hand, it must be taken into account that increasing the tone is not only darkening, since in some cases it can be lightened. It will depend on the ability of the paint to reflect the light of the hue in question. (NOTE: Edited according to Toni’s comment).
19.- So that your eyes can appreciate the color with greater definitionfirst fix your gaze for a couple of minutes on a white surface.
20.- Why the white paint does not end up yellowingmix a drop of black paint in the can.
21.- Do you always want to know the exact amount of paint you will need to paint a room? Once you have painted it, write down with a permanent marker on the back of the switch trim (the one that is hidden) the amount you used, so when you paint it again you will only have to remove the switch plate to know the amount of paint what you have to buy
22.- For paint touch-ups use Cotton swabs instead of a brush, they are more precise and do not leave marks.
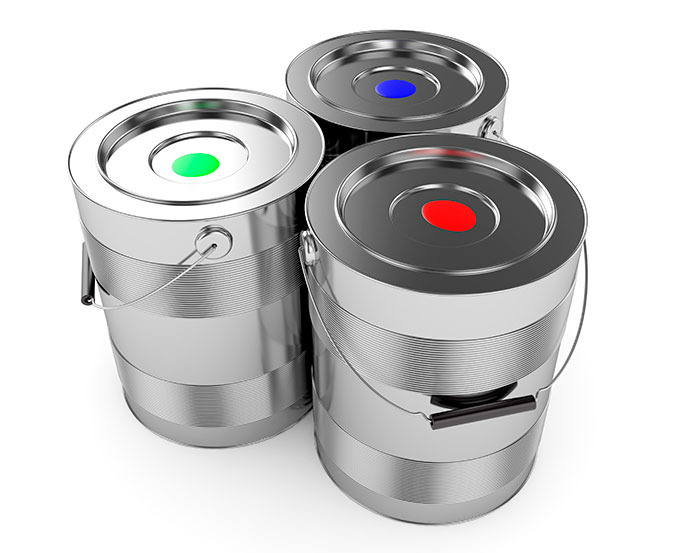
23.- Do you want to know how much paint you have left in the can without having to open it? Before closing it make a mark on the outside with a permanent marker to know how much content is left.
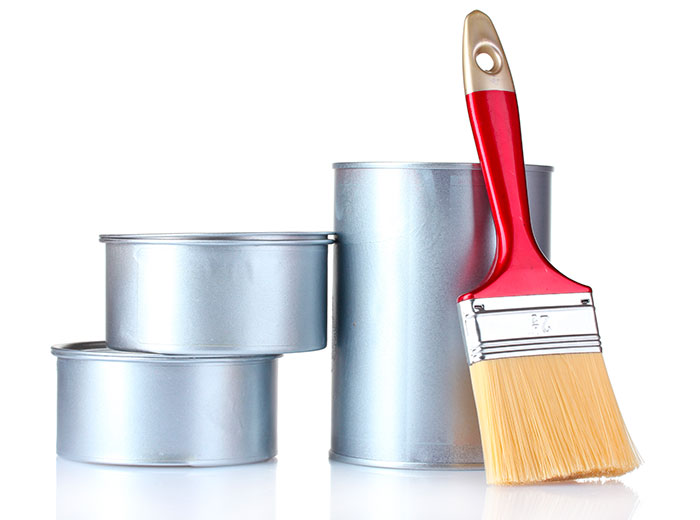
24.- Use brushes and brushes with polyester bristles if you are going to paint with acrylic or water-based paints since the natural bristles are more damaged with this type of paint.
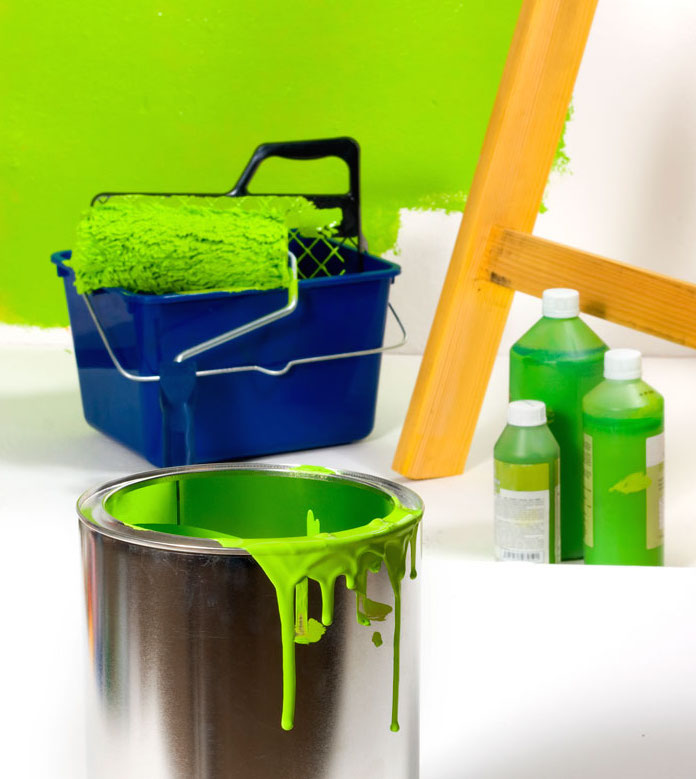
25.- The paint bucket cleaning It will be much easier if you put a plastic bag inside it before pouring the paint. If you are using a tray, you can cover it with aluminum foil.
26.- For clean the brush or brush with solvent Without getting your hands dirty, pour the solvent into a plastic cup and let the brush soak in it. Repeat the operation, changing the diluent in the glass until it is completely clean.
27.- If you have done the previous trick, do not throw away the thinner that you have used to clean the brushes! You can reuse as paint thinner.
28.- Some diluents evaporate into the airto avoid it, make a lid with cardboard to the container in which you are going to leave the brushes, leave some slots to pass the handle of the brush or brush and place masking tape around the neck.
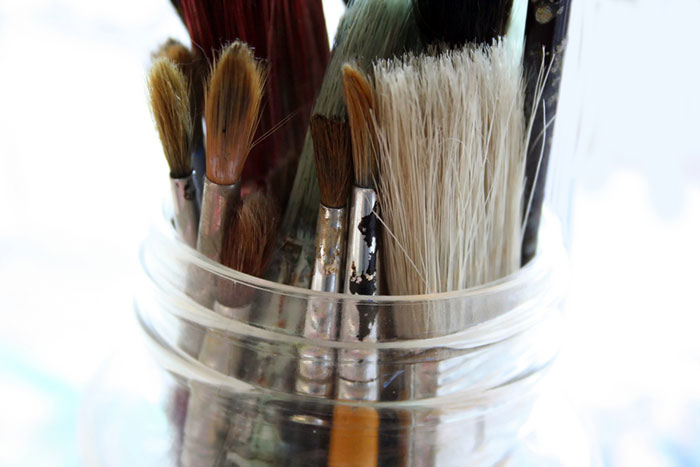
29.- To retrieve a brush or paintbrush that has hardened because there are remains of varnish or paint, leave it to soak in solvent and then rinse it with hot water and dishwasher.
30.- If the brush or paintbrush bristles have curled you can make them return to their original shape by rubbing them with
tempered linseed oil.

31.- Before clean a roller slide it several times on newspaper, in this way the paint will be absorbed and its cleaning will be less cumbersome.
32.- Once you have cleaned your brushes, brushes or roller, before storing them moisten them in a solution of water with a few drops of fabric softener, you will get that when you use them again they are smooth and like new.
33.- If you are not going to use the brush in a short period of time and you do not want the paint to dry on it, wrap it with aluminum foil or plastic wrap. If you see that it will take longer to use it than you originally thought, put it in the freezer.
33.- Prevents the formation of a dry coat over paint keeping the can upside down, with the opening facing down, so that the solvent does not evaporate. Of course, make sure that the can is well closed.
35.- If your paint has lumps you can filter the can through a nylon stocking. If you have to filter a large amount of paint (a bucket) you can also strain it through a mosquito net that is usually placed on windows.
What do you think of these? 35 painting tricks? Did you know them all? Do you know of any more? They will surely be very useful for your next painting job as they cover the entire process, from the moment you get down to work to the problems that may have arisen once it is finished.
If you liked this post, you can see many more DIY tricks and ideas at .
Images: Shutterstock.com, do not reuse


