

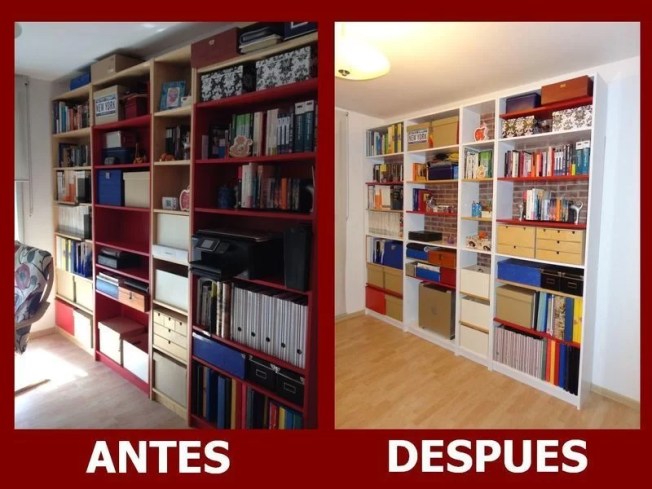
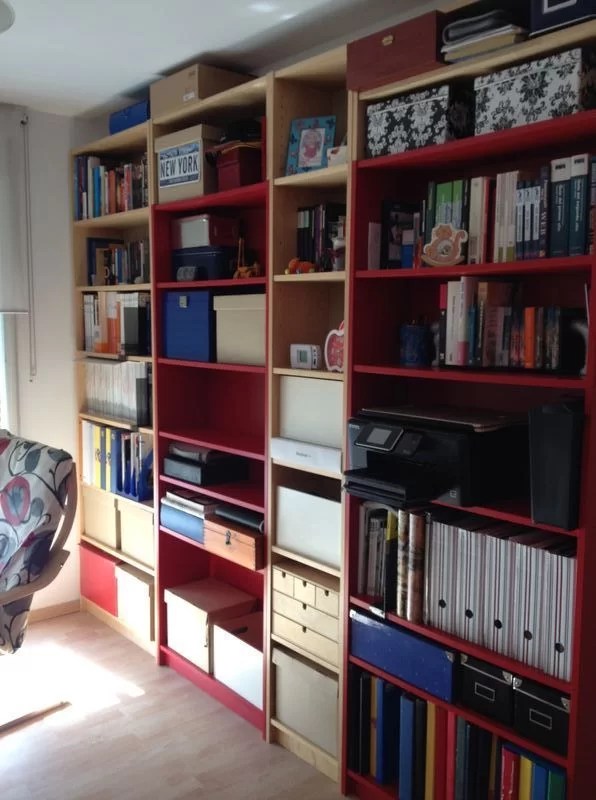
Years ago I acquired a few modules of the emblematic Ikea Billy Bookcase for the room we use as an office. I started with a couple of birch bookcases and as they got smaller we expanded the family to two more red ones.
At first this composition was fun for me but with time everything tires, I wanted renovate the bookstores but I didn’t want to go through the expense of changing them for others, besides they were as new as the first day and it was a shame to just throw them away.
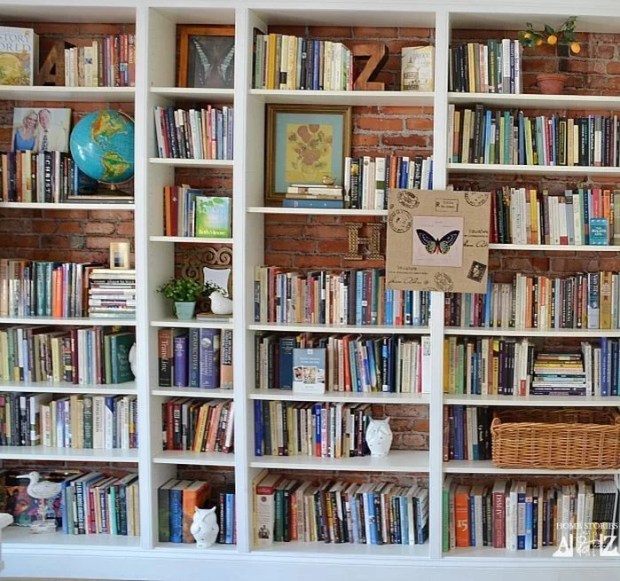
One day surfing the net I came across the blog Home Stories A to Z, specifically with this hack of the famous Ikea Billy bookstore. The tuning consisted of removing the rear so that the brick wall in the background could be seen. In addition, some moldings were placed both in the upper part, as in the lower part and in the separations between bookcases. The end result I simply loved.
So I got to work and bought the following materials:
- Special glaze for tilesabout €14 for a 750-gram jar (I used 2.5 jars for the entire library).
- 0 pore foam rollersThere are various prices but they are usually around €2/3. It is better to buy several because between coats they dry and then they do not paint as well.
- Imitation brick wallpaperthe model I bought cost me €10 (53 cm x 10 meter roll) and I used a roll and a half.
- A tail pack (about €4).
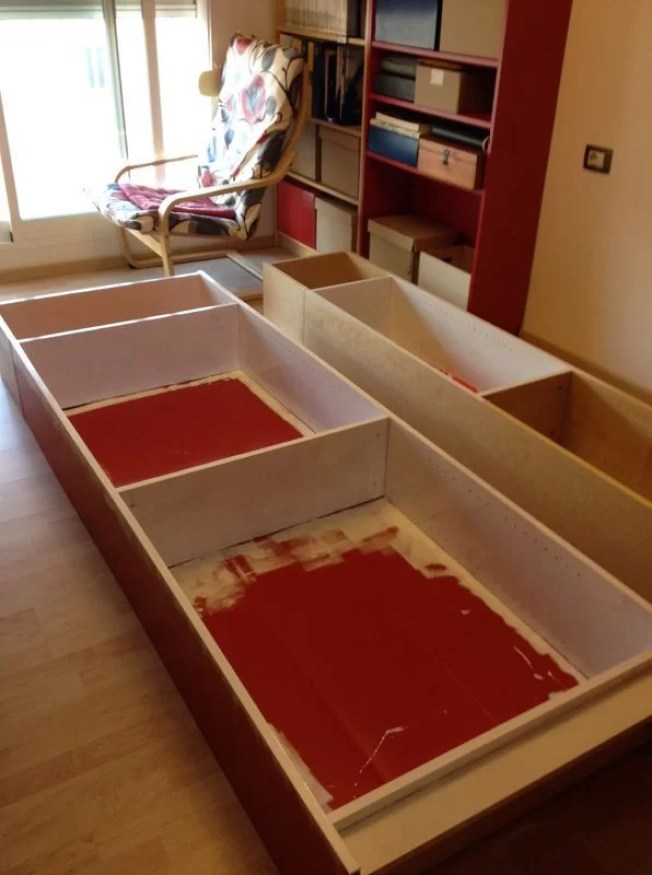
The next step was to empty the library and clean it well with rubbing alcohol and thus improve the adhesion of the paint.
Then I gave him a hand special glaze for tileswithout previously sanding or applying a primer since the composition of this type of paint makes it adhere directly to the surface.
The idea of paint a melamine cabinet with special paint for tiles It was a bit risky, I didn’t know how it was going to turn out but I thought that if this type of paint was fixed well to the tile, in principle it shouldn’t cause problems when applying it to other types of surfaces that also need a primer.
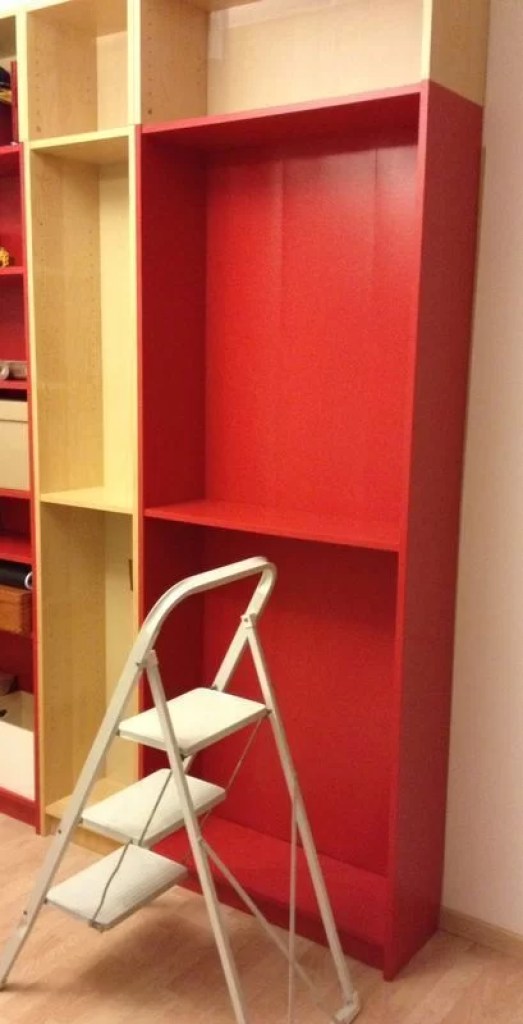
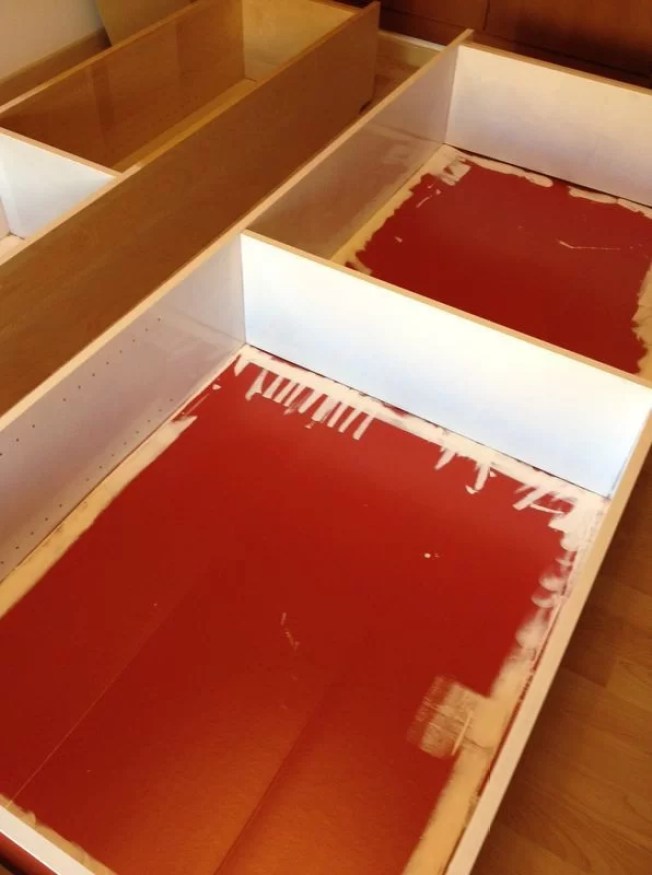
As you can see in the previous photo, with the first coat you could still see the background color of the bookcase (especially the red one), but with a second coat it was perfect. It is very important to use a 0 pore foam roller to achieve that smooth finish and similar to the high gloss finish of other Ikea bookcases (for example the Expedit).

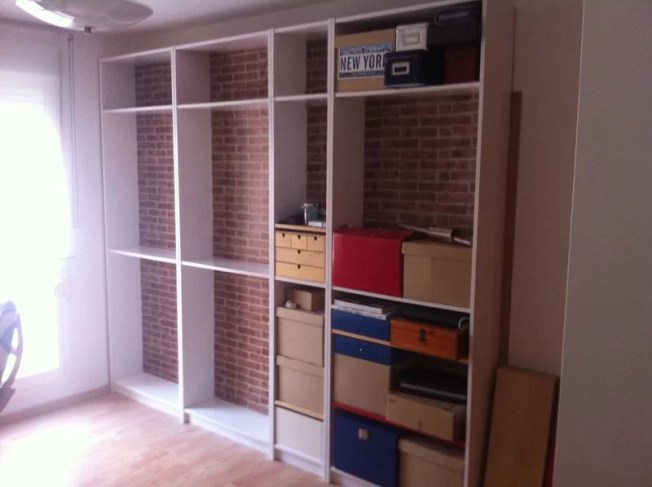
Once the two coats of paint had dried, I covered the back with the wallpaper.

I was hesitating whether or not to paint the shelves but finally I didn’t because this way it seemed to me a more urban bookstore compared to the other more classic version.
I always say that it is very important to respect the drying times indicated by the manufacturer but in this case even more so since this type of enamel dries from the outside in, that is, after a few hours it seems dry to the touch but the layer that is in contact with the surface has not yet reached its maximum adherence and we can lift the painting when placing the shelves.
For space reasons, I disassembled and painted the modules two by two. In the following photo you can see the entire assembly painted and assembled in the absence of placing the shelves, books, boxes, etc.
And in this photo we see the final result.
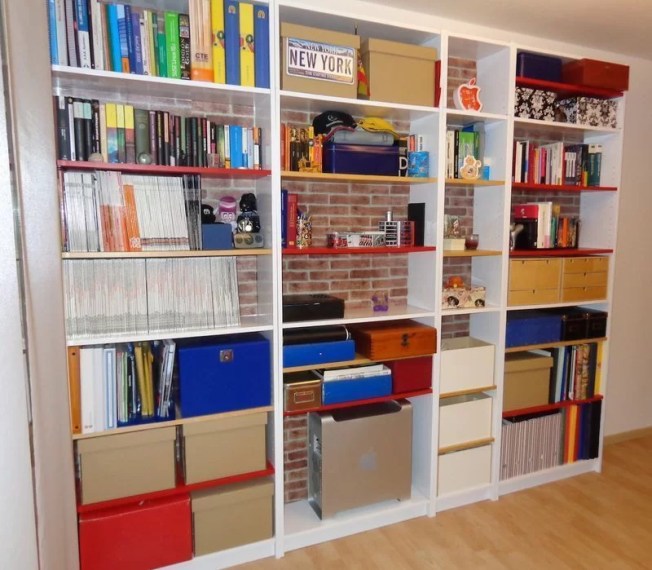
For about €60 we have given a 180º turn to our Ikea Billy bookcase, don’t you think?
UPDATE: I recommend that you also read my experience and advice after painting melamine furniture with tile paint.


