

At first, the change of shower tray for another It may seem like a reform that does not bring much novelty to the bathroom. However, combining it with other changes that do not require works, a complete renovation is obtained.
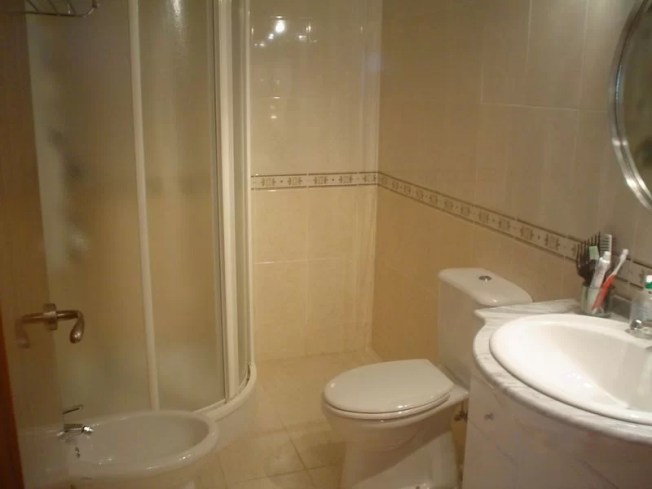
Our home was built in 2006. The bathroom had a corner shower tray, acrylic screen, sink cabinet, toilet and bidet. The materials left a lot to be desired and it became noticeable with normal use:
- The water was leaking from the shower.
- We had to change the toilet tank several times.
- The bidet faucet had a leak and the water was falling to the floor below.
- Some tiles had deteriorated.
On the other hand, aesthetically the cladding and floor was not one of those that harmed the eye but we were not too excited either. For all these reasons, we decided to make the following changes:
- Update siding and flooring.
- Change the corner shower tray for another that would occupy the entire width of the wall.
- Replace the sink cabinet with a more current one.
- Eliminate the bidet to gain storage space.
- Renew the toilet for another of higher quality.
Paint the tiles vs change the coating
Our intention was to do as little work as possible. For this reason, to modernize the cladding we opted for paint the tiles with a special glaze for tiles and replace it in the shower part. The reasons that led us to this were:
- I was especially worried about the lime in the water, since in the eastern area we are well served. It was not clear to me if over time it would show too much on the paint or if it would be possible to clean it well.
- We did not have tiles of the same size to replace those that were damaged when removing the old screen and shower tray.
- The tiles that we were going to use to renovate the floor could also be used as cladding. In addition, we had enough tiles for it.
Renew the coating of the shower area
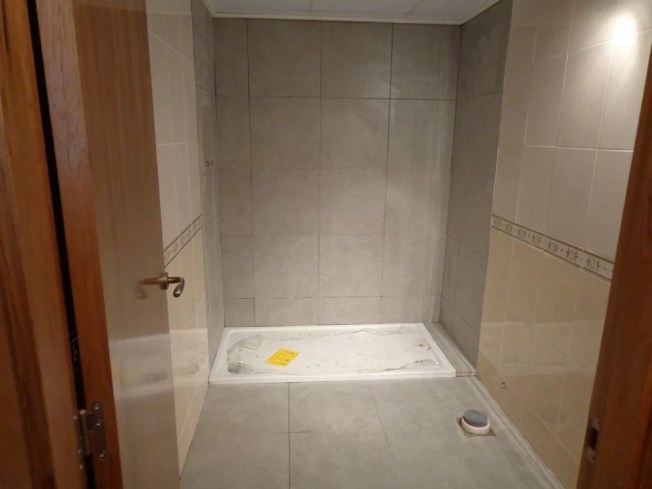
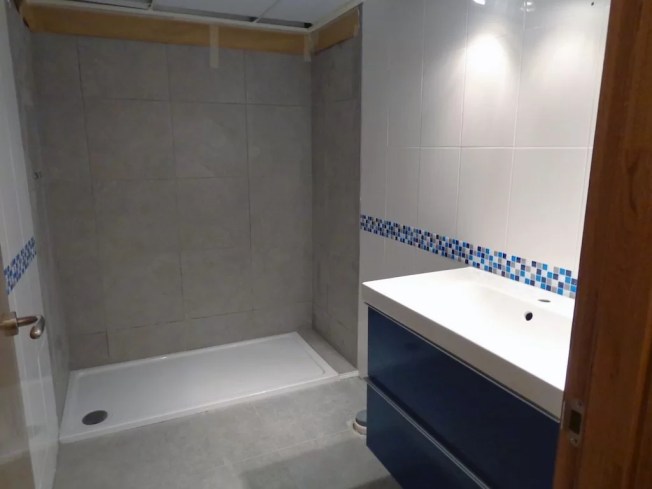
The decision to change the tiles in the shower area required some work. Since the floor was also going to be laid, it only extended the execution of the project a few more hours.
After dismantling the entire toilet, chipping masons, clouds of dust and footprints, our new bathroom began to take shape.
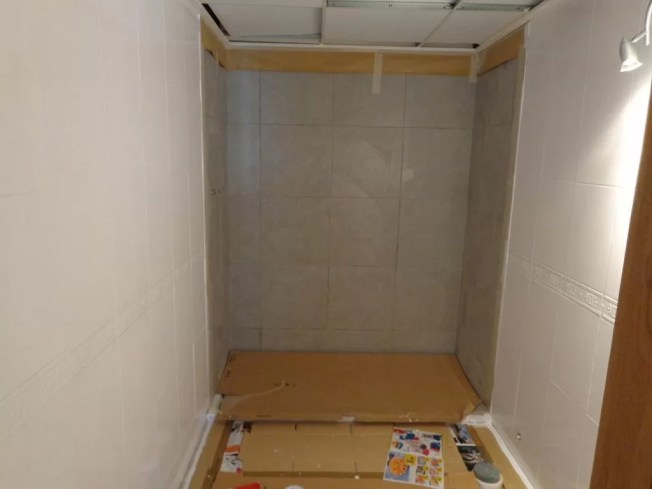
paint the tiles
The next step was paint the old coating with special enamel for tiles. To do this, we cleaned the entire surface with alcohol to burn and protected with masking tape and cardboard what we did not want to stain.
In the following Guide to Painting Tiles you will find the detailed step by step, as well as tips based on my own experience:

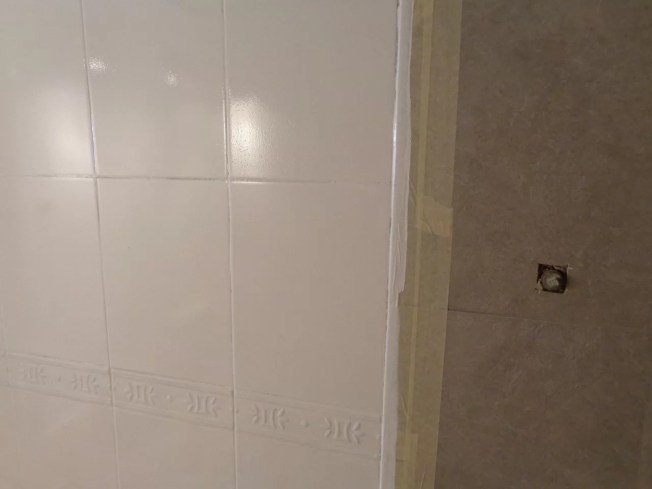
Finally, two coats of paint were necessary to make it uniform. We gave the second layer 6 hours after giving the first (as recommended by the manufacturer). In 4 hours it was already dry and the finish can be seen in the following image:
How to hide an embossed border
To hide the embossed border, we placed a self adhesive vinyl border. This border simulated the tile and also had a little relief, so it completely hid the previous one.
In the following images you can see how it was once painted and with the self-adhesive border:
Sanitary, furniture and accessories
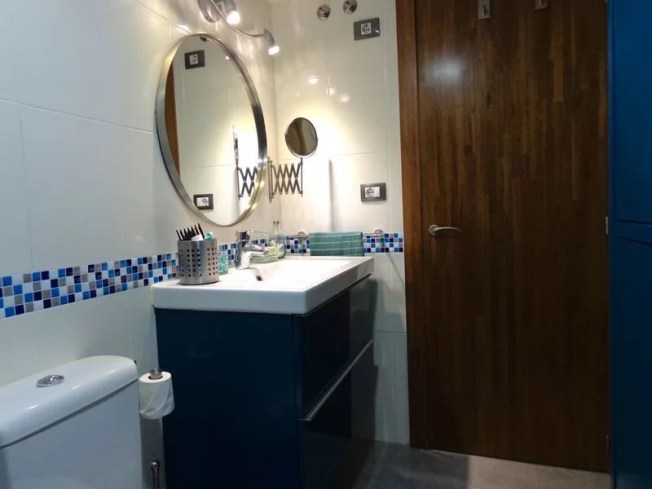
Next, we assembled the porcelain sink and the turquoise cabinet, which combined perfectly with the vinyl border. We chose a suspended piece of furniture to visually enlarge the bathroom space.
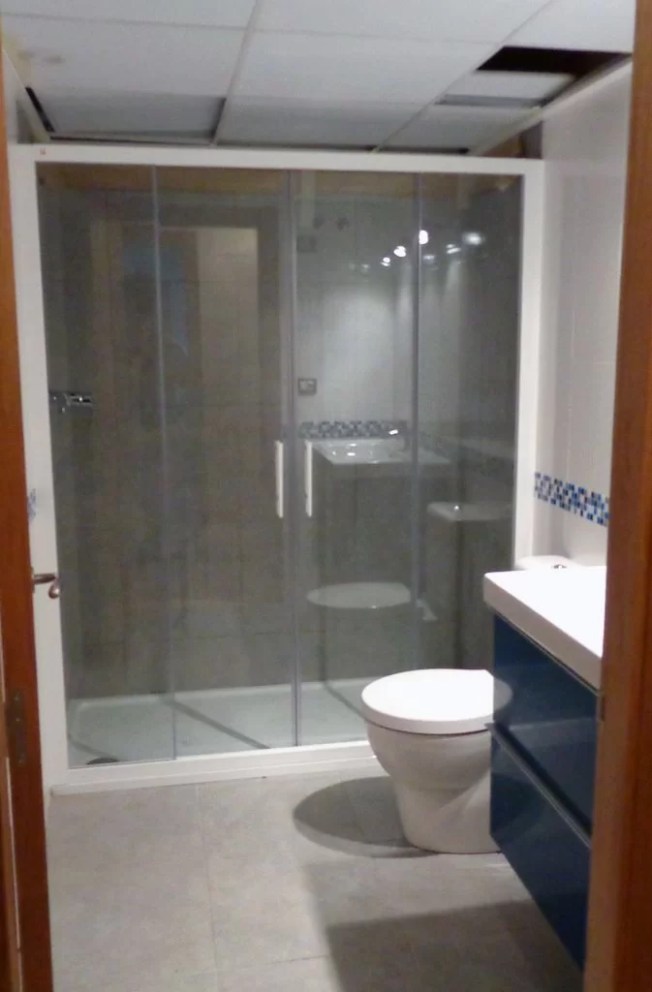
Then it was time to install the new toilet and shower screen. We chose a tempered glass shower enclosure with 4 sliding doors and a central opening. In this way we ensured a comfortable and unobstructed entrance given the proximity of the toilet.
In the place where the bidet used to be, we placed the cabinet that I customized with spray paint. Although the color was not exactly the same as that of the washbasin cabinet, it was from the same range and matched the vinyl border.
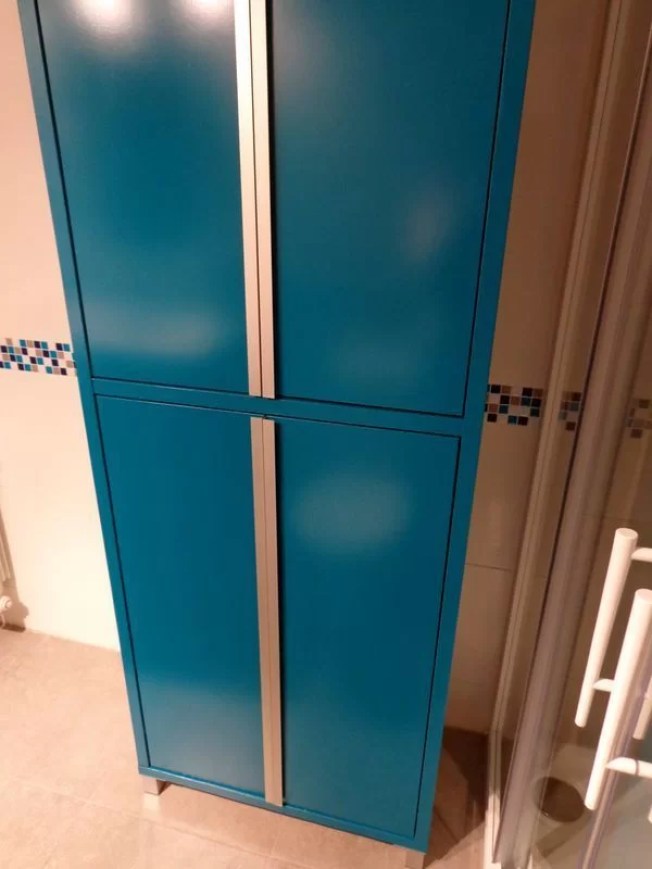
On the other hand, as the cabinet was 40 cm deep and protruded quite a bit from the wall, I decided to decorate the side with some wooden letters. To make these letters I drew them on thin birch wood, cut them with a fret saw and painted them white.
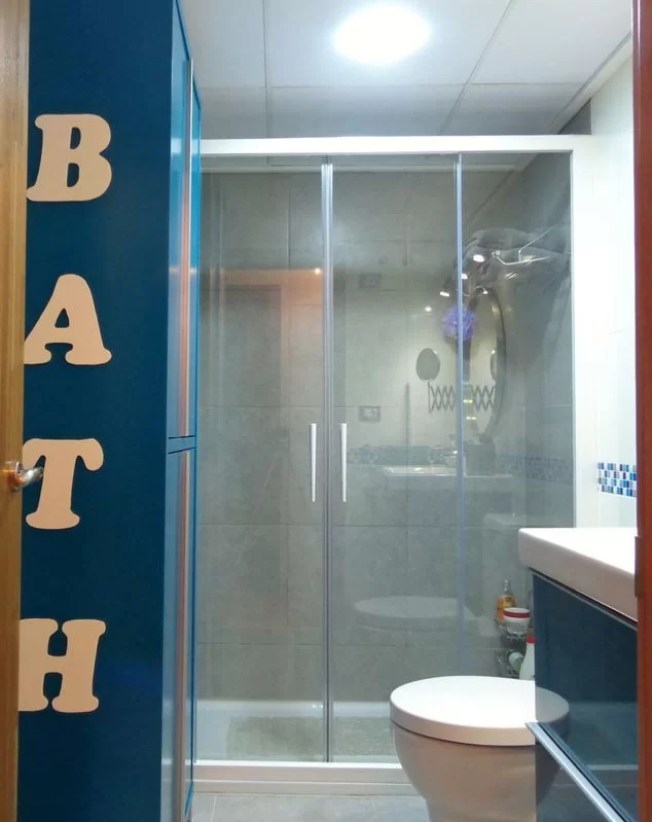
Finally, the missing taps and accessories were placed.
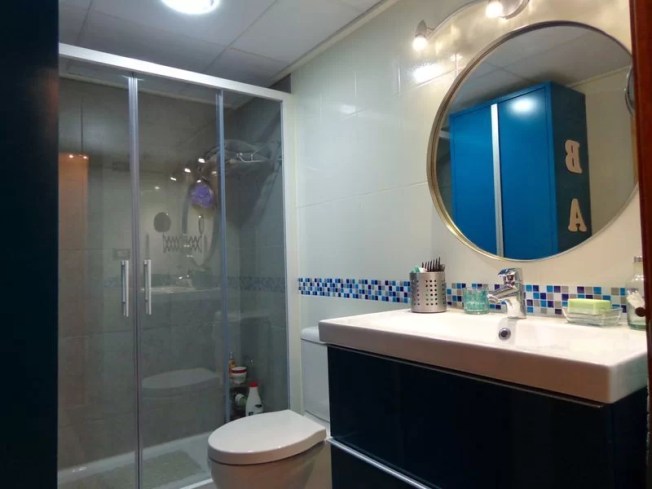
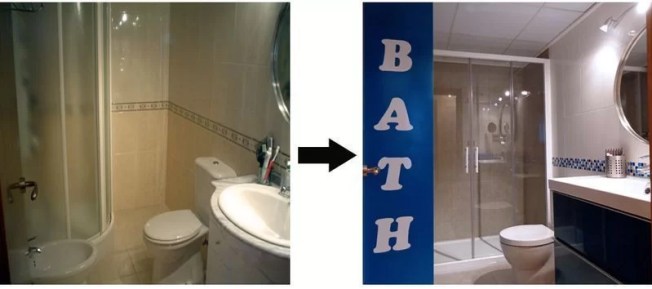
After all these changes, the result was not only as expected but also the transformation was radical.
[Actualización] My experience after continued use
Normally from a reform we see the Step by Step Y “before and after“. Everything is very good freshly made but what happens once a certain time has elapsed? Will everything be just as beautiful? Will the materials have been appropriate? Will it be practical?
In the next video I tell you my experience after four years of daily bathroom use. This time is more than enough to get all the good and the less good of this reform.
Also, if you are thinking of updating or renovating your bathroom, you may also be interested in these posts:
I hope that my personal experience after having changing the shower tray for another and having painted the bathroom tiles. Any questions that may arise, you just have to ask me.
If you liked this post, you can see more tips and DIY projects at .


