

.
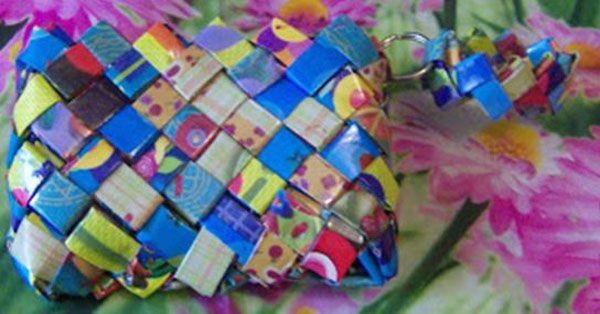
crafts with twisted paperBags, bracelets, stationery, and everything you can think of with the twisted paper technique.
Today we want to share with you an article that we have seen on the net and that we have found very interesting. It is a craft with it you can make various items and, best of all, you can make recycling candy wrappers.
Materials:
– Option A: Candy wrappers, potato chip bags, and candy wrappers. This option is ideal for lovers of recycling.
– Option B: Any type of paper you like and adhesive book liner to laminate it.
I have chosen the B, with remains of wrapping paper.
– Scissors.
– A piece of cardboard, a ruler and an indelible marker (a pencil in the case of using paper and not plastic).
– A large and long needle (darning).
– A good nylon line (fishing line).
– Adhesive Velcro (the best is the one sold by the meter in haberdashery).
.

Instructions:
1st Prepare a template for your paper or plastic strips. To do this, draw a rectangle on cardboard with the following proportions: Width Y, Length 2.4 x Y, that is, the long side must be 2.4 times larger than the width. For example: a rectangle of 17 cm by 7 cm approx. In this case the strips measured: 5 x 12cm. Try braiding different lengths to see which effect you like best.
2nd If you have chosen the paper version, carefully laminate all the sheets. 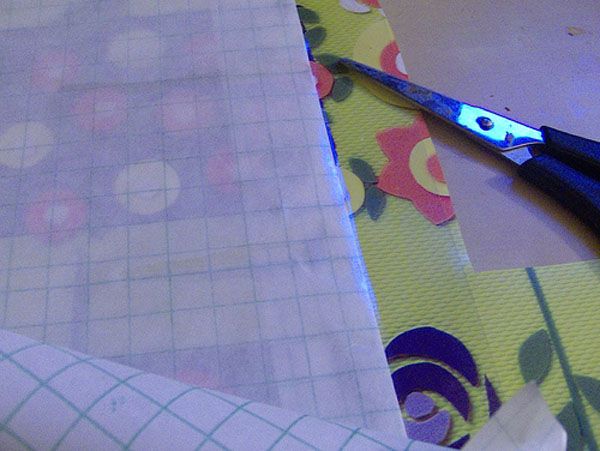
3rd Now trace your template on the plastic pieces or trace the rectangles of the chosen size with a ruler on the back of the laminated paper. Cut a lot of it, it takes a lot. 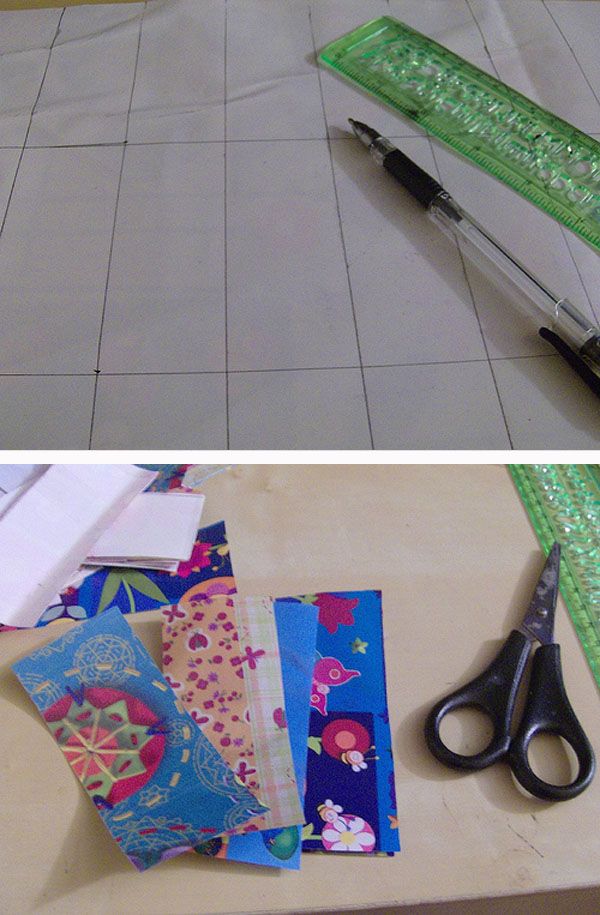
TO BRAID…
1) Fold the rectangle lengthwise to mark the crease in the center. two) Bring one side to the center. 3) Bring the other side to the center. 4) Fold the paper in half, you will have a narrow strip. 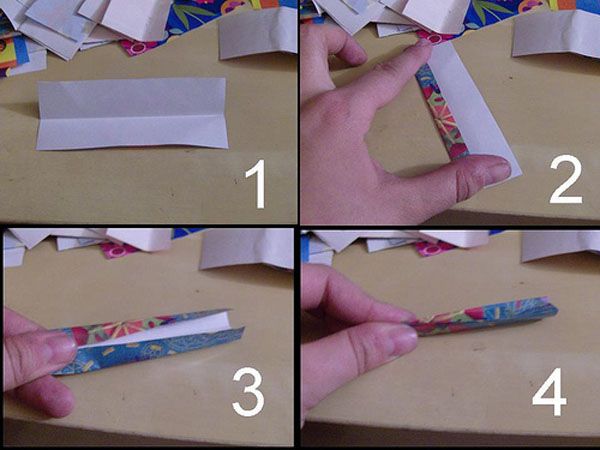
5) Fold the strip in half. 6) So 7) Bring a point to the center. 8) Bring the other end to the center. Do this with all the paper or plastic rectangles. 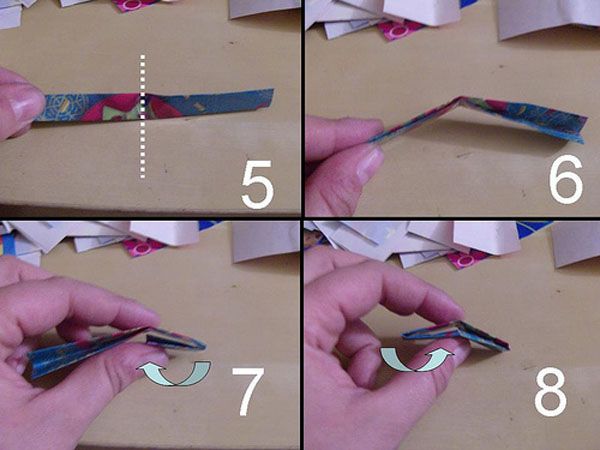
9) It braids like this Put one piece inside the other as you see in the photo. It is very simple. 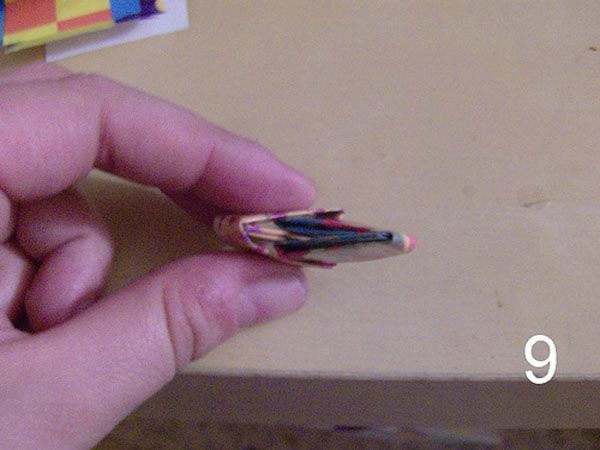
10) This is how it stays. The pieces are held by themselves in their place. 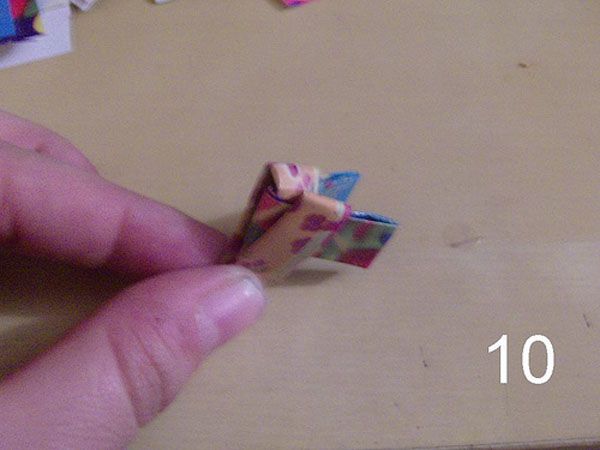
11 to 14) To continue with the chain. Look at the arrows, they indicate where to go putting each piece. 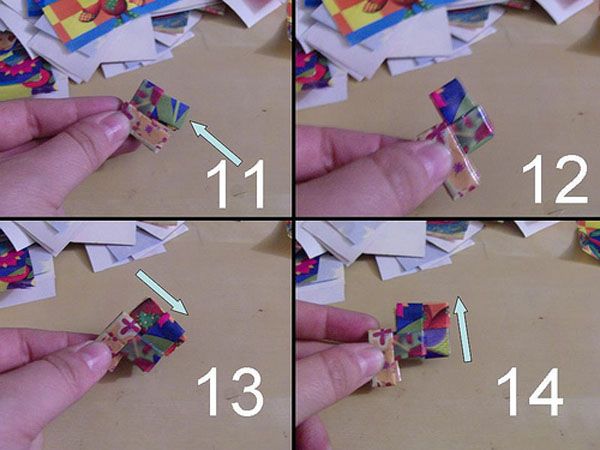
fifteen) Another example, to give you an idea of how the strips are fitted. 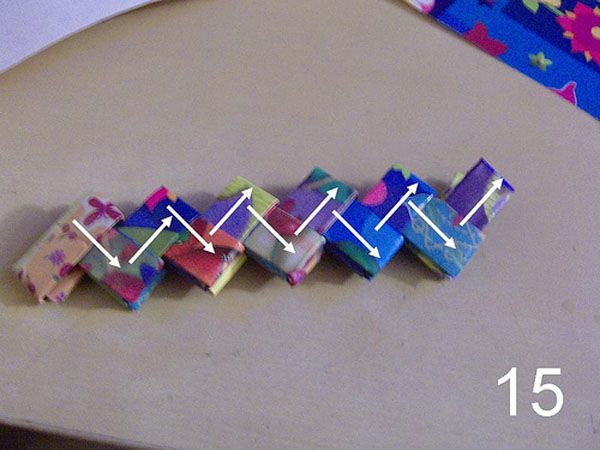
16) Continue with the chain until you get the desired length. Gather the ends and stack them to see if it is long enough for your bag or purse and there are enough. 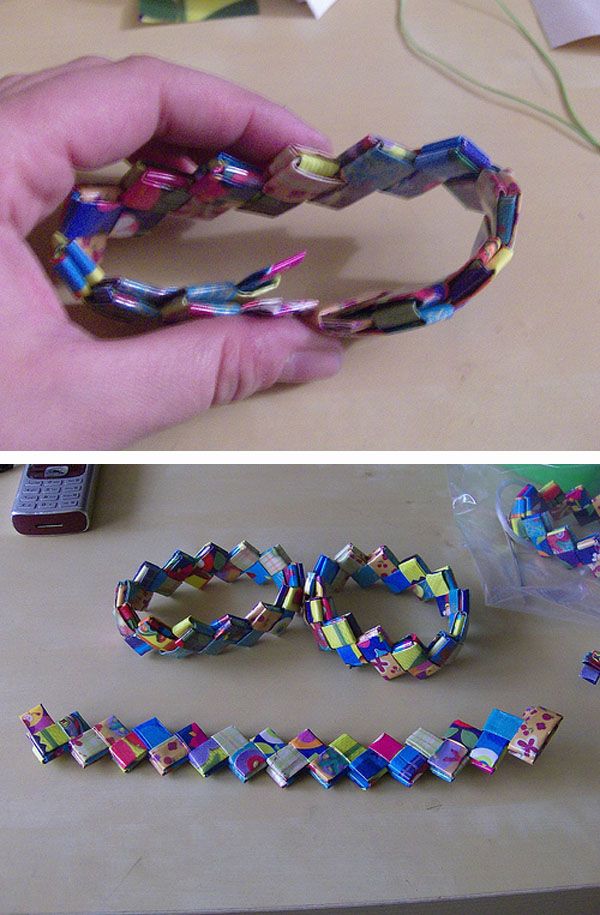
17) An idea: If you put ribbon or string at the ends of a strip you will have a most curious bracelet. 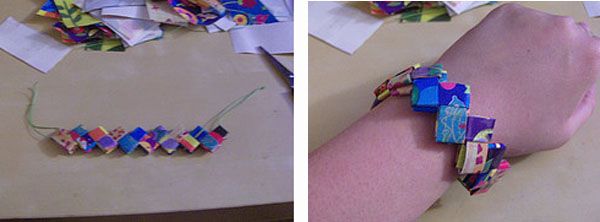
18) It’s time to join the ends. Remove the ends of the first piece of the chain: Be careful, make sure they are FROM THE FIRST PIECE, not the last one you placed (although it is difficult to make a mistake as you will see when you do this). 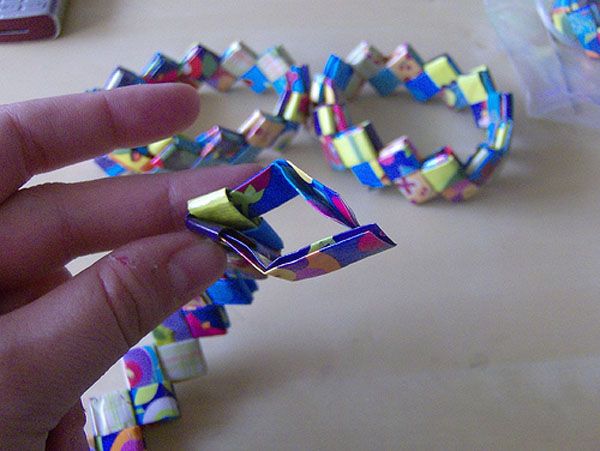
19) LOOK WELL AT THE PHOTOS. Bring the other end, the end, stick a point as you see through the end piece, to hook it, and return the point to its place (where you got it from in step 18). To fit it you can help yourself with a toothpick or tweezers. 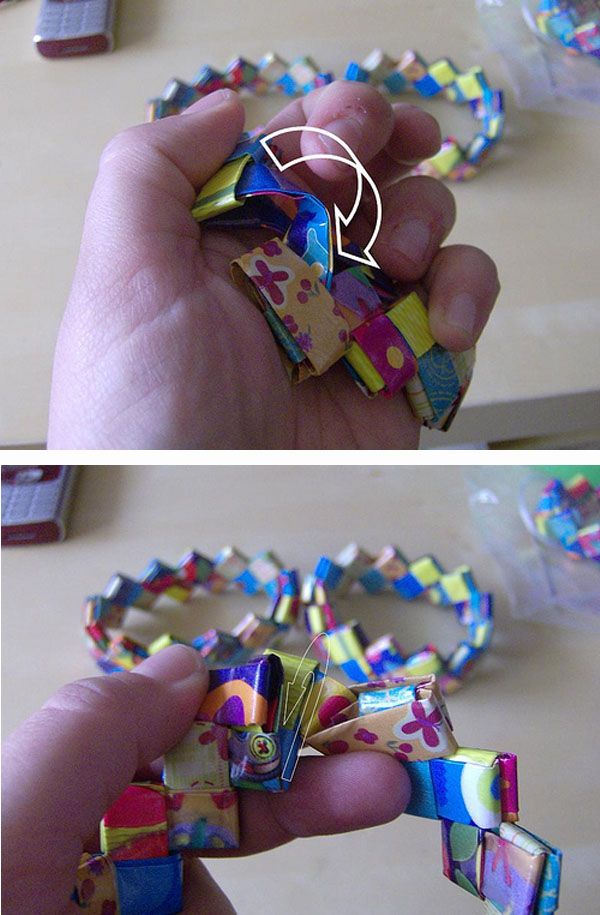
twenty) Do the same with the other end. 
twenty-one) It’s done like that. 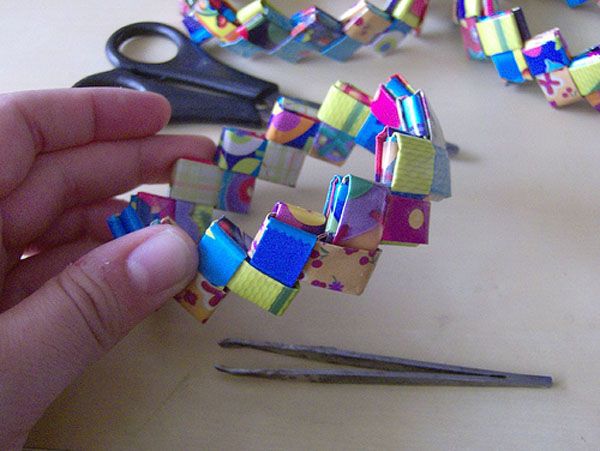
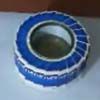
22) And if we join one chain on top of another, I’m left with a jar of pencils, hehehe. Well, it’s an idea. The lid of a plastic bottle (type Colacao) could be used as the bottom. 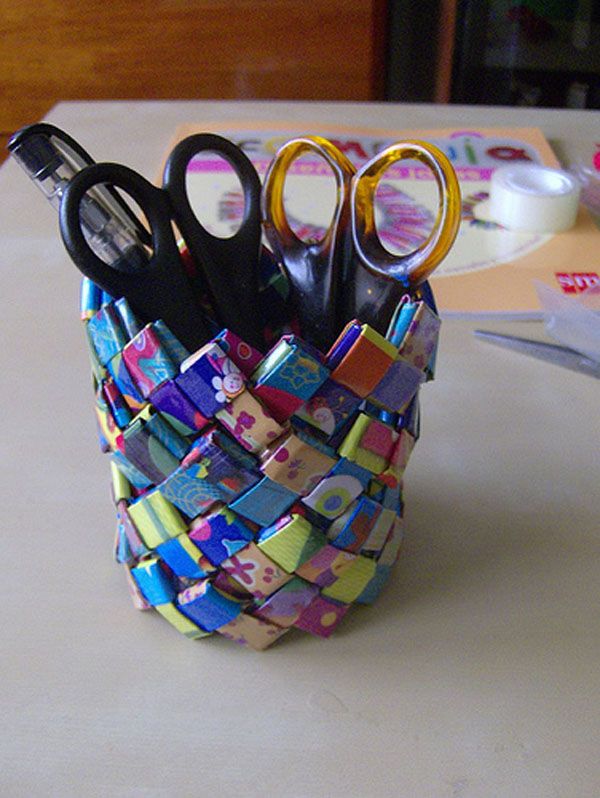
23) To which we are going… Thread a wool needle with a good nylon thread (fishing line). 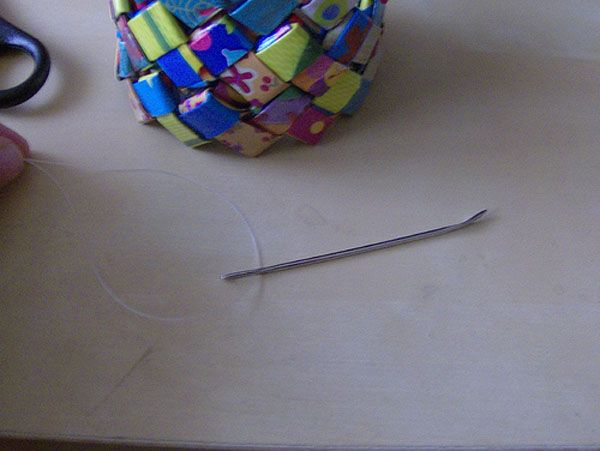
24) Wrap and tie one end of the thread in the chain (this is easy and very intuitive, come on, you will soon see how to do it, the red circle indicates the knot). And now sew the pieces by inserting the needle between the chains so that the thread is not visible. It has no mystery. One row up, one row down, etc. inserting the needle between the braid, until it returns to the knot. Retie the thread well. 
25) Sew the bottom of your bag or purse. Tie the thread securely to one side and sew in and out at the ends of the chain. Round trip. Tie the thread at the end. 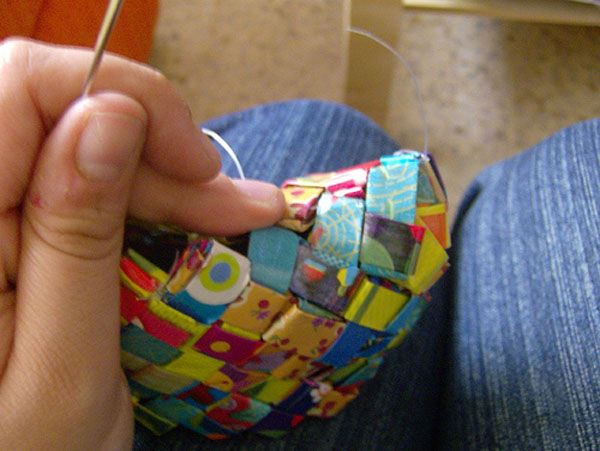
26) The simplest closure is a good adhesive velcro from the haberdashery. Cut a piece of the appropriate length, remove the protective paper and place it inside. 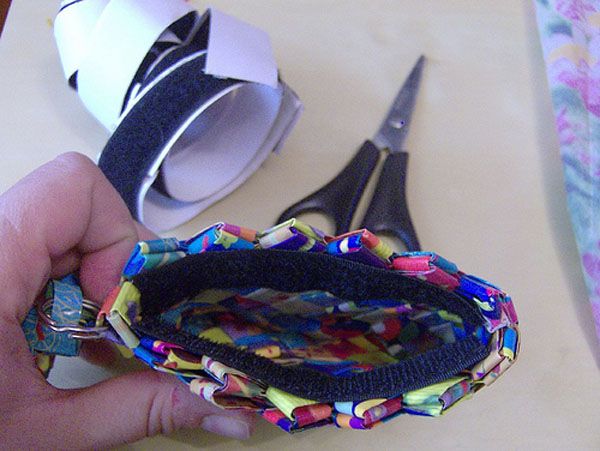
27) To the purse I have added a key chain ring embedded in the braid and a chain made with smaller pieces of paper. Long strips can be attached to the sides, in the case of making a bag. 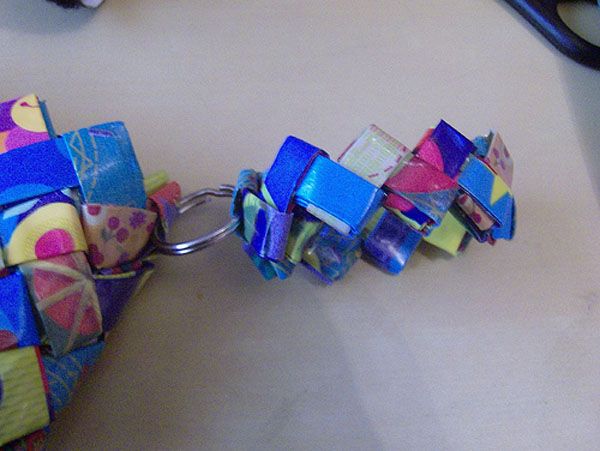 Source: www.forofantasiasmiguel.com
Did you like it? Then share it with your friends.
You may be interested in seeing these other related articles:

make your own recycled paper |
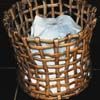
Make a basket out of recycled newspaper |
Make an ashtray/container with cigarette packs |

A thousand ideas to make crafts recycling paper |
.


