

Humidity in our home is a serious problem at an aesthetic and family health level. In most cases, it is not enough to clean up the area and repaint, but you have to attack the root problem. Therefore, in this guide you will find all the keys to eliminate dampness by condensation and prevent their recurrence.
Mold grows in places with high humidity such as leaks in roofs, windows or pipes and in areas that have been in direct contact with water. In addition, many construction materials that we usually find in our homes contain the right nutrients to promote their growth. They stand out among them:
- Cellulose materials (cardboard, wallpaper)
- Wood
- paintings
- drywall
- Fabrics and upholstery
On the other hand, one of the most common causes of humidity in buildings is the condensation that occurs on walls and ceilings due to the fact that the hot air inside comes into contact with a cold surface, producing a sudden change in temperature. Condensed water appears as water droplets on non-absorbent surfaces, such as windows or tiles.
In addition, condensation in homes is aggravated in winter, since the hot air generated inside is greater and coincides with less ventilation in the home.

How to eliminate dampness by condensation
Mold growth and condensation can be prevented by a combination of the following actions:
- Remove and clean mold with fungicide products
- Reduce indoor humidity through specialized coatings
- Maintain adequate levels of ventilation and heating
In the following tutorial you can see how to attack this root problem using the Baixens sanitizing anti-condensation system:
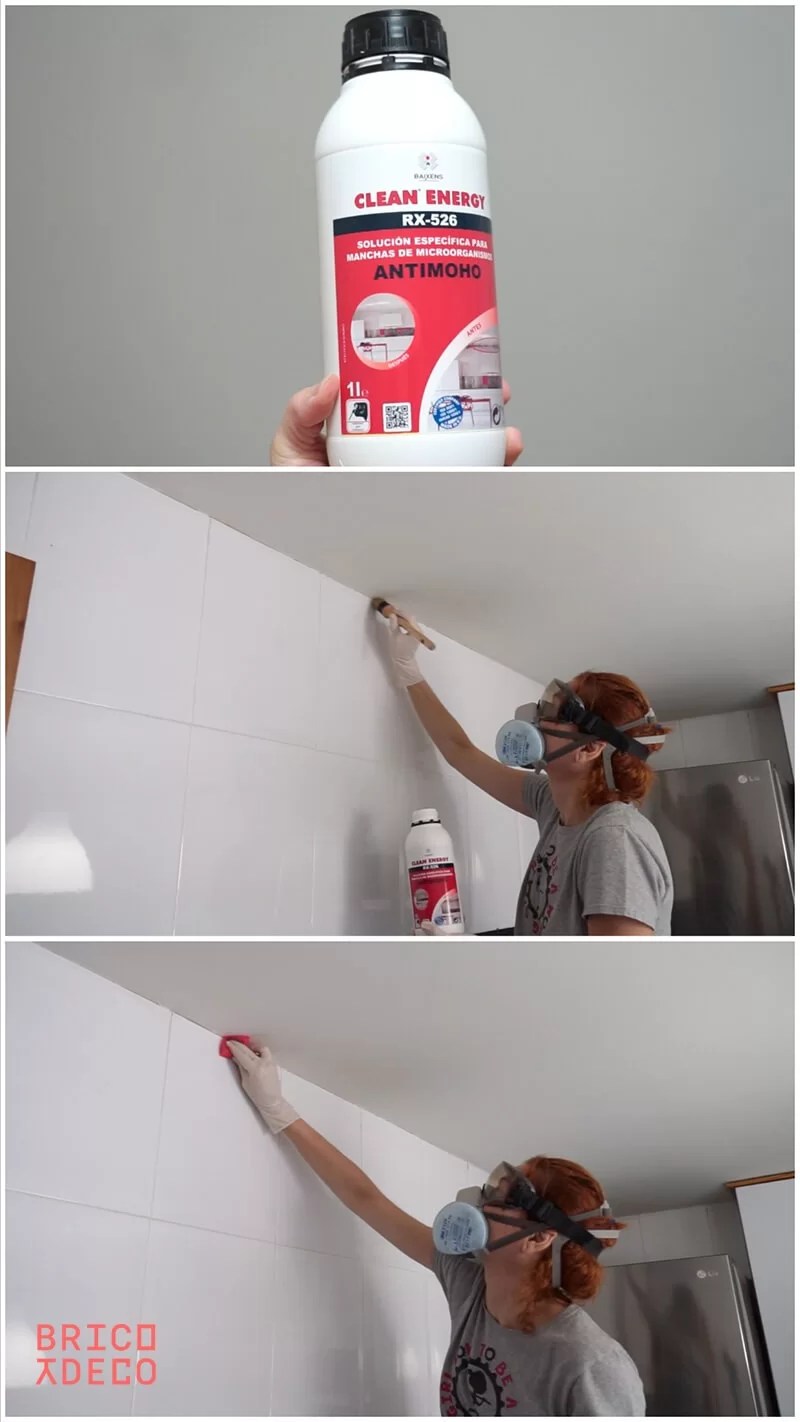
1º.- Eliminate mold stains
The first step will be to remove mold stains with RX-526 Clean Energy. This bactericide and fungicide acts on mold stains and eliminates them thanks to its whitening effect. For your application you must follow these steps:
- Impregnate the area with a brush, roller or spray gun
- Wait 20 to 30 minutes for it to take effect
- Rinse with clean water
On the other hand, it is very important that we use gloves, a mask and protective glasses to avoid direct contact with our skin and eyes, as it can be irritating.
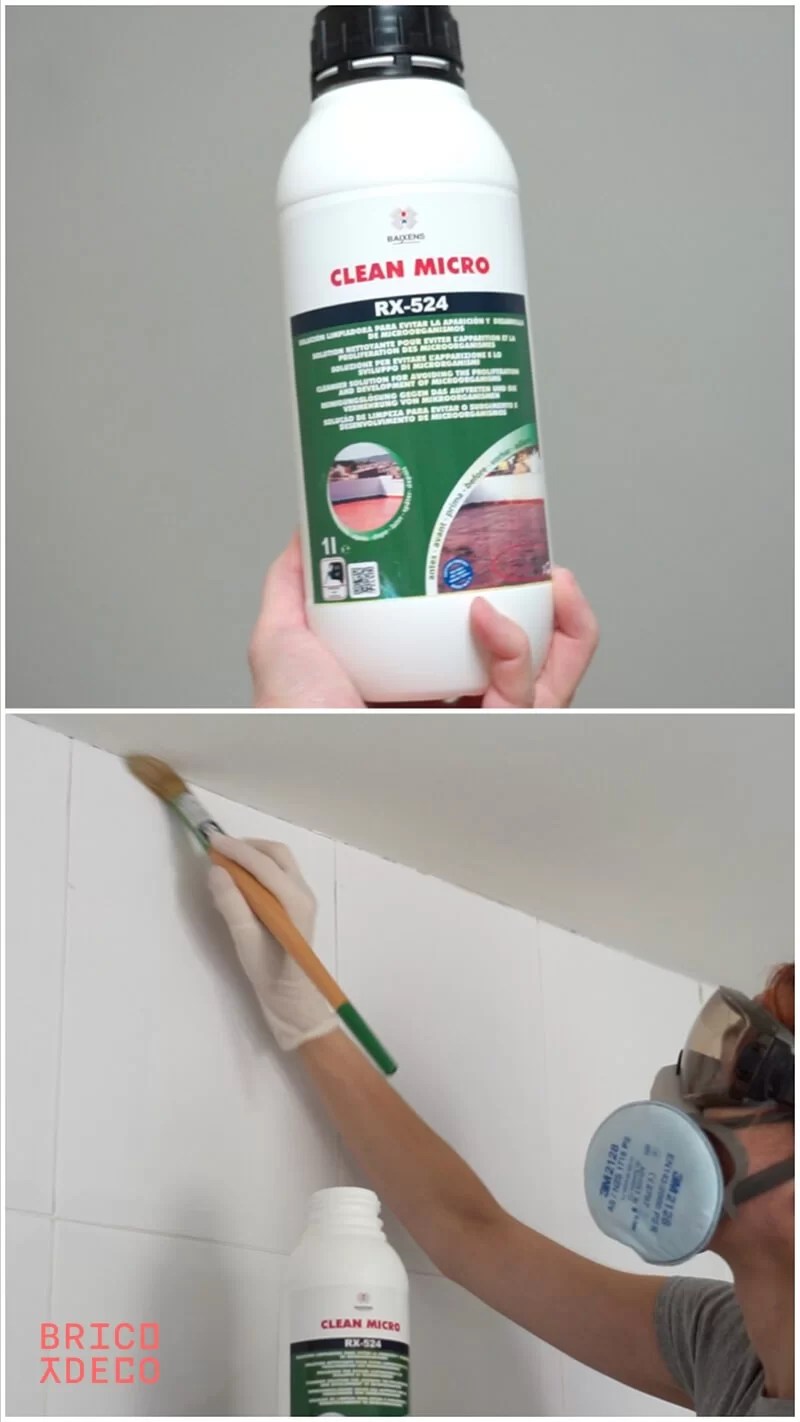
2º.- Prevent the new appearance of mold
The next step will be to use a product that prevents the new appearance of mold such as RX-524 Clean Micro, since it prevents its growth. To do this, apply a first coat with a brush, roller or spray gun and leave it to act for about 20 minutes. Then it will be rinsed with water and, once the surface has dried, a second coat will be applied, leaving it to dry without rinsing it afterwards.
Remember that it should be applied with a mask, gloves and protective glasses to avoid direct contact with our skin and prevent possible irritation.
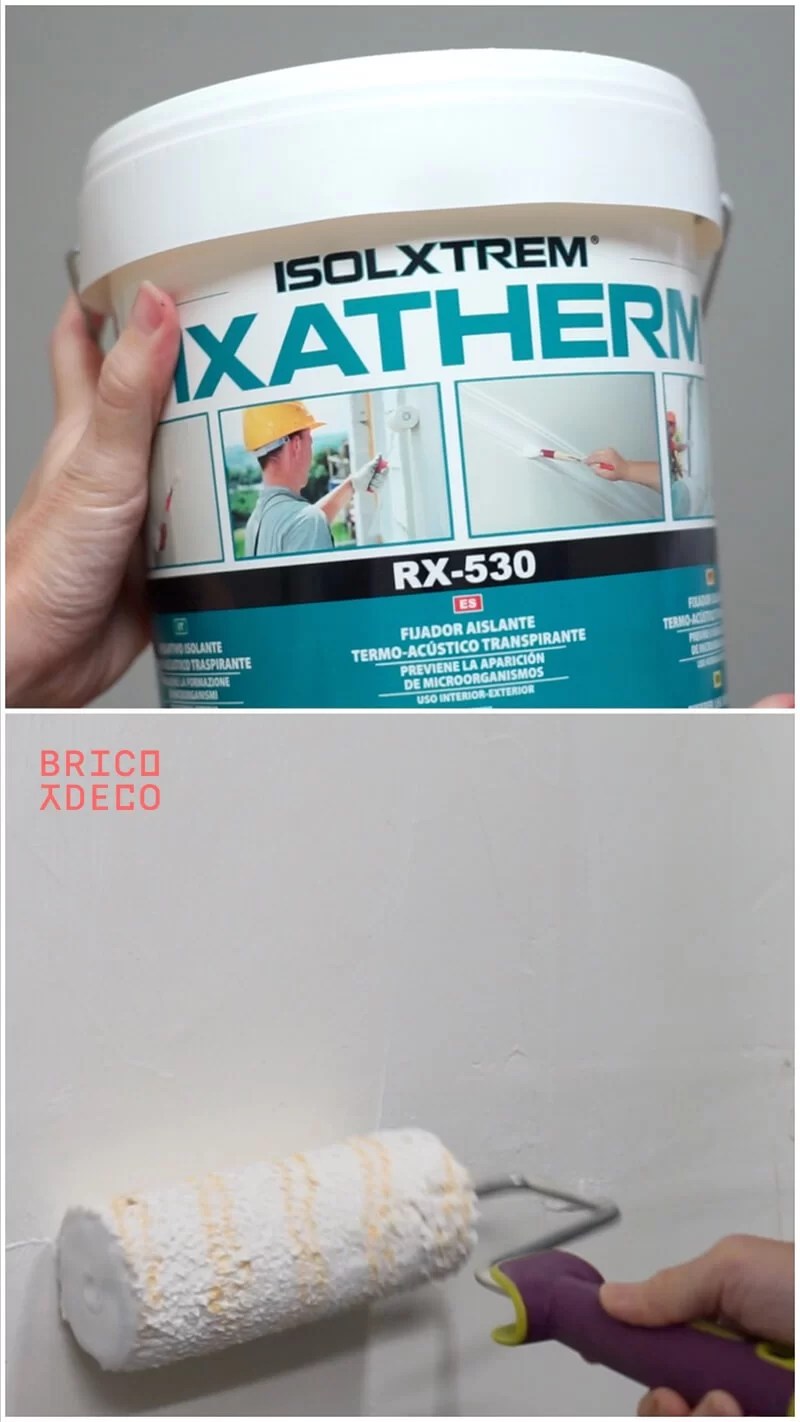
3º.- Fix before painting
The next step will be necessary in case the treated surface is a new plaster wall, freshly plastered, or when the paint is in poor condition and has little adherence. To improve it and facilitate subsequent painting, RX-530 Isolxtrem Fixatherm will be applied, which is an acrylic fixative that contains microspheres with heat-insulating, sound-absorbing and anti-condensation properties.
A first coat diluted by 5% will be applied with a brush, roller or airless spray. Once dry, a second coat will be applied undiluted and allowed to dry for 24 hours before being given the final paint finish.
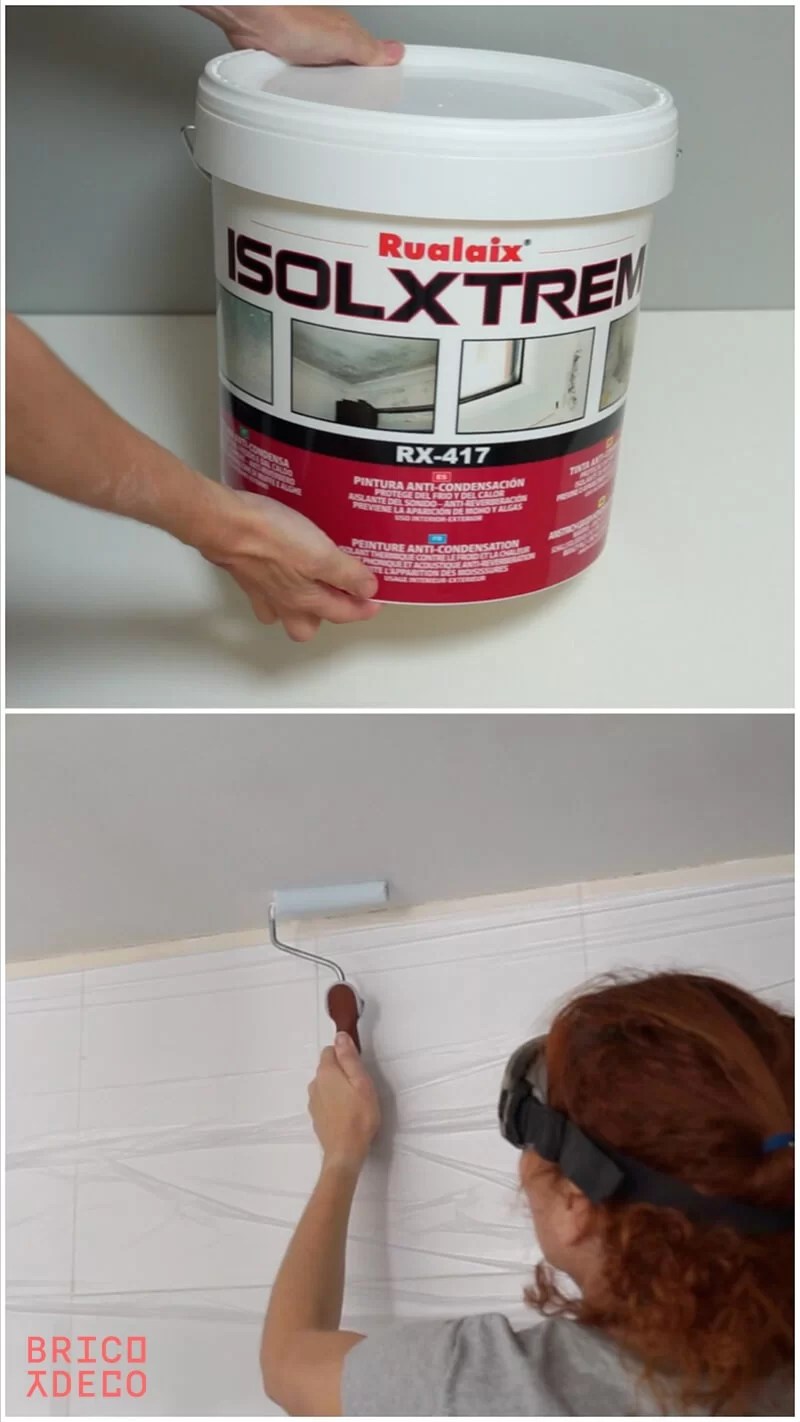
4º.- Paint and isolate
The last step will be to apply a finishing paint such as RX-417 Isolxtrem Pintherm, which is ideal for walls where moisture is generated by condensation due to its properties:
- Thermally insulates by increasing the condensation point of the supports
- Contains anti-mold preservative that prevents the appearance of mold, algae and other microorganisms
- Provides reduction in noise intensity and reverberation noise
- It is resistant to water and humidity and can be colored
It can be applied with a brush, roller or airless machine, but it must be taken into account that due to its high content of insulating materials, the finish is slightly rough. To obtain a finer finish, it can be applied with an airless spray gun or with a microfiber roller.
On the other hand, it must be taken into account that for the sanitizing anti-condensation system to be effective and durable, a minimum of 3 coats of paint must be applied, since each of them provides a layer of thermal and acoustic insulation.
The importance of having a sanitized home
A clean home is a happy and healthy home. For our family, therefore, eliminating and preventing the appearance of mold must become a priority. In fact, recent studies indicate that there is a potential link between early exposure to mold and the onset of asthma in some children. Also, people with allergies, immunosuppression, or lung disease are more susceptible to fungal infections.
Without a doubt, these are more than enough reasons to carry out actions that improve hygiene in the home, as well as the elimination or prevention of dampness due to condensation, will help reduce respiratory allergies and improve our well-being.

I hope this step by step guide will help you remove condensation from your home. You can find many more practical guides and DIY and decoration projects at and on .


