We all like to have exclusive and unique objects, especially when it comes to decoration. The only way for something to be truly unique is that the design is ours and we have commissioned its realization to a professional, or that we have done it ourselves.
The first option, in many cases, is not very viable since, as we all know, what is “made to measure” always implies a high or very high price. Therefore, as DIY lovers, whenever possible we opt for the second option.
For many people, things made by oneself is synonymous with “homemade” and, therefore, with something poorly done or poorly finished. And nothing is further from reality, since the effort and time we can dedicate to something of our own, no professional is going to do it, no matter how good it is. With this, the only thing I want to say is that we can make really spectacular objects, which have nothing to envy to those made in an industrial way.
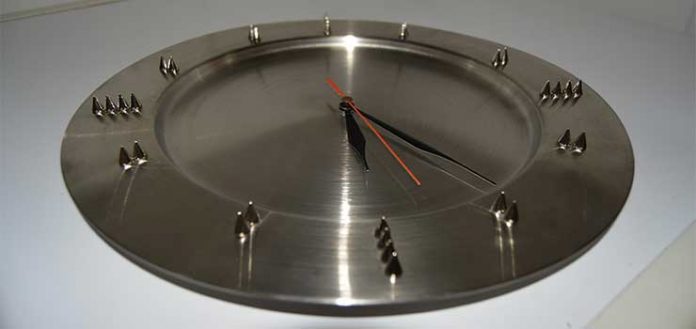
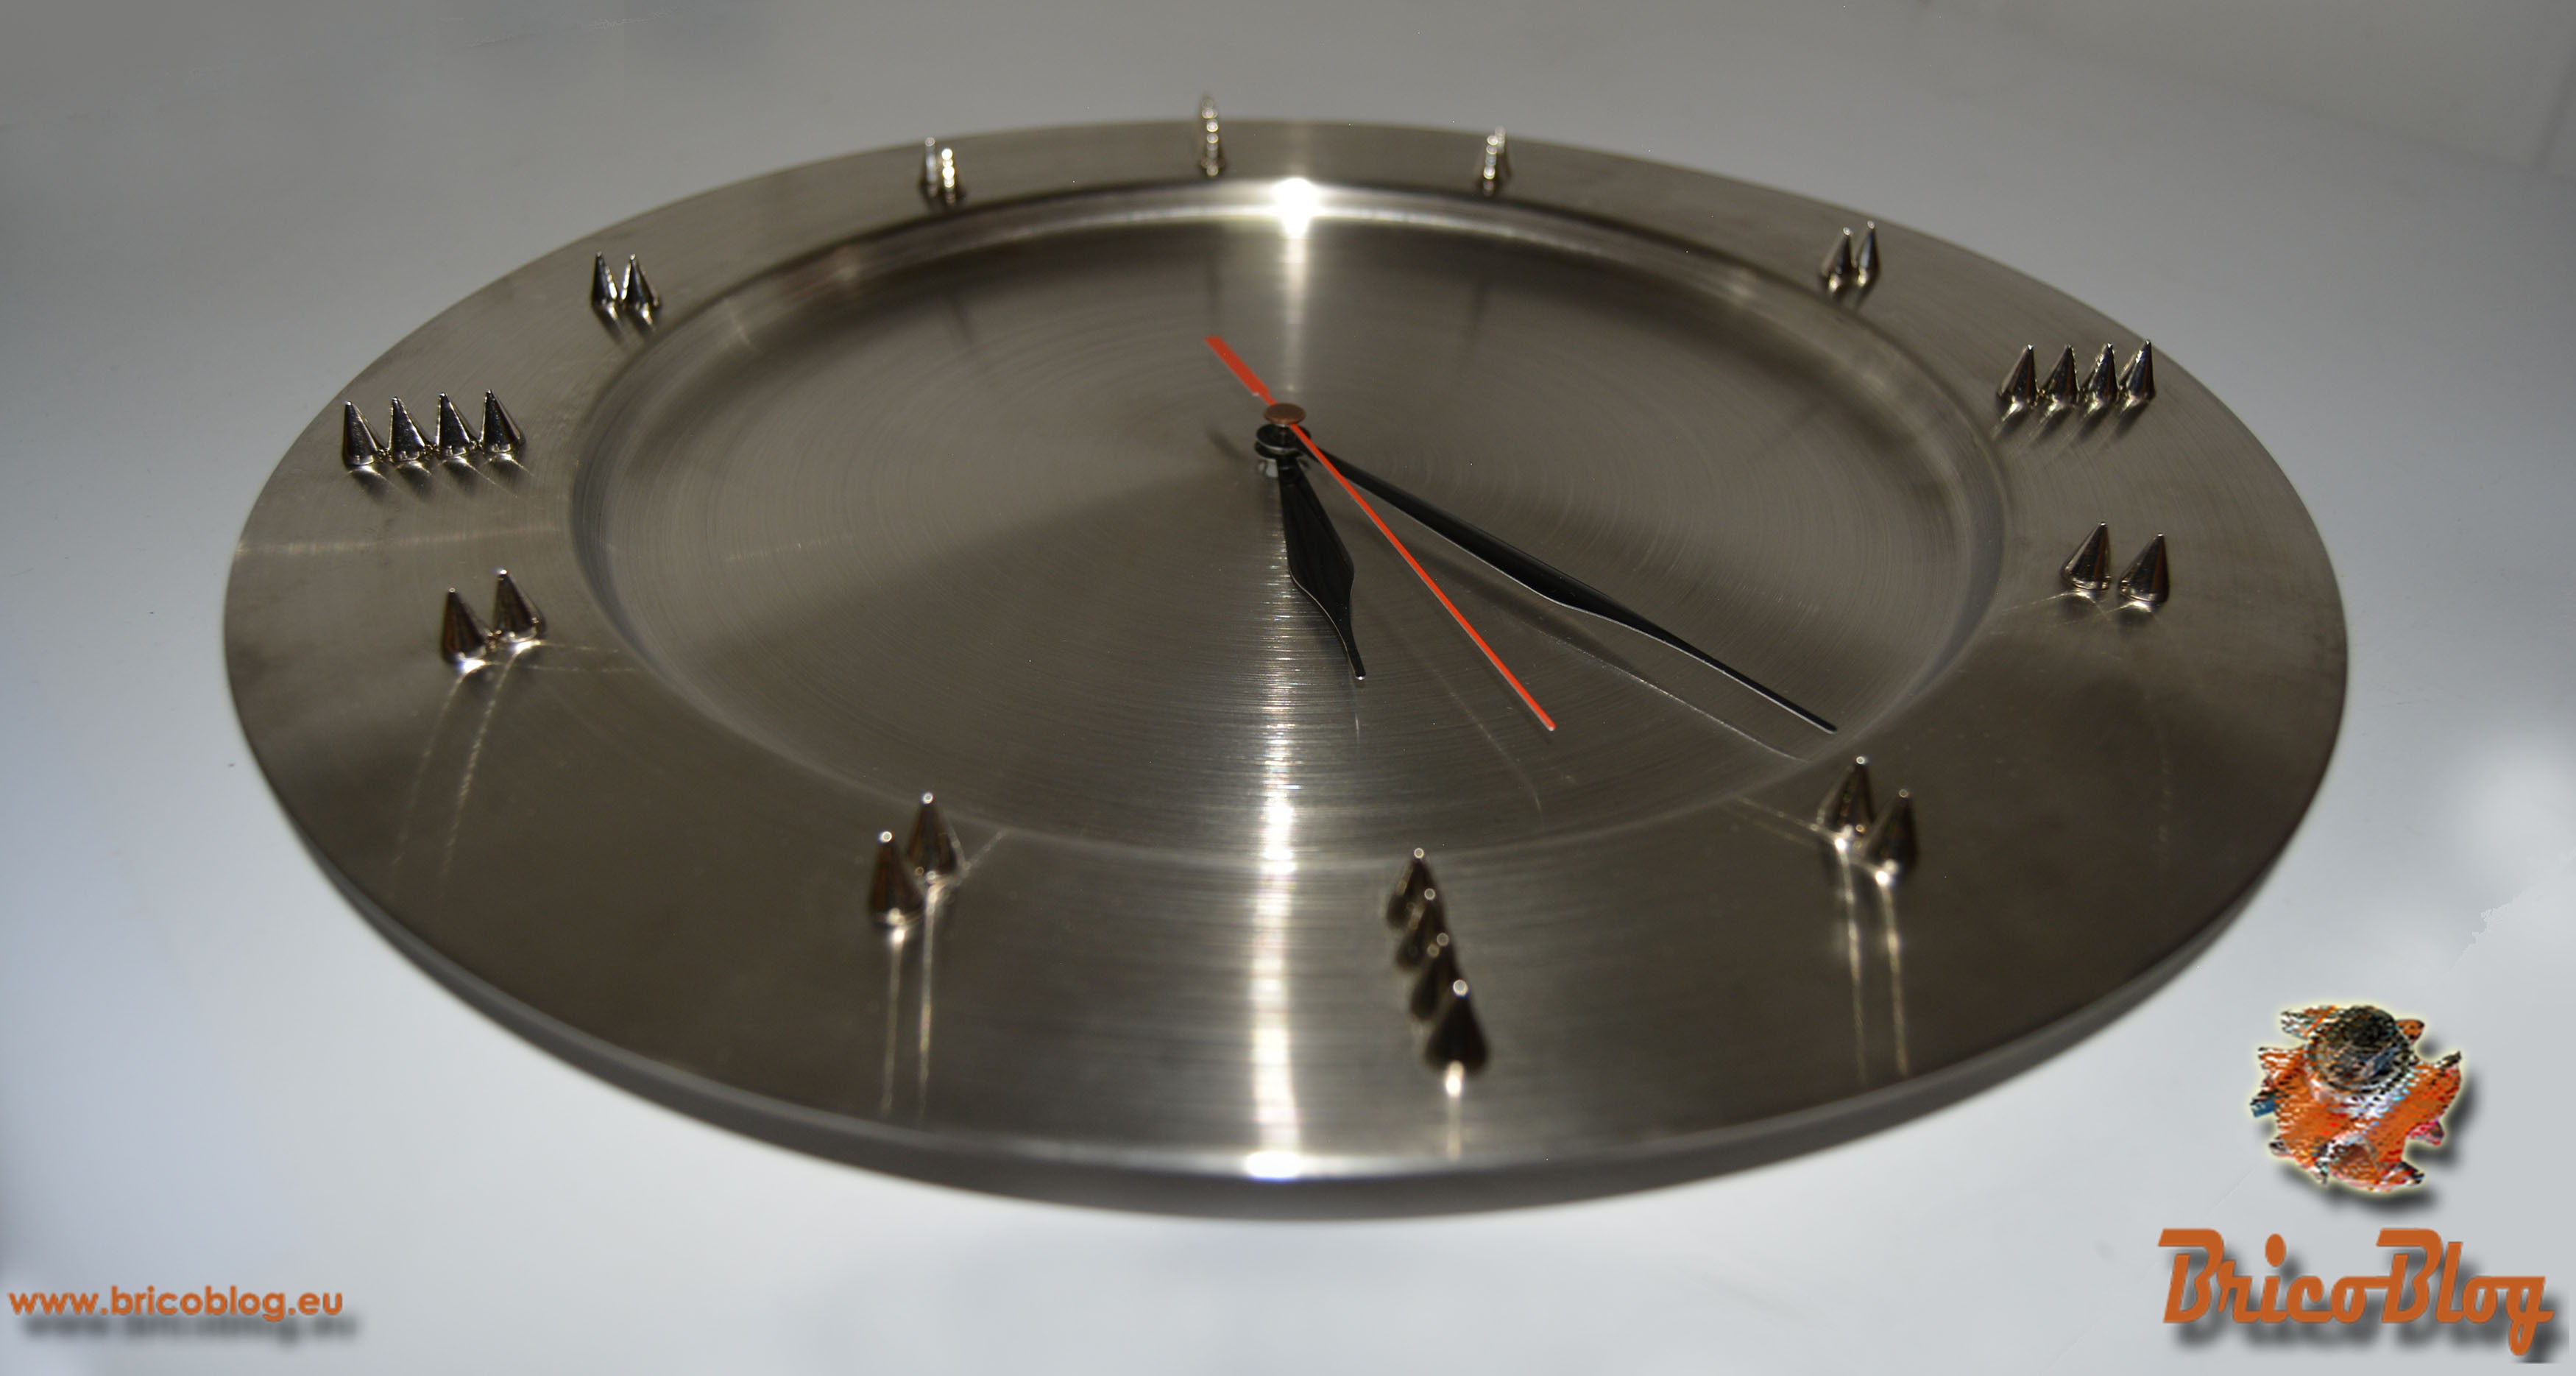
DIY wall clock.
Well, in line with this, today we are going to make a wall clock made of stainless steel, which will give a personal and unique touch to your kitchen. Plus, by the way, for a paltry price. The total of the materials that we have used, have added a total of 11€.
And best of all, its realization is not complicated at all. For this reason, I invite you to continue reading this article and even to watch the video tutorial that we have included at the end. This way, you can judge for yourself.
Proyecto realizado con la colaboración de Black + Decker.
Okay, with all that said, let’s get started.
Materials needed to make a wall clock
- The mechanism of a wall clock. You can find it in many craft stores. You can also recycle one that no longer serves you.
- A low stainless steel plate, which we will use as a base for the clock. However, a ceramic plate, a tray, or any other object could also have been used. This is already a matter of taste.
- Hour markers. We have used some small rivets that are screwed. But here we also have many possibilities.
Tools and materials to make a wall clock.
Tools needed to make a wall clock
how to make a wall clock
First step
The first thing we must do is make a small hole right in the center of the plate. In this case, it does not have any complications, since being stainless steel it can be seen with the naked eye. Otherwise, we would have to take measurements and mark the exact point.
We do the drilling from behind, in case the bit slips and scratches a little, so that the damage is not visible later.
The needles will be connected to the machinery through this hole. But we will see this later.
Drilling the base of the clock to later install the mechanism.
Second step
Now we need to mark where the hours will go. We have to make twelve exactly equal divisions. We will do this with a ruler and a square.
We will mark with a pencil so that we can erase it later.
Measuring and marking the 12 time zones.
Third step
Ok, now we are going to mark where each of the rivets will go. We measure the diameter of these, we do the calculations so that they stay together, and we transfer the measurements to the base plate, also marking with a pencil.
We will put a few pieces of masking tape, so that the marks are easily visible, while avoiding as much as possible that the drill bit slips.
Marking the exact location of the time markers.
Fourth step
It’s time to do all the drilling.
As we want the rivets to be perfectly aligned, we are going to use a drill whose diameter is 1mm greater than that of the rivet screw.
Drilling holes for markers.
With this small margin of displacement, when placing them, we will not have any problem in which they are in line.
The holes for the markers are already finished.
Fifth step
Now all we have to do is screw all the rivets into place.
In our case, we have left them in steel color. However, before we put them on, we could have painted them black, pink, yellow, or some other color of our choice.
Installing the bookmarks.
Another view of the markers installation.
In one of the screws that mark 12 o’clock, we will take advantage of a wire that acts as a hanger, to later be able to suspend it from the wall.
Installation of the hanging bracket.
step six
It’s time to put the “icing”. Finally, we will mount the clock.
We stick the clock mechanism to the back of the underplate with a bit of double-sided tape. And we fit the needles.
Installing the clock mechanism.
The assembly of the needles is very simple. You just have to apply a little pressure.
Mounting clockwise.
Making a wall clock – Video tutorial
On many occasions it is difficult to explain in words, in a clear and precise way, a procedure, however simple it may be. For this reason, and as we usually do in all our tutorials, we include below a video that includes all the necessary explanations so that you can make this original wall clock.
Clever! We already have our wall clock finished.
Cool, right?

Our finished wall clock.
Another perspective of our DIY wall clock.
If you don’t want to miss any of our publications, SUBSCRIBE…
to the Blog => I WANT TO SUBSCRIBE
to our YouTube channel => I WANT TO SUBSCRIBE
Once you have subscribed to our YouTube channel, don’t forget to do click on Tinker Bell. This way you will receive a notice every time we upload content.
How to subscribe to our YouTube channel.
.
.


