

As I already mentioned in the previous chapter of the Felt workshop from scratch All learning has a theoretical part and a practical part, so after the theoretical chapters of these weeks ago, it is time to get down to work and apply the knowledge acquired.
The practical exercises that I am going to propose will help you review everything we have seen so far, but my intention is that you learn to apply the theory using logic. It is about working with the felt understanding what you are going to do and why you are doing it that way, and not because you have learned the lesson on the run. That is, why are you going to use felt of one thickness and not another, why are you going to join the pieces with one type of stitch or another, or what decorations or color combination are you going to choose, to give some examples.
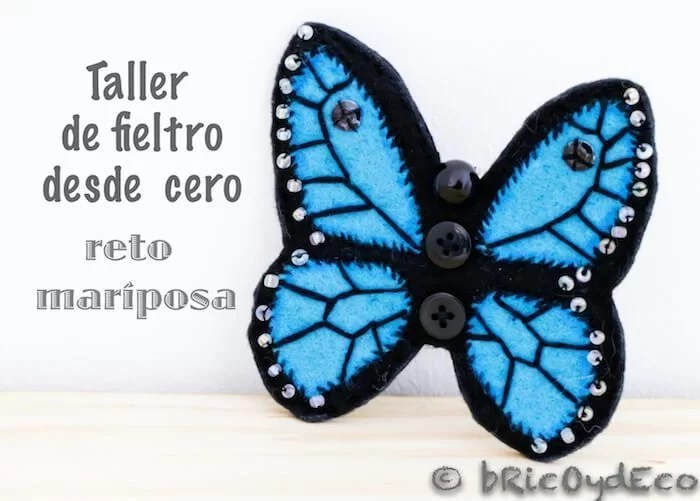
Taking advantage of the fact that we have just entered spring (although rather it seems that winter has returned), I have thought about proposing as theme for this first challenge/exercise is butterflies. In the following image you can see my proposal, a felt butterfly brooch I recently made for a friend.
The challenge is not that you all do the same butterfly, but that you adapt the exercise to your tastes or to the use that you are going to give it.
Let’s first look at the materials that I used to make this felt butterfly:
– 1 millimeter thick black felt
– 1 millimeter thick blue felt
– Black mouliné thread
– A pair of flat black buttons for the body and a round one for the head.
– A couple of sequins
– Small crystal colored beads
– Blue textile marker
– A brooch pin
Below I explain the Step by Step:
1st.- On black felt the silhouette of the butterfly is cut twicethe first silhouette is the one in which we will sew the blue felt and the second is the one that will make us the back and will hide all the stitches and embroideries.
The felt that I have used is 1 millimeter thick because, despite not having a filler, the brooch will be made up of several superimposed pieces of felt that will make it have enough consistency.
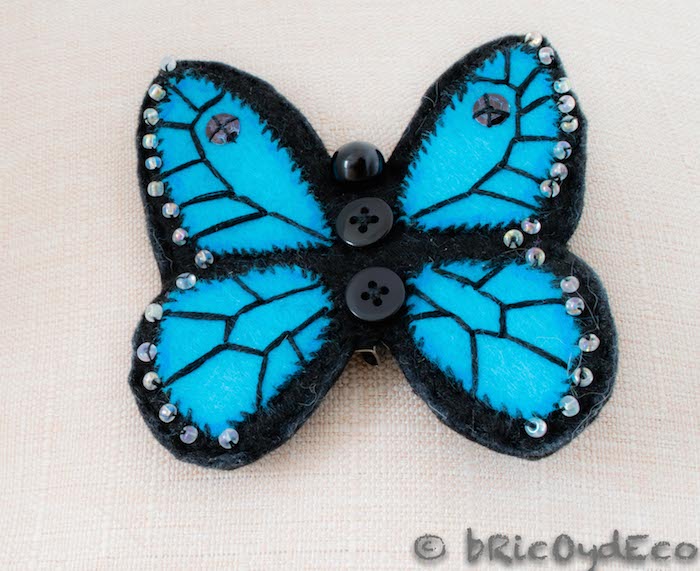
2º.- The next step consists of cut the part that will color the wings on blue felt and sew it with black mouliné thread. For this I have used a diagonal overcasting.
3º.- Once we have sewn the front pieces of felt, we will proceed to decorate the brooch. For this I have used:
– Black mouliné thread to make the nerves of the wings
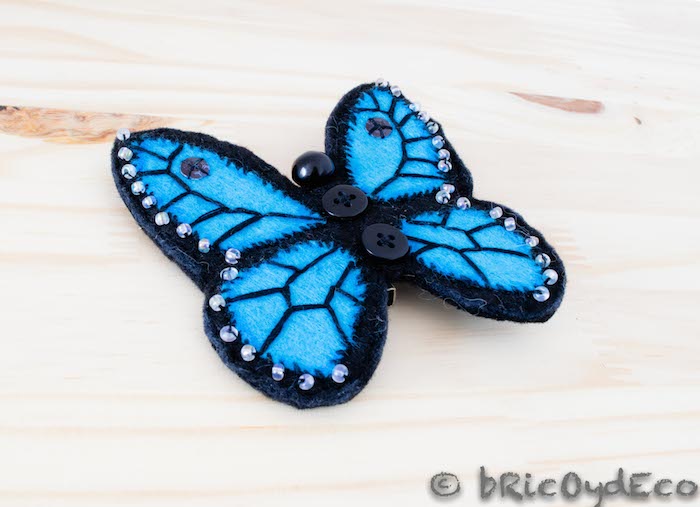
– Also black buttons that I have sewn in the central part of the butterfly to simulate the body. For the head I have chosen a round button.
– Sequins to recreate two small spots on the wings. It didn’t have black sequins but it did have white ones, so what I did was paint the sequins with black permanent marker.
– Transparent or crystal colored beads to decorate the sides of the butterfly wings.
– Although the image does not show too much, I have also used a blue textile marker to paint some areas of the blue felt and give the wings a sense of depth.
4º.- Finally the second black felt silhouette is sewn to the back of the brooch, giving a topstitch around the entire butterfly. The pin for brooches is sewn on the center back.
Now that you have seen my proposal I’m looking forward to seeing your exercises. It does not matter that they are not perfect because we already know that skill is acquired with practice, but it is important that you decide to do this challenge as it will help you lose your fear if you have never worked with felt before, or train if you already have. you had done something.
You can send me your felt butterflies to the contact email address[arroba] indicating in the subject “BUTTERFLY CHALLENGE”. Next Wednesday I will publish the ones I have received so far.
As I have told you before, your butterfly does not have to be a brooch or look like the one I have made. Nor do you have to complicate yourself with embroidery or very convoluted patterns if you do not have experience since there are simple designs that are very beautiful.
On the summary page with all the chapters of the Felt workshop from scratch I leave you five patterns of butterflies to help you. You can access it from this link.
Below you can see some felt butterflies ideas that I found on Pinterest and that can inspire you.
The brooches with butterflies they can be made by overlapping different materials or even felts of different colors. 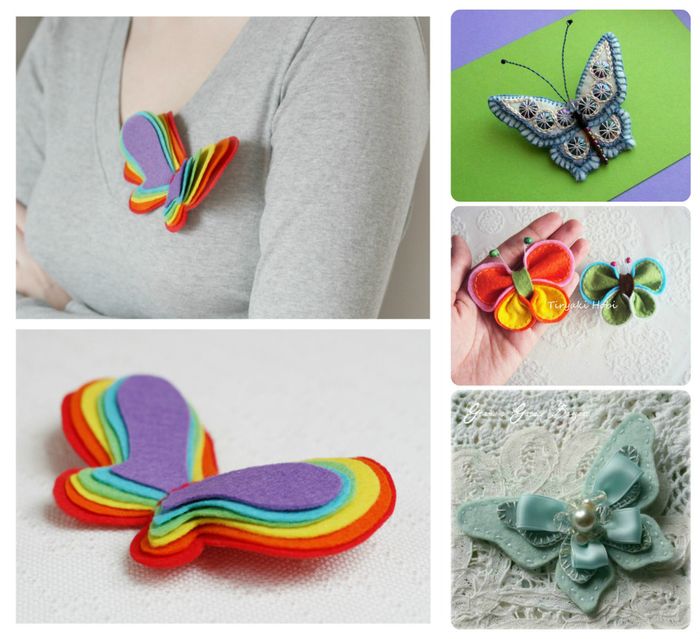
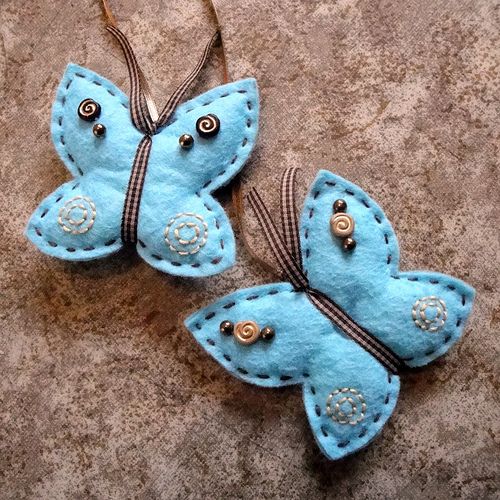
Another interesting option is to make a door hanger Have you noticed that a ribbon has been used to make the body of the butterfly?
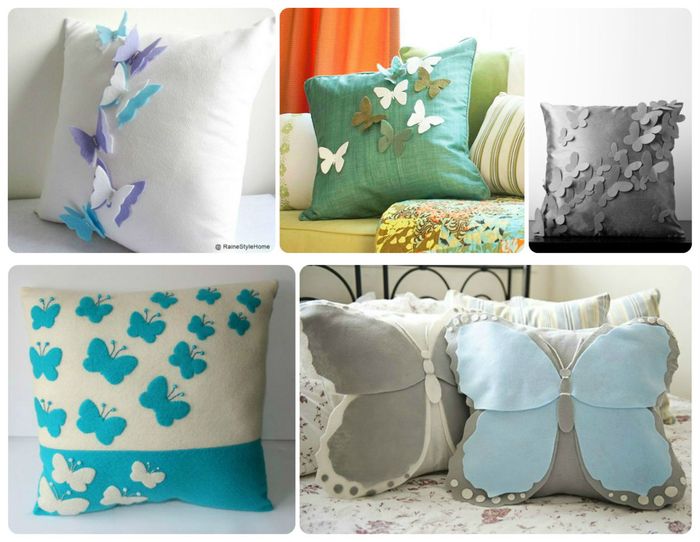
The cushions decorated with butterflies They are fashionable, why don’t you dare to make one?
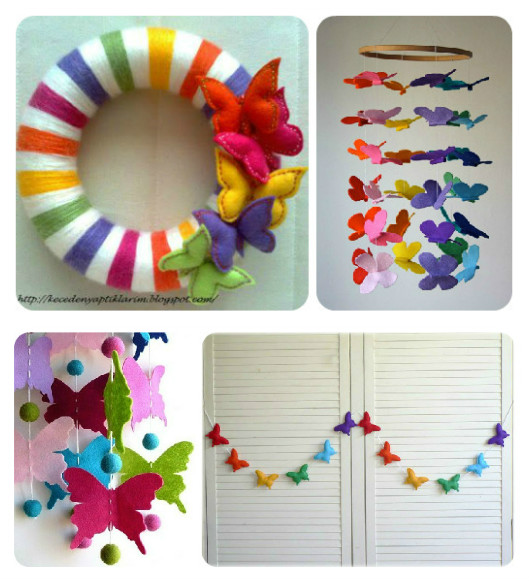
These ideas of colored butterflies to decorate the children’s room They add a cheerful and fun touch.
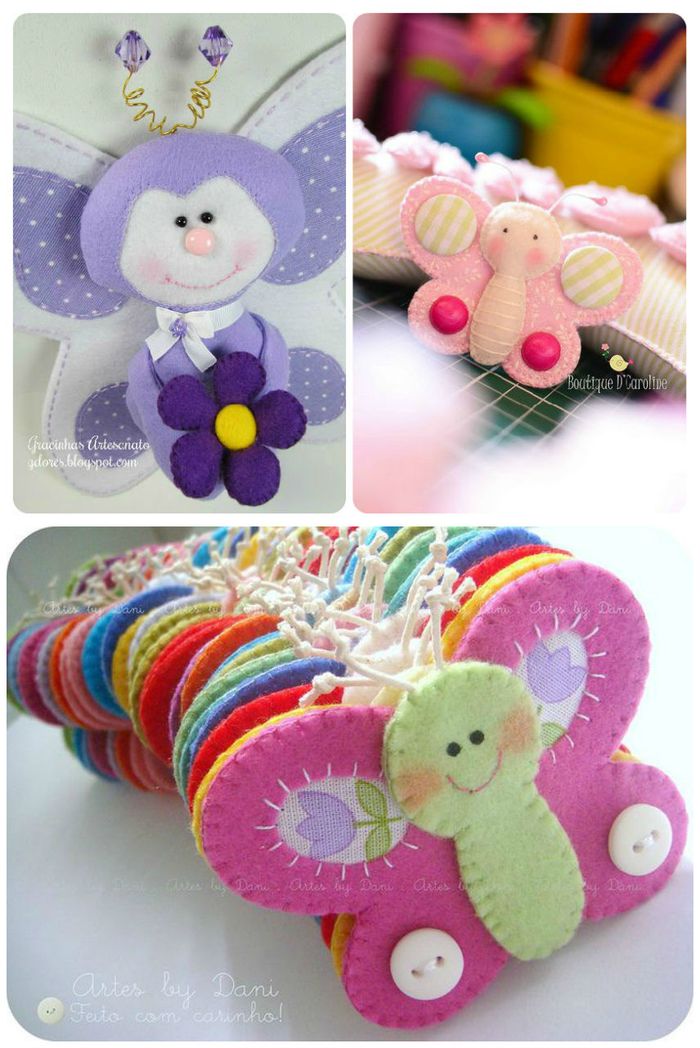
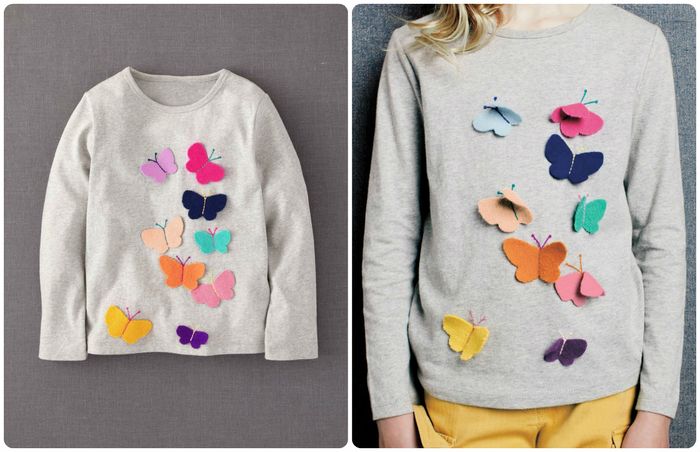
Another option is make children’s butterflies that serve both to decorate clothes and to play with them or stimulate the senses of children.
Transform a boring gray t-shirt on your favorite t-shirt is easier than it seems thanks to these colorful butterflies.
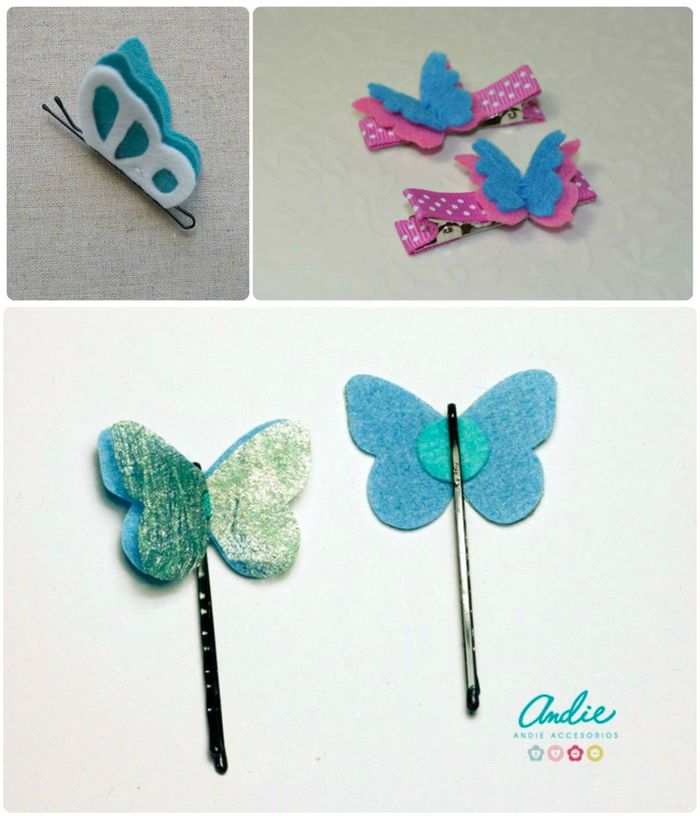
For decorate girls’ hair with butterflies There are ideas as creative and simple as these.
I hope you liked this first practical exercise of the Felt Workshop from scratch and be encouraged to participate in the challenge of making a butterfly. Remember that the most important thing is not to make it perfect (especially if you don’t have experience), but to try.
If you liked this entry, I would appreciate it if you shared it on your social networks.


