Have you ever had to glue the legs of a piece of furniture, and have not known how to do it? Have you glued the legs of a chair, and the results have not been as expected?
Today we will teach you a simple trick to glue the legs of any piece of furniture, such as chairs, easels, benches, tables, stools, etc.
It is much easier than you think.
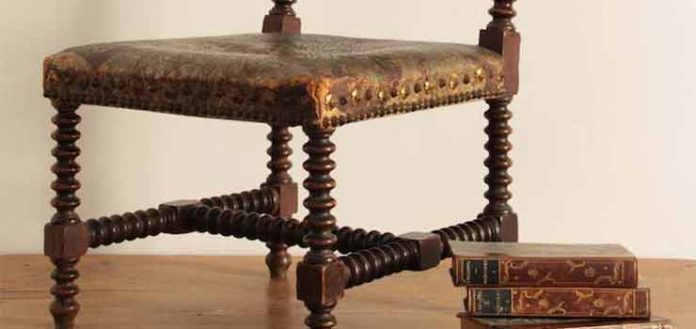
A large amount of furniture, especially in some styles, incorporate crossbars on their legs, to give greater solidity and stability to the whole.
However, as they are simply glued, without any additional mechanical joint, use and the passage of time make these crossbars end up loosening.
Tutorial based on the repair of a detached easel.
So that, when this happens to you, you know how to deal with the problem and you do not need to resort to third parties, we are going to show you how they can be glued without having to spend any money on clamps, or any type of fasteners, or tools. And best of all, it is extremely easy, fast and comfortable.
In addition, it does not happen as in other types of DIY jobs. This time you don’t have to be a handyman.
Materials to glue the legs of a furniture
- Medium thickness rope, to make it resistant and easy to handle.
- Vinilic glue.
- An elongated and resistant object, such as a piece of pipe, an iron, a stick, or some similar object.
As we say, we will only need a rope, vinyl glue, and a tube, a stick, an iron, or something similar; as long as it is elongated and resistant. In this tutorial we have used a chisel.
Materials needed for gluing furniture legs.
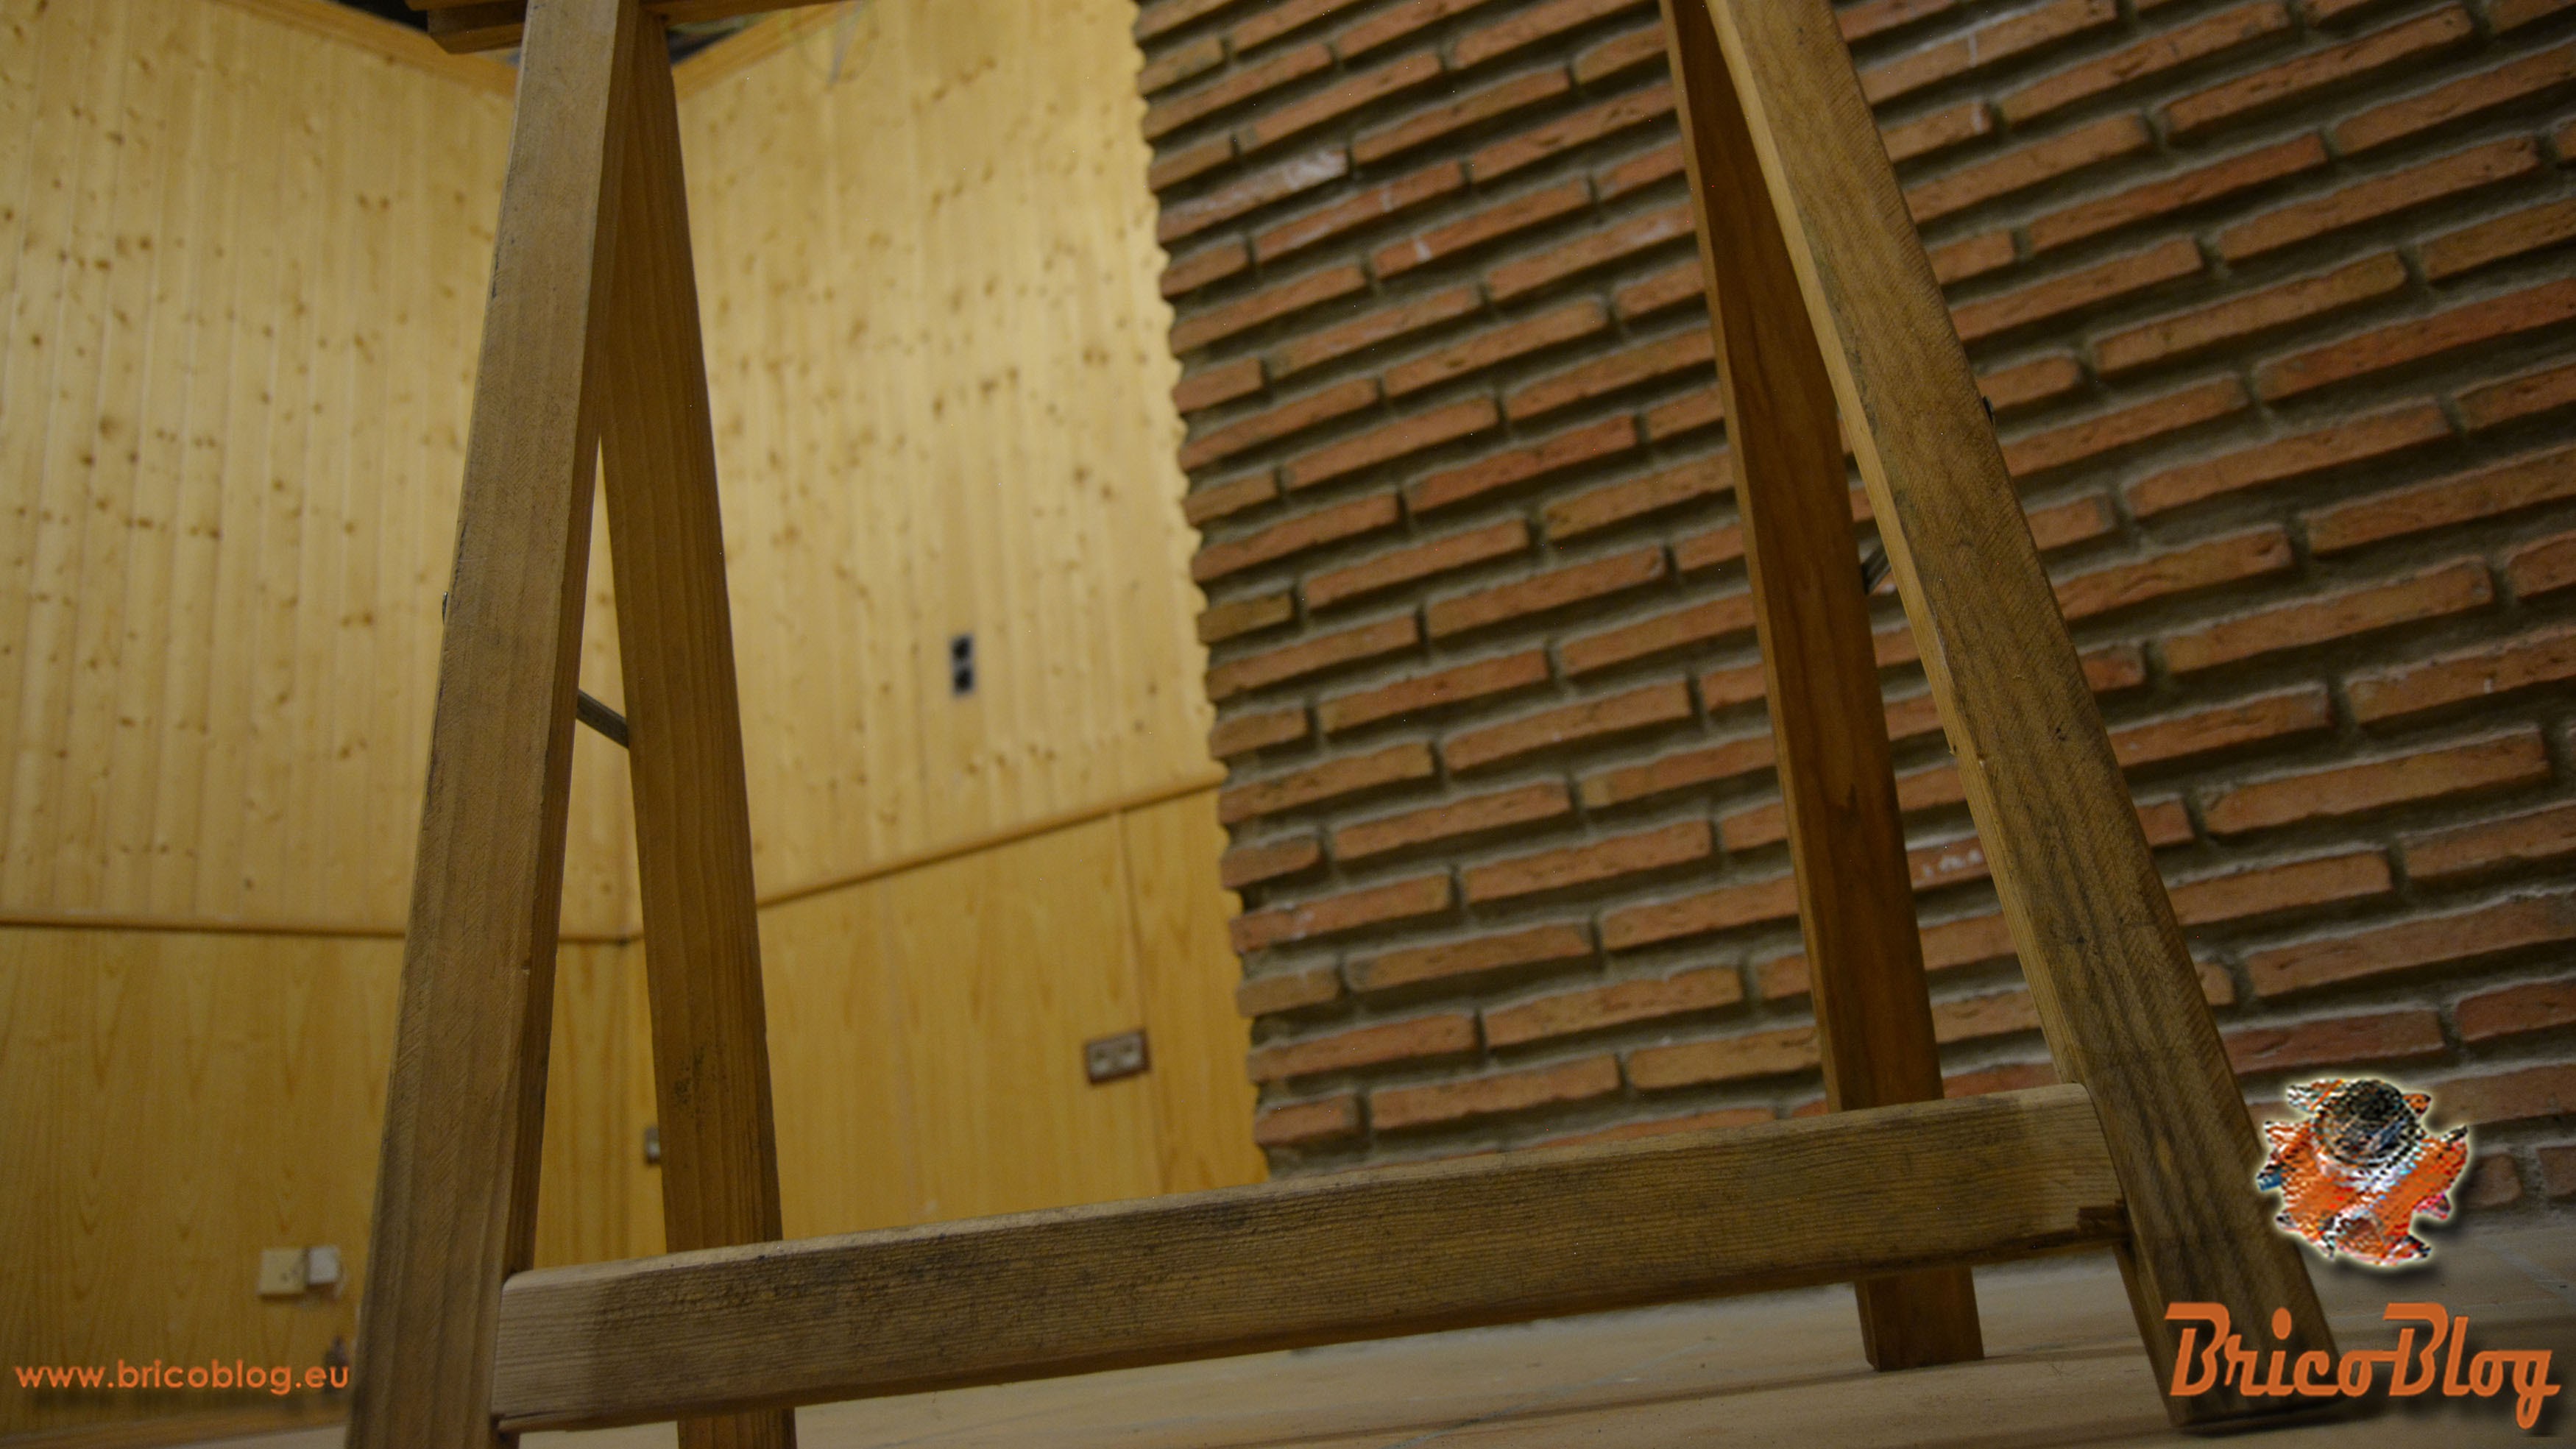
For the demonstration we have used an easel, which has one of the crossbars peeled off.
How to glue the legs
As usual, in addition to writing down the steps to follow with numerous illustrations, we also include a video tutorial to be able to fully convey all the details of the procedure.
Video Tutorial – Gluing furniture legs
Step 1 – Disassemble the piece
If you are a fan of furniture restoration, you may be familiar with this method, since gluing loose pieces of furniture is part of the daily routine. But if not, I am completely sure that it will be of great use to you.
To start we have to finish removing the crossbar, and clean the area well, both outside and inside the recesses.
Removing the broken pieces.
Step 2 – Preparing the press
Now we will present the rope and knot it, so that there is a little slack.
Then we apply vinyl glue in the recesses. For this type of gluing, the ideal glue is vinyl, better known as white glue, or also carpenter’s glue.
Applying the vinyl glue.
Once the glue is applied, we put the crossbar in its position, fitting it a little.
Step 3 – Assembling the legs
We put the rope in its place. It is very important to place it on the inside since, if we put it on the outside, by pressing, we could make the upper part jump. If in doubt, watch the video.
Once correctly located, we introduce the chisel in the center of the rope, and begin to turn it.
Compression of the legs, by tourniquet.
Effectively!! It’s about making a simple tourniquet.
Old saw. Sheet tensioning is based on the same system.
Keep in mind that in carpentry, many techniques and methods that have been practiced for centuries are still in use. This is one of them.
Without going any further, this is the system that the old handsaws incorporated to keep the blade taut.
Step 4 – Anchoring the tourniquet and finishing the gluing
Once the rope is very tight, and the pieces have fit into place, we move the chisel a little, and we rest it on the crossbar.
Now we just have to remove the excess glue. One of the advantages of this glue is that it can be removed without leaving a trace, with a damp cloth.
Gluing of and setting of the glue.
In addition to having a texture similar to that of the gel, it penetrates in all corners, without bursting the cajeado.
Now we will let the glue set for 24 hours.
Step 5 – Removing the tourniquet
To complete our restoration/repair job, we just need to remove the turnstile. Therefore, we move the chisel a little again, and we begin to turn it in the opposite direction to what we had done, so that the string loosens.
In this step, we have to be especially careful, especially in the first laps, since it could get out of hand.
Finished gluing.

Job finished successfully.
Clever!! We already have our furniture in perfect condition, for another long season.
How about?
As you have seen, it is very easy and you do not need any type of tool. In addition, it is not only used for chairs, but for any type of furniture that incorporates crossbars between its legs.
.


