Do you want to have a special detail for Valentine’s Day but one that is cheap and also serves to decorate your home for the rest of the year? Then don’t miss this step by step to make a heart with dry branchesyou will get a nice gift that you will have obtained by recycling and almost at no cost.
Walking around the park you can find enough raw material to make details to decorate your home or to give as gifts. For example, with the dried leaves you can do a lot of crafts (in this link you will find 30 ideas that will inspire you).

Image via Welke
In addition with the dry branches falling from trees You can also make beautiful decorative objects, such as a heart with dry branches that will come in handy to provide a romantic touch on Valentine’s Day.
Materials to make a heart with dry branches for Valentine’s Day
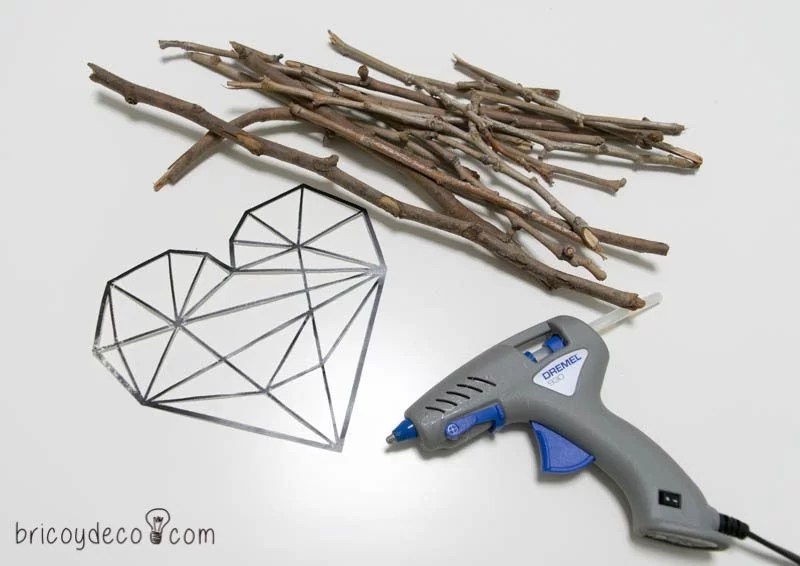
The materials needed to make this heart recycling branches are:
– Dry branches of different thicknesses.
– hot glue gun.
– A saw to cut the branches. If they are not too thick, a cutter can also be used.
– Natural colored cord or rope.
– Headband preferably red if you want to give it a more romantic touch.
Heart with dry branches: step by step
The steps to follow to make this heart are as follows:
1º.- Find an image of a heart that will serve as a guide, better if it is in a geometric style and with angles since it will be easier for you to reproduce than if it has rounded shapes. It can download the template which I have used from this link.
2nd.- Select the thickest branches for the outline of the heart and cut them with a saw guided by the measurements of the template.
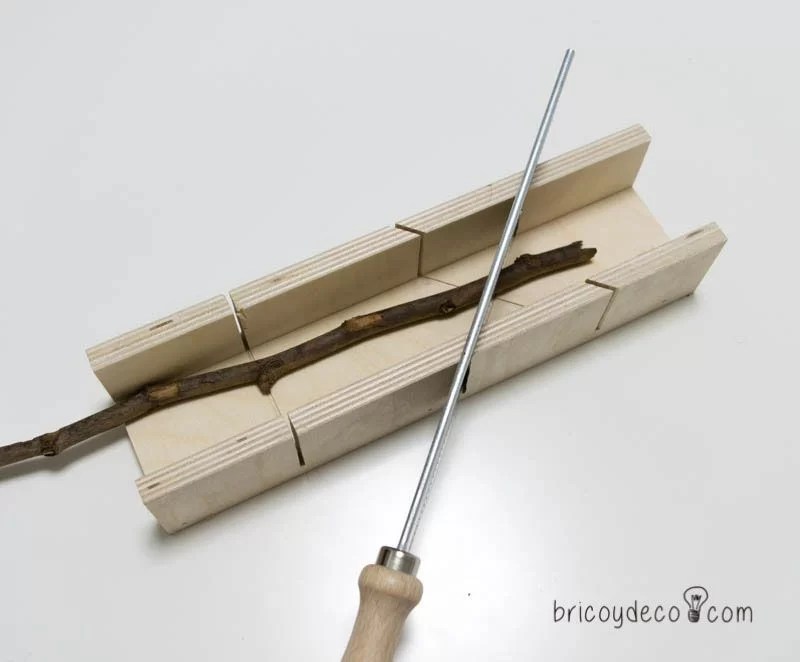
The truth is that until recently I didn’t have a saw or a miter box and I don’t know how I could live without these practical tools.
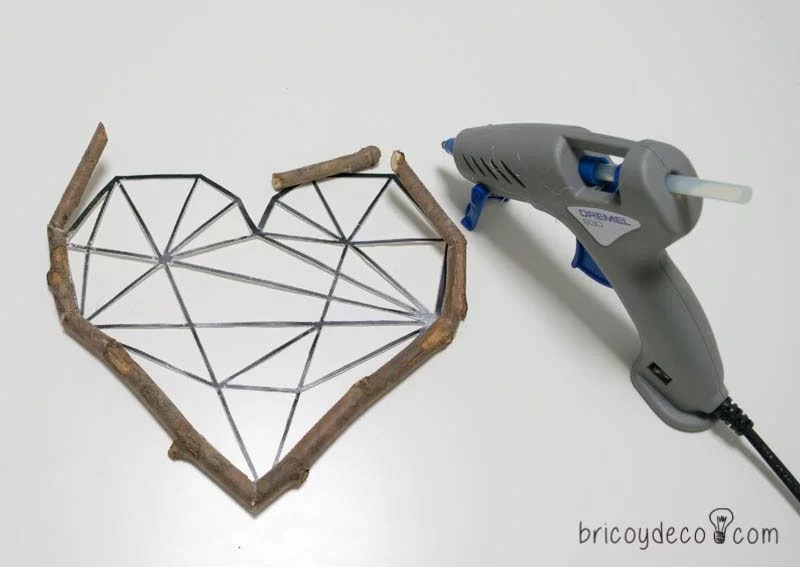
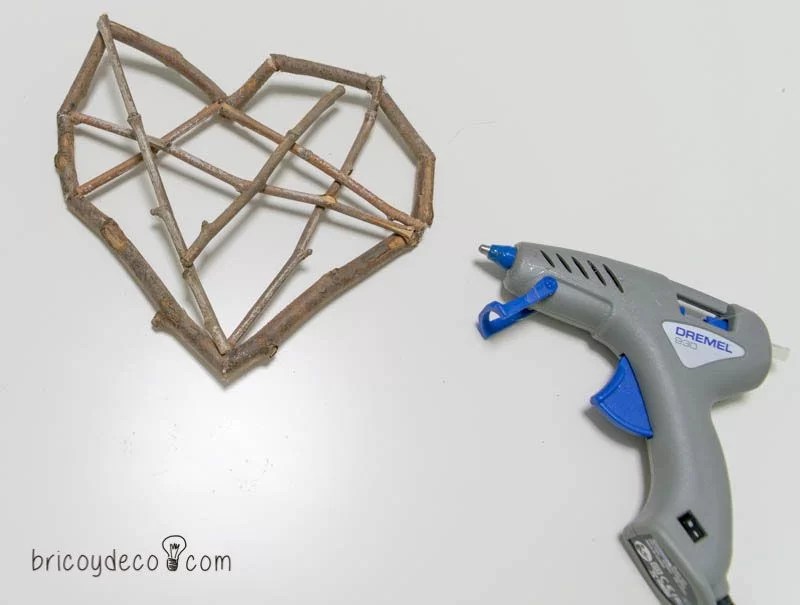
3º.- As the branches are cut, join them with the hot glue gun.
In order for us to have a beautiful and careful job, we must take into account that it will be necessary to remove the threads that form with the gluefor this you just have to wait for them to dry and cut them with scissors.
4º.- After joining all the branches we will have the heart outline.

It has not been totally perfect but it also has its charm and gives it a more natural look.
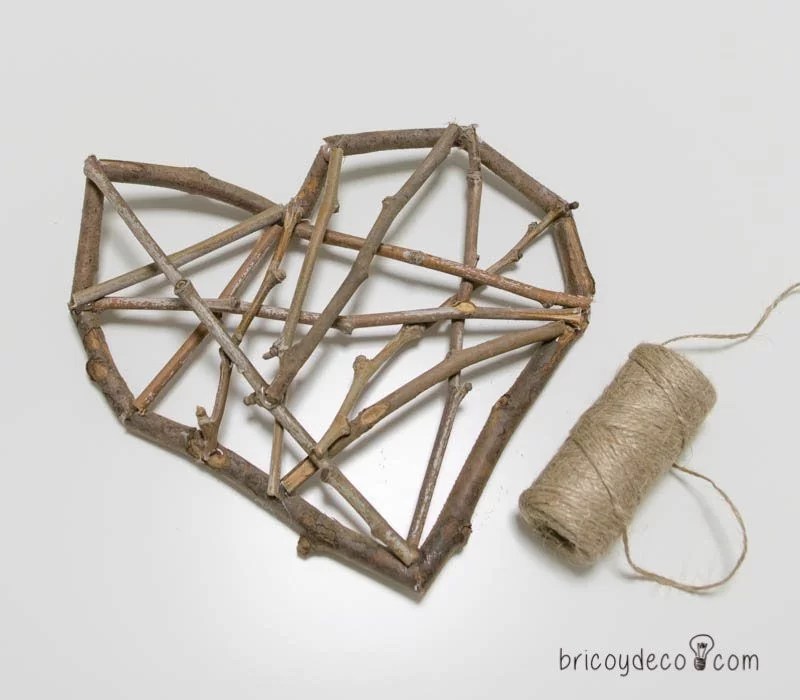
5º.- Next, with the hot melt glue, the smallest twigs will be glued to fill the heart.
At this point I stopped following the template and went a little freelance. The most important thing to get the same effect as the template is to create connections between the joints of the heart silhouette. Twigs will be glued until we consider that we have sufficiently filled the interior of the heart.
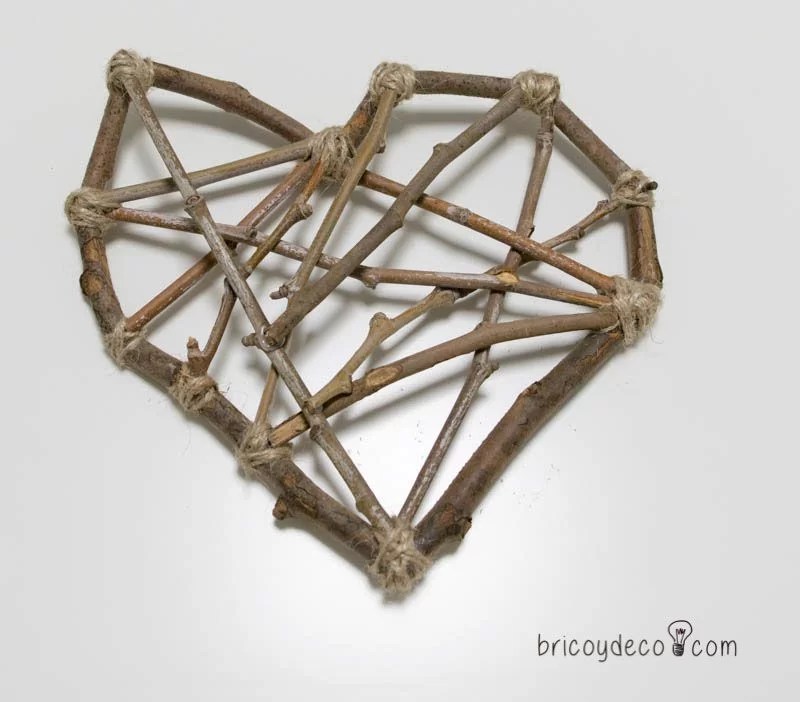
6º.- The next step will consist of wind up natural colored cord around the points where several branches coincide (the connection points), in this way the joints with the glue are hidden and also provides a more natural touch.
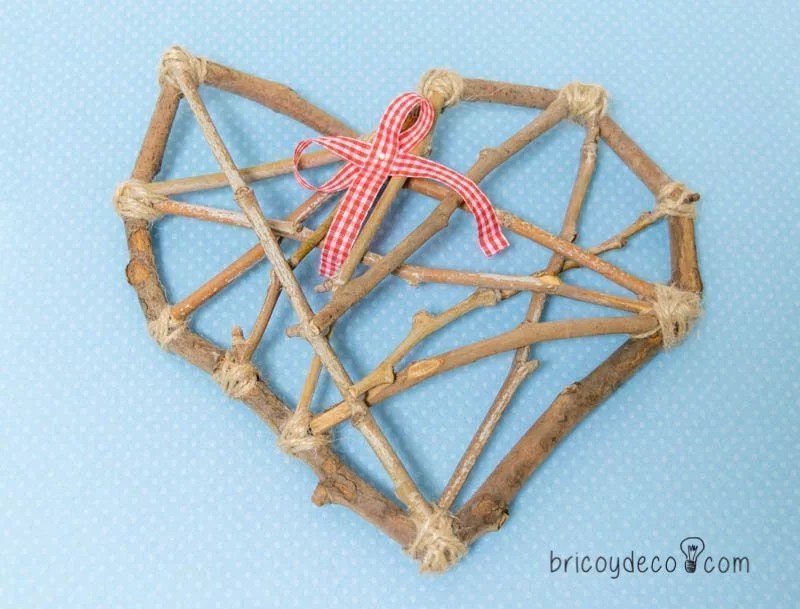
This is how the heart with dry branches has been left after all these steps:
If you want to hang it on the wall or on a door, you can place a red ribbon to give it a more romantic look.
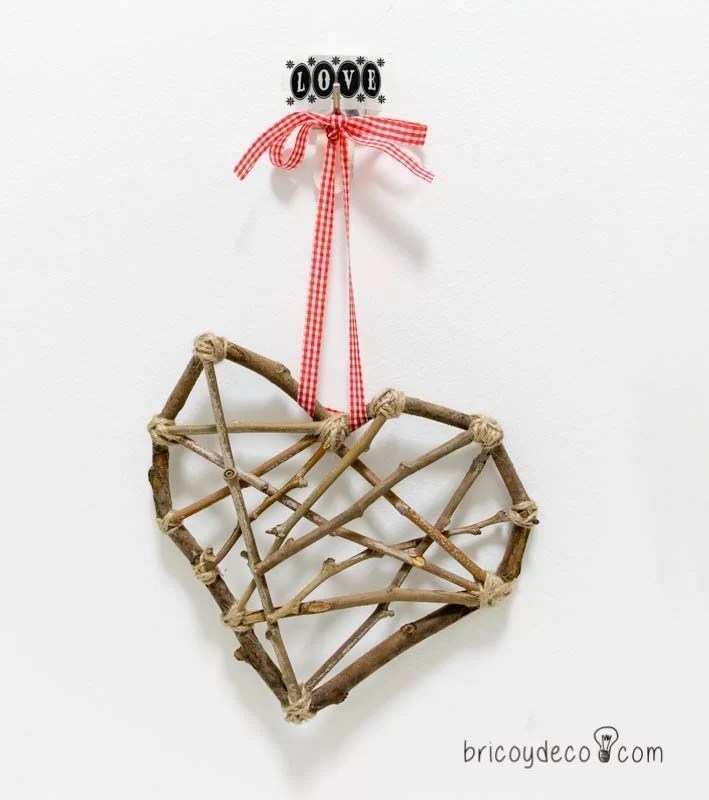
did you like this heart with dry branches? Don’t worry if you don’t have someone to give it to on Valentine’s Day, you can always give it to yourself. If you liked this post, you can see many more DIY projects and ideas at .