

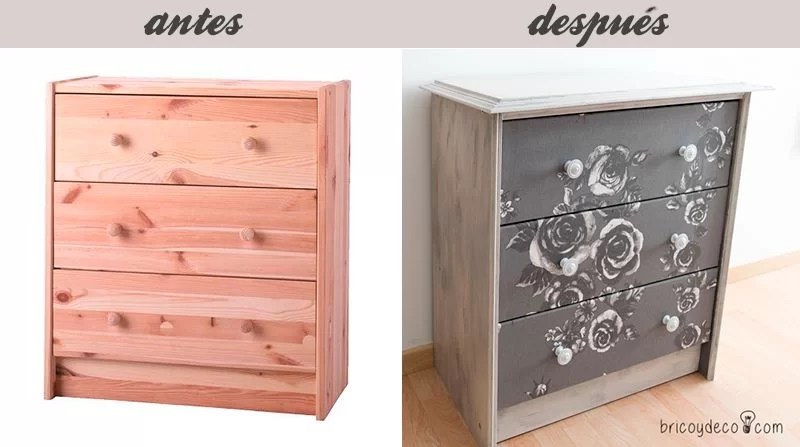
There are countless ideas on the Internet on how to customize the Rast chest of drawers from the Swedish store. All of them are unique and different, in fact if it were possible to place them together one next to the other, nobody would say that it is the same piece of furniture. I also wanted to contribute my grain of sand and show you yet another example of how to customize the Rast dresser.
This well-known chest of drawers is a candy for all “do it yourself” lovers, its simple design made with untreated pine wood allows you to unleash your creativity to transform or tune it with paint, stains, decoupage, add legs, moldings, etc. . Given that in the blogosphere there are transformations for all tastes and styles, I also wanted to contribute my proposal to personalize the Rast chest of drawers and give it a certain air shabby-chic.
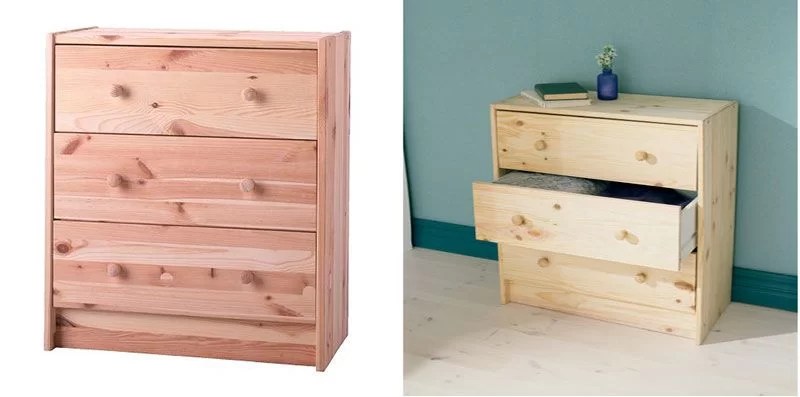
Its price is very competitive (currently €24) and one of the keys to its success. Although my first impression was good since I liked the feel and how robust the wood looked, it is also true that aesthetically it did not convince me. It is as if they had chosen the less attractive pine boards, for this reason I decided that the best option was to paint it instead of staining the wood.
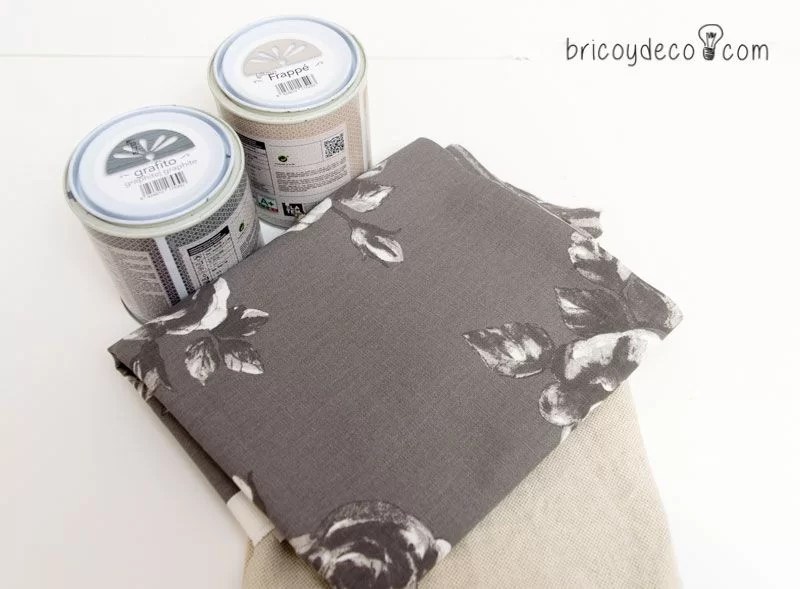
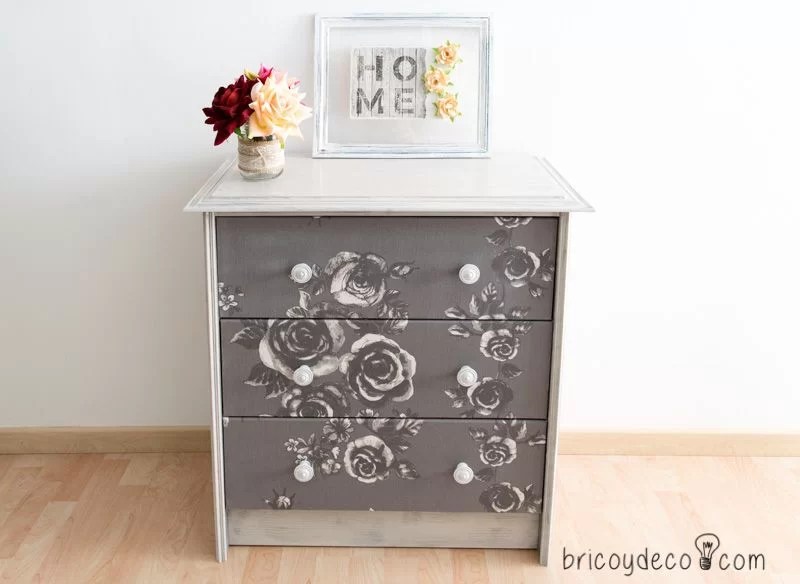
To paint the chest of drawers I chose two contrasting colors from blackboard paint or chalk paint, my favorite when it comes to creating decorative effects, specifically Frappé (greyish white) and Graphite (grey). Also, to give it that Shabby Chic touch that I was looking for, I chose a flower print fabric that combined both tones.
One of the doubts I raised was whether to assemble the chest of drawers first or paint each piece separately and then assemble. Finally I decided on this last option since I thought that this way it would be easier to paint it both inside and outside, as well as the holes, corners, sanding and waxing.
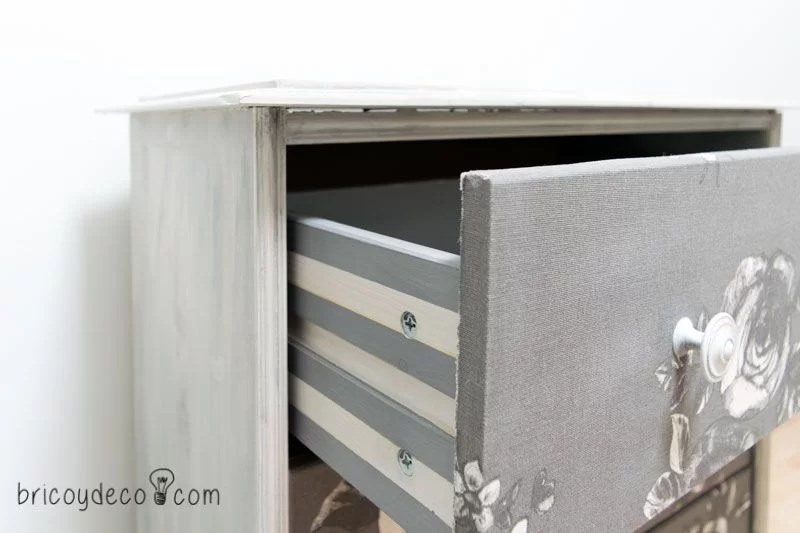
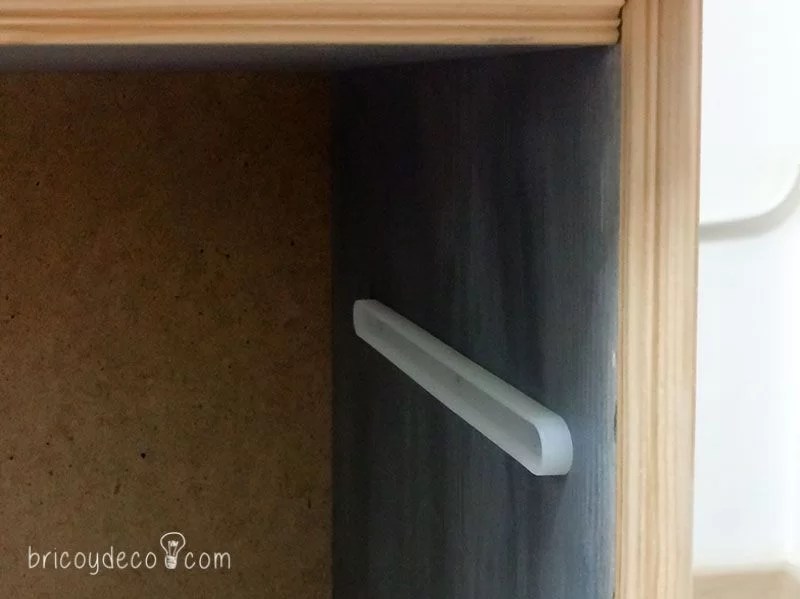
I started by painting the different pieces of the drawers, for this I used the graphite color for the interior and combined it with the frappe to make some horizontal stripes on the sides of the drawer (in this link you can see how to paint perfect lines with masking tape). I covered the front of the drawers with the flower print fabric and inside I placed a linen-colored fabric.
Finally I placed some metallic handles that I had previously painted Frappe colored chalk paint.
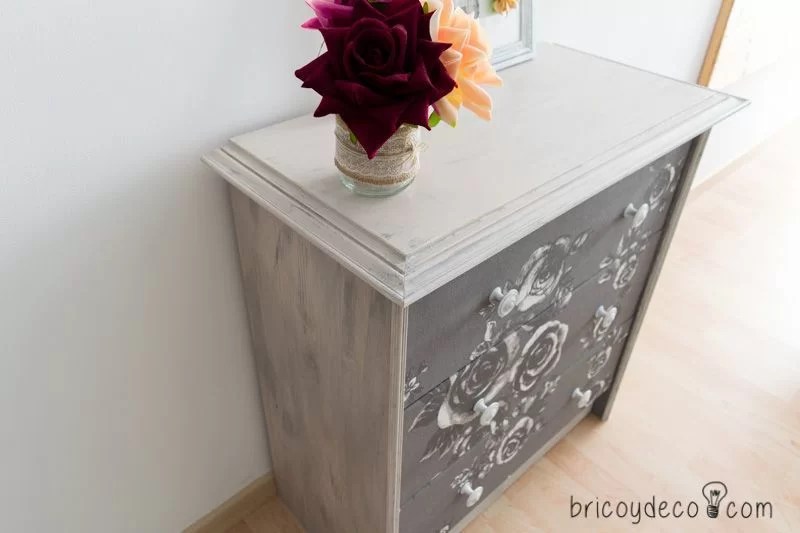
The next step was to paint the pieces that made up the frame of the chest of drawers, creating a stripped effect on the visible part. To do this, I first applied a layer of Frappe color, giving several passes for a total coverage of the wood. Once it had dried, I used the dry brush technique to “stain” the light tone with graphite grey, then I passed the brush moistened with water over the entire surface to dilute the gray strokes and after drying I sanded and waxed to protect the surface. paint and favor its fixation.
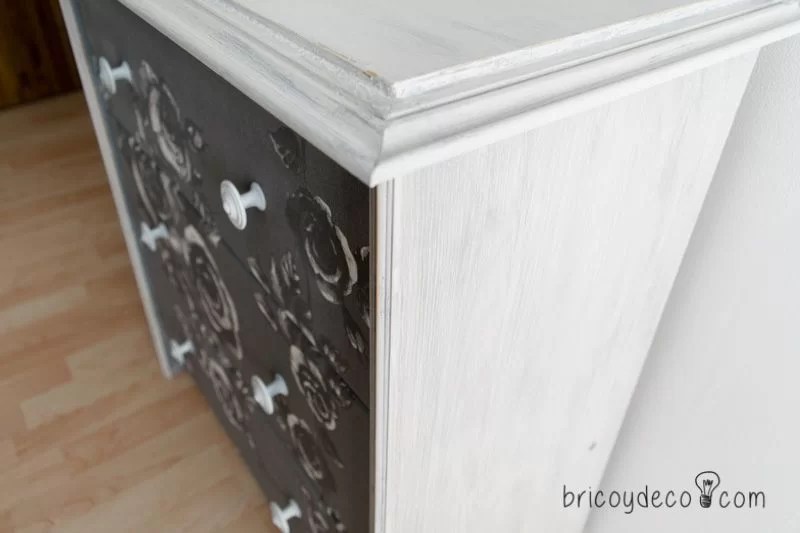
In this way what is achieved is to highlight the pattern of the wood even if it is painted. In the following video tutorial you can see the step by step of this technique:
On the other hand, to give the chest of drawers a slightly more classic touch, I decorated the front edges with moldings cut to size with a handsaw. To fix them I used a mounting adhesive.
On the upper part I placed a 60×30 centimeter melamine board that I also framed and fixed with mounting adhesive.
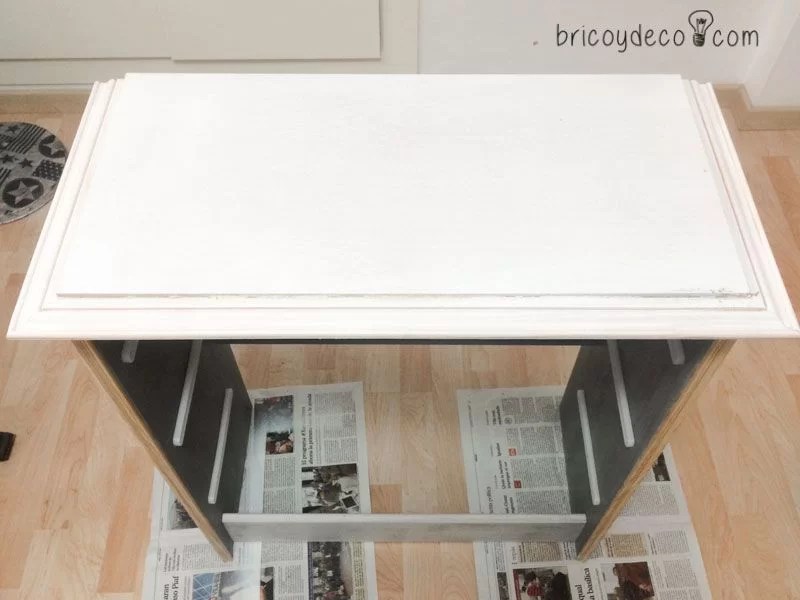
Although the chalk paint has an excellent adherence on untreated wood, I preferred to give the top melamine board a primer layer, since it is a non-porous material and the furniture is going to have continuous use and friction, so I wanted to ensure a good grip.
After letting 24 hours pass, I painted with both colors of chalkboard paint, using the same technique as the rest of the dresser. Finally I placed all the drawers and that’s it. I had already achieved customize the Rast dresser to give it a Shabby Chic look, romantic and timeless.
Summarizing…
To personalize the Rast chest of drawers and give it a Shabby Chic style, the following materials have been used:
– Two contrasting colors of chalkboard paint
– Matching printed fabric
– Wooden moldings
– Melamine board
The approximate cost of these materials has been just over €30, although it must be taken into account that with the fabric and the paint that I have left over I have to decorate another dresser. I also have almost a meter left over from both moldings that I will use for other decorations.
The steps I have followed have been the following:
1º.- Drawers: use the darkest color of chalk paint for the inside of the drawers and paint the sides combining both colors. Line the fronts with fabric, as well as the bottom of the drawer.
2º.- Frame: paint the inside of the dresser with the darkest color of slate paint and the outside with the light one but using the dry brush technique. Wax to protect and harden the paint.
3º.- Decorations: embellish with front moldings and give the furniture greater consistency with a top board.
What do you think of this idea? customize the Rast chest of drawers? Do you have this piece of furniture at home or something similar? If so, I hope this idea has inspired you to give your dresser a different look or to make it unique if you buy it new.
If you liked this post, visit , you will find many more ideas to customize and personalize furniture, as well as DIY projects.


