


I’ve been wanting for weeks Decorate a wooden box that I bought to store the beads that I use in my crafts. Normally I wait for inspiration to come to me to be more or less clear about how I am going to personalize an object or piece of furniture, but this is not always the case, sometimes I decide on the decoration on the fly.
In fact, the decoration of this wooden box has been so improvised that I have not even taken step-by-step photos, although I will try to explain each of them in detail, as well as the materials I have used.
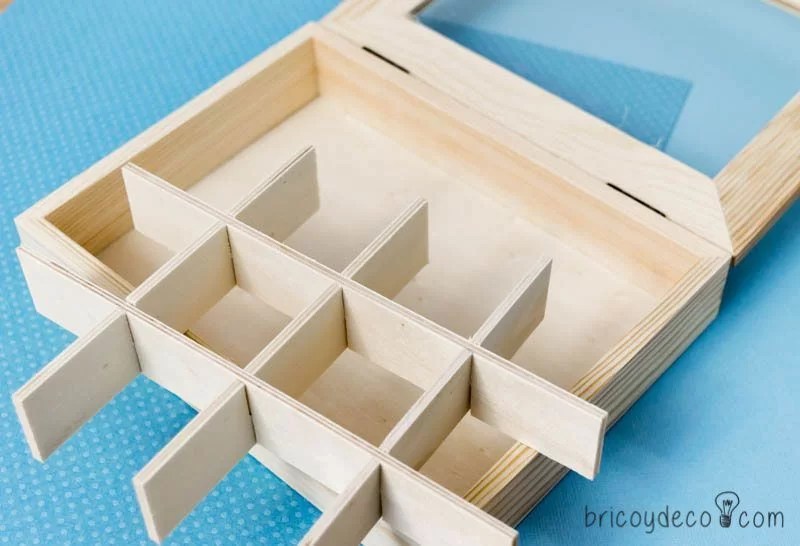
These types of boxes are quite cheap and are usually found in shops selling craft products and also in Chinese bazaars. They are usually made from untreated pine wood, making them perfect for decorating and customizing.

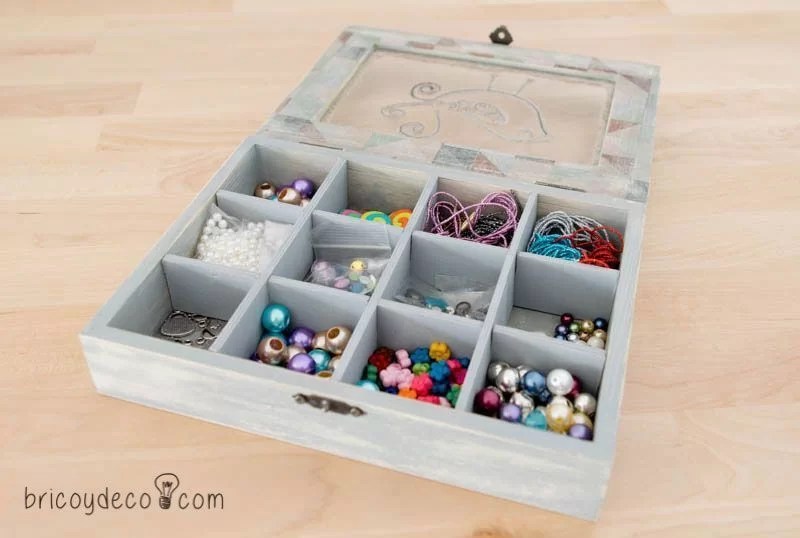
This particular box has internal dividers that make it ideal for use as a jewelry box or to store small beads.
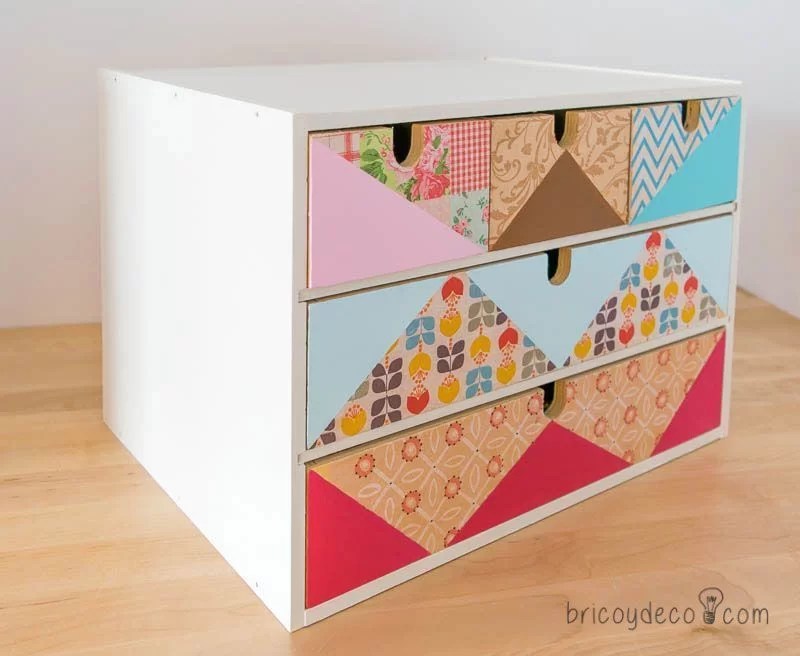
At first I thought of decorating the wooden box with decoupage as I had recently done with this other one (you can see the step by step in this link):
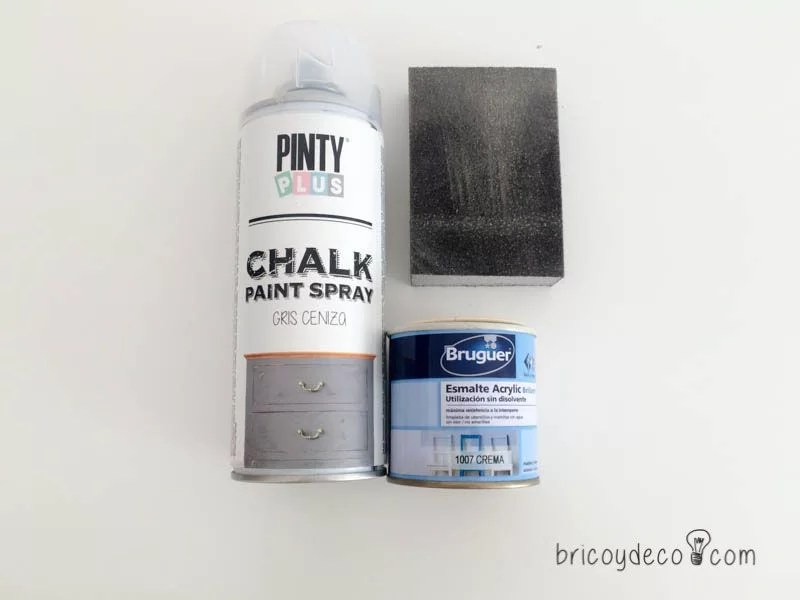
But finally I decided to paint it and create a stripped effect. To do this, first and without previously sanding, I painted the entire box with a cream-colored water-based enamel. I let the recommended time for repainting pass (6 hours) and gave a second coat with gray chalkboard spray paint (You can see several recipes for homemade blackboard paint at this link).
Drying to the touch of the blackboard paint is about 20/30 minutes but it is better to allow 2 or 3 hours to pass before stripping. To create this effect what I did was sand the entire surface with fine-grain sandpaper, in this way the cream color of the first coat of paint reappears and the edges can also be worn down to create a more natural stripped appearance.
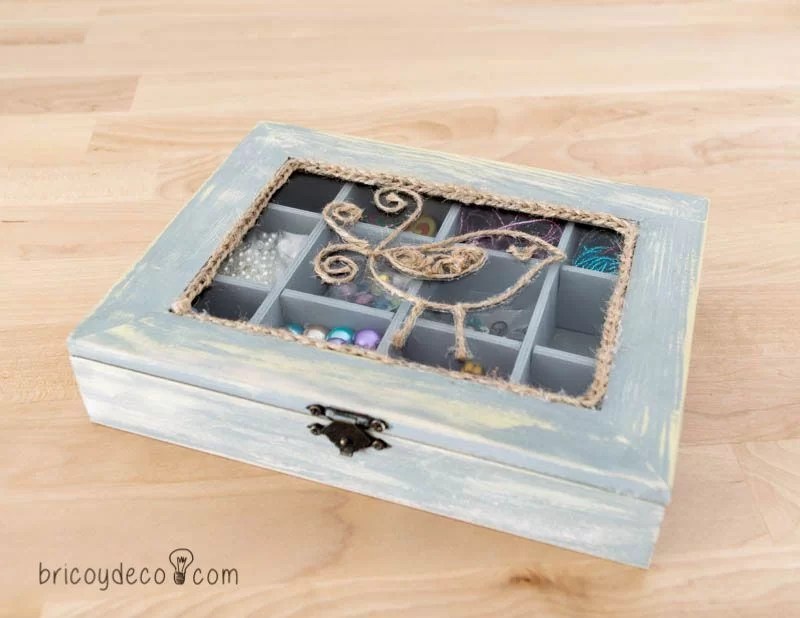
The next step was decorate the glass on the front of the box, I wanted to be able to see the inside to know what trinkets were inside without having to open it, but at the same time I also wanted to personalize it in some way. Going through the sheets I have at home, I found one with a drawing of a bird that seemed right to me.
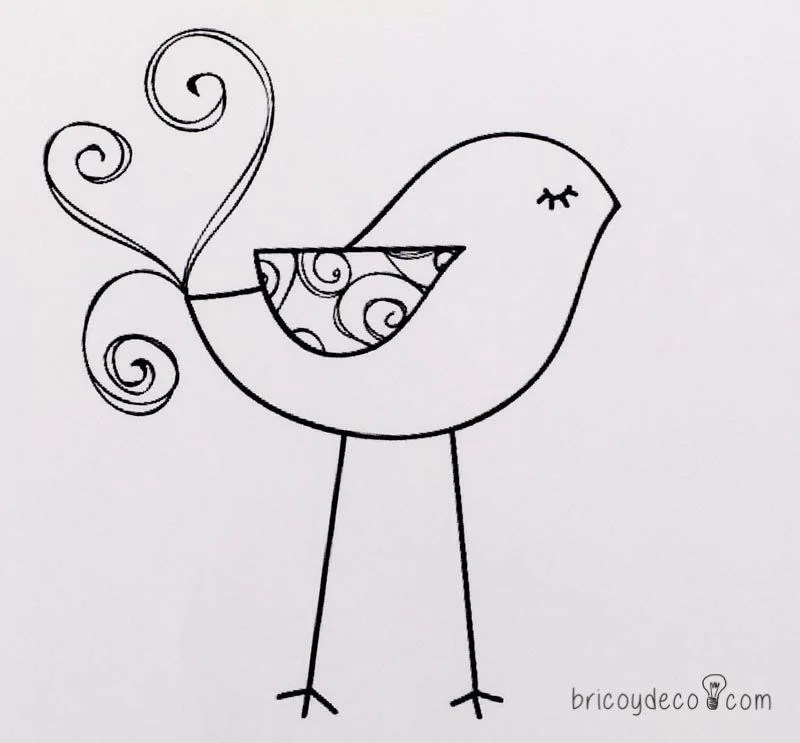
I cut the sheet and fixed it to the bottom of the glass (the one that remains inside the box) with adhesive tape to be able to trace it. At first I thought of drawing the bird with a permanent marker, but then it occurred to me that I could do it with string.
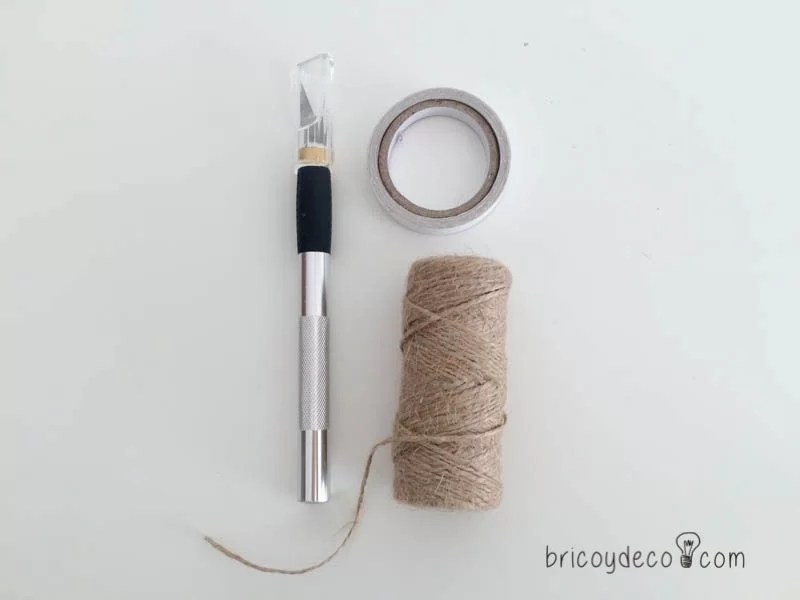
For the rope to be attached to the glass I used double sided tape, trimming with a precision cutter or stylus the part of the adhesive tape that protruded below the cord. If any adhesive remains after removing the double-sided tape, it can be easily removed with a cotton swab soaked in solvent.
Finally I made a crochet chain with the rope and I edged with it the entire inner frame What’s between wood and glass? To adhere it I used hot glue.
After decorating the wooden box, it no longer only has a practical function, but also has an aesthetic function. Before it was just another mass-produced wooden box, like so many others, now it is a completely personalized and unique box, there is no other like it!
The decoration of this wooden box combines neutral tones such as grey, cream and the earth color of the rope. The note of color is put by the beads that are kept inside.
What do you think of this idea? decorate a wooden box and personalize it? Particularly what I like the most is how the rope has been on the glass since it gives it a rustic and original touch at the same time.
If you liked this post, you can see many more DIY projects and ideas at .


