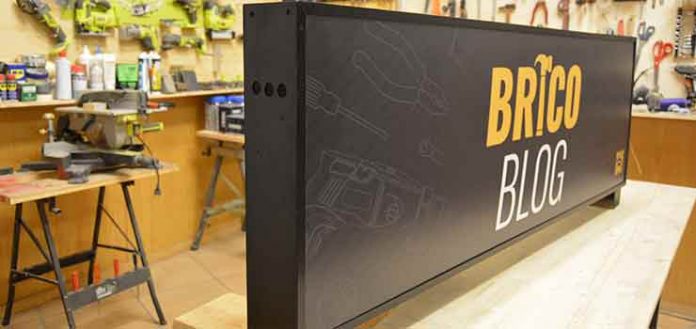
Professional metal painting enhances the aesthetics and beauty of any object to the maximum, whether it is made of ferrous or non-ferrous material, as is the case with aluminium.
We tell you how to carry it out without the need for industrial processes and without using professional machines and tools.
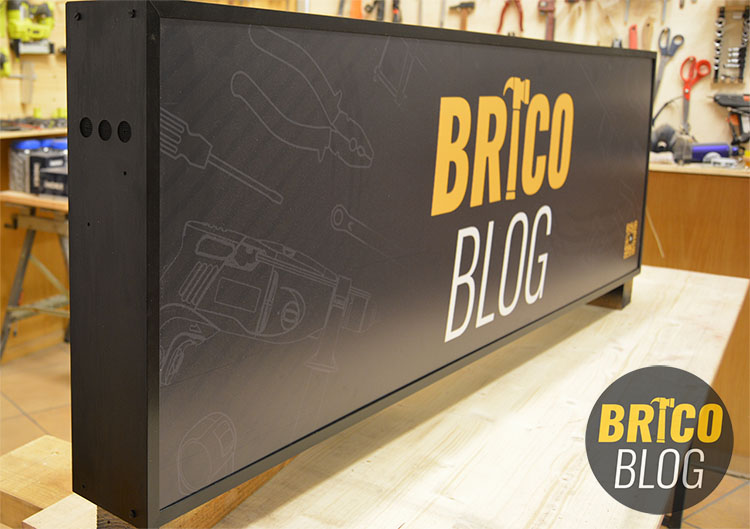
With this third part we have just recover, and leave as new, our old illuminated sign.
Today is the restoration of the aluminum outer casing. Which we will carry out with the ideal paint and painting system, since it maximizes speed, cleanliness and comfort, without sacrificing the professional finish one iota.
Many professionals use the air compressor in conjunction with the spray gun. However, especially in the case of small jobs, preparing this equipment and, above all, the tedious task of cleaning it later, does not compensate for the work and time that it entails.
Not to mention the individual, even the majority of DIY enthusiasts, who do not have this equipment.
Well, Pintyplus has reinvented the professional painting system using compressed air, with a spray painting system that only brings advantages. As easy as shaking the container, uncovering and painting.
I’m not kidding you when I tell you that I’ve always put off painting projects. Always, until Pintyplus crossed my path. From that moment on, painting projects have even served as relaxation therapy for me.
As I was saying, there are two other parts that complete the trilogy of the restoration of an old shining light. Here are the links in case you haven’t had the opportunity to see them yet and you want to do so:
How to put, in an impeccable way, the adhesive vinyl.
How to replace fluorescent tubes with LEDs.
Professional Metal Painted Video Tutorial
Although below you have the instructions, step by step, to carry out this project, before leaving the corresponding video tutorial in which, in just 4 minutes, you can see the complete process in great detail.
Professional metal painting
Well, going back to the topic, we only have to restore the outer casing, to be able to show off a new sign on the facade of our workshop.
We will do it with spray paint but, on this occasion, we will use extra-fast drying acrylic paint.
1st Step – Prepare the base
The 1st thing will be to prepare the base, for this we will remove not only the dirt, but also most of the previous paint, for which we will use an abrasive wire disc mounted on our Ryobi drill.
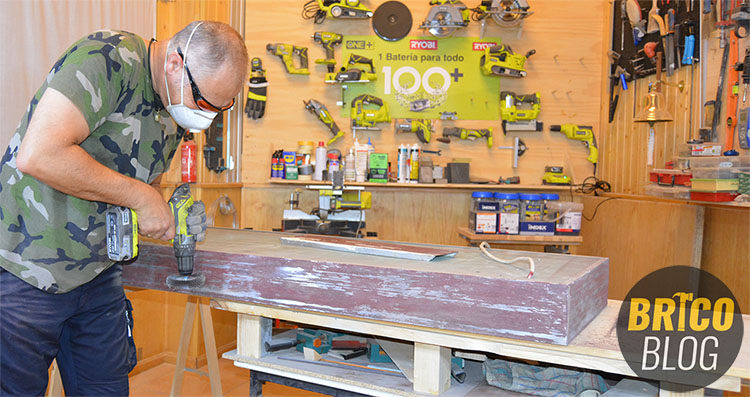
As in the previous article we had cleaned it from the inside, to prevent it from filling with traces of paint and dirt, we turn it upside down and brush it over.
With patience, we are removing all the paint that we can.
In the two tutorials prior to this one, I explained how to apply the adhesive vinyl impeccably, and how to change the previous fluorescent tubes for other LED ones.
If you haven’t had a chance to see them yet, I’ll leave you the links below.
Complete project to “recover and leave an old illuminated sign as new”:
Put adhesive vinyl like the professionals
Clean up and simplify the electrical system
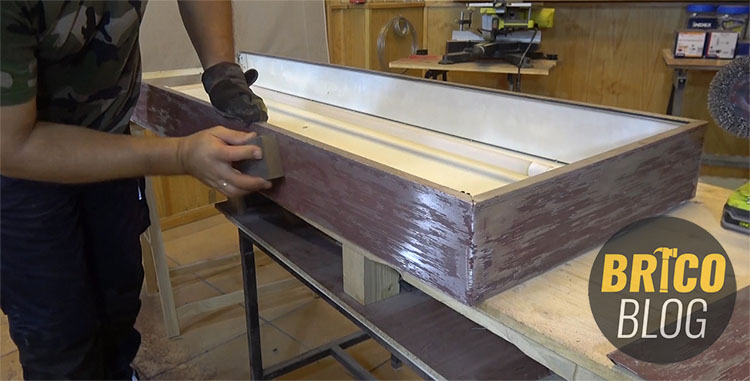
To finish with the preparation, we go over it by hand with a fine-grained abrasive sponge.
2nd Step – The Primer
Once the old paint has been removed, we must give a primer coat before the final finish.
Is it necessary to give the primer before painting?
Yes. It is very convenient, since with the primer we get the paint to anchor optimally, thus preventing it from flaking and deteriorating prematurely.
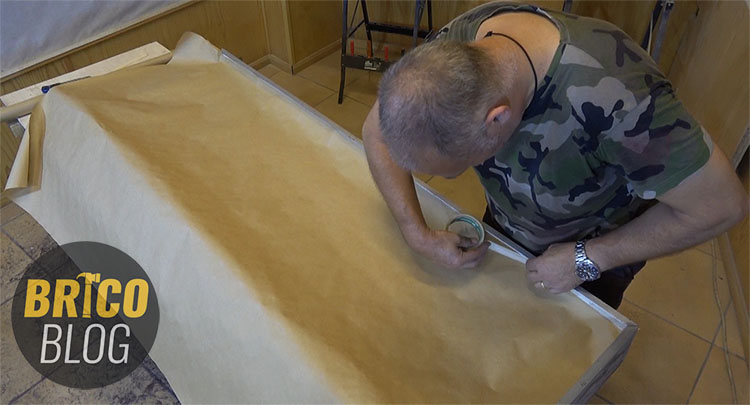
Before applying it, we must protect the interior of the light with plastic or specific paper to paint. And we give a specific primer layer for metals.
The time for repainting the Pintyplus primer is before one hour or after 24 hours. Therefore, we will let it dry for half an hour.
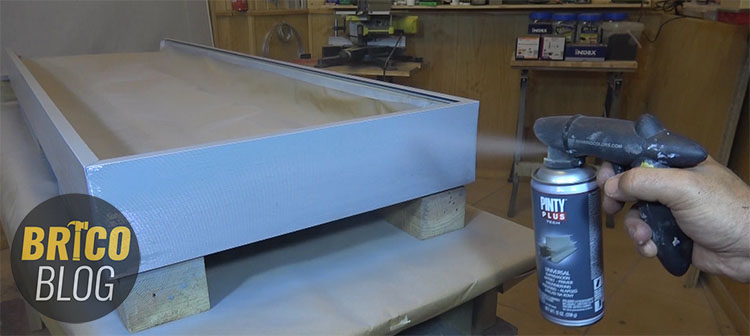
3rd Step – Professional painting
Once the primer is dry, we paint with matte black paint, matching the background of our logo.
Pyntiplus Evolution paint has two great advantages:
- Total drying is achieved in 15 minutes.
- The repeat can be done at 5 minutes.
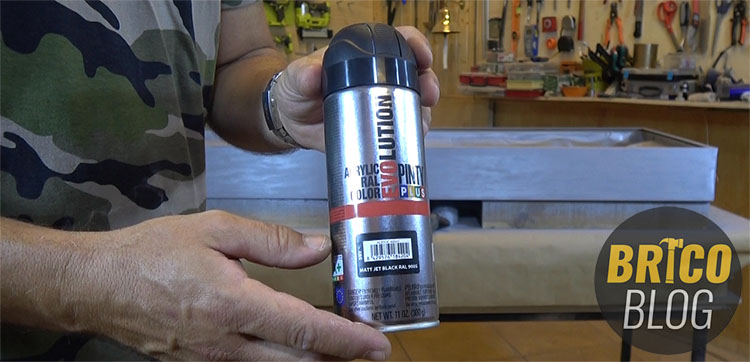
Therefore, we can give two coats practically in a row, without the need to leave waiting times between coats.
I have to emphasize that, with this paint, a professional finish is achieved.
Applying this paint is extremely easy, but you have to take into account a couple of details:
- Remember to apply about 25cm away, not less.
- With soft, uniform and constant passes.
- And give light hands, to prevent the paint from falling off.
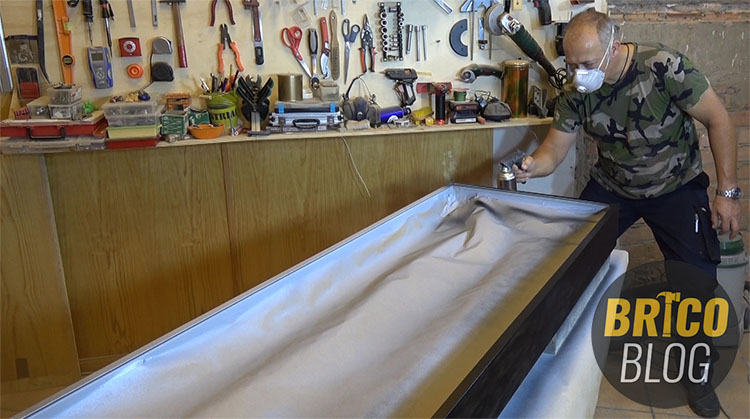
This is done, we will leave a hole to manipulate it with total freedom.
4th Step – Completing the job
The painting process is now completely finished but, as I told you at the beginning, this article is part of a larger project, so to finish we would have the following.
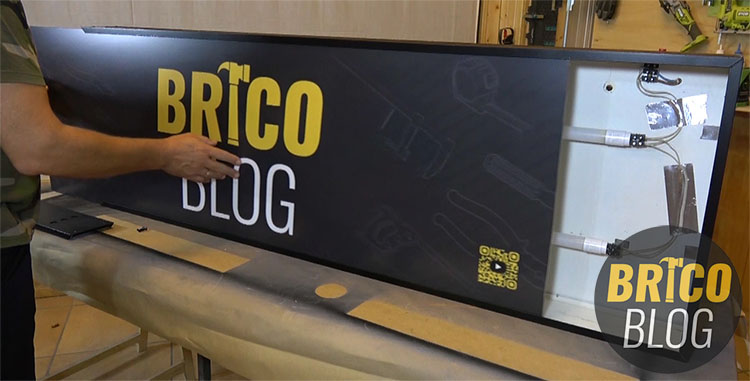
Put the methacrylate sheet with the vinyl that we put the other day, and put the metal side.
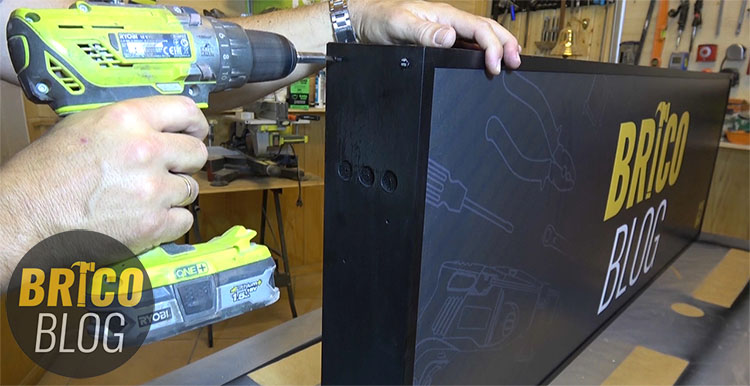
Now we have it completely finished. Ready to install it on the facade of our workshop.
.


