

You don’t have to know how to paint make a DIY painting with which to decorate your home in a personalized way. With this step by step you will learn how to create your own sheet with materials such as paper, cardboard and washi tape and in this way renew your paintings, you will see how easy it is!
we already know that It is the small details that give a different touch to each home, The paintings are a clear example. Can you imagine how this staircase would look without the wall decoration? It would certainly go unnoticed (you can see how to make different compositions with paintings in this link).
Making a DIY sheet will personalize our paintings even more, making them unique and different, in addition to this way they can be renewed or updated without investing too much. The materials that we will need to make a DIY painting are the following:
– A cardboard for the mat, better if it is thick
– A pair of sheets or folios
– Corrugated cardboard
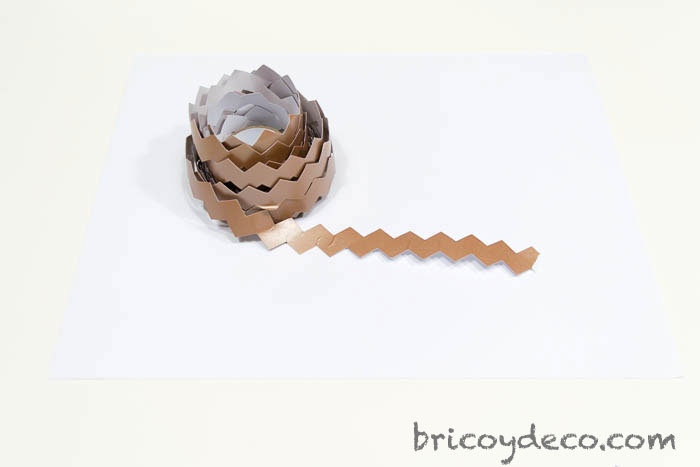
– washi-tapethe one I have used one that has a zigzag or chevron shape
– Mouse tail or rope
– Double-sided tape and scissors
– Optional: stamp stamp
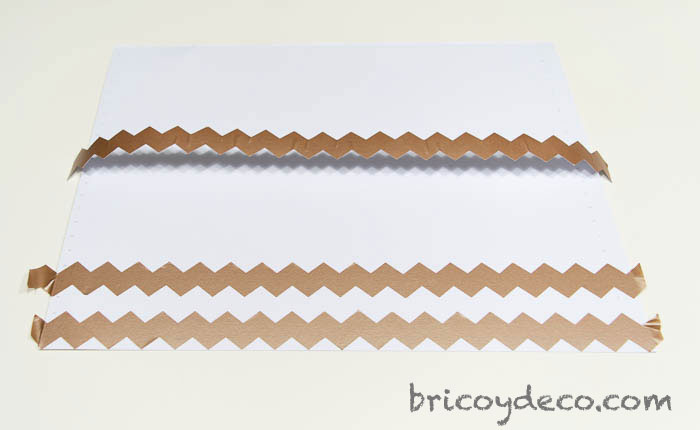
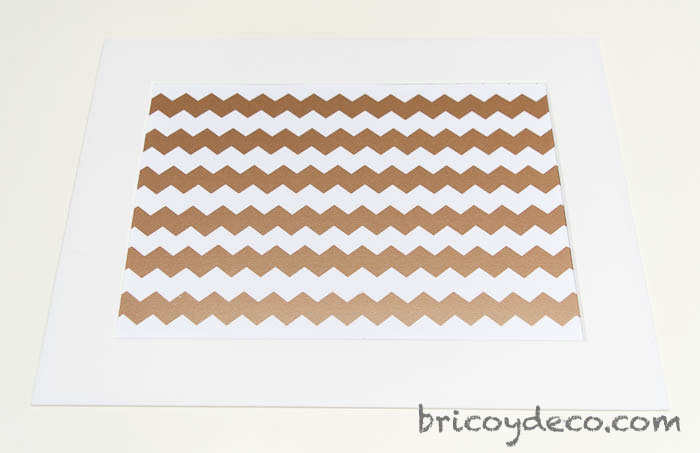
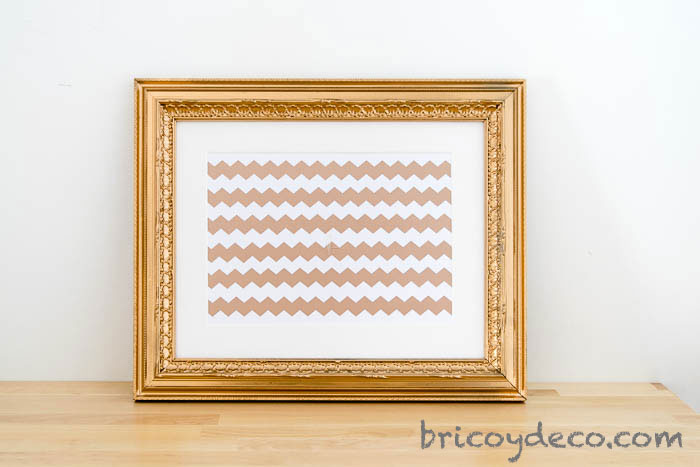
First with the cardboard we will make the mat, the width of it will depend on the size of the box. Next, the washi tape is glued on one of the sheets of paper. I have used a copper-colored tape that I have been placing horizontally, but you can decorate the entire sheet with washi tape of different colors or patterns.
Next, with double-sided adhesive tape, the mount is fixed to the sheet and placed in the frame.
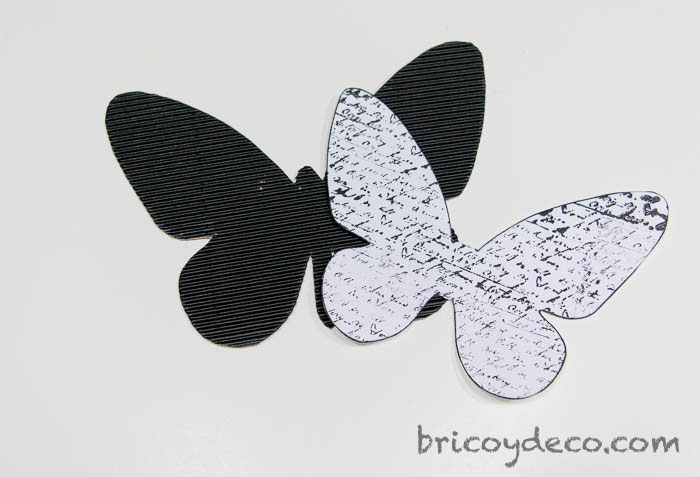
The truth is that only with the washi tape it is cute but you can still decorate and personalize it a little more, to do so on the other sheet of paper the silhouette of two butterflies will be drawn or printedone of them will be 75% smaller than the other.
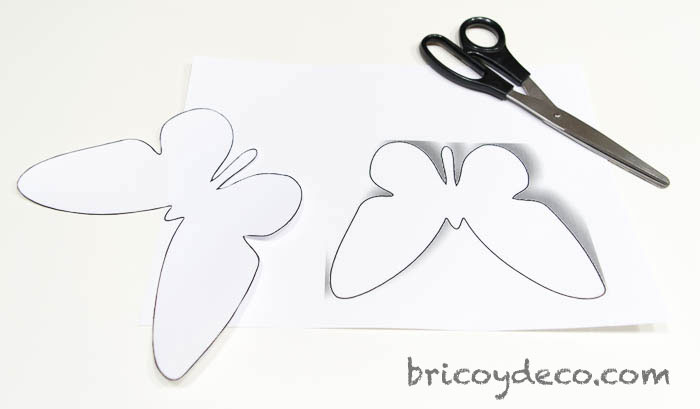
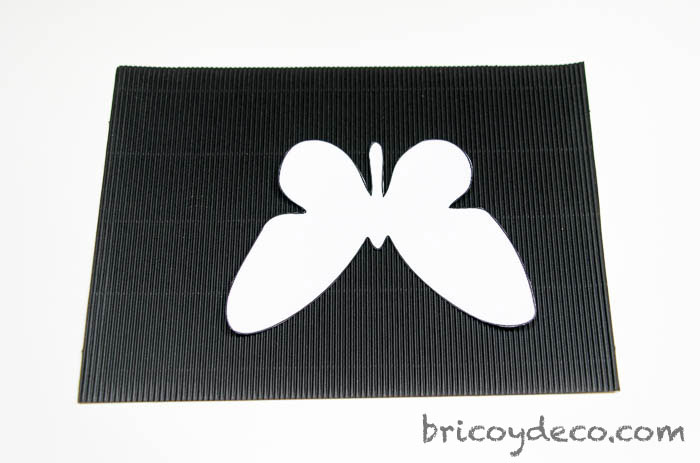
The largest butterfly is then cut out and placed on top of corrugated cardboard to serve as a template and to be able to cut it in the same way. The corrugated cardboard that I have used is black but you can use any color and even paint with acrylic paints.
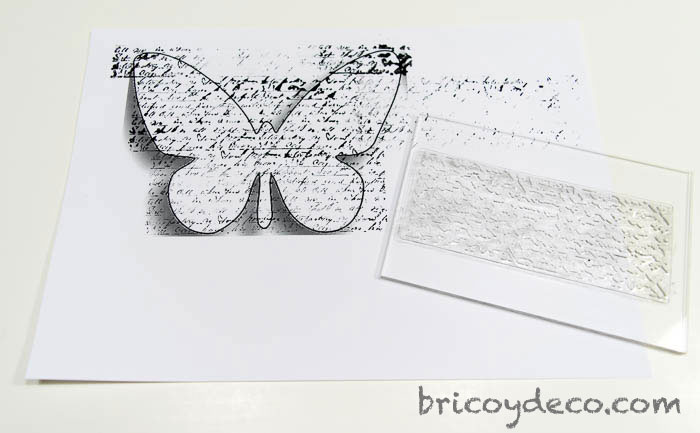
Next on the smallest butterfly a seal is affixed with the reason that we want, I have used one that simulates the old writing. If stamps are not available, the butterfly can be drawn on already decorated paper or on a sheet of newspaper, for example.
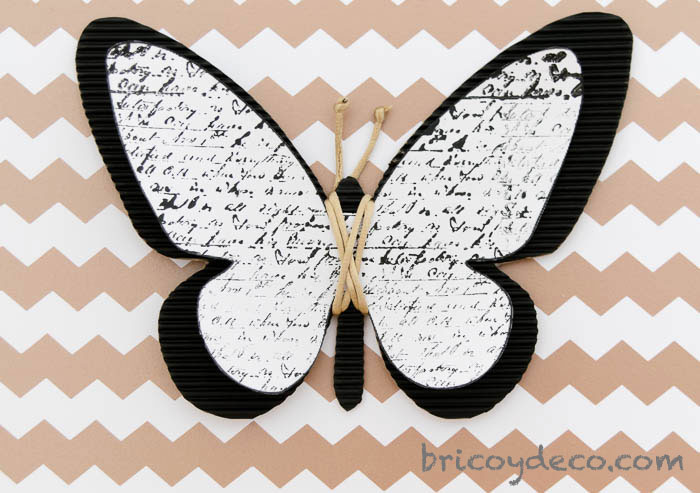
Next both butterflies are cut out and are joined at the center with double-sided tape. To decorate the central part and make the antennas, wrap a mouse tail or rope around it.
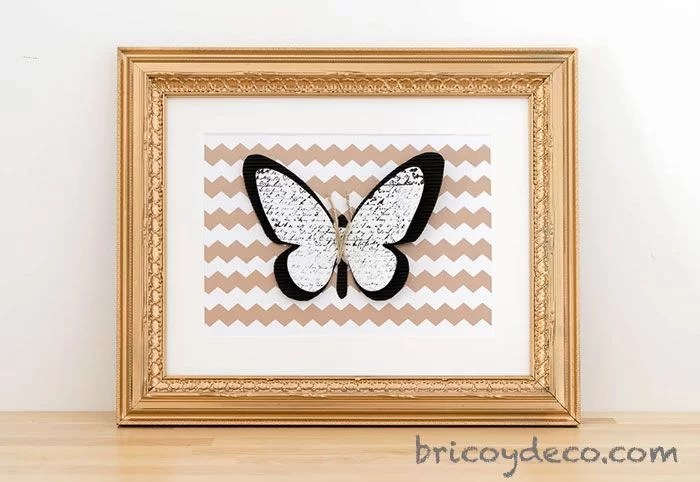
Now all that remains is to center the butterfly on the sheet to get our fully personalized DIY painting.
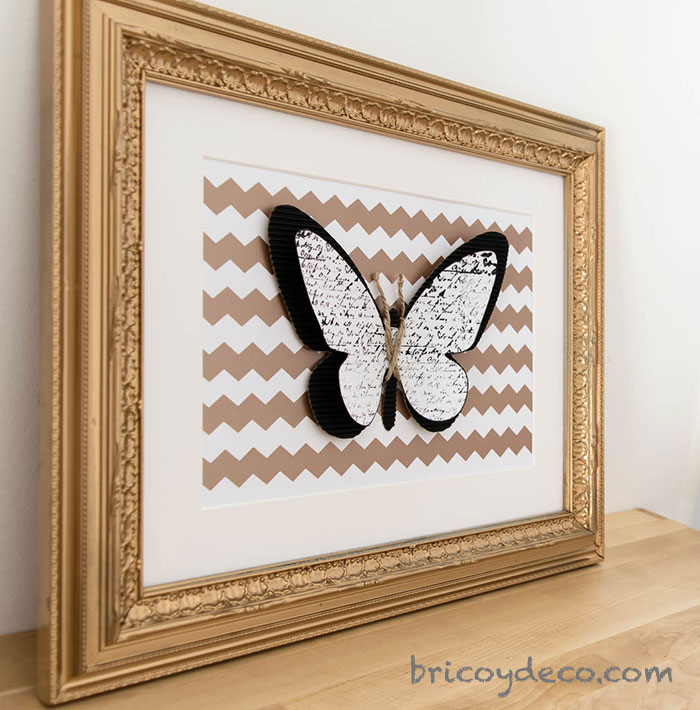
After seeing the resultyou are going to dare to make a DIY painting? Surely it is because not only is it not complicated but you also need very few materials that can even be recycled. If you have already tired of your old paintings, now you have no excuse to update them and give a new look to your decoration.
If you liked this post, you can see many more step-by-step and DIY ideas at .


