

Milk paint or milk paint is an ecological paint made from products of natural origin, in fact this type of paint was the one used by American settlers to paint their houses, taking advantage of the milk provided by the cows they had in their stables. . Its preparation is very simple, if you want to learn how to prepare it you just have to continue reading this step by step about how to make milk paint.
Milk paint shares many characteristics with blackboard paint or chalk paint, both can be applied to almost any surface (wood, plastic, plaster, glass, metal…) and do not require prior sanding. In addition, they do not produce odours, they can be applied both with a brush and with a roller and can later be cleaned with soap and warm water. Its drying is very fast (about 30 minutes) and a protective wax or varnish finish can be applied.
Milk paint has a crumbly, dull appearance that provides a rustic finish. It is normally used to paint cheap and visually unattractive woods. Its main component is milk protein (casein) and for its elaboration we will need the following materials:
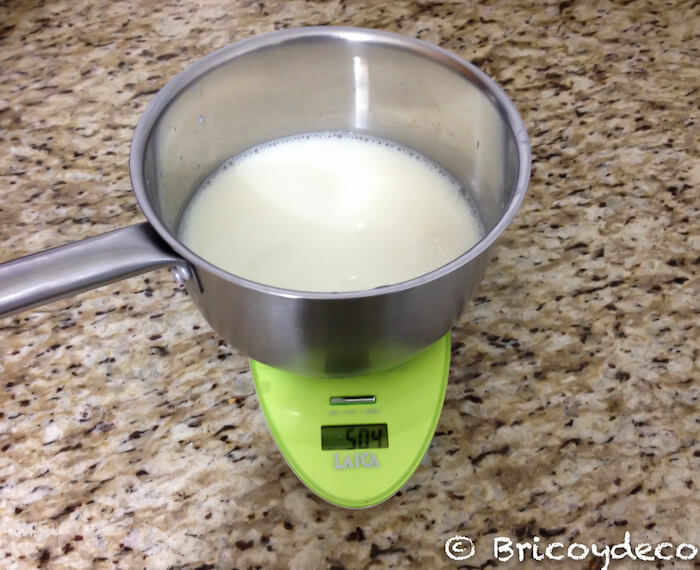
– 500 ml of skim milk
– 25 ml of white vinegar
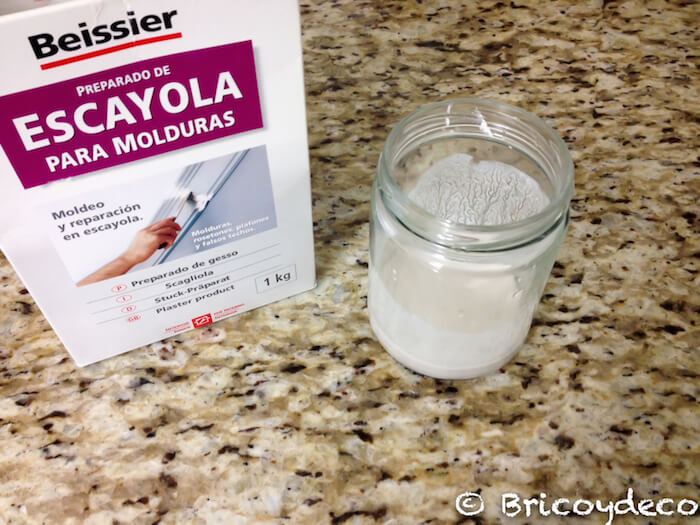
– 25 grams of plaster powder
– 50 ml of warm water
– Pigment (acrylic paint, natural pigments, titanium white, etc.)
Keep in mind that it is not convenient to make a large quantity since it has an expiration of a couple of days due to the fact that its main component is organic.
Making milk paint is very simple as you will see in the next Step by Step:
1st.- Skim milk is poured in a saucepan and heat until it is about to boil (just when it begins to form bubbles).
2º.- Once we have removed the saucepan from the fire, white vinegar is poured little by little while stirring the mixture.
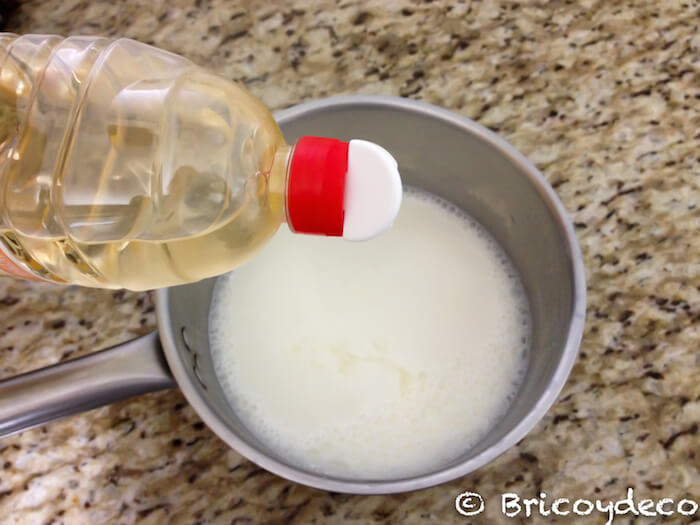
As we stir the mixture we will see that some lumps are forming, that is because the whey protein is separating from the milk (which is usually called “cutting the milk”).
3º.- In a separate container We mix the plaster powder with the warm water and the pigment (I have used titanium white), stirring everything until it is completely dissolved.
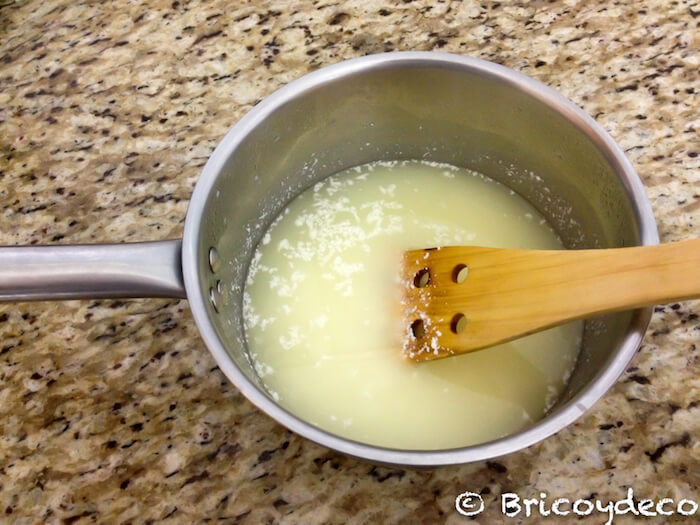
4º.- Next the milk is filtered to remove the whey or liquid part, for this we will use a cloth or paper filter. You can also use an average which is what I have done.
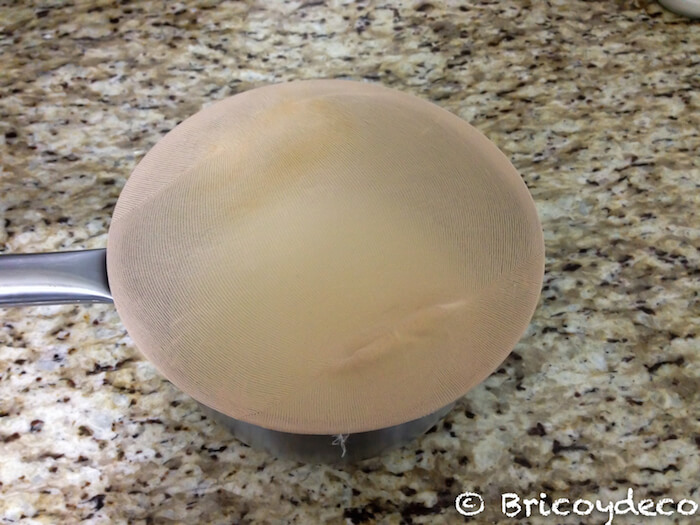
Once the whey is removed, we see that we are left with the lumpy part of the milk, as if it were cottage cheese (note, cottage cheese that is prepared for human consumption is not suitable for this recipe).
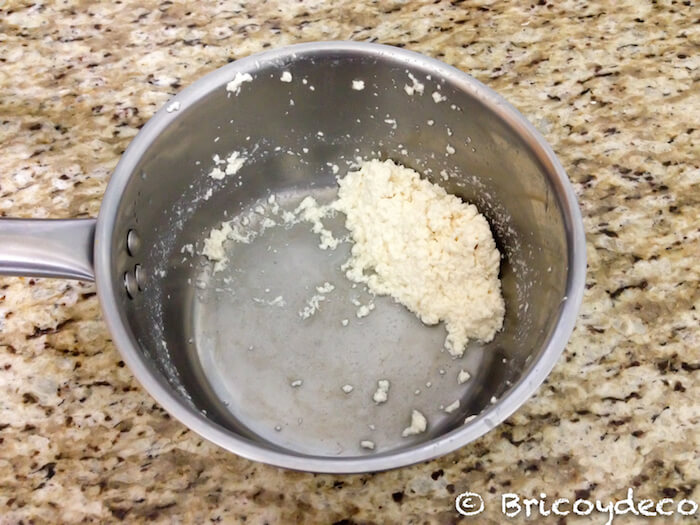
5º.- Finally we add the resulting casein to the mixture that we had prepared with the plaster powder, the water and the pigment. You have to beat it well so that the paint is homogeneous and there are not many lumps left, I don’t have a paint mixer so I did it by hand and some lumps remained.

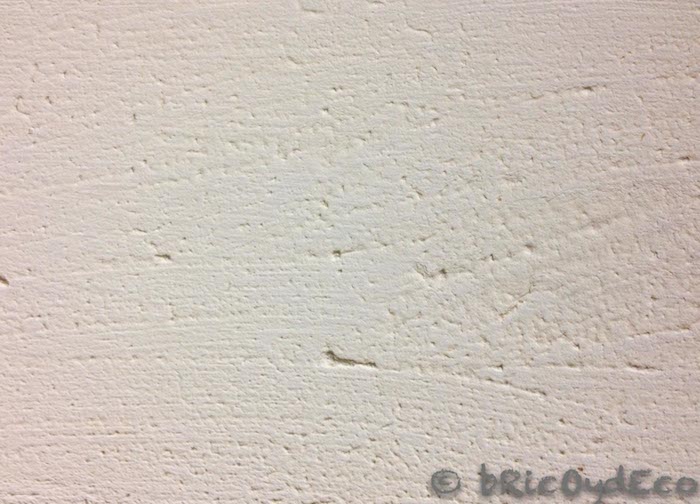
Now that we have managed to make homemade milk paint, the time has come to try it. For this I have used a wood without treating or sanding. In the following image you can see how the wood has turned out after 4 layers of paint.
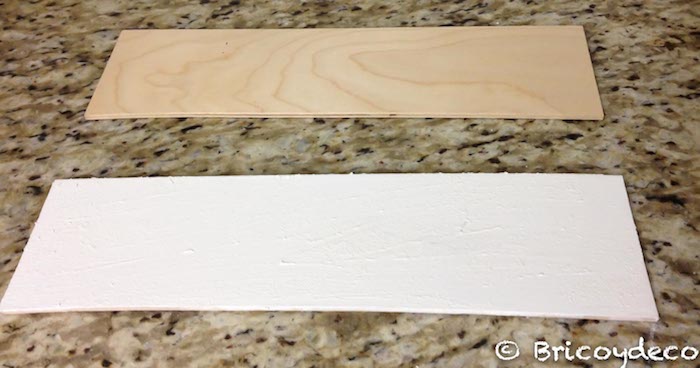
The final finish has been quite lumpy due to the fact that when I beat it by hand I did not get a homogeneous mixture, but the truth is that it has its charm and can be interesting for certain jobs.
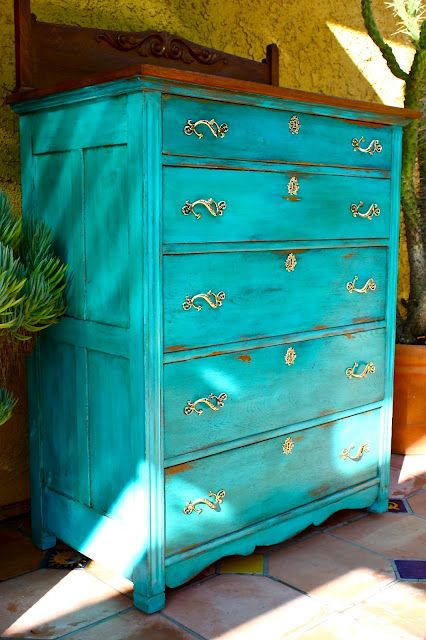
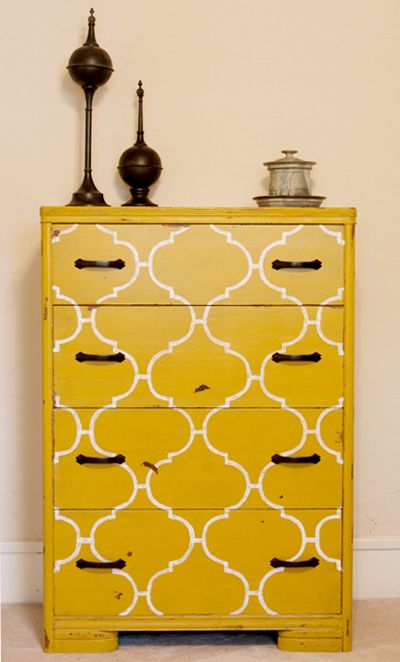
In the United States, milk paint is widely accepted when it comes to restoring old furniture, there it is marketed in powder form that is already prepared to be mixed with water. In the following images that I found on Pinterest you can see some examples.


What do you think of this recipe to make homemade milk paint? Do you dare to do it? I have found it to be an interesting finish, although my advice is to use a blender (even if it is a kitchen blender since it is easy to clean), to achieve a more homogeneous mixture.
If you liked this post, I would appreciate it if you shared it on your social networks.


