


A few years ago it wouldn’t even have occurred to me. recycle an old coffee grinder, especially if it was chipped and rusty, I would have thrown it directly into the trash. However now, after seeing truly amazing transformations and trying various techniques to recycle, renovate and restore objects and furniture, I am able to look at the old with different eyes.
Last Sunday I visited an antiques market and among the quantity of more or less interesting objects that I saw, I found a old coffee grinder. Even though it was literally “eaten up” by rust, what I liked most about it was the carving on the different faces of it.
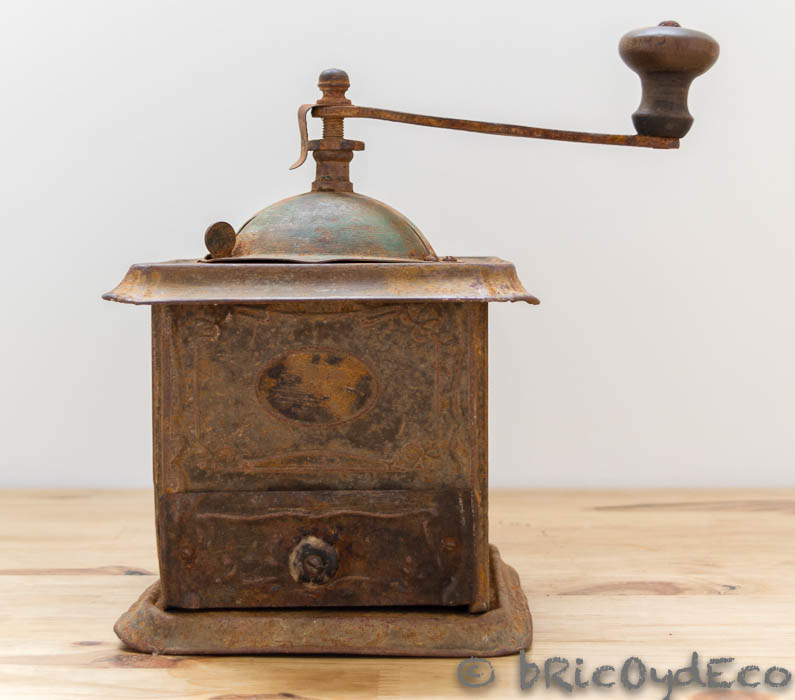
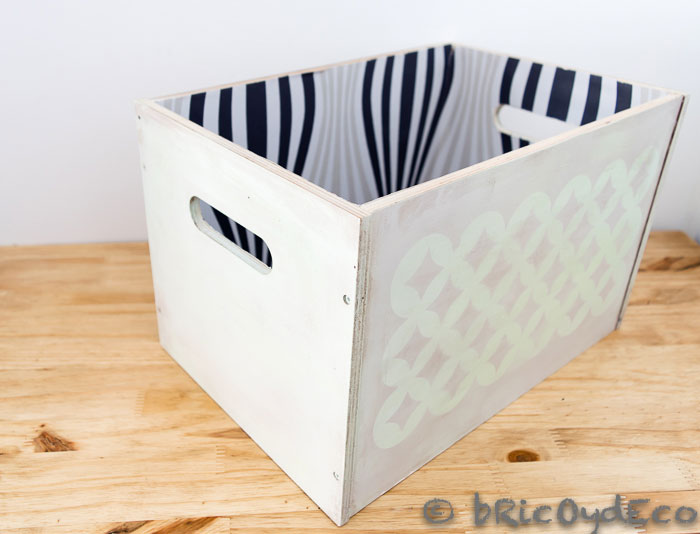
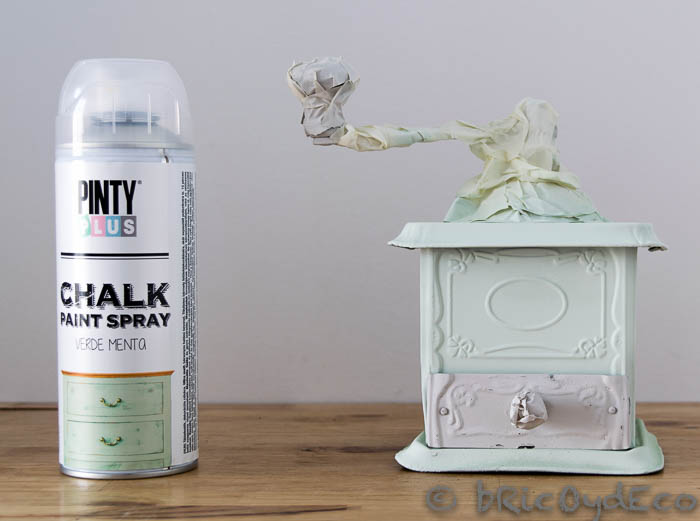
After picking it up and looking at it carefully, I thought it would look good if I applied the same technique I used to decorate one of the boxes I took to the DIY Show, specifically the one I painted with chalk spray paint.
As I still owe you several tutorials on the decorations I made for the fair, I am going to take advantage of this step by step to explain them how to paint an object or furniture with chalk spray paint.
Materials needed to recycle an old coffee grinder
– Foil to remove rust.
– Chalk spray paint stone color and mint green, can be purchased online at this link.
– sandpaper block medium grain.
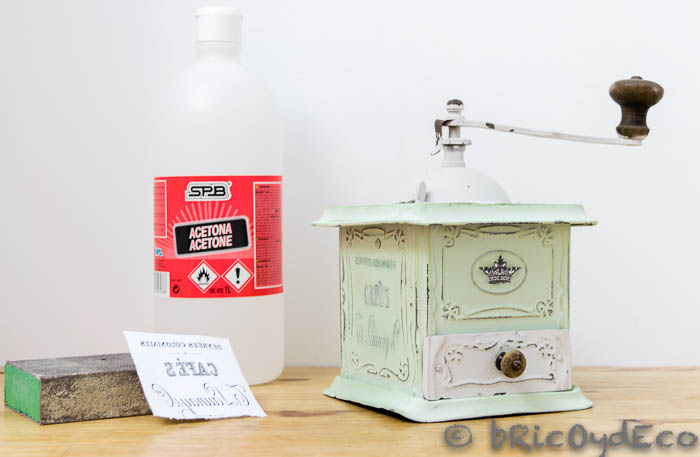
– Acetone to make the transfer.
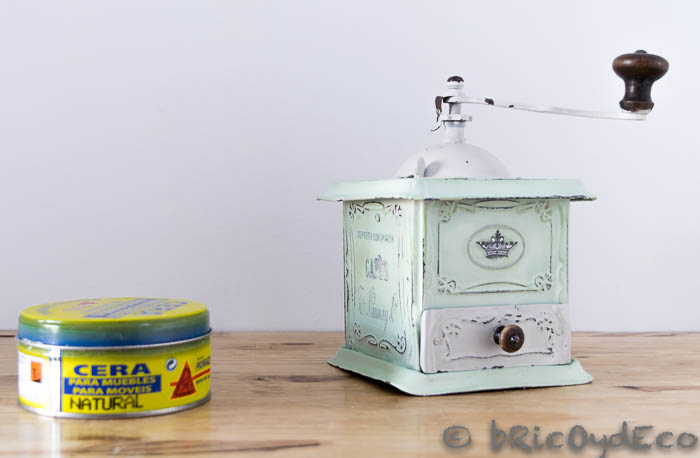
– colorless wax to protect the finish.
Recycle a coffee grinder step by step
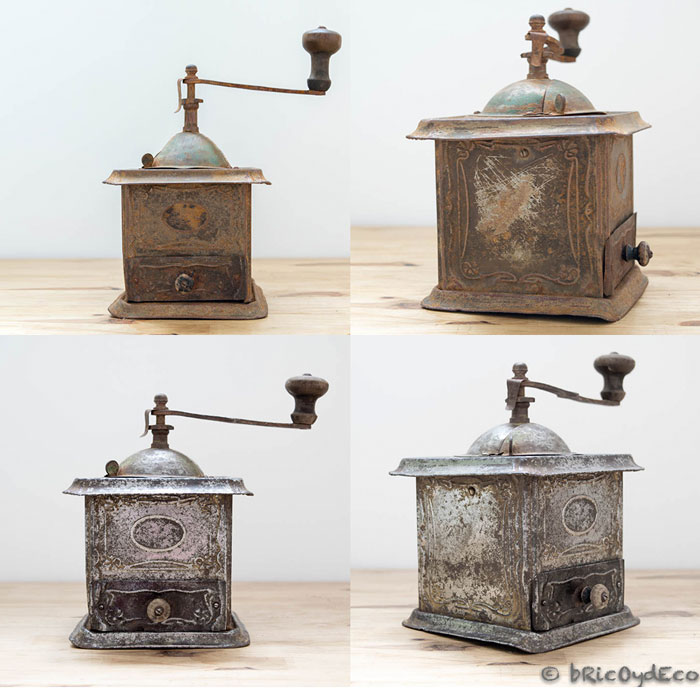
First of all, I removed the rust that had formed on the metal sheet, for this I used strips of aluminum foil as I explain in this post.
Under the rust, the metallic color of the sheet metal appeared and some dark spots as a result of the wear and corrosion to which it had been exposed.
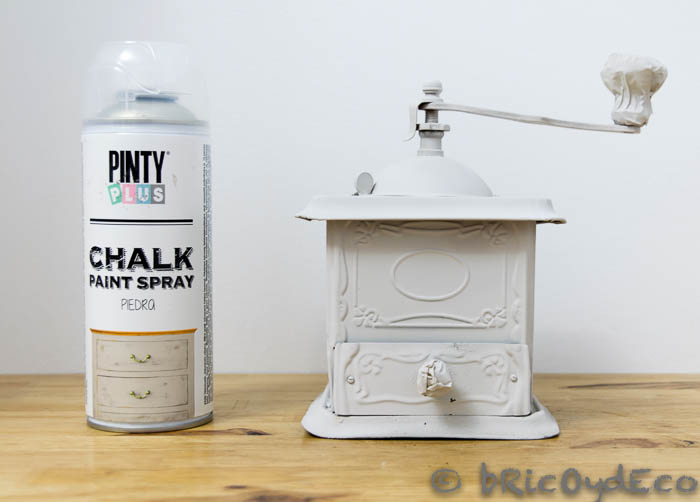
Then I protected the drawer knob and the crank handle with masking tape, then I gave a first coat of stone-colored spray chalk paint. The great advantage of using spray chalk paint is that you get full adhesion and coverage in a single pass, all this without brush or roller marks and in just a few minutes.
Advice: To paint with spray paint (either chalk or otherwise), first of all you have to shake the container very well for approximately 3 to 5 minutes, since in this way we will obtain a uniform color and prevent drops from being produced. with excess pigmentation. When spraying, a distance of about 25 centimeters must be maintained to avoid accumulations of paint on the object or furniture that we are going to paint.
In the following image you can see how the grinder turned out with a single coat of spray chalk paint. Although it looks white in the photo, the stone tone I used resembles pearl gray.
As my intention was to leave the front of the drawer and the upper part of the grinder in a stone color and paint the rest in mint green, I covered the upper dome with masking tape and once the time recommended by the manufacturer for repainting had passed (in this case one hour), I gave a second coat with spray chalk paint of this color.
Advice: Whenever you are going to paint any object or piece of furniture, whether with acrylic enamel, chalk paint or spray paint, you should read the manufacturer’s instructions and recommendations, taking into account the time of drying to the touch, the repainting time and the maximum adherence time. .
Once the layer of mint green paint had completely dried, I made the transfer of a vintage text and image with acetone (in this link you can see how to make this type of transfers step by step). Here are the templates I used:
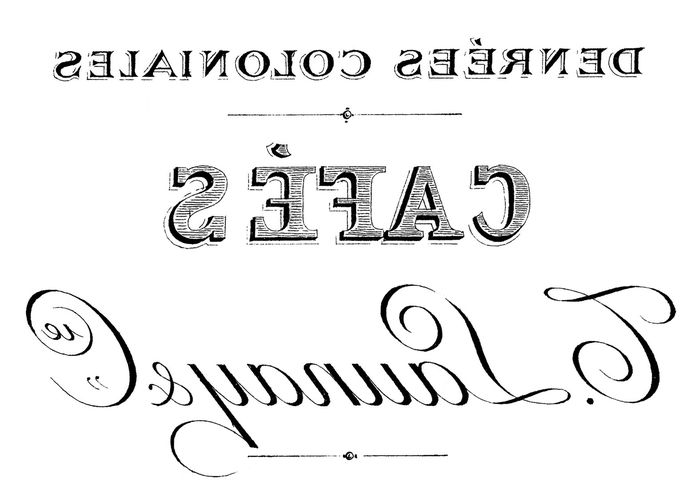
Image: thegraphicsfairy.com

Image: thegraphicsfairy.com
Advice: remember that acetone can remove paint so apply a small amount with a cotton swab, only on the part of the image or text you want to transfer. On the other hand, if the transfer has been poorly defined, you can always go over it with a black pencil.
For accentuate the vintage style of the grinder i sanded some parts like the corners, the guilloche, and the text I had transferred.
With the sanding I verified that the adherence of the paint to the metal had been good since in some parts I had to use a cutter to scratch it.
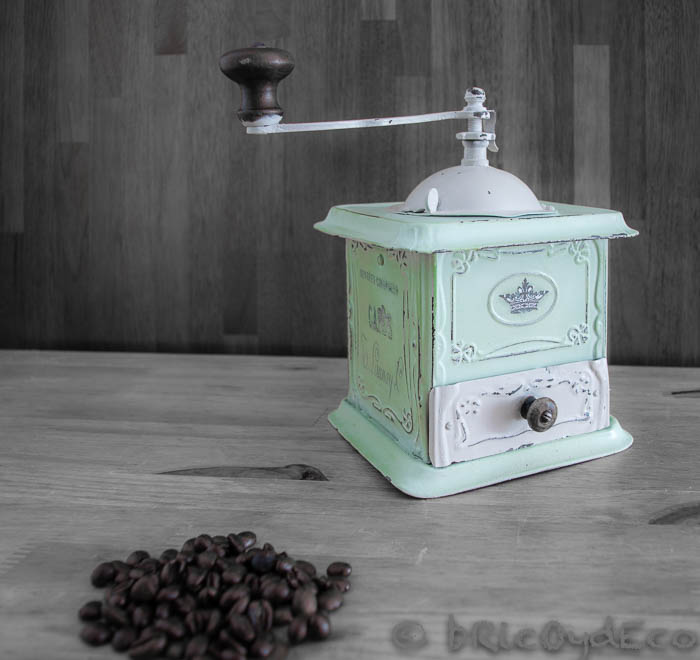
Finally I gave it a couple of coats of colorless wax to protect the paint and provide a satin finish (you can see in this link how to apply a wax finish). In addition, the wax has the particularity that it “takes the colors” out of the chalk paint, achieving a slightly more intense tone after its application.
In the following image you can see the difference between a rusty old coffee grinder and a recycled coffee grinder who has been given a second chance, what was it worth?
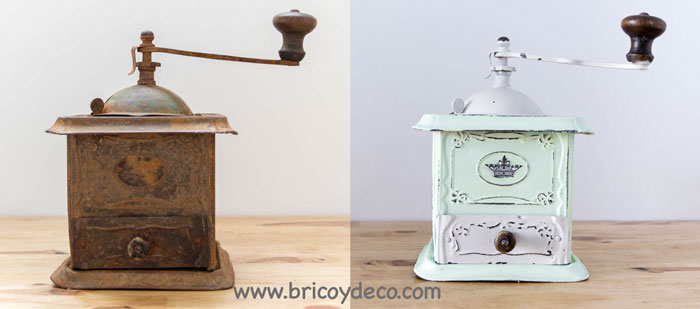
Transfers and dusty colors from the chalk paint have helped give the pinwheel the vintage effect what i was looking for On the other hand, thanks to sanding I have managed to give it back years, although this time well managed.
As they say… who has seen you and who sees you!
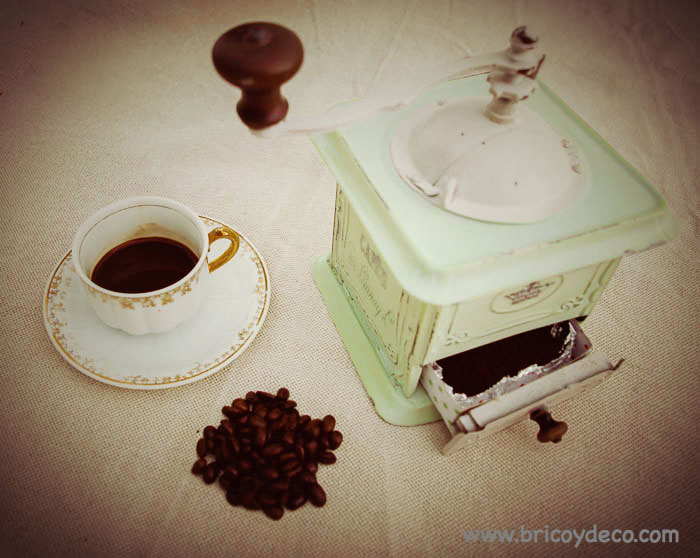
What did you think of the before and after recycling a coffee grinder? Have you restored or recycled any? If this is not the case and you are lucky enough to have one of these pieces forgotten in the storage room, rescue it! You have already seen that no matter how damaged it is, it is possible to recycle it and give it a second life.
If you liked this post, you can find more DIY and craft ideas at . Thank you very much for commenting and sharing!


