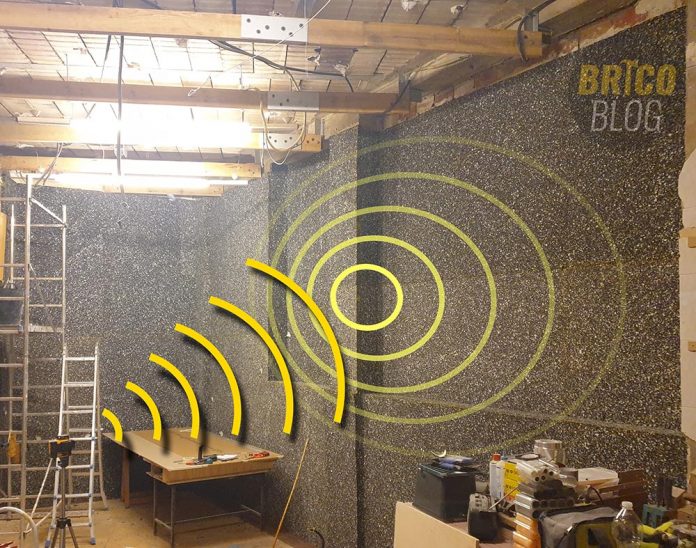
In this article we will talk about acoustic insulation in walls, giving you the most important keys, indicating what materials to use and why, and how to install them, so that you can effectively soundproof a room, a local, or any type of room like, for example, our workshop.
Things to know before installation
The first thing is to know how we are going to do it and why. Therefore, we have to take into account three aspects:
1st Point – “The order does alter the product”
For the installation to be efficient, we always have to start soundproofing from the bottom up. Therefore, the order must be: floor, walls and ceiling.
In our case, since it is not a construction site and there are no neighbors below, we will dispense with soundproofing the floor, although it would not hurt either. We will start with the walls first, and then the ceiling. Never the other way around.
2nd Point – What surrounds the insulator
For the insulating material to reach its full effectiveness, it cannot go into the air. Therefore it has to have both sides in contact with a dense material.
Behind you will have the wall. And in front it must have a laminated plasterboard of at least 15 mm thickness.
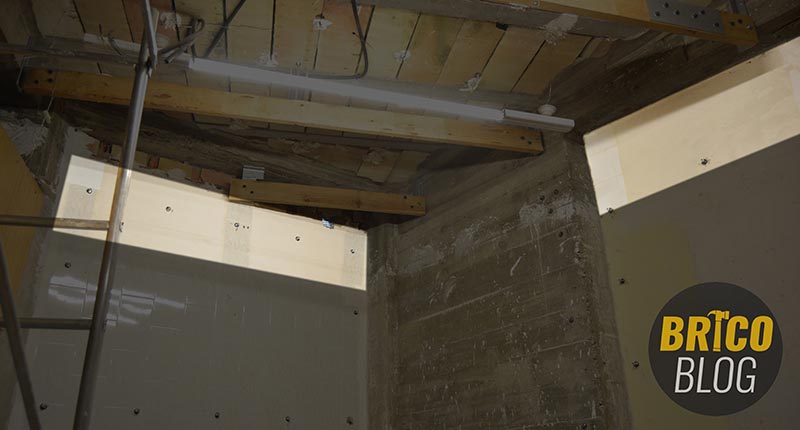
If we look at the upper part, when raising the false ceiling about 40 cm with respect to the original, the tiled areas are left with a gap of between 2 and 5 cm.
Therefore, the first step will be to plaster all that skirt so that the affected areas are flush with the old tiling. Precisely so that the acoustic insulation does not remain hollow in these areas.
3rd Point – Noise transmission paths
Noise is transmitted in two ways.
By air, which we will solve in the way we have discussed.
And through the vibrations. To reduce, as far as possible, the fact that you are climbing the walls and reaching the floor, we have already installed a layer of a very dense rubbery material 3 mm thick at the foot of each wall.
What soundproofing material to use
Well, once we have prepared the wall to receive the insulation, we must see which is the ideal acoustic insulation.
Next we will see which one we have chosen and the reason, and we will do it very briefly.
If you want more information about the acoustic insulation, you can visit the manufacturer’s website whose link I leave below Isol+.
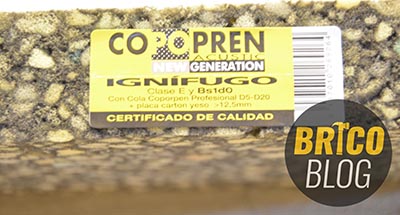
After many hours of research, we have chosen 40mm thick COPOPREN as the insulating material for several reasons, which we summarize schematically:
- Does not release particles.
- It is not affected by humidity or water.
- It endures over time.
- Does not create bugs.
- It has a high tensile strength.
- It is relatively easy to install. It is simply glued.
And above all, we have chosen it because…
- It is fireproof, that is, it does not burn in contact with flames.
- And finally, properly installed, it reduces sound by 67 dB, since its formulation includes acoustic additives.
And you may be wondering… these 67 dB, is it a lot or is it a little?
The ear perceives this level as a reduction in airborne noise of about 60%.
Installation of soundproofing walls
Soundproofing consists of two stages. The first being the fixing of the insulating material itself. And a later one, in which the laminated plasterboards are fixed.
Video tutorial for the installation of acoustic insulation
Although we leave you all the steps below with great detail, it is possible that at some point we are not as clear as we would like.
For this reason, we have included the video of the installation that we have carried out in our workshop.
Acoustic insulation fixing
We insist that the walls must be well flush, and there should be no pronounced unevenness.
The copopren must remain, on both sides, completely in contact with the construction material.
The installation is not much of a mystery, since the fixation is achieved with a special adhesive whose application is carried out exactly the same as the classic contact glue.
So, we open the can of adhesive and reduce it with solvent, at most, by 3% of its total volume. In this way, its application becomes more comfortable.
And we stir well.
Its installation can be done by a single person, as it has been in our case. However, the work becomes less hard if it is done between two people.
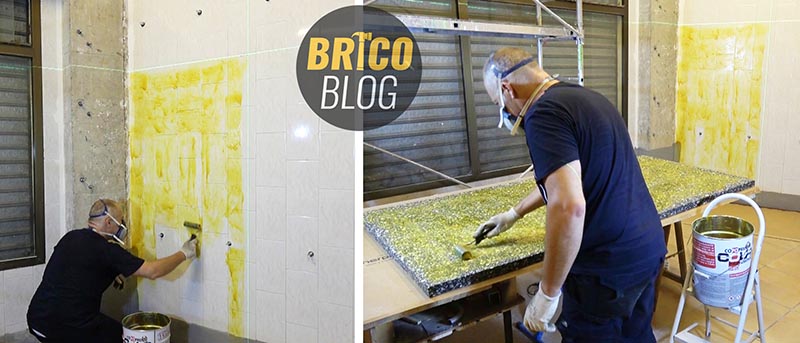
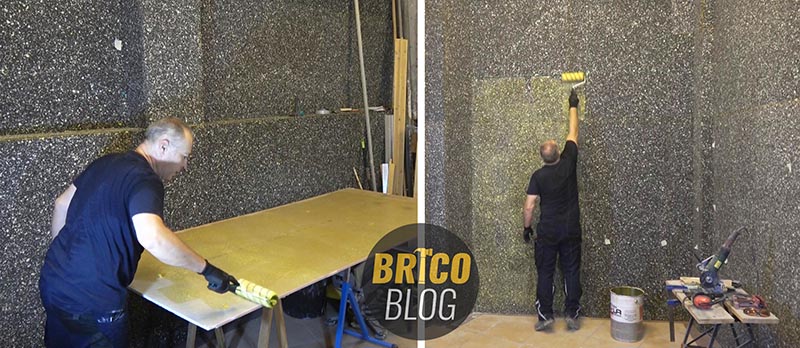
Both on the wall and on the insulation, we will apply the glue with a short-haired painter’s roller.
When we check that the adhesive does not stick to the touch, after about 5 minutes, we proceed to put it.
In order not to exceed the handling time of the adhesive, we must glue and put plate by plate. Therefore, in order not to get out of the wall in the area to be glued, we have used the 3D laser level.
tip
If you are doing the installation in a place that is not properly ventilated, when you use this type of glue, you must protect your respiratory tract.
BEWARE, we have to be very precise when placing it since, as both sides touch and stay together, there is no possibility of rectification.
Therefore, it is best to interpose between the wall and the copopren some element that prevents the two glued surfaces from coming together, such as wood or, in our case, we have used a ladder.
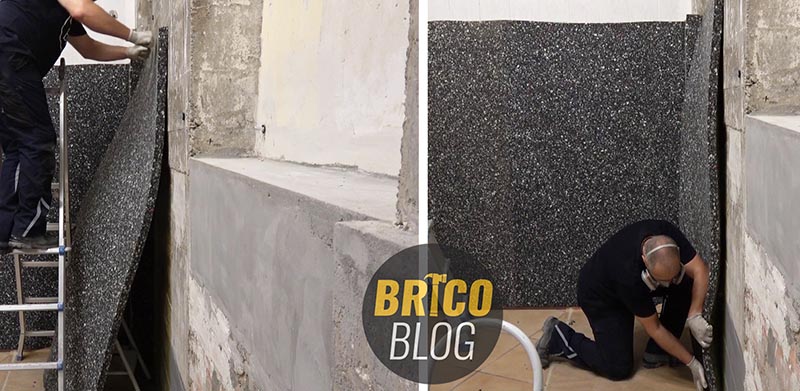
We glue only the upper part, without haste and checking that the plate is straight. We remove the ladder carefully, and glue only the lower part.
Once the upper and lower ends are glued, we stick the rest of the plate.
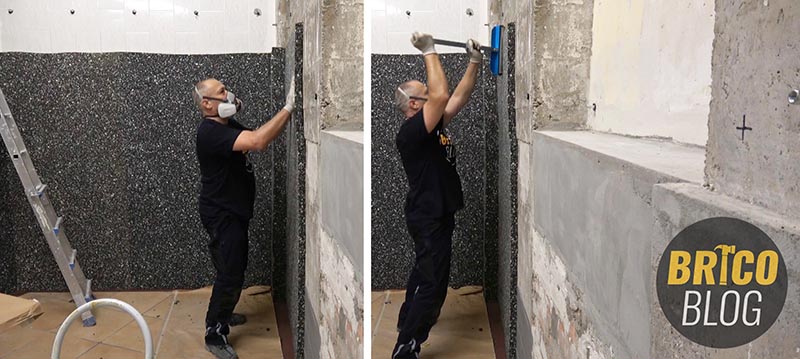
Once fixed, we press the entire surface. For example, with a roller as we have used.
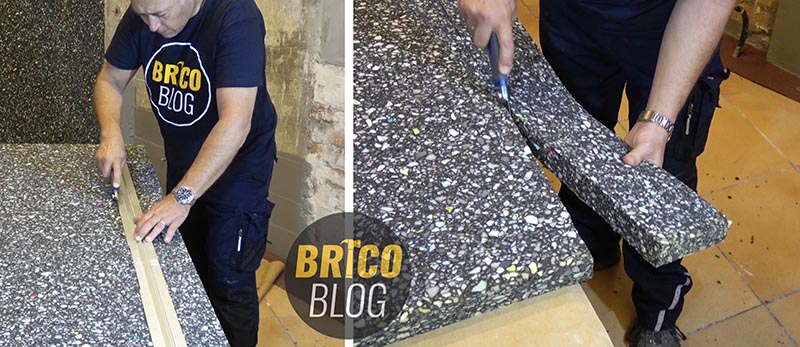
This material is cut without any problem with a cutter.
First we mark the cut with a ruler and without going too deep. And then we finish the cut, dispensing with the ruler.
 Another very important aspect to take into account is that the joints of one sheet with another are not glued.
They must also be well placed with each other, in order to prevent acoustic bridges from occurring.
Therefore, the way to do it is as follows:
We install a new plate exactly the same as we have seen previously but, this time, we mount it between 1 and 2 cm above the adjoining plate already installed.
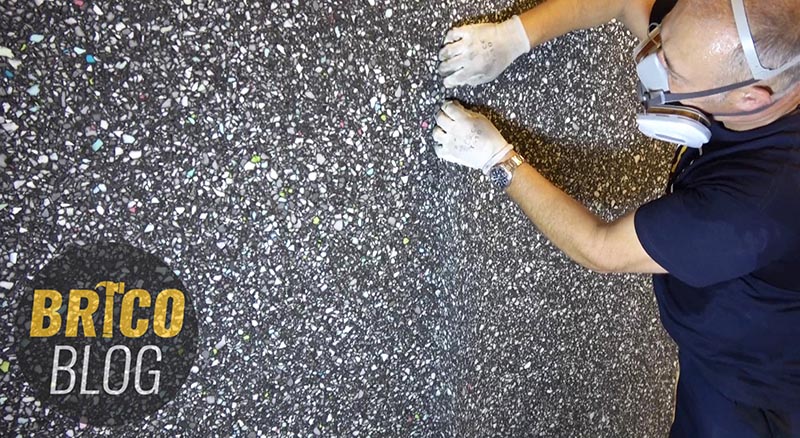
There is no problem with both plates sticking together, since only one of the pieces that come into contact is glued.
Once the entire plate is glued, we put the part that we had assembled in its place. In this way, the joint is tight, guaranteeing the absence of acoustic bridges.
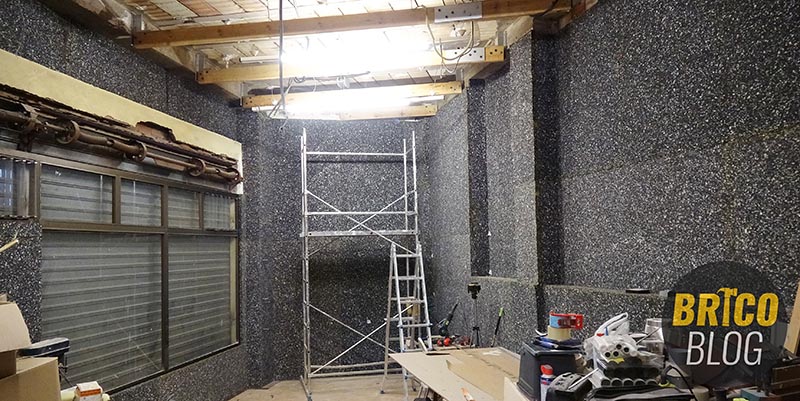
Plasterboard fixing
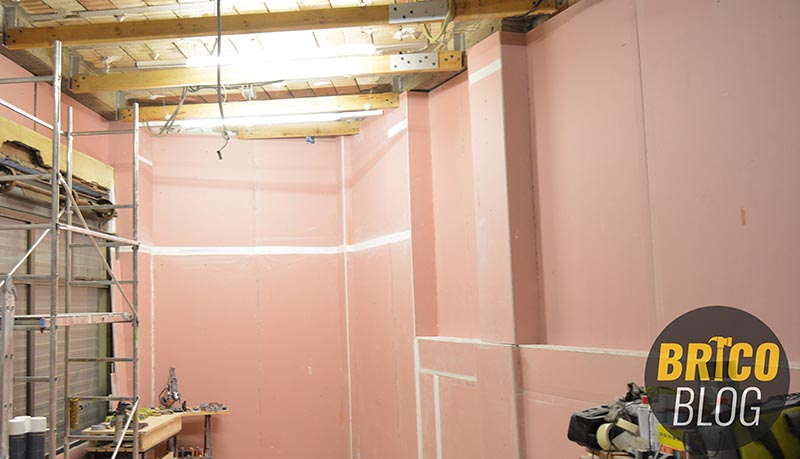
We still haven’t finished the soundproofing of the walls. To complete the process, we have to cover all the insulating material with laminated plasterboard with a minimum thickness of 15 mm.
The first plate, before placing it, we must present it. In the event that there was any imbalance with the wall, we would have to measure and cut it to fit perfectly.
Once the first plate is installed, it is only a matter of adding new plates laterally and upwards.
Another very important aspect to take into account is that, to avoid acoustic bridges, the joints of the plates cannot coincide with the joints of the copopren.
Therefore, if the joints of both materials coincide at a certain point, we would have to reduce the plasterboard by about 15 cm, precisely to avoid this coincidence.
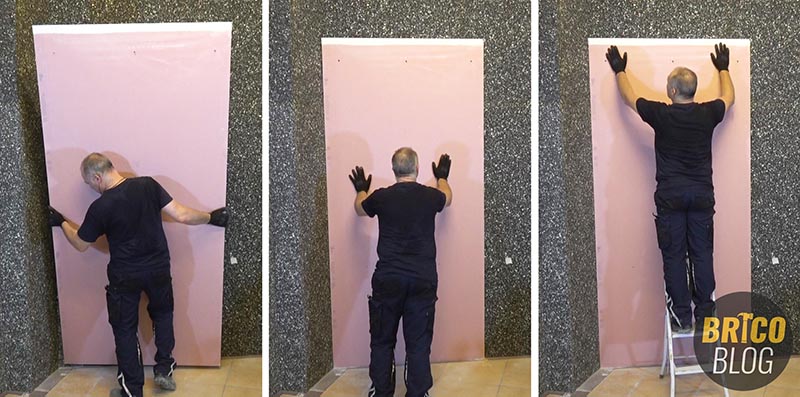
Well, the installation is done exactly the same as we have done with the acoustic insulation material.
You have to apply the glue both on the insulation and on the plasterboard, with a roller.
We let about five minutes pass, until it does not stick to our fingers, we install the plate, and press with our hands everywhere, pushing hard.
Additional Information
If you want to see in detail how the cutting guide that we have used in this project works, you can visit this other article Cut drywall easily and cleanly.
The plates that enter whole, we are putting them without further ado.
When we get to the next wall, we will have to cut the plate. Therefore, the first thing will be to measure the gap. Cut. Introduce. Rectify if necessary. Glue and place the plate.
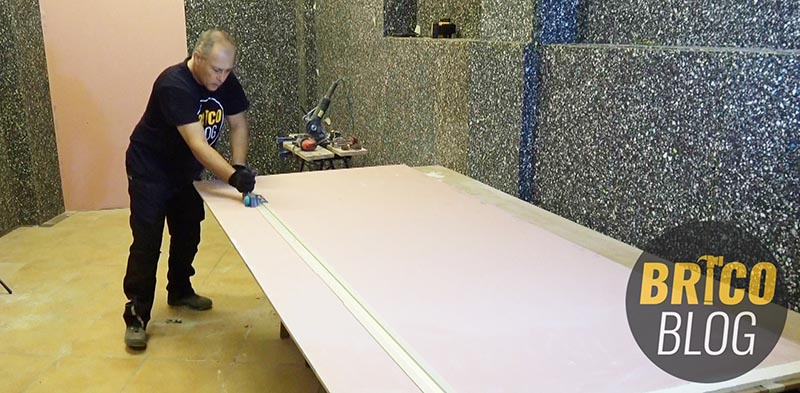
We will proceed in the same way with all the plates, until the copopren is completely covered.
Next step
Well, we’re done for now. The soundproofing, as such, of the walls is already done.
The next step, to complete the acoustic insulation of our workshop, will be to soundproof the ceiling.
We will do it with the same materials, but in a completely different way. So you can’t miss it.
But before this, we will refine the walls by grouting the plasterboard.
You don’t know what grouting is? I’ll explain it to you in one of our next articles.
Subscribe so you don’t miss any of our posts.
.


