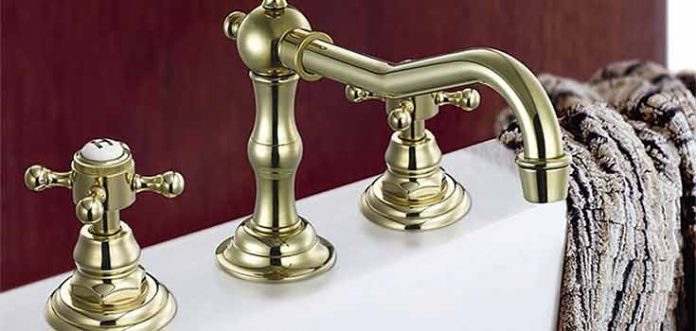
Install the faucet of your bathroom is an easy and very simple thing. If you only have money to buy the taps but not for labor, dare to do it yourself without having to go to third parties.
Do you want to change the bathroom faucet? Do it yourself step by step
The first thing you should do is buy the faucet that fits correctly on the surface of the sink. Make sure it has the same dimensions as the one you have installed, so it will fit perfectly when you install it.
To perform the installation You will need tools such as a wrench, a plumber’s assistant wrench, a Teflon tape, two bobbins and two stop keys, silicone.
Follow these tips step by step and proceed to change the faucet of your sink without problems.
How to install or renew your faucet.
1. The market offers you various types of bathroom faucetsamong them you will have the 4-inch, 8-inch and the most modern ones that are single-lever.
two. Before you buy the taps You need to check the distance between the sink holes where the faucet is located, and the wall, so you can see if it is a 4-inch or 8-inch faucet. If you want to install the mixer tap, you only have to measure the distance of the hole between the wall and the surface of the sink.
3. It is best to bring the old faucet so they can sell you the most suitable one. One that you can install in the sink correctly.
Four. Close the water stopcock with the wrench, unscrew the bobbins counterclockwise. You can help by using the plumber’s wrench if they are too tight. Clean the surface of the threads and remove the Teflon that is adhered to the stopcocks, to remove the old ones.
6. Pull out the faucet from above and remove it from the hole by unscrewing the nuts that fix it to the surface. Clean the hole where the faucet was located very well.
7. Proceed to wrap with teflon tape the two threads of the keys that carry the flow of water. Wrap the surface to your right in a clockwise direction.
8. Assemble the faucet in the main holeand proceeds to place the nuts that hold the piece to the surface of the sink.
9. Thread the connections to the stopcocks with the adjustable wrench. If they don’t fit correctly, use the socket wrench. plumbing helper so that they are tight enough so that no water leaks occur.
10. Proceed now to open the stopcock and check that indeed there are no water leaks through the faucets.
mixer taps
if you bought one mixer taps, follow the steps outlined above. Simply when finished, you will have to place silicone to stick the plate of the taps to the sink surface. Wait a few hours for it to stick.
Once you have installed the faucetVerify that everything has been installed correctly. You can change the faucets of your sink yourself so that you do not have to go to third parties for help or spend a lot of money on labor.
Remember, if you are not clear about the steps or, for any other reason, you need help, go to a trusted plumber.


