

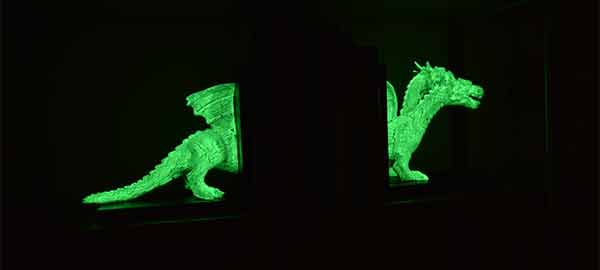
Today we bring you a relatively easy craft to do, but super original; in addition to being SPECTACULAR the effect that is achieved by playing with light.
Most of the children love, among others, dinosaurs and dragons. Therefore, this article has wanted to dedicate to the little ones in the house.
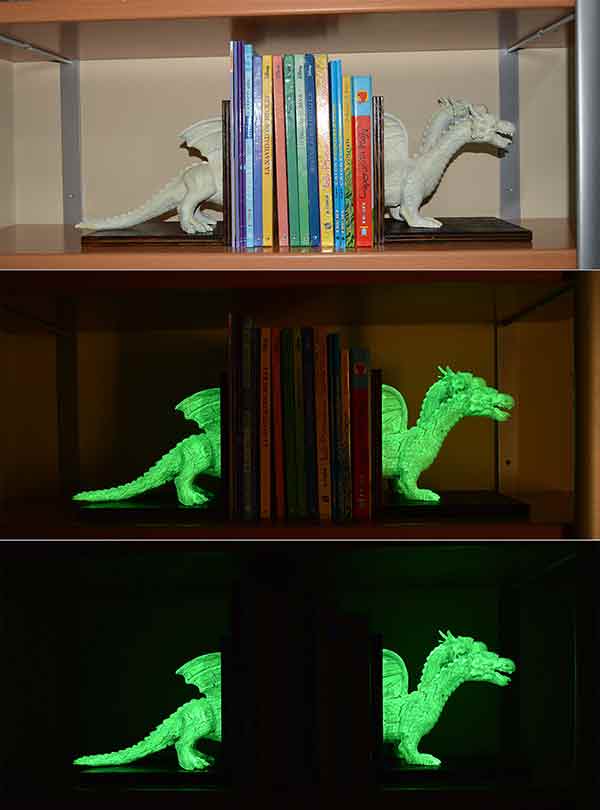
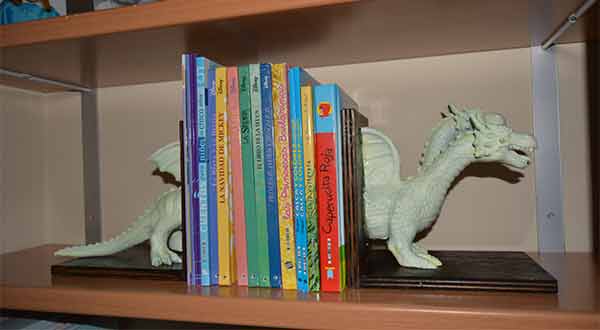
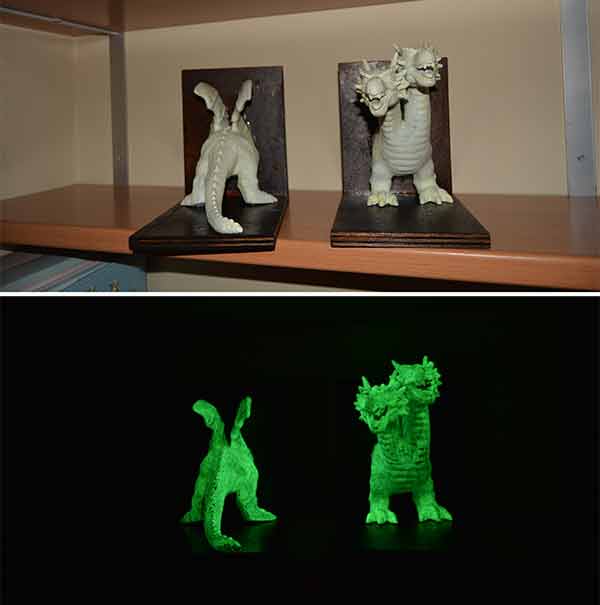
This tutorial is about how to make bookends. The typical stops that are put on the books to prevent them from falling to the sides, keeping them vertical. So far, it’s something within the normal. But what gives this craft its great originality is that the main element is luminescent, that is, it can be seen with total clarity and with great detail, in the dark, since it gives off the light that it has previously captured.

In addition, the materials used are completely affordable, practically for any pocket.
We could have opted for another type of decorative motif. For example a scale car, for motor lovers. Or the figure of a dog. Or any other thing. But, as we said before, we have dedicated it to the little ones. We wanted to savor the brightness and illusion of their faces, seeing how, by the art of “magic”, the dragon lights up in the dark.
Video tutorial Child Bookend
Without further ado, just say that in this video we are going to teach you, as usual step by step, how to make a pair of luminescent children’s bookends.
Materials needed for the children’s bookend
Let’s start with the materials that we will need to carry out this craft.
- 4 wooden boards.
- Lost head tips.
- Hammer.
- Cutter.
- Adhesive.
- thermo adhesive.
- White paint and varnish.
- Dye.
- Marker pen.
- Luminescent paint.

| luminescent-kids-bookends
Before continuing, I have to make a clarification. Depending on the material of the decorative motif, you will have to use one adhesive or another. In our case, we were going to use thermo-adhesive but, since it was rubber, we had to replace it with a two-component epoxy adhesive.If you want to know everything about epoxy resins, visit the following link |
epoxy resins
.
Well, now yes… Let’s go there!!
Making the children’s bookend
The first step will be to make the two wooden squares. To do this, we will nail 3 points at the end of one of the boards, going through it completely, but without coming out the other end.
 in the area that we are going to join, to reinforce the joints.")
children’s luminescent bookends
children’s luminescent bookends
Don’t worry about the brads showing. Once we give the stain to the wood, they will be completely invisible.
To make the other square, we proceed exactly the same way.
While the adhesive dries, we are going to take the opportunity to advance work. Let’s cut the dragon in half. To do this, the first thing is to mark the cutting line.
We will have to devise some system so that the cut, in addition to being straight, is completely vertical, so that when it is mounted on the wooden squares, it looks good.
One of the many ways to do it may be the one we have used. Explaining this point in words can be somewhat complicated, so, better, watch it in the video that you have a little above.

children’s luminescent bookends
children’s luminescent bookends
Once our two-headed dragon has been cut, we return to the squads.
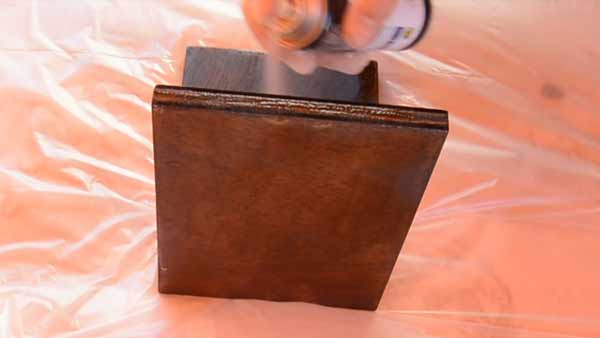
As what we want is that it is only the dragon that stands out in the dark, we will paint the wooden bases in a dark color. For this, we will use walnut-colored stain, for example. We could also have used sapely, ebony, or even black paint, or any other color, but always in dark tones.
We apply the stain with a brush longitudinally to the grain of the wood.
You have to insist on the edges since, by sucking more in this area, you need a greater amount of dye to be the same tone as the rest.

children’s luminescent bookends
children’s luminescent bookends
Very easy. In order for the luminescent product to be able to project the light it has previously absorbed, it needs to be applied on a white base. Obviously, if the dragon were white, we would skip this step.
It can be spray painted or brushed. It’s up to you. The result will be the same. But do not forget to put yourself in a well ventilated place and use the appropriate protections, especially if you do it with spray.
As with the two-headed dragon, you can do it with a brush or spray. It is indifferent; but perhaps it would be better to do it in the latter way, since with the brush we could drag some of the already applied dye.
children’s luminescent bookends
Once finished, let dry.
Well, once the white paint of the dragon is dry, it is now time to apply the luminescent product. This product is not expensive at all, as long as you buy small quantities that, on the other hand, are enough for any craft of this type. To give you an idea, we have used a 50 gr.You can find luminescent paint in craft stores and, of course, in online stores. We have used the one provided by our friends from
Luminescent Solutions

children’s luminescent bookends
children’s luminescent bookends
Well… we are already finishing our children’s bookends. We only have to anchor the dragon to the wooden brackets.
As we have indicated before, since we have the rubber problem, we will use a two-component epoxy adhesive.

children’s luminescent bookends
children’s luminescent bookends
With this type of adhesive, you should keep in mind that the handling time is not too long. So don’t be too confident. Well, that’s it. CLEVER!!We have finished our
child book holder

luminescent-kids-bookendsluminescent-kids-bookends


