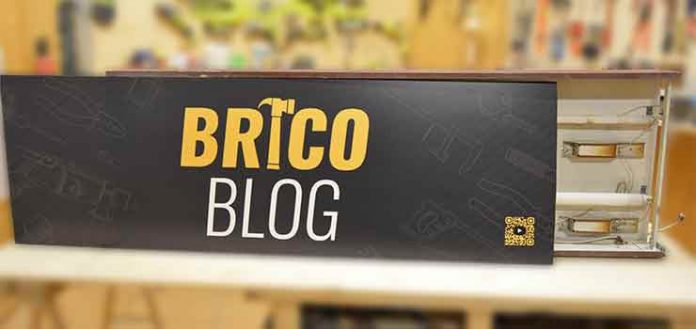
If you have ever tried to put an adhesive vinyl, you will know how difficult and even exasperating it can be to make it look good, without bubbles and without folds.
In this article I will show you how the professionals do it. With a couple of tricks, your vinyl will look flawless.
In fact, this article is only the first part of a larger project: How to recover and make an old illuminated sign look like new.
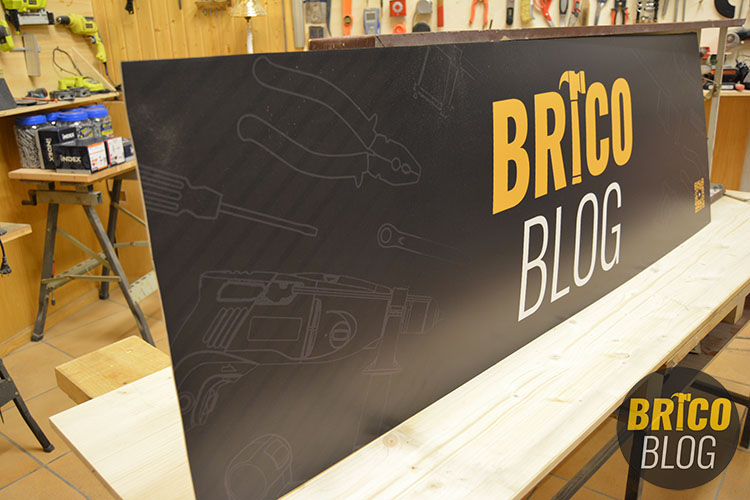
This project consists of three parts:
Step-by-step video tutorial
Although below I include the detailed indications of the entire procedure, first of all I leave you the video tutorial so that you can appreciate, for yourself, that it really is extremely simple and infallible.
Sponsor Label Yourself
Procedure for putting adhesive vinyl
As you can see, this article is much shorter than the ones I usually write. The reason is none other than the really simple placement of an adhesive vinyl. Let’s go there.
1st Step – Disassemble the methacrylate
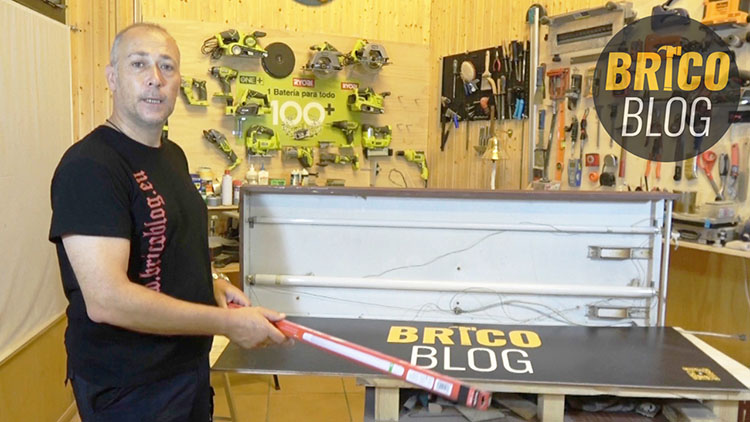
A luminous sign is made up of the metal casing, which houses the entire electrical system inside, and a methacrylate screen that is the one through which the interior light is projected.
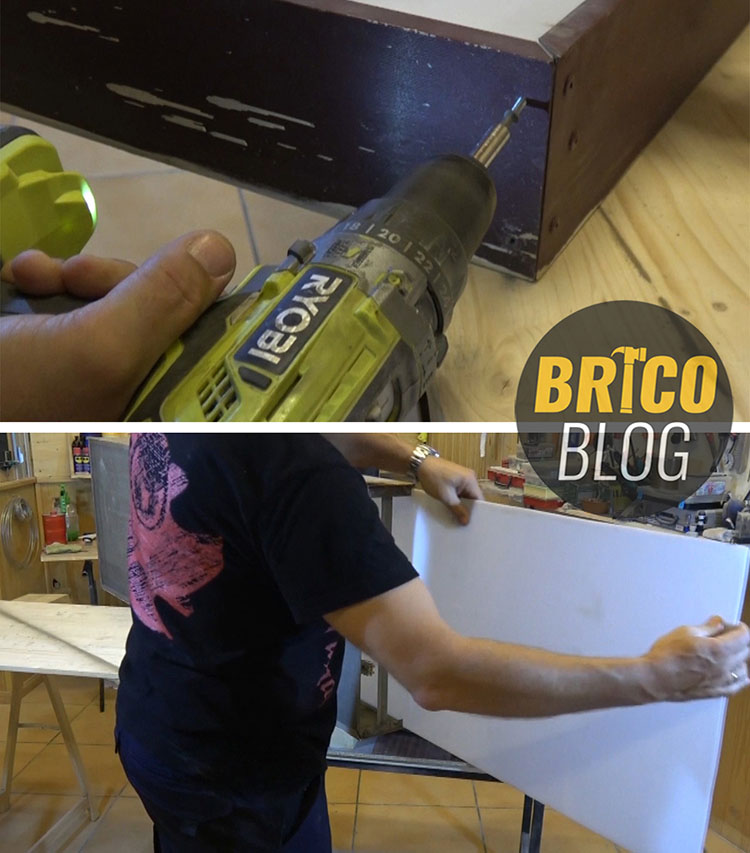
Well, the first thing will be to remove the methacrylate sheet, which is where we will put the adhesive vinyl.
To do this, we must disassemble the side of the casing that is screwed. Only one of the four sides has screws and is therefore removable. So there is no loss.
2nd Step – Prepare the methacrylate
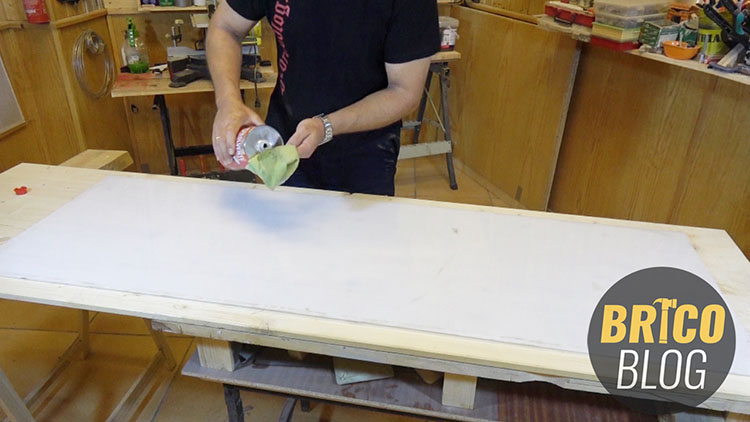
Once the methacrylate plate is isolated, we clean it well with a cloth and a little solvent. In this way, we will remove any type of dirt and remains of the adhesive from the previous vinyl.
3rd Step – Putting the adhesive vinyl
Here comes the trick that the pros use. We make a solution by mixing soapy water.
So, once the surface on which we are going to paste the vinyl is well cleaned, we spray it with soapy water.
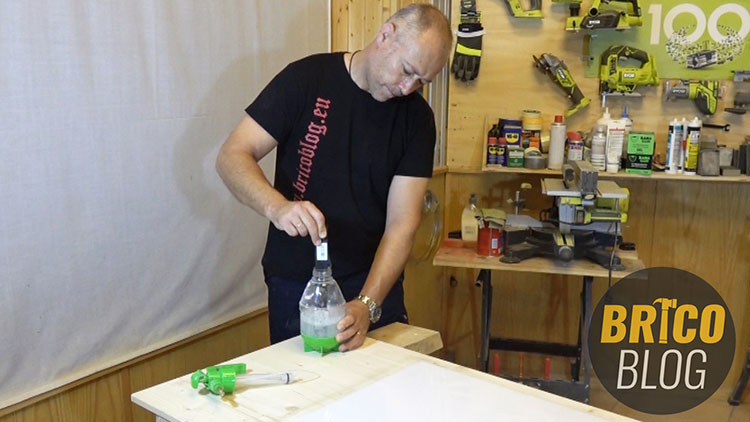
On the recently sprayed methacrylate, we put the vinyl face down, and remove the paper, exposing the adhesive.
On the face of the adhesive, we spray again with the soapy water solution.
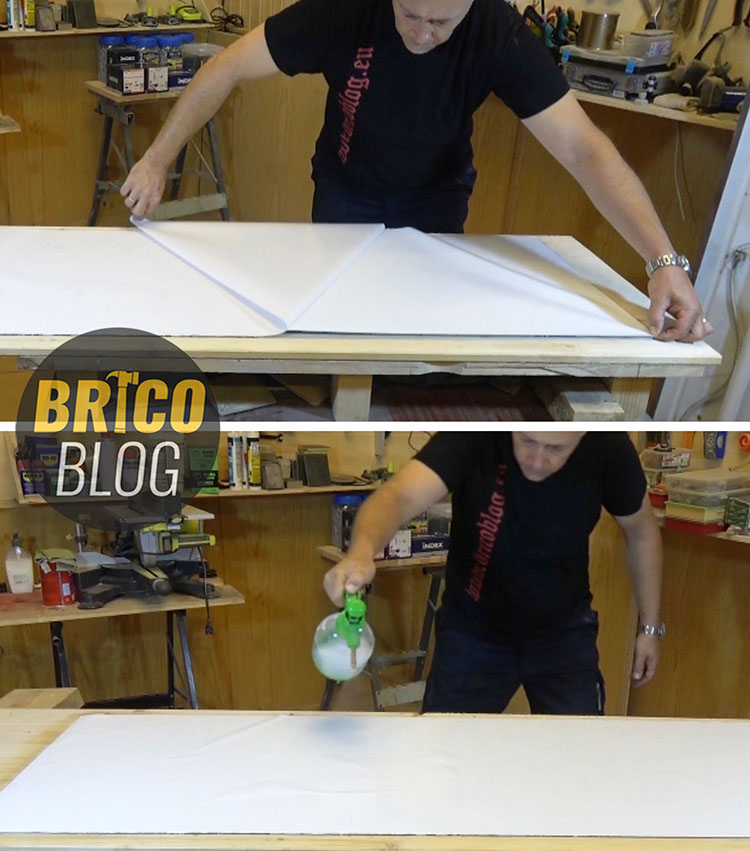
We turn it around…
And we place it in its place, moving it as needed. This very comfortable manipulation of the vinyl can only be done if we have applied soapy water.
Once the vinyl is located, we will use a glass-cleaning scraper to eliminate the air pockets, the folds, and we will remove the water that we had sprayed.
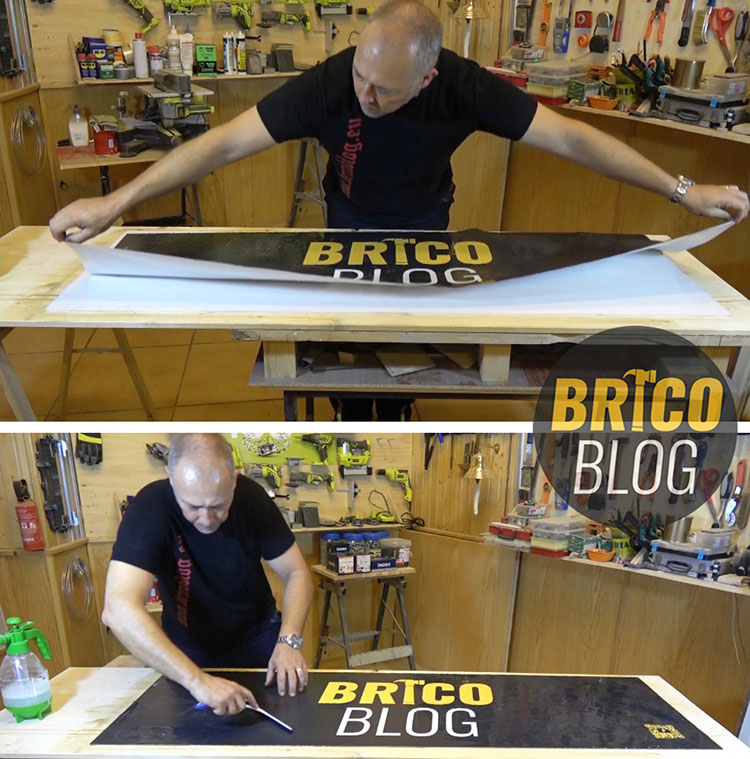
Therefore, we will make several passes throughout the vinyl, gradually increasing the pressure.
If necessary, we can partially detach it, and reposition it.
IMPORTANT
Why should vinyl be laid slowly but surely?
Adhesive vinyl is very easy to apply as long as the soapy water solution is fresh. However, once it begins to evaporate, it is impossible to reposition or manipulate it.
4th Step – Final Touch
Since we wanted the methacrylate sheet to be completely covered by the adhesive vinyl, we made it a couple of centimeters larger. So now, once placed, we must cut the excess.
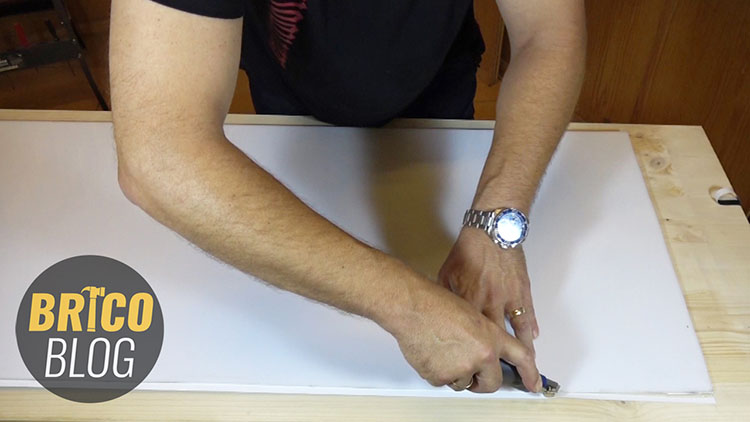
In this way, we put the methacrylate upside down and cut the excess vinyl with a cutter.
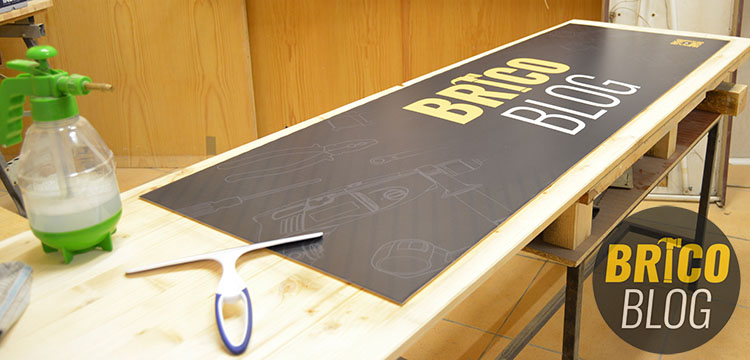
As you can see, the result is totally professional.
In the next part of this project the protagonist will be the electrical system of the light. We will see how to replace the fluorescent tubes with the new LED tubes. We will also take the opportunity to clean up and simplify the entire system.
It is not difficult at all, but you must take into account a couple of things.
At the moment I leave you with useful information about the Advantages of LED lighting.
So stay tuned and don’t miss out.
Collaborating companies:
.


