

.
 Pyrography technique on wood.
If you like crafts but you don’t have much space to carry them out, we suggest you try this one: pyrography.
It is a discipline that requires a lot of precision, concentration, and whose results are spectacular. It can also be done almost anywhere.
The purpose of this article is to make an introduction to this exciting technique. For this our friends from www. craftsybellasartes.com They will teach us how to do a very simple job of pyrography on wood.
Pyrography consists of drawing and decorating by burning selectively on a support using an incandescent tip.
In this example, a Reig two-shot pyrograph has been used that has a thermostat to set the temperature and a fuse that protects it and makes it much more durable.
We can also do pyrography work on wood, leather, paper and other materials with this same instrument, varying the temperature and the tips.
Pyrography can be applied to any support, decorating napkin rings, boxes, umbrella stands, coat racks, tables, mirror frames, plywood, etc.
In this work we have copied the motif of a decorative napkin, but we can take motifs from books, magazines, paintings, cartoons, etc. In addition to decorative napkins, we can find designs in painting magazines and books of motifs for stained glass windows, postcards, etc.
The magazines of the Leonardo collection that are in our online store are very good to obtain motifs for pyrography. In them there are many step-by-step drawings where you can trace the drawing in one of its first stages and then look at the final stages to make the shadows. In short, pyrography can be considered a form of painting, where instead of using pigments we give color by burning the wood.
These jobs are typically done for country road signage, botanical gardens, school herb gardens, backroom restrooms, and other signs and signals. Much more elaborate works are also made, making pyrography versions of famous pictorial works or own creations using the great variety of nuances, lights and shadows that this technique offers.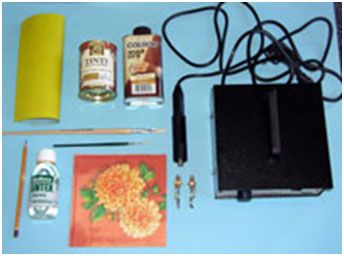
Materials:
- Reig pyrograph of one, two or four shots. We have used the two.
- Wooden support to decorate. We have used the trunk with reference TRA8000.
- Yellow tracing paper.
- Motif to be traced on the support. We have used a flower from a decorative napkin.
- Tips for pyrograph numbers 03 and 04
- Pencil
- Fine and medium brush
- Light and dark or medium tint. We have used Colron Pine Yellow as a light color and Lakeone Oak Medium as a dark tone.
- Alcohol-based sintex ceramic varnish. We have used it to protect the flower and then for the entire trunk. If you like it less shiny, you can use another varnish or wax.
Steps to perform:
1. We put a yellow tracing paper on the support and on top of it the chosen motif. In this case we have used a decorative napkin to copy the flower on the wood. We fix the paper well and we trace the drawing with the help of a pencil.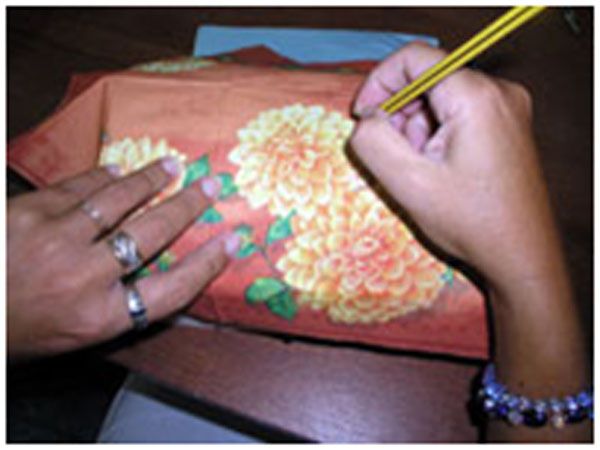
two. We raise the trace and the drawing and see if we have reviewed all the lines well.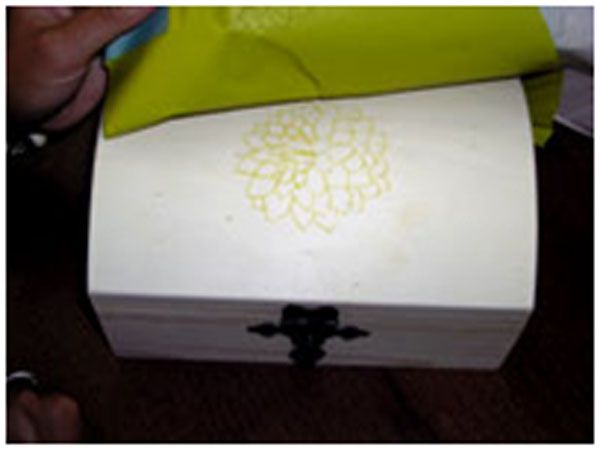
3. We screw the conical tip number 04 into the handle of the pyrograph and connect the cable from the handle to the transformer. We turn on the pyrograph and put it on the number 5.5 of the thermostat. When the tip is hot we go over all the lines of our design carefully.
If the tip is too hot, larger than desired burn marks will be left on the wood. If the tip is not very hot, the lines will not be very marked. We can practice on a non-visible part or on a wood of similar hardness to adjust the thermostat properly.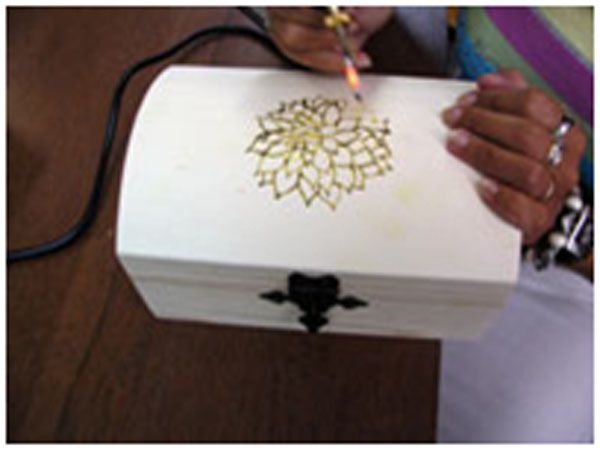
Four. When we finish the lines of the drawing we go on to give shadows with tip number 03 with the thermostat at 4. To change the tip you have to wait for the other to cool down or have a pyrograph of more than one shot to be able to have two or more hot tips at a time.
5. We already have the pyrography work done, but now we have to treat the wood and depending on what we do we can enhance our work or spoil it. We can dye or wax everything in a single color that is not dark so as not to cover the pyrography, or put one color on the drawing and another on the rest of the support. We have chosen this second option to show how it is done, but if you want to do it in a single color, you would choose a clear dye or wax and go to step 7, dyeing or waxing the entire trunk.
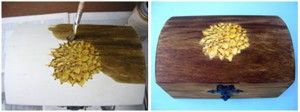
We tint in a light color the part inside the drawing. We use a brush and we do it carefully, but if some of the dye comes out, nothing happens because later we will put a darker color on top. We dye without leaving the contour and with little dye on the edge to try to prevent the color from spreading out. Depending on the wood used, the dye may come out a little by capillarity from the wood itself, this is not a concern but it is preferable that it does not occur in excess. We have used a yellow pine color.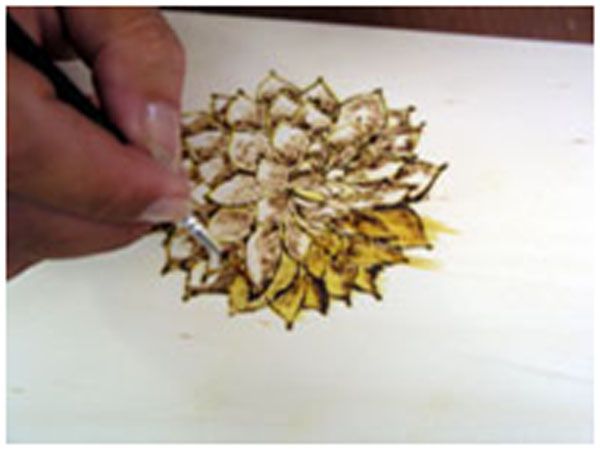
6. Let the stain dry and varnish it with ceramic varnish to protect it and prevent it from staining when applying the dark stain from outside. You have to pay close attention to the fact that we have all the motif well varnished and that we have not gone out of the contour, if we went out the dye would not cover that area later.
7. Let dry and stain the outside of the drawing with a darker shade. If we spend a little on top of the rose, it will not stain because we have protected it with the varnish.
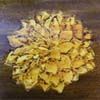
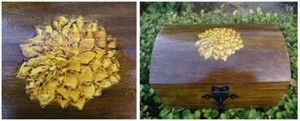
8. Finally, we varnished the entire trunk to give it more shine and leave it protected. Below you can see the flower in detail and the finished trunk.
Source: craftsybellasartes.com


