

Quilling or filigree consists of rolling strips of paper and making designs with which you can decorate cards, objects or even create small jewels. Although you can buy pre-cut strips of paper, you can recycle your magazines to make them yourself.
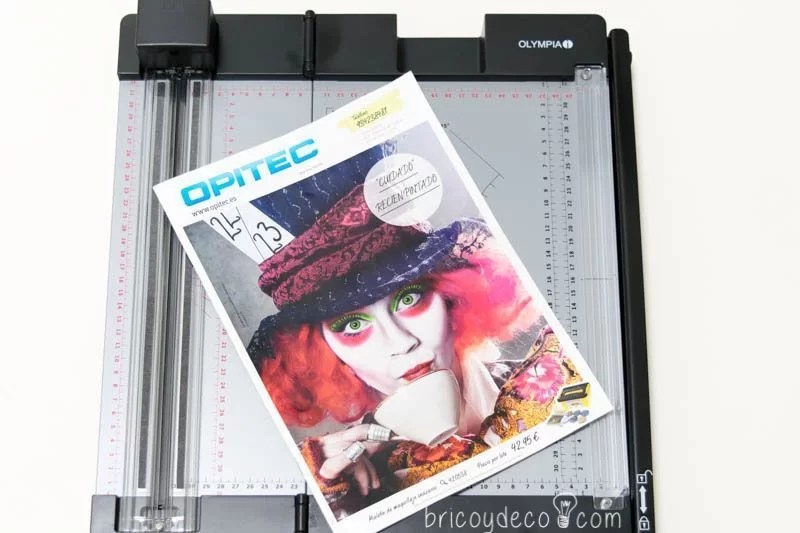
A few weeks ago I received the Opitec catalog along with a new challenge from Handbox: recycle it and transform it into another object.
The truth is that I immediately knew what I wanted to do with it: destroy it, or rather cut it into strips to make a figure using the quilling or filigree technique. Also a few months ago I had bought the toolkit but hadn’t had time to try it out yet, so what better time than this challenge to do it!
When it comes to recycling your magazines to get started in quilling or filigree, keep in mind that the strips of paper used have a grammage between 80 and 130 grams/m2. For this reason it is convenient to make the strips with the cover and back cover of the catalog or magazine, since the paper is thicker than that of the inner pages.
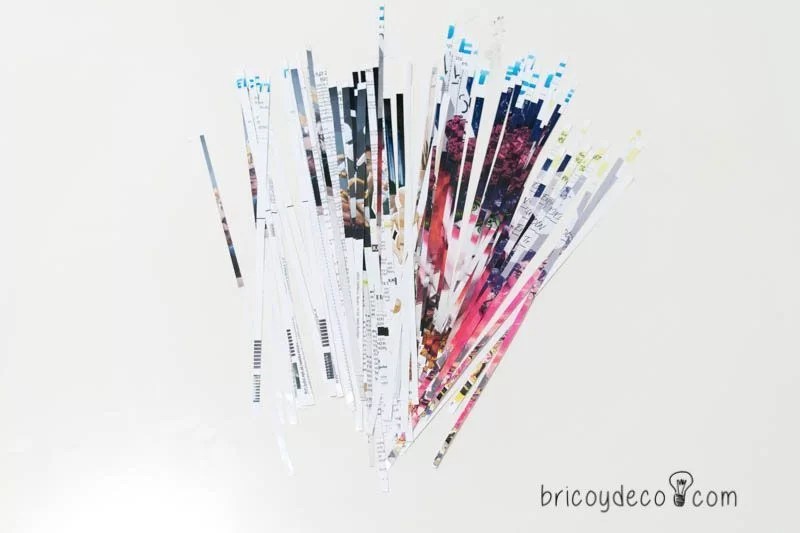
To cut the strips I used a shears since with it a clean cut is obtained and it is easier to control that all the strips come out the same. If you don’t have shears, they can be cut with the cutter and using a ruler as a guide.
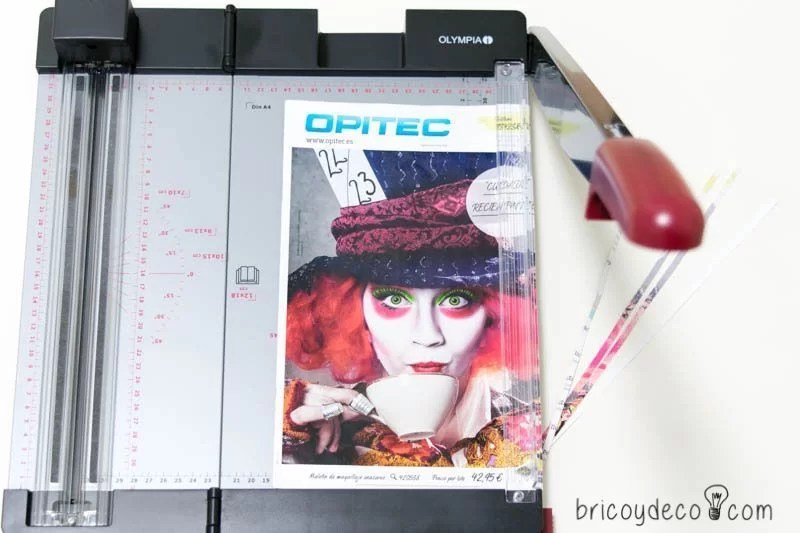
On the other hand, the strips used for quilling usually have between 3 and 10 millimeters wide, although the narrower they are, the more complicated it is to work with them. For this DIY project I have cut 5 millimeter wide strips as they handle quite well.
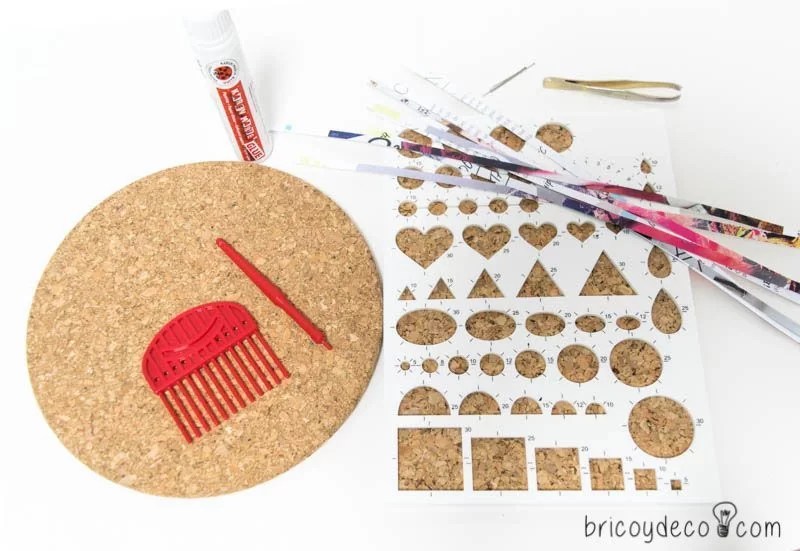
These are the basic tools to get started in the quilling techniquealthough they can be replaced by homemade materials:
– Strip rolling tool, it has a slot at one end to place the strip and to be able to roll it up more easily. You can substitute a round toothpick or skewer stick.
– quilling comb, has its numbered spikes and with it you can make different shapes such as butterflies, leaves, flowers, etc. It can be replaced by a fork-type comb.
– pins to hold and shape the figures.
– templates for quilling with circles, ovals, triangles, etc. of different sizes. They can be replaced by pastry molds for example.
– fine tip pliers to hold and glue the smallest pieces. They can be replaced by tweezers to remove hair.
– Glue For decoupage or scrapbooking, it is important that it does not damage the paper and that it is transparent when it dries.
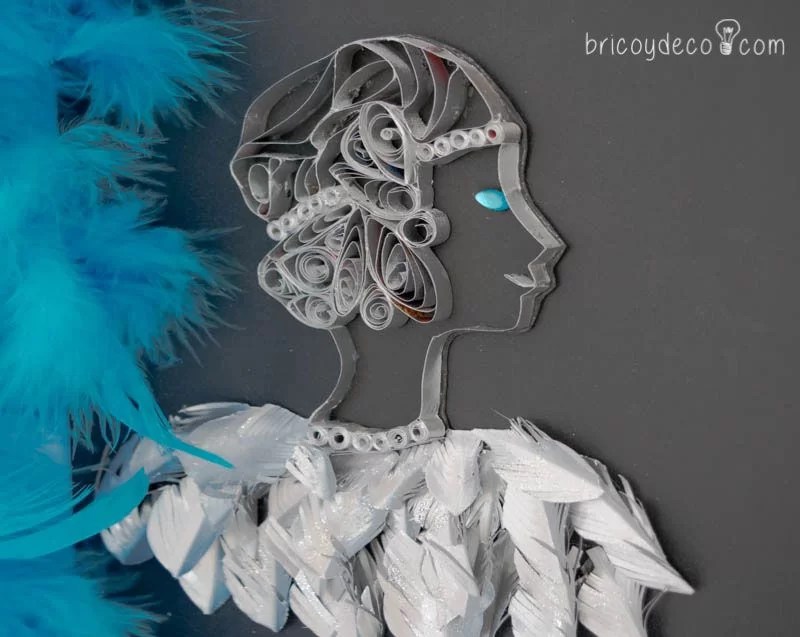
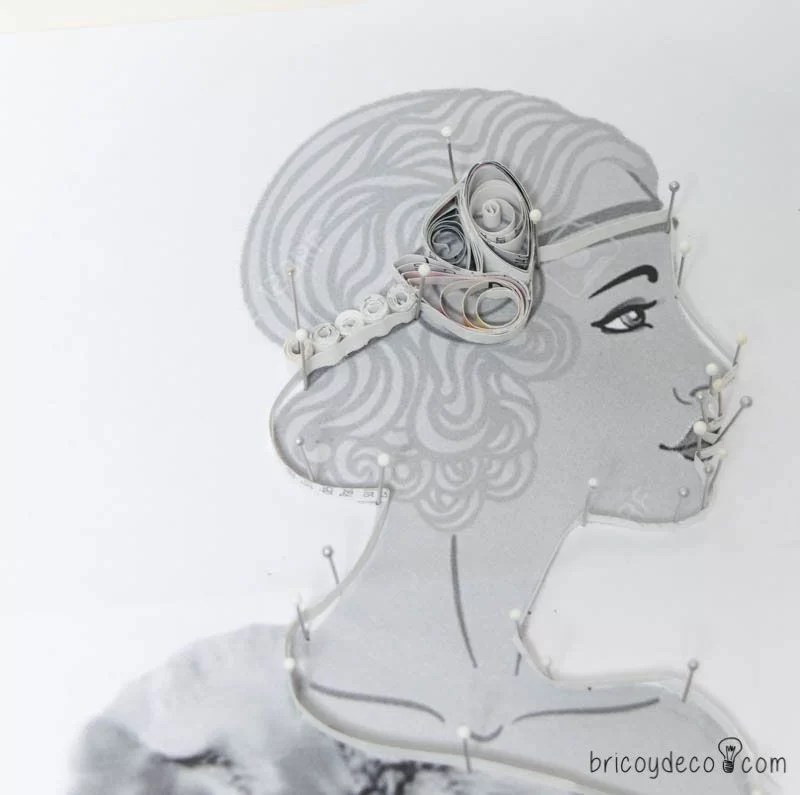
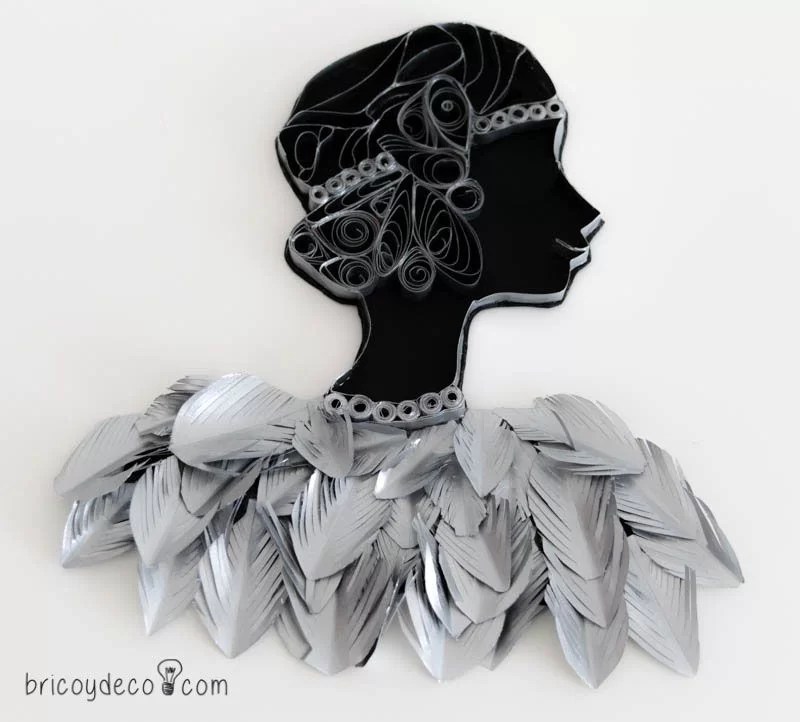
To make my design I took a vintage/roaring 20s style illustration as a reference.

Image via 123RF
I printed the image, I placed it on a cork base and with the help of the pins I was “drawing” the figure with strips of paper for the outline and different shapes to represent the waves of the hair and the headband.
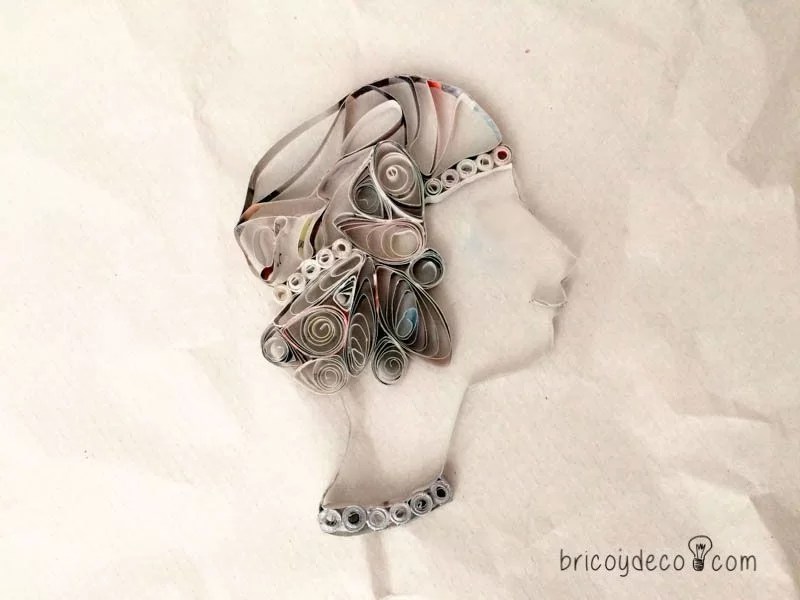
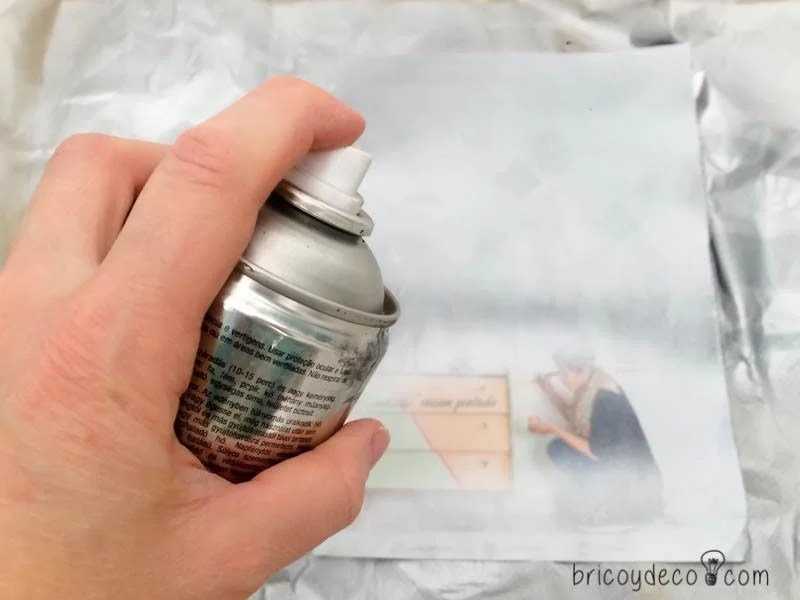
Once I had completed the drawing, the next step was to paint it with silver spray paintin this way unified the color of the figure.
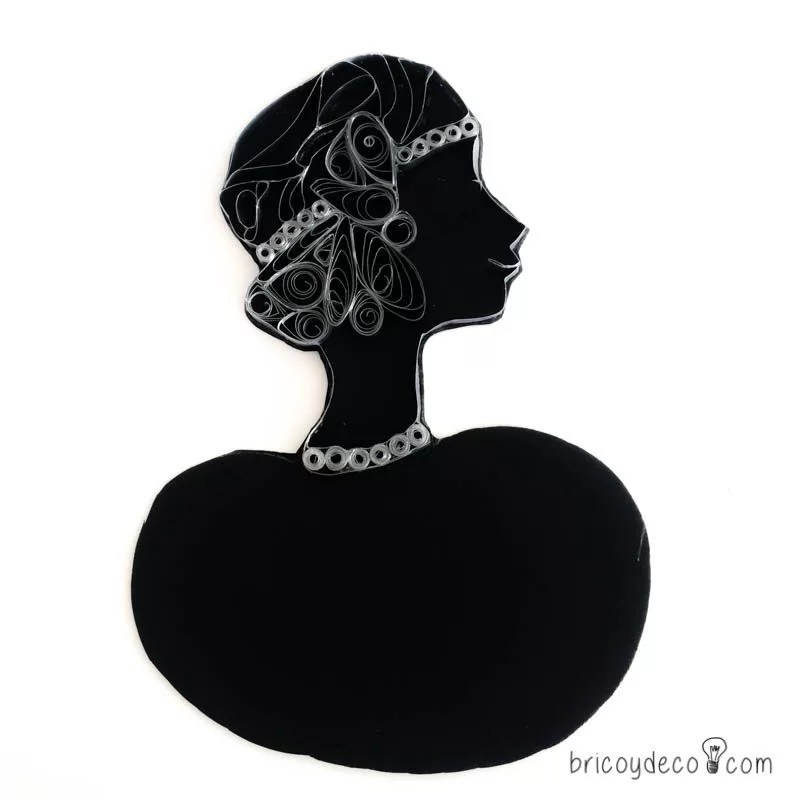
Next I glued the figure with colorless glue on a base of black cardboard and cut out the outline.
On the other hand I wanted to make a silver feather boa, for this I used some of the inside pages of the catalog that are thin enough to represent the lightness of a feather.
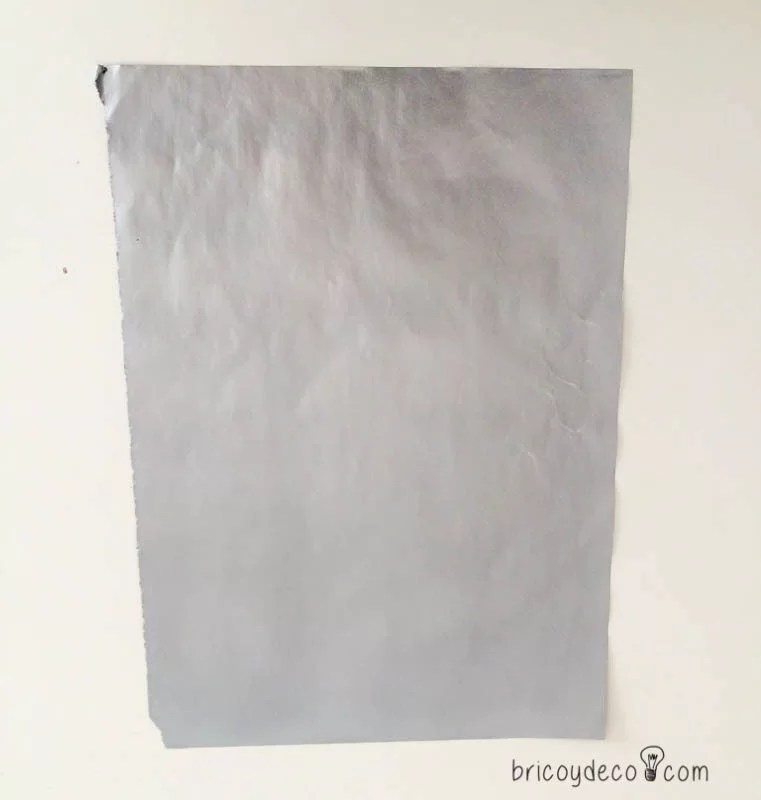
First I painted the sheet of paper with the same silver spray that I had previously used.
And this is the result after painting both sides:
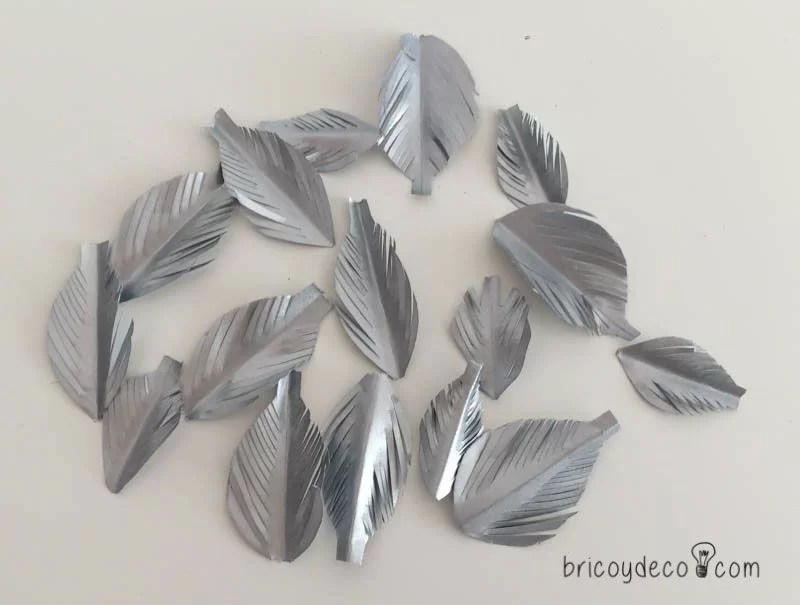
The next step was to make the paper feathers (you can see a tutorial on how to make paper feathers at this link).
Then I placed them on the black cardboard with double-sided tape.
To finish I gave them a touch of silver glitter:

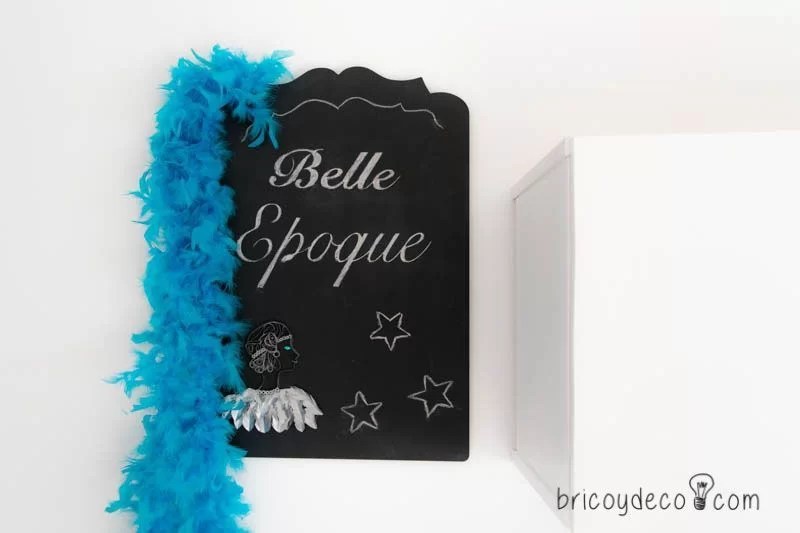
Once the figure was finished, I placed it with double clear adhesive tape on an MDF mural that I had painted with black chalkboard paint.
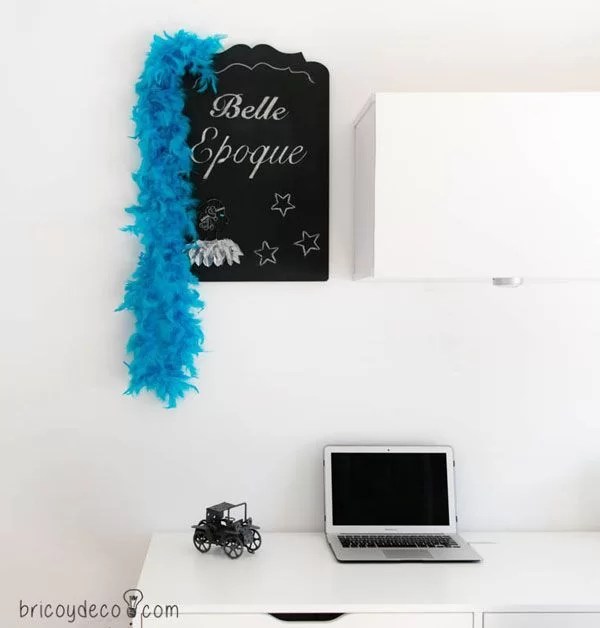
Both the figure and the feather boa remind me of someone very special who is no longer here, so placing it on my desk seemed like a nice way to have it by my side.
What do you think of this idea? recycle your magazines? You have already seen how strips of paper can be made with the cover to get started in the quilling technique and create a lot of figures and designs. In addition, with the inner pages you can make paper pens to decorate pictures, murals, cards, etc.
If you liked this post, you can see many more ideas about recycling and DIY projects at .


