

.
 Screen printing and design your t-shirts
Step-by-step tutorial on the technique of screen printing t-shirts.
Chapter 6 – The Emulsified
.
In the previous volume we saw how to prepare the frame and the fabric, it’s time to apply the emulsion.
Keep in mind that once the emulsion bottle is opened and mixed with the diazo, it lasts approximately 1 month.
We prepare the area in which we will work well:
- A wide table, covered with newspapers.
- A red or yellow light, by hand.
- Paper.
- Something to pour the emulsion on (round knife, spoon, a stick…).
- The squeegee or glass-cleaning rubber.
- Screen.
Updated: Currently the composition of the emulsions has been modified and it has been proven that yellow light is better for the entire process that works with the emulsion, despite the fact that it appears with red light in the video, it is better to use yellow light to avoid possible mistakes.
Procedure to follow:
1st) We turn off lights. ALL! and turn on the yellow light.
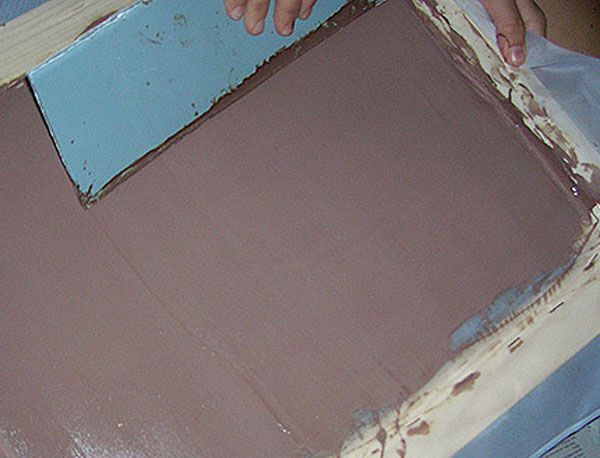
2nd) Holding the screen inclined at 45º, and with the other hand we pour the emulsion, spreading jets over the entire upper surface.
In the video I spread it with a knife, the truth is that it is not necessary, you just have to dump the bottle of emulsion on the screen and pour a little. Don’t spend too much time because as we extend it you will see all the leftovers that are wasted.
3rd) We make the first passes with the squeegee, from top to bottom on both sides of the screen until we get a surface that is as smooth and regular as possible. From time to time clean the leftover emulsion on the squeegee and the edges of the frame.
A well-emulsified screen can be achieved with just one or two passes of emulsion, on one side of the screen, until you achieve that perfection you must give all the necessary passes until a thin film is left, without lines or imperfections.
4th) Putting the screen in front of the light we will see better how the emulsion is. The smoother and finer it is, the better the drawing will come out later.
5th) It is very important that there are no drops on the surface of the screen.
6th) Extend the emulsion covering the entire area where the drawing goes, the edges and corners that are free, then we will cover them with packing tape.
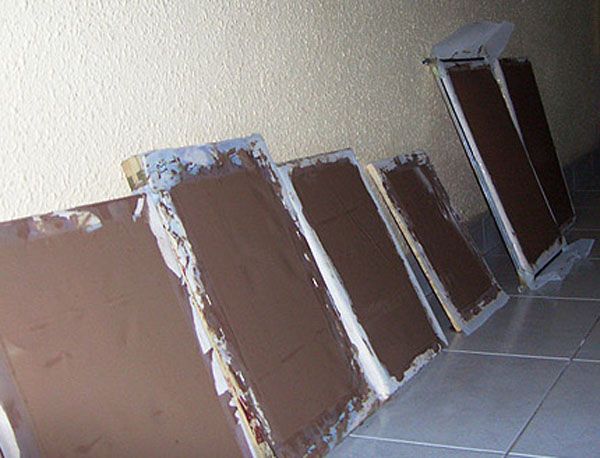
7th) When we finish applying the emulsion we have to save the screen in a completely dark place. If you have at hand a large drawer, a cardboard box, or anything that does not let light through, we store it carefully and always with the upper face of the screen facing upwards, otherwise it would stick to the box, throwing lose all work.
UPDATED: To speed up drying we can use a stove or, better yet, a conventional hair dryer. In 5 minutes we will have the screen ready for the next step, exposure to the sun.
8th) The longer it is in the box, the better, but calculate a recommended minimum of 9 hours. You let it dry overnight and that’s it.
Do not worry about doing this in the room or a closed place, the emulsion does not smell at all. Yes it is important to wear gloves during the process or clean your hands well with soap immediately after applying the emulsion, it is toxic.
Here the videos corresponding to this chapter
Kalipo-workshop-screen printing-part2 by ezuvdjx
Source: Kalipo.com
Menu of this tutorial:
.
You may be interested in seeing these other articles related to crafts:

wood carving |

leather embossing |

Wax globe lights |


