

Are you looking for the ideal accessory for this summer? Then you can not miss this step by step to make a T-shirt bag with flap and mosaic. You can wear it on any occasion, both during the day with jeans and at night with an elegant black dress. In addition, its original design will not leave anyone indifferent, it will be unique because you will have done it!
Summer is just around the corner and proof of this is that Opitec has launched the new summer catalogue. On this occasion, the Handbox Community has carried out some of the catalog tutorials and they have challenged us to launch our creativity, showing what we are capable of doing with the same materials that they have used.
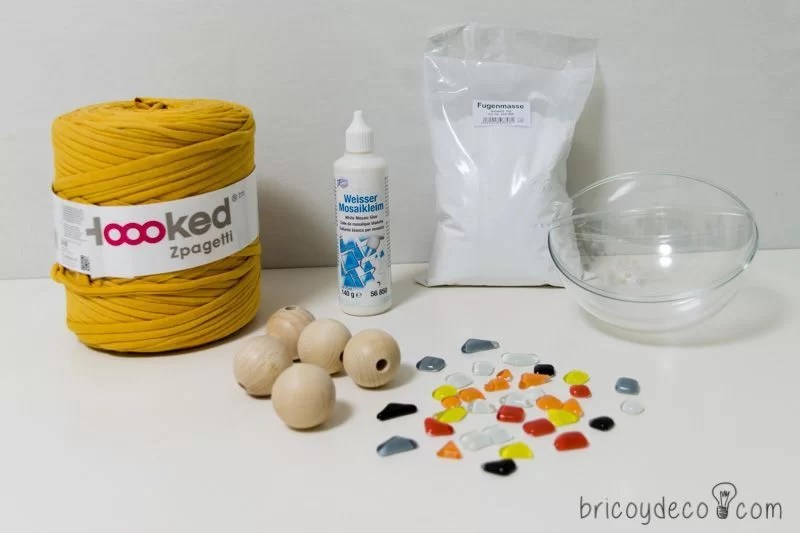
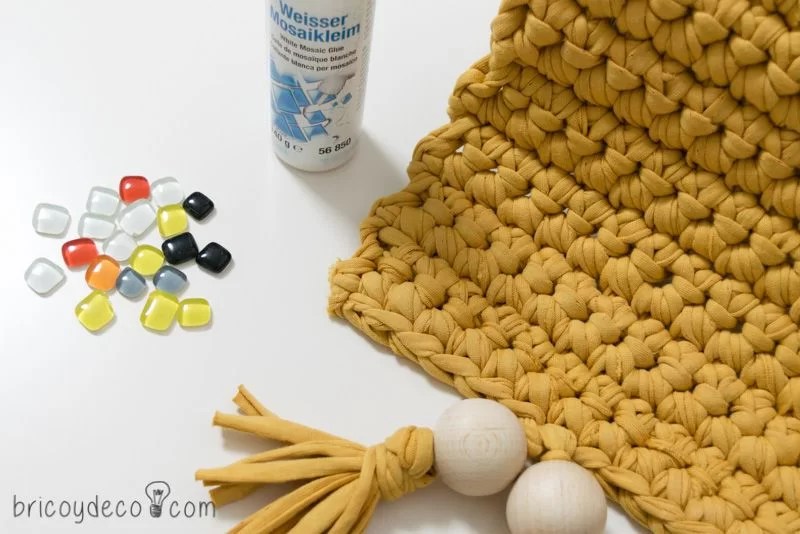
I was looking forward to seeing the materials that had been assigned to me, so when they arrived I eagerly opened the box to discover the following:
- Plastic sphere in two halves of 14 centimeters in diameter
- Mosaic glue
- Yellow Hoooked Zpagetti Yarn
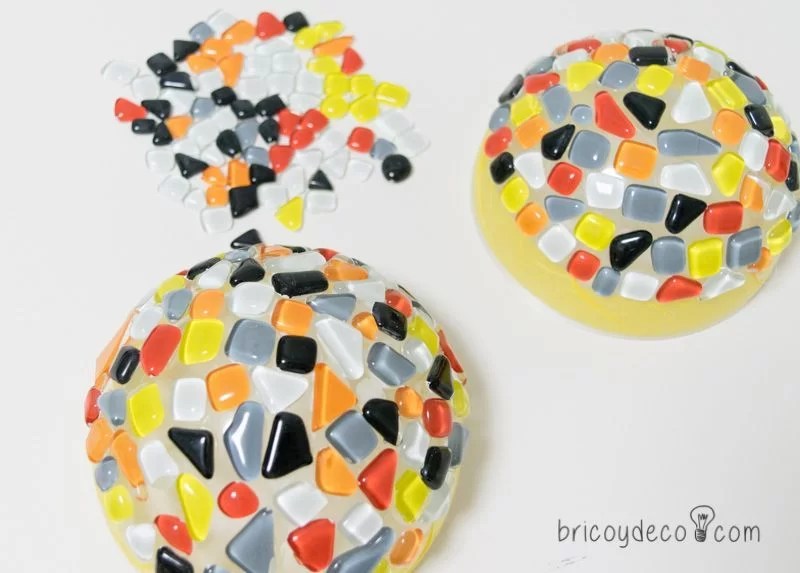
- Glass polygonal mosaic in shades of orange, yellow and red
- Glass polygonal mosaic in shades of gray and black
- perforated wooden balls
- joint putty
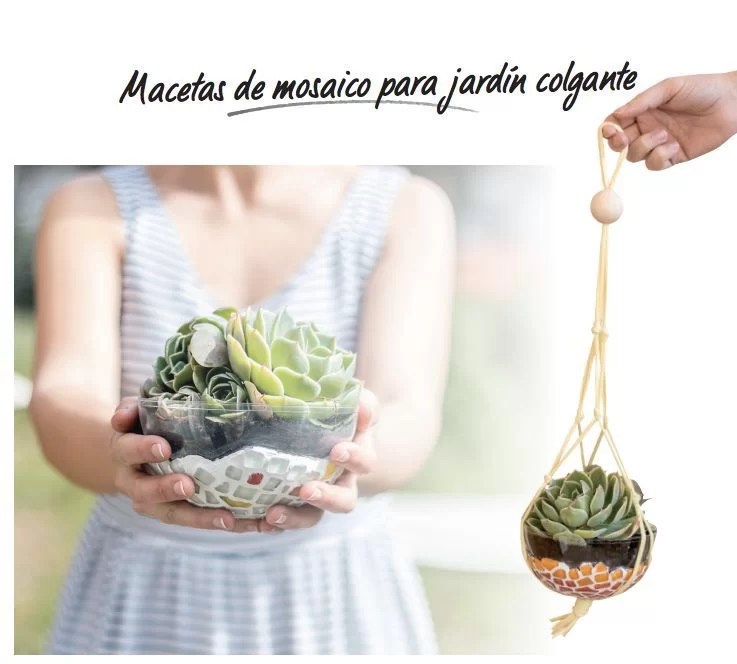
With these same materials, the girls from Handbox had made a mosaic pot holder for a hanging garden:
Bearing in mind that I’m not very good with plants (you can see my succulent felt plants in this link), and that the challenge was to put our creativity to the test, I wanted to give these materials a totally different use. At first I thought of using them separately to make various objects, but suddenly it occurred to me what to do with all of them: a T-shirt bag with flap and mosaic. It would be a kind of jewel-bag but with a mosaic on the sides and also on the flap, which would also be decorated with t-shirt yarn and wood tassels.
The first thing I did was put masking tape around the edge of the sphere since I had to leave a free area to be able to sew the body of the fabric. Then I started to glue the mosaic tiles together.
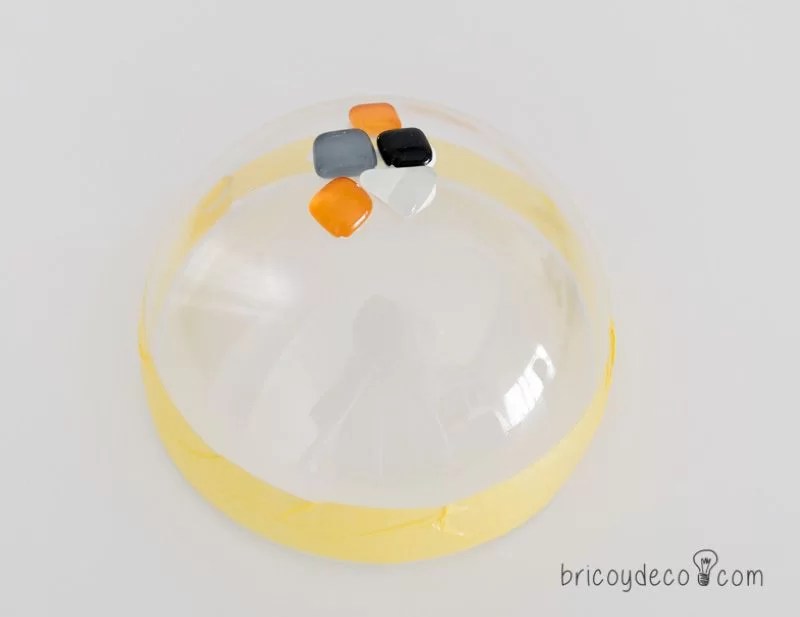
The mosaic technique It is not difficult, in fact I had never done it and it was not complicated at all. In this case, keep in mind that when placing the mosaic on a rounded surface, do not apply too much glue as the tesserae can slip. On the other hand, it doesn’t matter if the plastic is smeared with the glue because everything will be hidden when it is grouted with the putty.
Once the glue was dry I made some holes around the sphere to be able to sew the body of the bag. If you don’t have a multi-tool to pierce the plastic, you can also stick the yarn with glue.

The next step was prepare the mass for mosaic jointsto do this you simply have to add a little water according to the amount recommended on the package, and stir until you get a consistency similar to toothpaste.

Next I covered the whole mosaic with the puttyhelping me with a flat wooden stick for it.
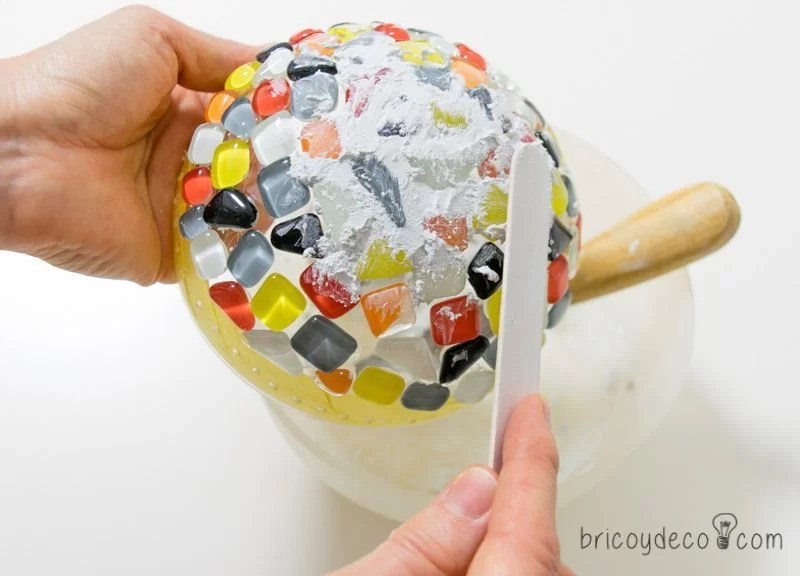
After about 5 minutes I removed the excess dough with a damp sponge. You have to do it gently, without pressing too hard so as not to drag the dough between the joints, and rinsing the sponge with each pass.

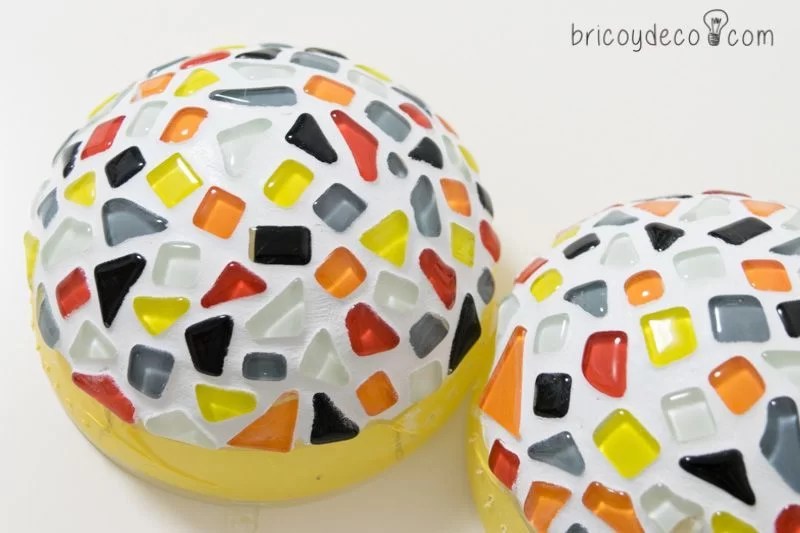
In this way, in addition to eliminating the remains of putty on the tesserae, a smooth and uniform surface is achieved.
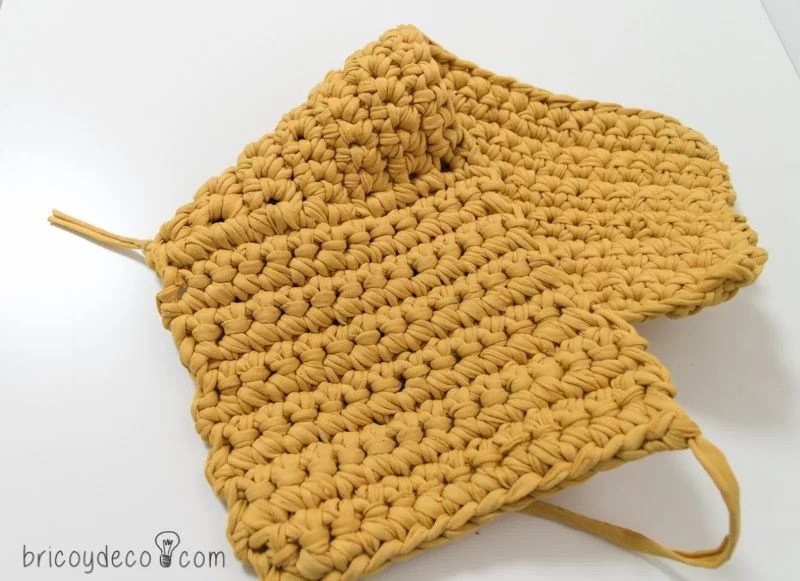
While the joint paste was drying (the recommended time is 24 hours), I took the opportunity to knit the body of trapillo. The measurements depend on the size of the sphere and the thickness of the yarn, although in any case you have to leave about 4 fingers free at the top of the bag to be able to comfortably insert the objects. On the other hand, the flap should reach approximately halfway.
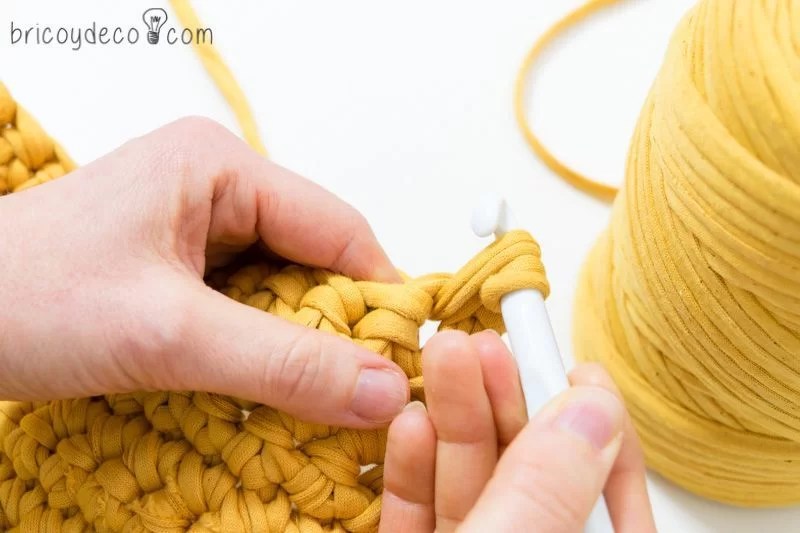
I don’t usually follow a pattern when I make yarn but rather I knit by eye and measure on the object. In this specific case I needed 15 chain stitches and 15 single crochet rows for the base of the bag. For the flap I changed the direction of the stitch, instead of continuing vertically I began to knit horizontally, making 14 laps with single crochet.
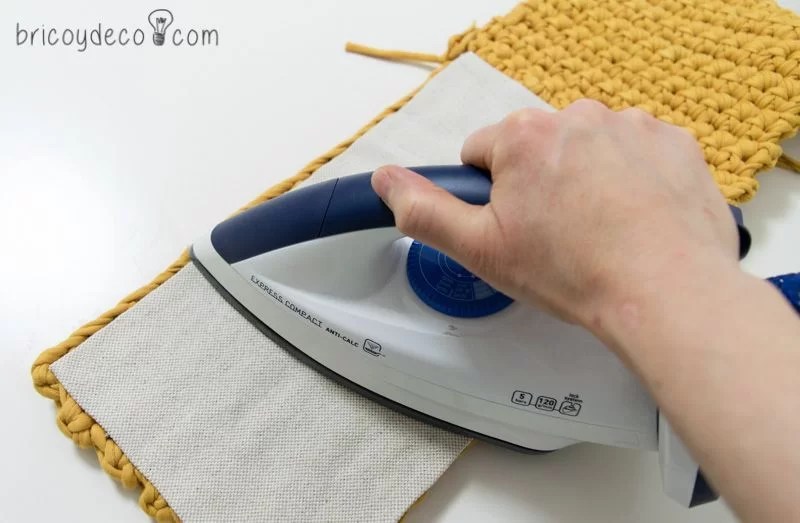
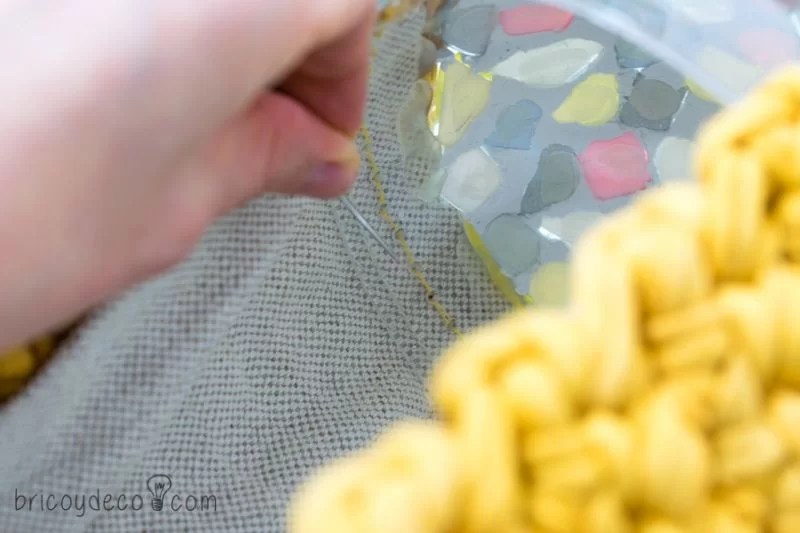
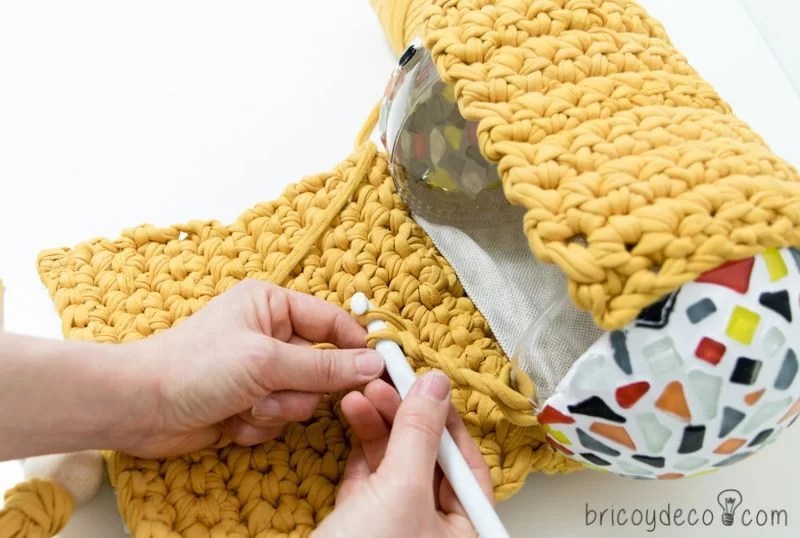
On the other hand, to give the bag a little more consistency, I lined the inside with a piece of cloth. To do this, it is not necessary to sew, but the lining can be adhered to the yarn with adhesive tape for hems and then pass the iron to activate the adhesive.
Next I sewed the yarn to the mosaic spheres. As I have mentioned before, if you have not been able to make the perforations, you can adhere the yarn with glue.
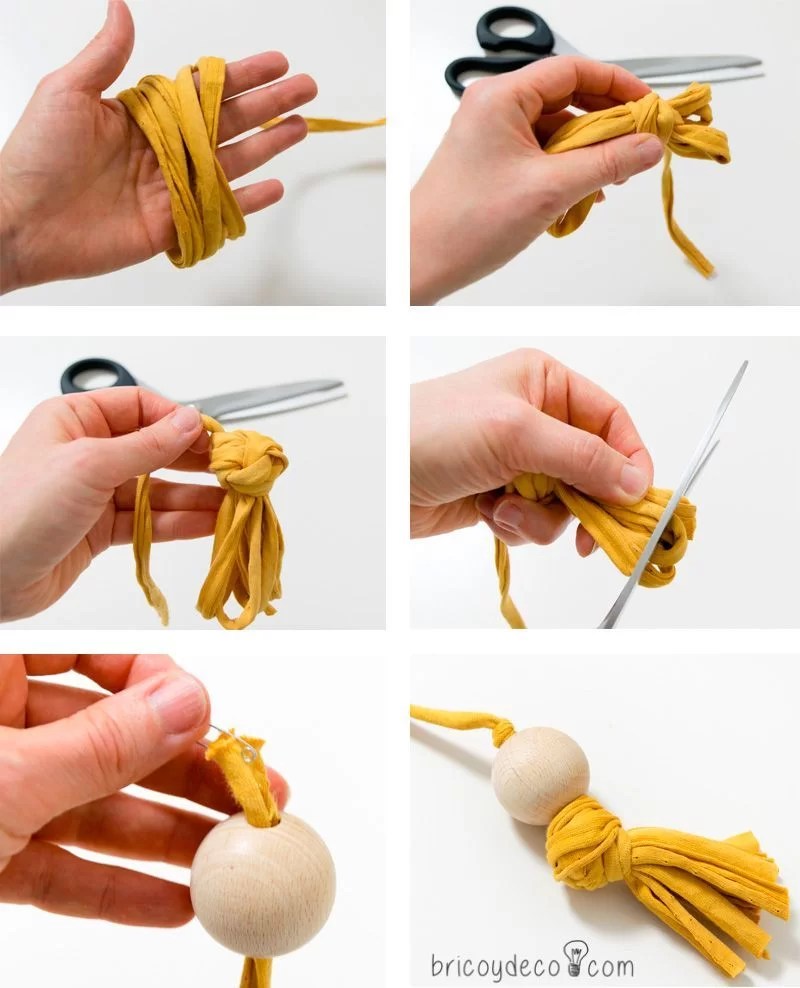
To exert a counterweight and keep the flap in place, I placed some wooden tassels and trapillo. First I wrapped the yarn around my hand several times, then I continued to wrap a piece of yarn over the top and tied a knot. Lastly, I cut the bottom part to make the fringes and passed the yarn yarn through the perforated wooden ball using a safety pin.
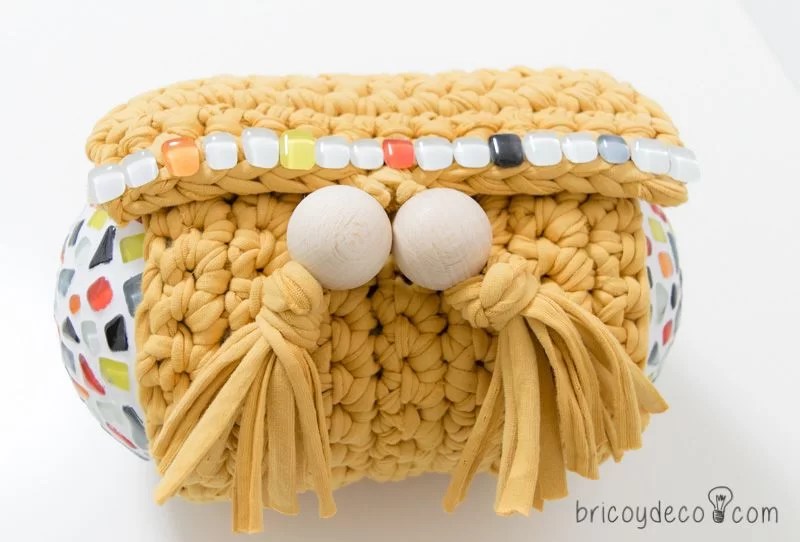
Finally I sewed the yarn tassels to the flap, decorating the edge with a row of mosaic tiles that I fixed with glue.
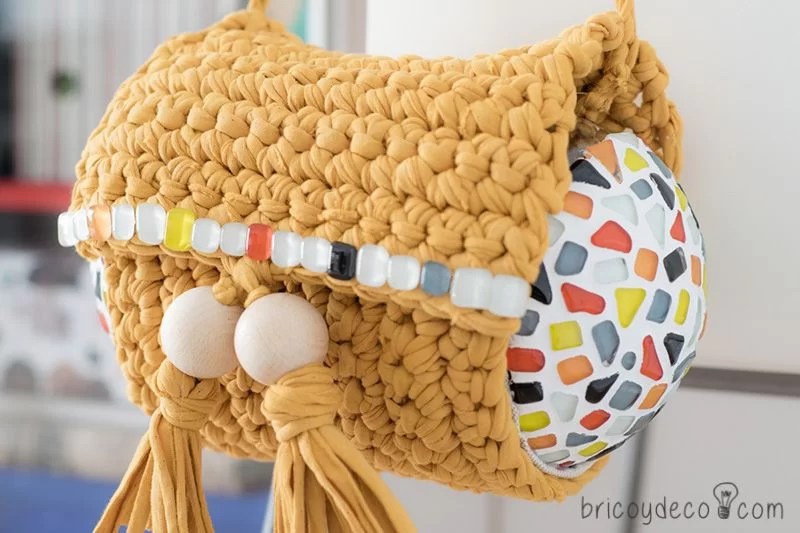
In the following image you can see how the flap and the bag were practically finished.
For to make the handle I knitted a chain that I attached to each of the side perforations of the plastic sphere.
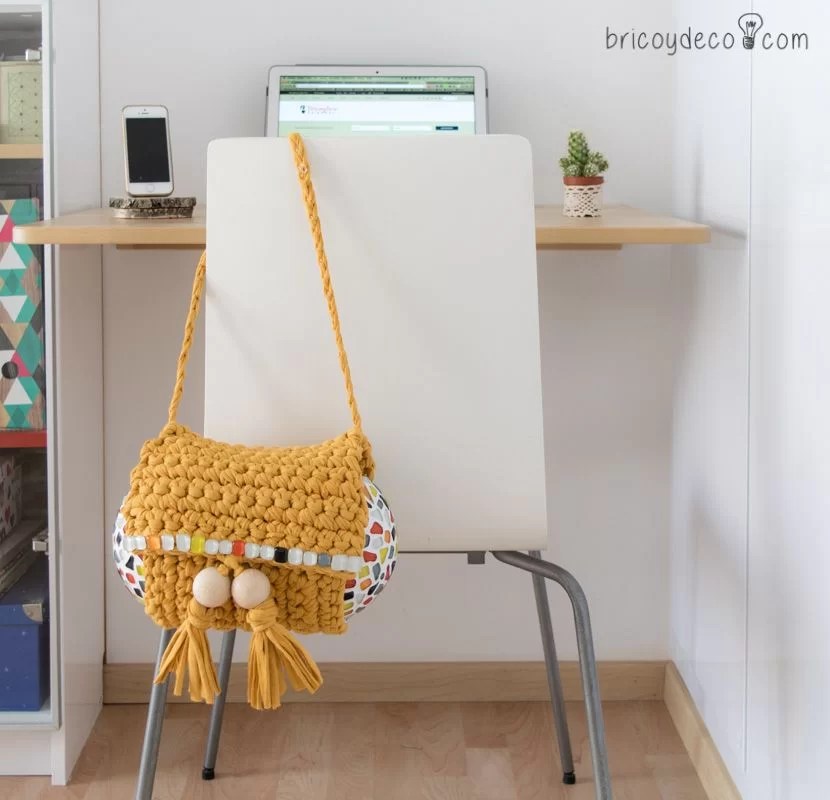
In the following image you can see the finished bag and how the wallet, a small toiletry bag, the sunglasses fit comfortably and there is still room for the mobile phone and the keys, for me it is the ideal size.
The mosaic detail on the sides not only does it add a note of color but it also provides originality and character.
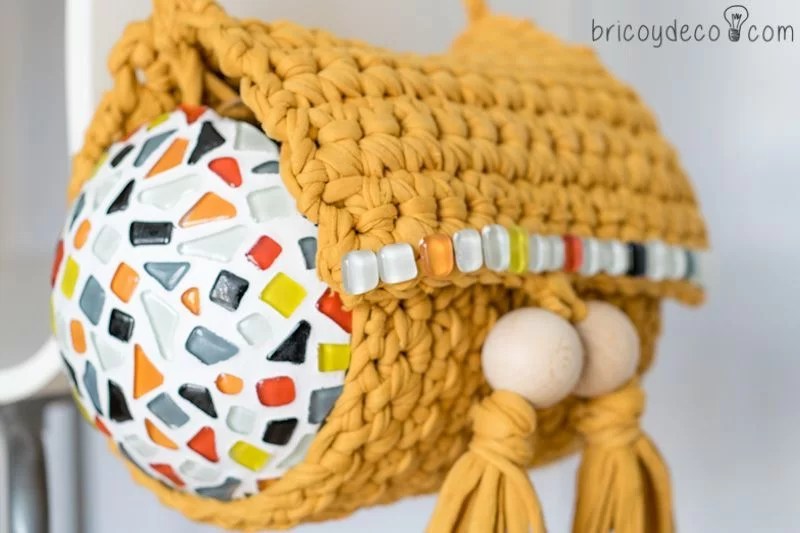
The yarn and wood tassels fulfill a double function, on the one hand they act as a counterweight and on the other they add an elegant touch to the front of the bag.
In the following image you can see two totally different projects and uses for the same materials: a mosaic pot holder or a t-shirt bag with a flap, which one do you choose? Dare to do both!
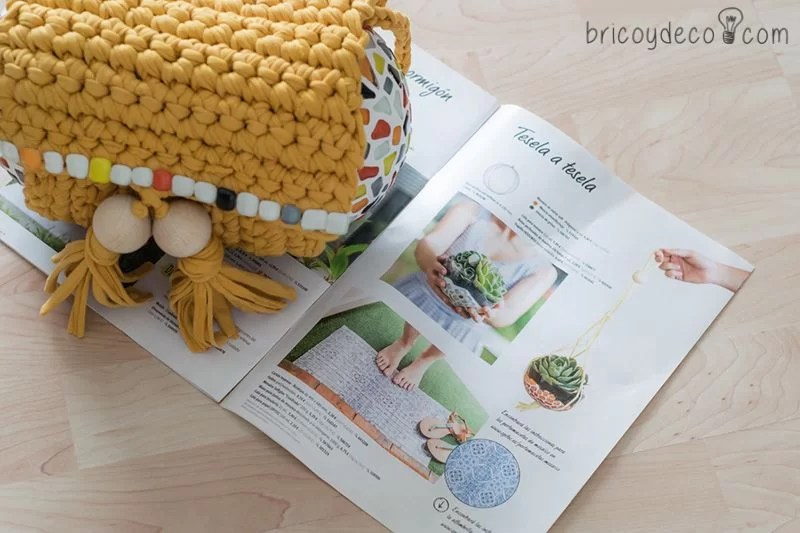
In addition, they have only been a couple of examples of all the projects that you can do with the materials from the Opitec summer catalogue.

What do you think of this original T-shirt bag with flap and mosaic? I am quite satisfied with the result, especially considering that it is the first time that I have made a craft with mosaic tiles. It is also a unique and exclusive accessory that I am going to get a lot of use out of this summer.
If you liked this post, you can see many more inspiring ideas and DIY projects at .


