

One more week we continue with the practical exercises in the Felt workshop from scratch. This time I want to show you how they can be made with felt practical as well as decorative craftsthat is why I have thought of proposing that you make a felt teapot that can be used to store tea bags or infusions and present it at the table.
We already know that one of the main characteristics of felt is that it does not fray, which is an advantage when making 3D figures since the pieces can be joined without the need to finish off the edges.
In addition, if we use a felt with the appropriate rigidity and thickness, we will be able to make sufficiently consistent works that we can use as containers for objects. In the following images you can see some examples of boxes, magazine racks or bags made with felt.
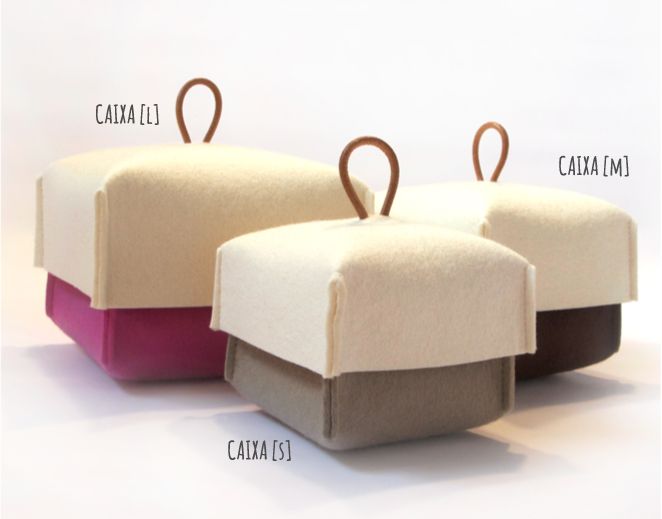
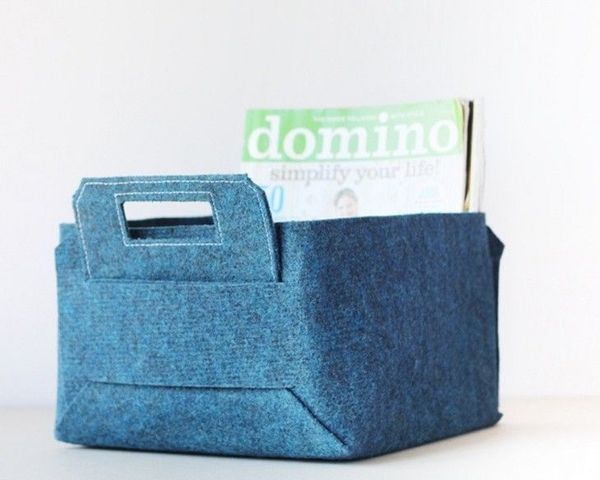
Image: FabArtDIY
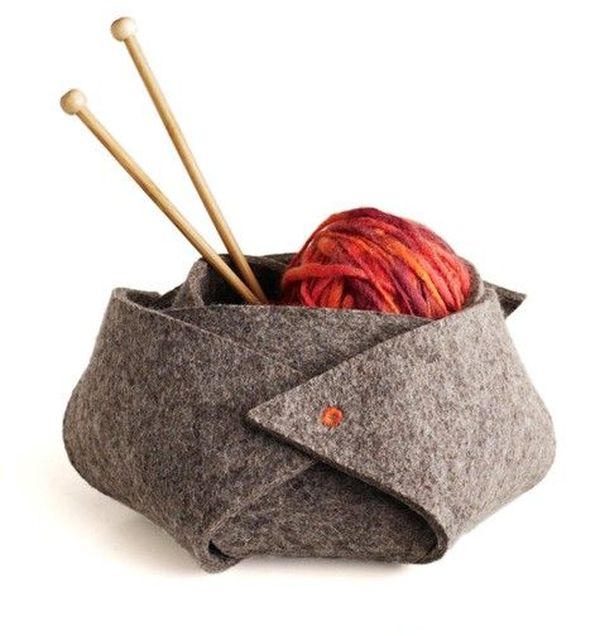
Image: Knitmodern
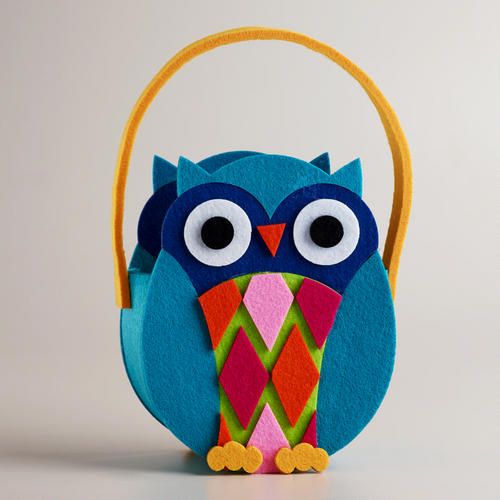
Image: Worldmarket.com
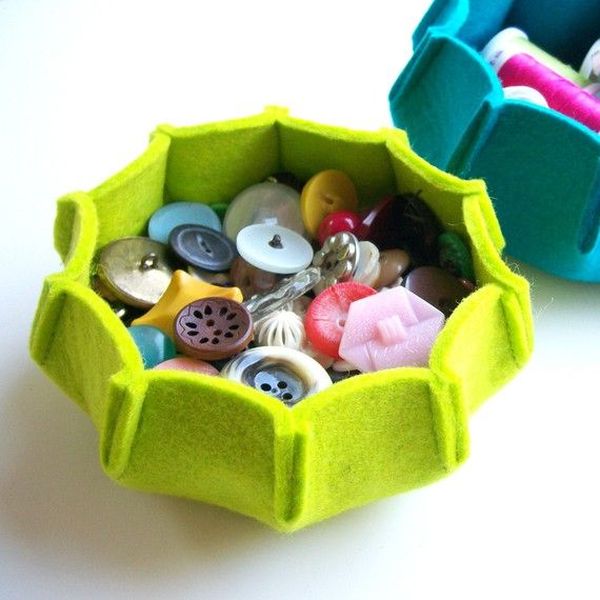
Image: Esty.com
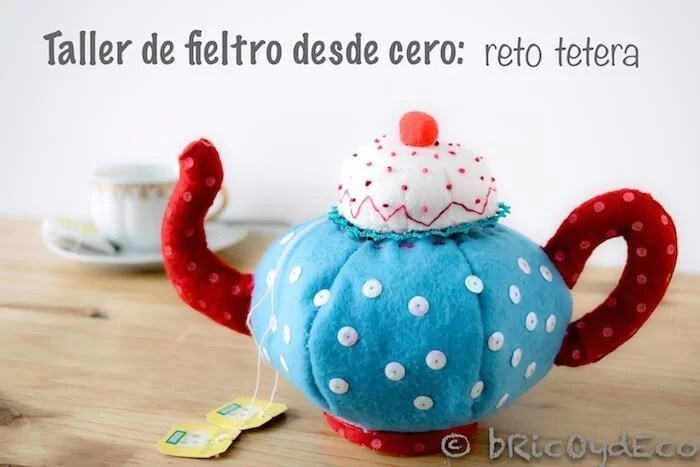
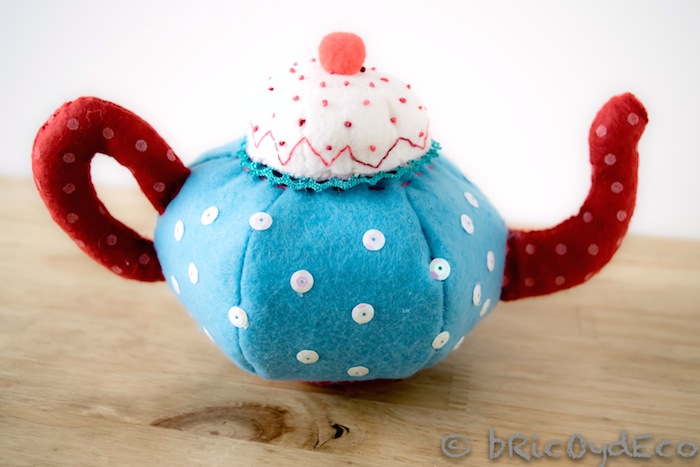
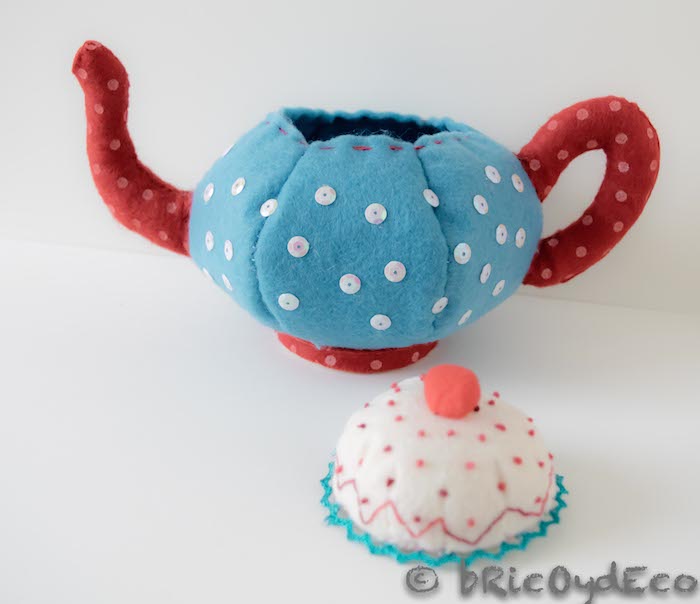
My proposal for this exercise is to make a felt teapot in which to store tea bags, infusions, sugar cubes, etc., and with which we will surely surprise visitors. We will practice how to make a 3D figure with and without filling and also the French knot stitch to obtain a result like the one in the following image:
The materials What we will need are the following:
– 2 millimeter blue felt thick for the body of the kettle. We must choose a felt that has sufficient consistency and rigidity since the body of the teapot will go without filling. If you can’t find 2mm or thicker felt, you can join two pieces of 1mm felt.
– 1 millimeter red felt thick for the handle and spout of the kettle. I do not advise a thicker felt because these parts will be filled.
– white felt for the lid of the kettle and to shape the base.
– Sewing thread of the same colors as the felt (I used blue, red and white).
– moulin thread for the French knot stitch (I used red).
– Sequins and a lace to decorate.
– textile glue or hot glue gun.
– wadding or cotton for the filling.
– Paperboard for the base of the kettle and the lid.
The steps to follow To make this felt teapot are as follows:
1º.- In the first place, the piece that forms the teapot body (fig. 1 of the pattern) and each side is sewn on the wrong side with a backstitch. Once the 6 pieces that make up the body have been sewn, it is turned over so that it is right side out.
With textile or hot melt glue we will glue the sequins to decorate the body of the teapot.
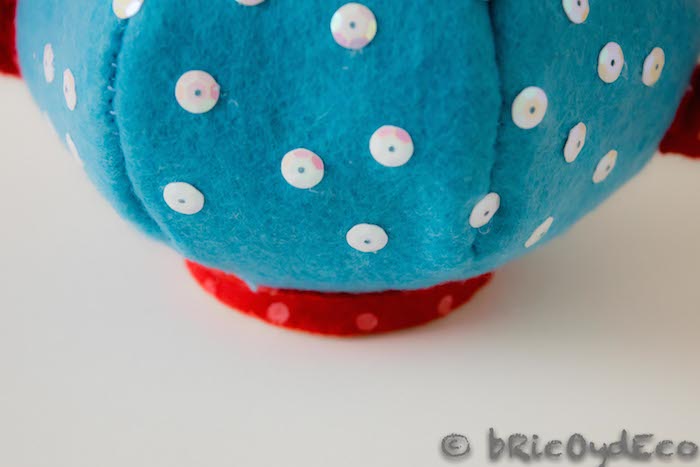
2º.- Next we will carry out the teapot baseTo do this, cut 2 circles of felt (fig. 5 of the pattern) and another of cardboard to give consistency to the base.
With textile or hot melt glue, we will glue one of the felt circles to the cardboard circle, then sew the lower part of the side piece (fig. 7 the pattern) around the felt circle to which we have glued it. the paperboard.
Subsequently, the upper part of the side is sewn to the other circle of felt, leaving a gap of about 2 or 3 centimeters unattached to insert the wadding or cotton padding and close it later.
Finally, with textile glue or with the hot melt gun, we will glue the base to the body of the teapot.
3º.- To do the handle and the spout We will cut both pieces twice (fig. 2 and fig. 3 respectively) and once the circle with which we will close the spout (fig. 4 of the pattern).
Sew the two parts of the handle to the right with a blanket stitch, leaving both sides unconnected. Subsequently, the inside of the handle is filled with wadding or cotton and joined by overcasting it to the body of the teapot.
The spout is made like the handle but the part that does not join the body of the teapot is closed with a felt circle of the same color (fig. 4).
4º.- To finish we will do the teapot lid. To do this, cut a circle of white felt (fig. 5) and sew the decorative lace around it. Then we cut a cardboard circle of the same size and join it with textile or hot melt glue to the felt base, in this way the lid is given consistency just as we had done with the base.
Next, another larger circle of felt is cut (fig. 6 of the pattern) and some folds are sewn along the dotted part so that it has the shape of a bowl or cup.
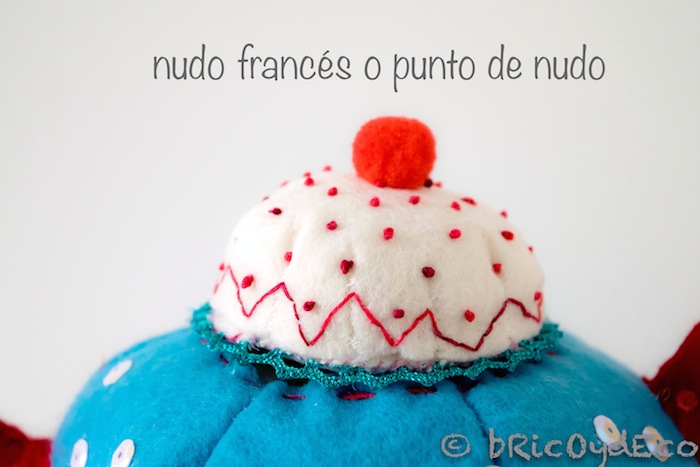
To decorate the lid I have made some zigzag stitches with red mouline thread and I have also made some small polka dots with French knot stitch. In the following video of Llueve Diamantina you can see in detail how this type of stitch is made:
Finally, the cover is sewn to its base with an overcasting, leaving a few centimeters unconnected to be able to introduce the filling and finish sewing later. To finish off the cover we will place a small pompom with textile or hot melt glue.
The final result is what you can see in the following image:
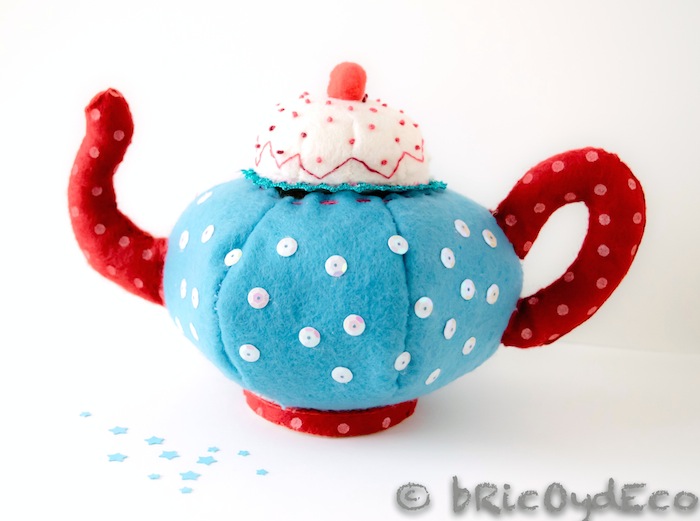
Surely you will surprise your guests if you accompany this felt teapot to coffee to store the sugar cubes or bags for infusions.
You can send photos of your practical exercises to the contact email address[arroba] indicating in the subject “FELT CHALLENGE”. In each new chapter of the Workshop I will be publishing the works that I have received until then.
As I always tell you, it is not about doing exactly the same exercise, but rather about being inspired and adapting it to your tastes. Below you can see felt teapots that can be made with the same pattern but varying their decoration:
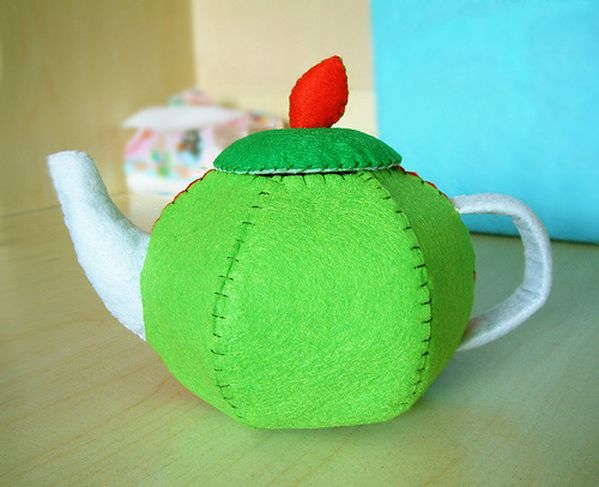
Image: Fairyfox
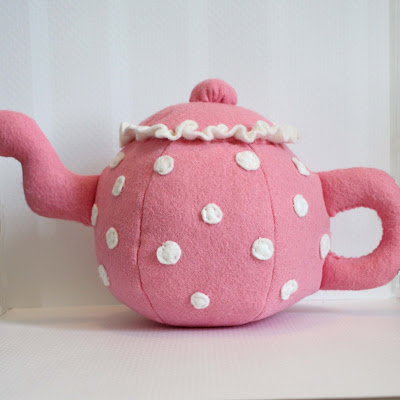
Image: All in one day’s time
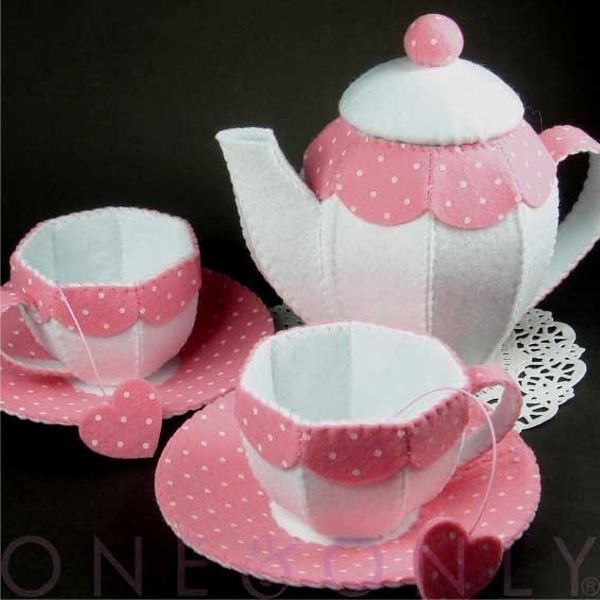
Image: Splitcoast Stampers
I hope you liked this new exercise of the Felt workshop from scratch and that encourages you to make three-dimensional felt figures. You already know that the most important thing is not to get it right the first time, but to get used to the material and little by little learn to work with it.
If you liked this post, you have many more works with felt at .


