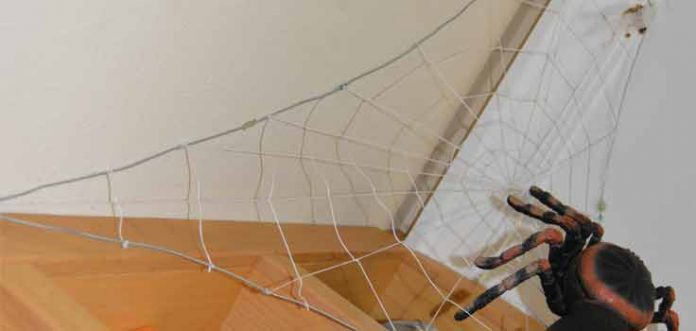
Halloween decoration
The spider web is something not very pleasant to look at, and that in all homes we avoid at all costs. However, on certain occasions, such as the celebration of Halloween, a great spiderweb to print a bit of atmosphere to the decoration.
At the bottom of this article you have five links to other of our articles dedicated to Halloween, which show how to make decorative objects that are not complicated at all. We invite you to see them.
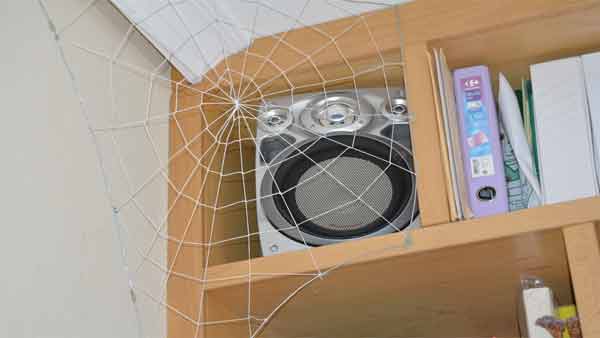
Continuing with the realization of our terrifying spiderwebFirst of all, let’s see the…
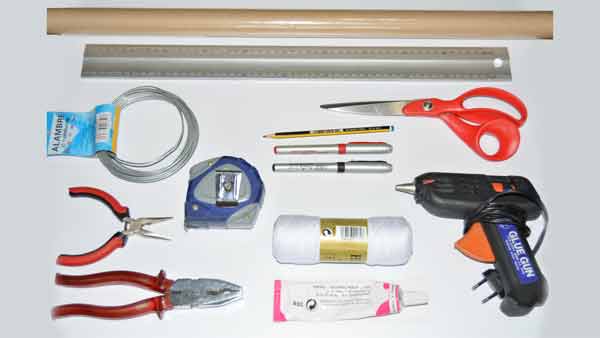
Materials and tools that we will need:
- Wrapping paper.
- Rule.
- Meter.
- Wire.
- Pencil and marker.
- Scissors.
- Hot melt glue gun.
- Ball of white thread number 5.
- regular glue.
- Pliers.
.
VIDEO-TUTORIAL
Let’s go there with our terrifying web for Halloween!!
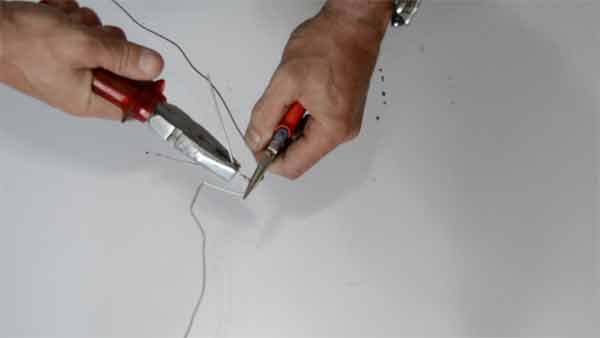
Step 1: We have to start by making the structure. For this we will use a wire that is more or less rigid. We have used wire about 2 mm thick.
In situ, we will give it the same shape as the hole where we are going to install the spiderweb. Mold it slowly and trying to fit it as much as possible.
Then we will go over it with our hands, to straighten the wire smoothing out the irregularities.
Finally we will join the two ends.
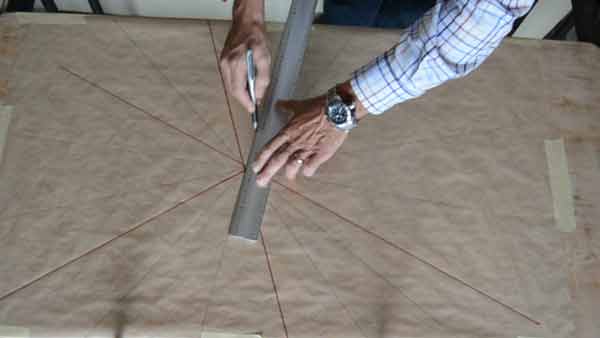
Step 2: Now we will make a template to serve as a guide to make the diagonals of the spider web.
To do this, we will use packing paper, which is large enough for what we need.
We cut it and fix it with some adhesive tape.
We put the wire structure on top and mark the main diagonals.
These are the ones that will avoid possible deformations during handling.
We traced them with marker and a ruler.
Then we draw the rest of the diagonals.
We have to calculate, even by eye, that the distance we leave between one and the other is approximately the same.
Step 3: Now we put the structure back on top of the template.
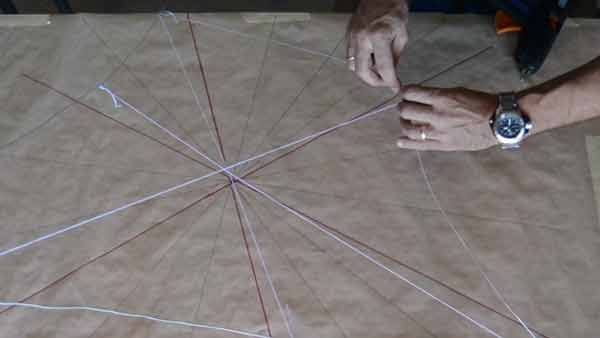
We cut several pieces of wire, with a sufficient length, we place them and stick them to the wire by only one of its ends, with hot melt adhesive.
We give it a turn and tighten a little. Once the adhesive cools, we can apply a little more on the thread; but the latter is not necessary either.
When we have glued 3 or 4 threads, and the adhesive has cooled, we can glue the other end of each of them.
Do not tighten them too much, as you would deform the structure.
We will proceed in the same way to make all the diagonals.
Step 4: Well, once the diagonals are finished, we will continue with the spiral plot, which will start from the center.
First we make a smaller ball to be able to pass it without difficulty through the framework.
We turn the web over to work on its back (which will be hidden from view).
We knot one of its ends at the intersection of all the diagonals and begin to make the spiral.
In each diagonal you have to go around it, and continue towards the next one.
You can make the spiral more or less thick, depending on the space you leave between each turn.
You don’t need to tie knots, we’ll just apply a bit of glue.
You can use any glue, as long as it is white or transparent. In my case, I am using special fabric glue.
We will do it in this way throughout the surface until we reach the wire. This end of the thread can be fixed with hot melt adhesive, or simply by knotting it to the wire.
In my case, since the glue gun has already cooled down, I am going to knot the ends.
so that the spiderweb it looks good, in the corners we will have to put some pieces of thread to complete the framework. The procedure is the same as the one used up to now.
The fringes that remain, we will cut them.
If any of the threads had loosened, take off one of its ends, tighten it again, and glue it again.
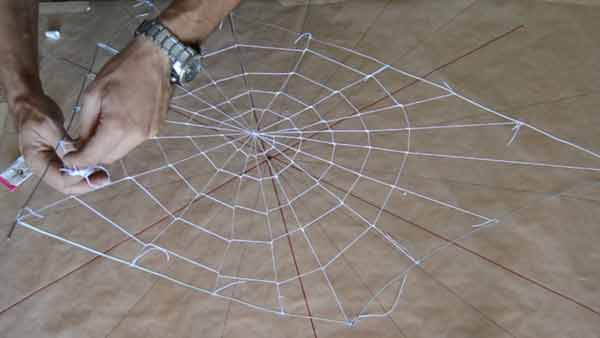
Step 5: Well, we have finished our spiderweb of Halloween. Now you have to put it in its place.
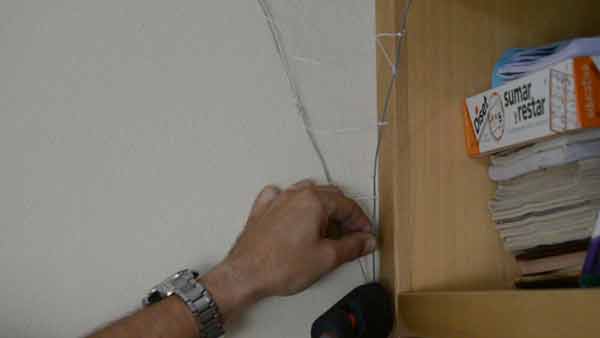
To place it, use hot-melt adhesive, applying it in small dots.
With a few stitches of adhesive, it will be enough.
Once the adhesive has been applied to the surface, press the wire onto the surface. To prevent the wire from pulling and peeling off, maintain pressure until the adhesive cools completely.
When adjusting it in its position, it is possible that some of the threads loosen a little, so we must be skillful and find a way to make it fit.
Step 6: We already have our spiderwebnow to give it a more terrifying look, we can add a spider and even a prey.
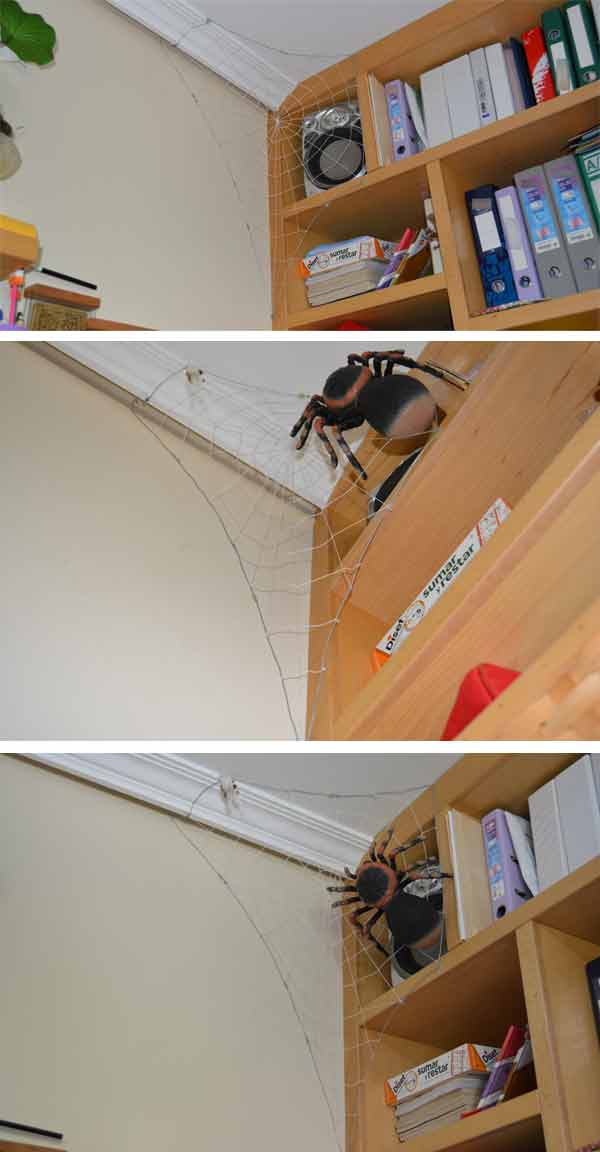
The spider will simply be hung, and the prey will be wrapped with a piece of bandage and glued with the same adhesive used up to now.
Below you have several links where you can see other decorative crafts for Halloween. Do not miss it!
BricoBlog Channel


