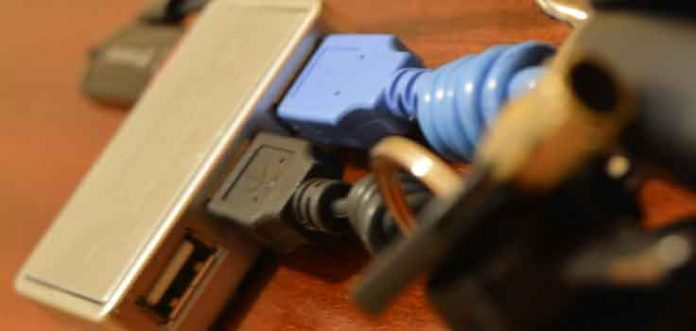
A key organizer very practical is the project that we will carry out today.
If you are a regular at the blog and our youtube channel, you already know that in BricoBlog we are creative recycling maniacs. We are always looking for a way to give a second chance to any waste element that falls into our hands.
We take this opportunity to encourage YOU too “think green”.
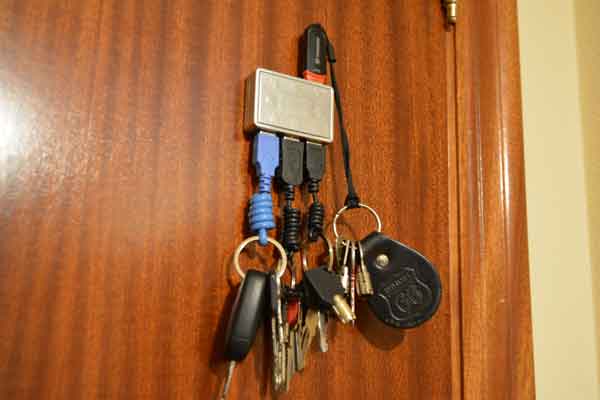
Well, in addition to key organizerwe will also make several keychains with USB connections to be able to attach them to the organizer.
We have painted part of the key organizer to cover the mark. But, if you eliminate this step, the process is really simple and fast.
Do not miss it, it is very practical and original.
.
VIDEO
.
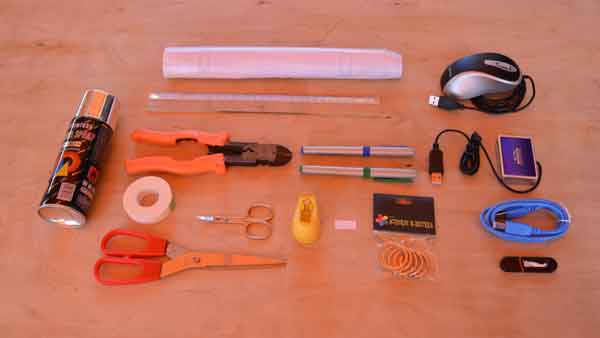
For this craft we will need the following
- A USB port multiplier that no longer serves you.
- Different computer components that have a USB connection and that you no longer use. In our case we will use:
- A mouse.
- A scanner cable.
- A USB stick.
- And the port multiplier cable itself.
- Rings for keychains.
- A small cardboard template. Then you will see what it is for.
- Adhesive vinyl.
- Rule.
- Marker pen.
- Scissors.
- Pliers.
- Paint.
- Die (optional).
- Double Sided Adhesive Tape
.
the procedure is the next
Step 1: Since we’re going to hide the brand, we’ll use paint the same color as the body of this component, which is chrome.
Taking advantage of this, we will make some motifs in relief.
Therefore, the first thing will be to prepare an adhesive vinyl template to paint the motifs that, later, will be in relief.
To do this we will use the small cardboard template that we had prepared, and a star-shaped die.
We cut and punch the vinyl. Once cut, we glue it in place, and protect the sides with a bit of masking tape.
And, once the spray paint is applied, we immediately remove the vinyl, and let it dry.
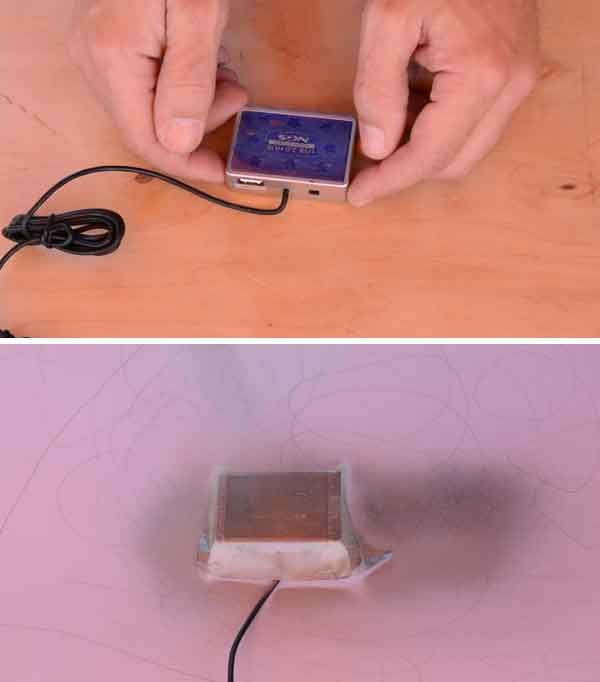
A tip before continuing: before painting, protect the work surface with paper or plastic.
Step 2: Once the paint is dry, we will give a second coat that will cover the entire front of our key organizer and with which we will be able to give relief to the reasons that we painted in the first step.
As we did before, we will have to protect the sides with masking tape.
We paint, immediately remove the masking tape, and let dry.
Step 3: While the paint dries, we’ll be making the keychains.
We will use the USB connections as well as part of the cables.
We introduce the cable inside the ring for keychains, and we make a multiple knot. This is the typical slipknot.
See how I do it in the video. It is nothing complicated.
In future tutorials, we will teach you how to make your own leather cord slipknot bracelets.
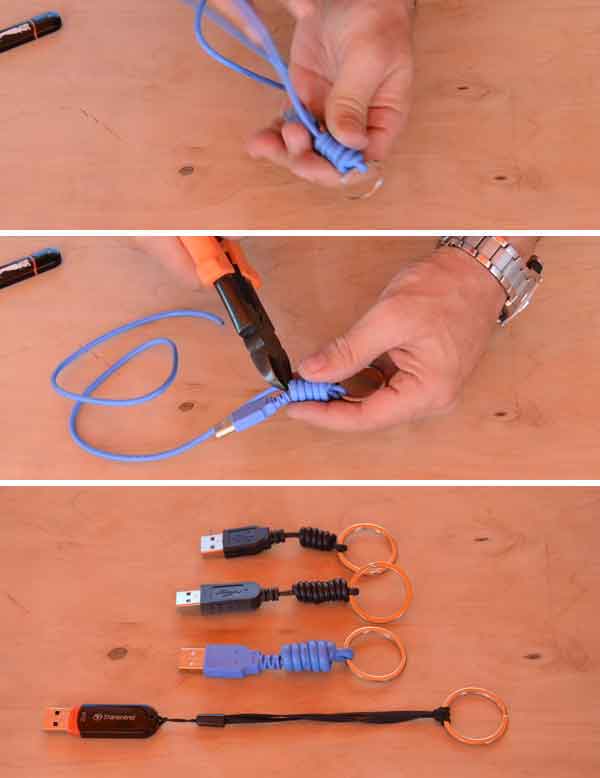
Step 4: To the USB memory, the only thing we will do is put some system to hook it to the ring. We will also take advantage of and recycle a strap that could belong to an old camera.
Step 5: Once the paint dries, we remove the cable. We could do this by opening the component and rooting it out, but we’re going to simplify the process. You just have to pull and tear it off. If there is any remaining wire sticking out, cut it off with the pliers.
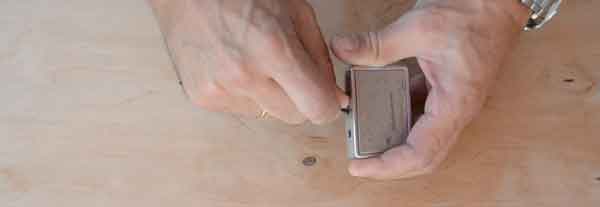
Step 6: All that remains is to install our key organizer recycling at your location.
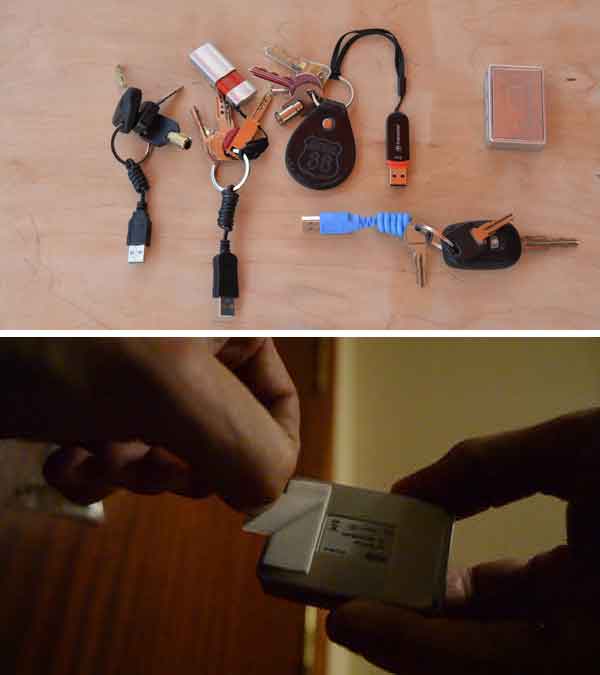 It’s as simple as putting on some double-sided tape, and sticking it on.
We will put it on the inside face of the main door, at a reasonable height so that the little ones cannot reach it.
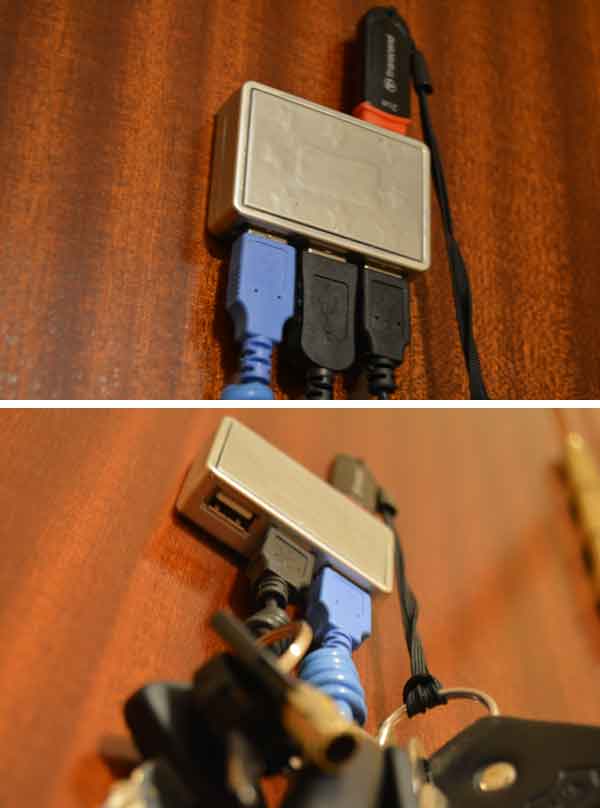
It is done!! See how easy and convenient it is to leave and pick up the keys to our key organizer.
Now we have our keys well organized and always at hand.


