

The guest post today is from Manuel Priego, responsible for content in Your Tools. In contact with the world of DIY and repairs since he was a child, Manuel is passionate about power tools and has been collaborating regularly for a year, analyzing the tools manufactured by the main tool brands on the “Your Tools” website. Thanks to him you will know what are the 5 essential tools to upholster a sofa.
There would be no tools without DIY, and no DIY without tools. That is why we are enthusiastic about the collaboration opportunity that DIY and something else… has given us. In this article we bring you the 5 essential tools to upholster our sofas or armchairs.
Few DIY projects are as grateful for our home as upholstery. It is a simple and economical activity that allows us to completely change the appearance of our house, giving those old chairs or that sagging sofa a second chance.
Although perhaps one of the aspects that we like the most about upholstering is its incredibly accessible tools. Contrary to what happens with other DIY projects, it is possible to start upholstering a sofa or an armchair with tools as affordable and common as the ones we all have in our toolbox at home.
Below we review the 5 essential tools to upholster a sofa:
1.- Screwdriver
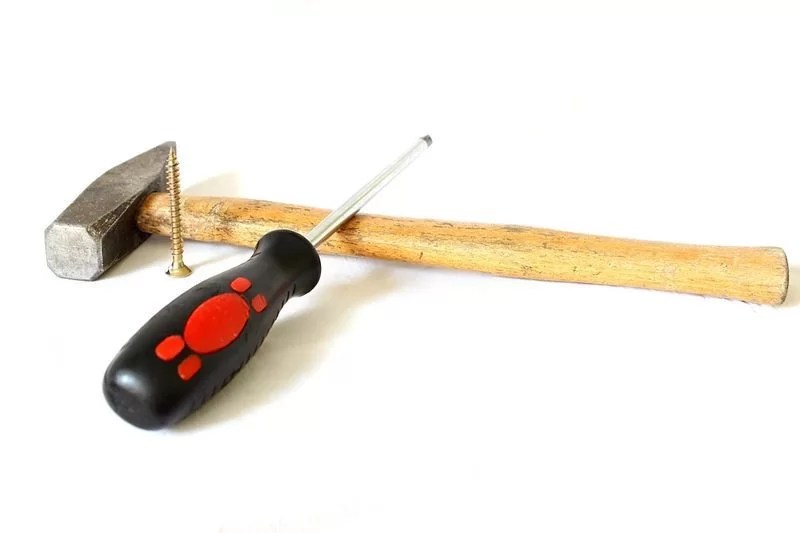
Image via Your Tools
With a simple screwdriver. With this common tool we begin to give a new life to our armchairs and chairs. First of all, it is necessary to disassemble the structure of the chair or sofa to have access to the seats and backrests that are going to be upholstered.
2.- Pliers
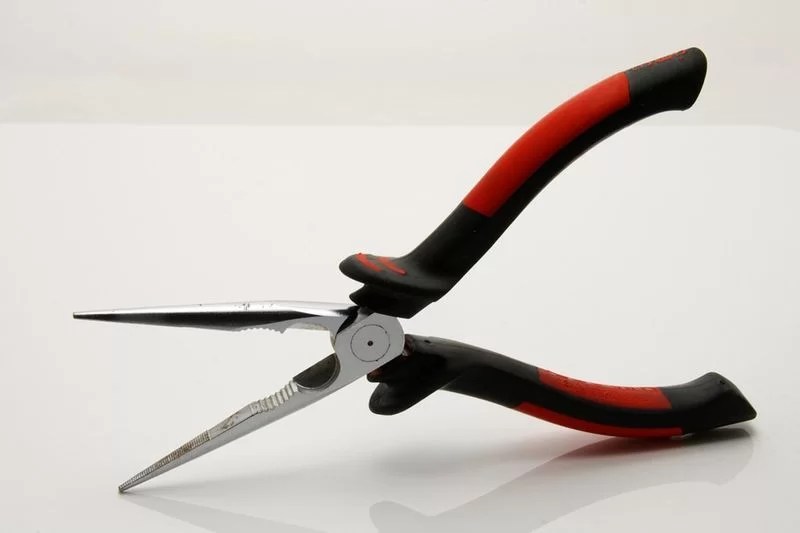
Image via Your Tools
Once the seats have been removed, we need a few pliers to carefully remove all staples, spikes and screws that hold the old fabric to the seat frame. It is important to be meticulous in removing any previous staple and thus avoid unwanted tears in the new tissues.
3.- Scissors
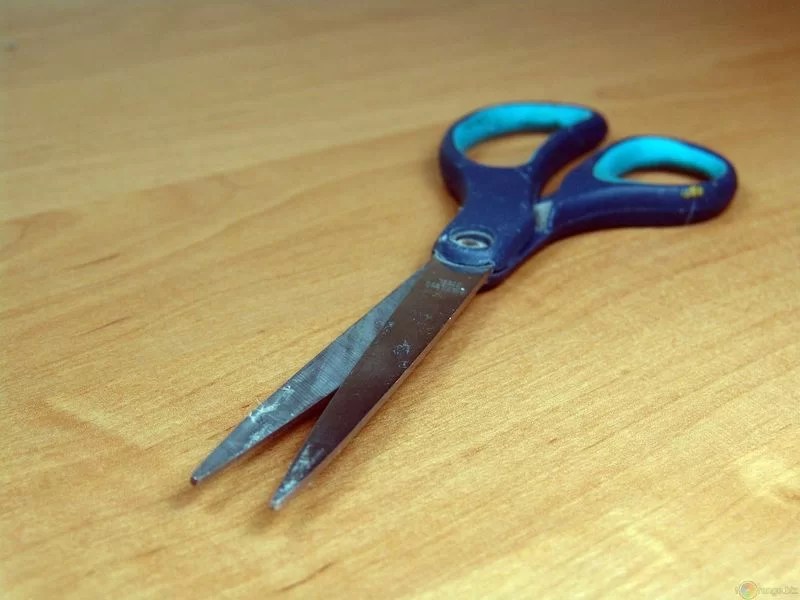
Image via Your Tools
The next step is to make the necessary measurements and cuts to adjust the new fabrics to the contours of our seat. have some sharp sewing scissors It is essential since they will help us to adapt the new cloth to the nooks and crannies that form the structure of our sofa or armchair.
4.- Stapler
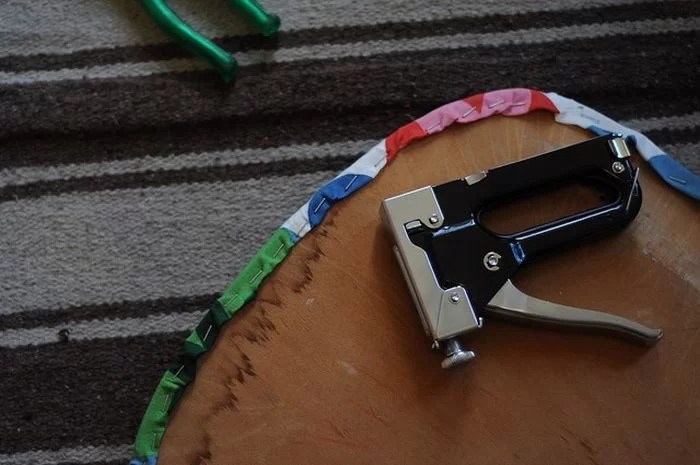
Image via Your Tools
Perhaps the most difficult part of the entire upholstery process is keeping the new stretched and wrinkle-free fabric at all times. To achieve a perfect upholstery it is essential to always have a stapler at hand. These tools are essential for upholstering sofas or armchairs since their speed and ease of use allow us to fix the new fabric firmly and safely.
Due to the number of models and brands that exist in the market, finding the most suitable one for our upholstery can be complicated. Therefore it is important to know the main classes of staplers and their basic characteristics. There are 3 large groups: manual, electric and pneumatic.
The manual ones are the most economical and are intended for fine tissue stapling in soft materials. Electric staplers, thanks to the power of their electronic motor, are capable of going through thicker materials and tissues. On the other hand, pneumatic staplers are the most powerful on the market and are indicated for exhaustive upholstery. For more information here you can find the best staplers according to their model.
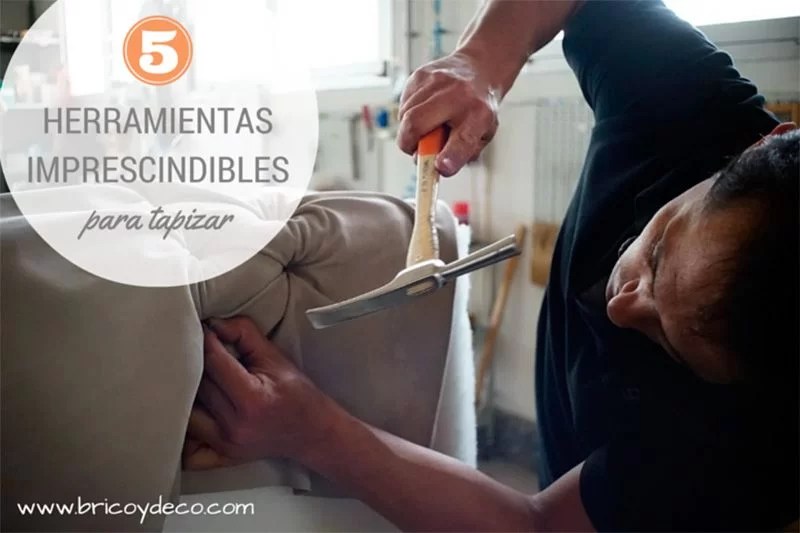
5.- Hammer
Once we have covered our sofa, armchair or chair with our favorite colors, all that remains is to check that the staples are well anchored in the wood. To make sure that the fabric is well fixed, we can help ourselves with a common hammer with which to hammer all the joints for a more lasting fixation.
5 simple tools, that’s all we need to give our living room a more cheerful and renewed look.
Have you ever tried to upholster a chair, couch or sofa? Which are yours essential upholstery tools? I have to admit that until now I have only encouraged myself with chairs, so I take note of what Manuel has explained to us in the face of larger projects.
If you liked this post, you can see many more tips and DIY projects at .


