

Do you love the retro and vintage air of tile decoration? Then you can’t miss this step by step to learn how to make a tray with DIY tiles or made by yourself with paper napkins and the decoupage technique, you’ll see how easy it is!
Is tray with DIY tiles or made by you, It is a small example of what you can create with the materials that you will find in the Opitec catalogue. Don’t worry because you won’t need clay or an oven, in fact you will be surprised how easy it will be for you.
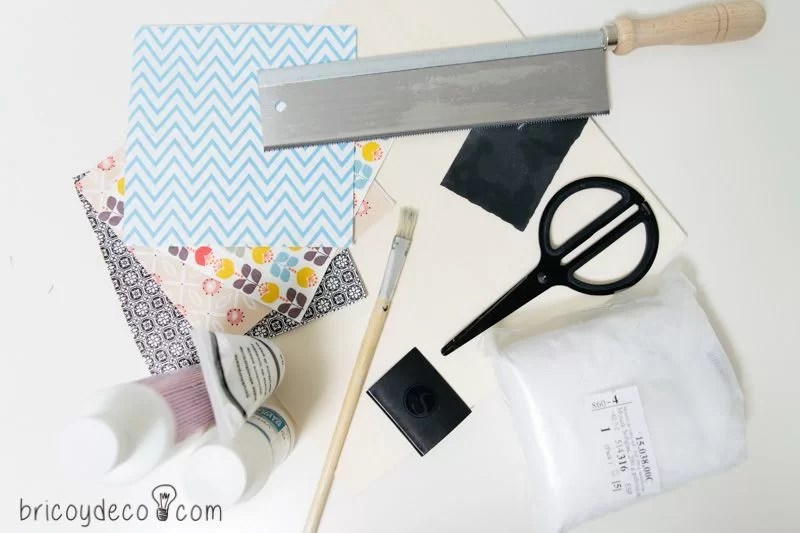
Materials to make a tray with tiles made by you
These are the materials you will need to make tiles or tiles using the technique of decoupage:
- Plywood or MDF sheets
- Wooden tray or slats
- A toothed saw to cut the wood
- Paper napkins, although you can also use any paper for decoupage
- Scissors
- Spatula
- Sandpaper
- Adhesive
- Acrylic paint
- glue for decoupage
- Varnish
How to make a tray with wooden slats
When making a tray with tiles we have two options:
1º.- Use a tray to decorate
2º.- Make a DIY tray
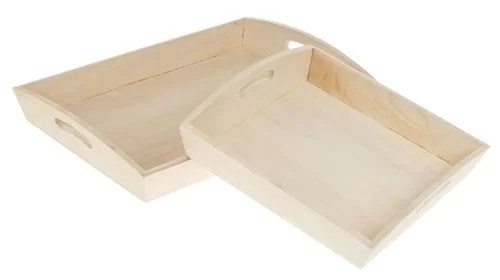
The first option is simpler since you will only have to fix the tiles to the bottom of the tray. The second is more complicated but has the advantage that the size can be customized.
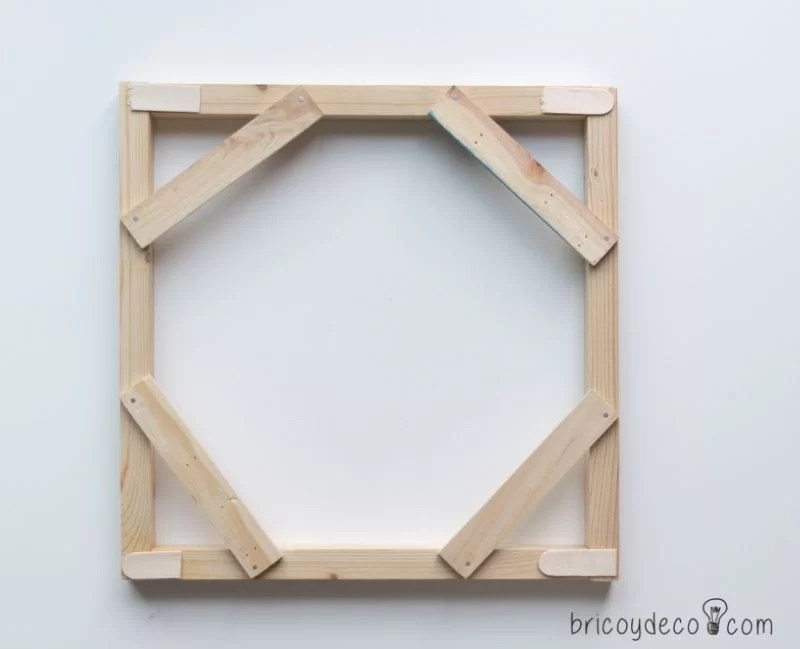
To make a simple DIY tray you must cut four strips of wood with the help of the toothed saw and a miter box or with a jigsaw, taking into account the measurements you want the tray to have.
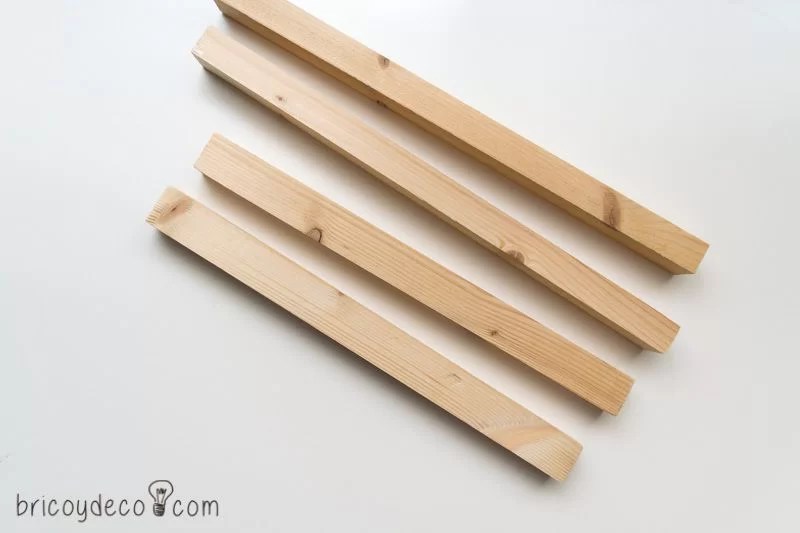
Next the corners are joined with adhesive and some pieces of wood are placed crosswise in each corner that can be fixed with nails. In this way, the union of the corners is reinforced and they also act as a support for the base of the tray.
How to make DIY tiles with paper napkins
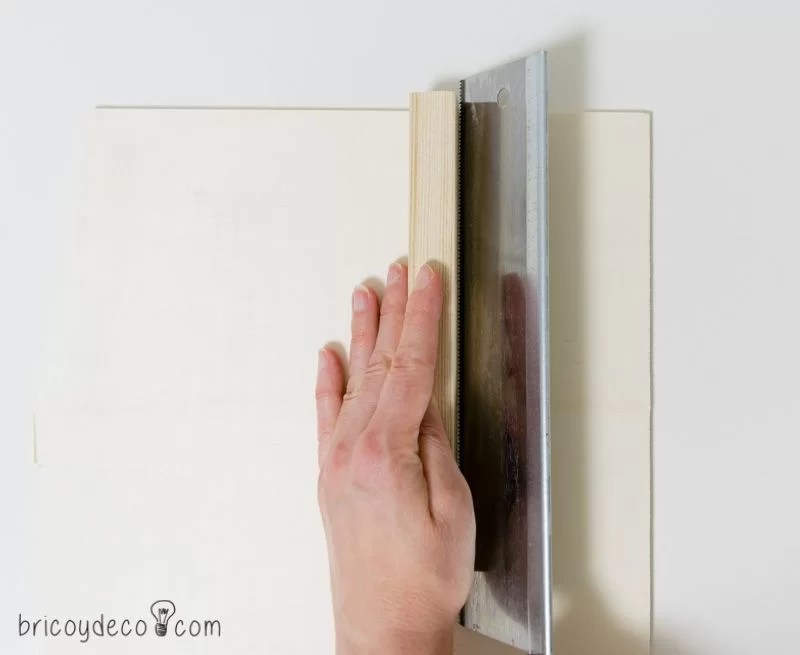
For DIY tiles you will first have to cut the plywood sheet into squares with a toothed saw and sand the edges with fine grit sandpaper.
A trick to make the cut come out straight is to place a strip as a guide. In addition, you should also keep in mind that you have to cut the plate on a workbench or on a surface that you do not mind being damaged by the saw.
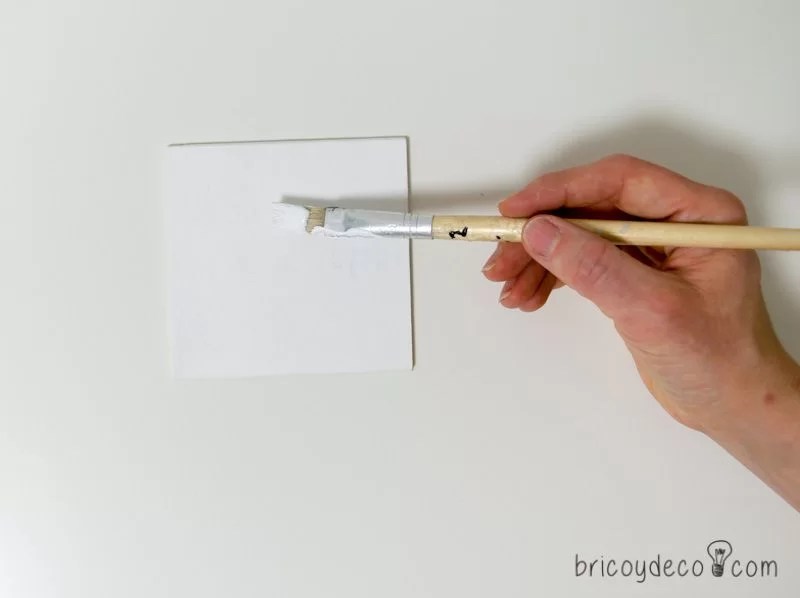
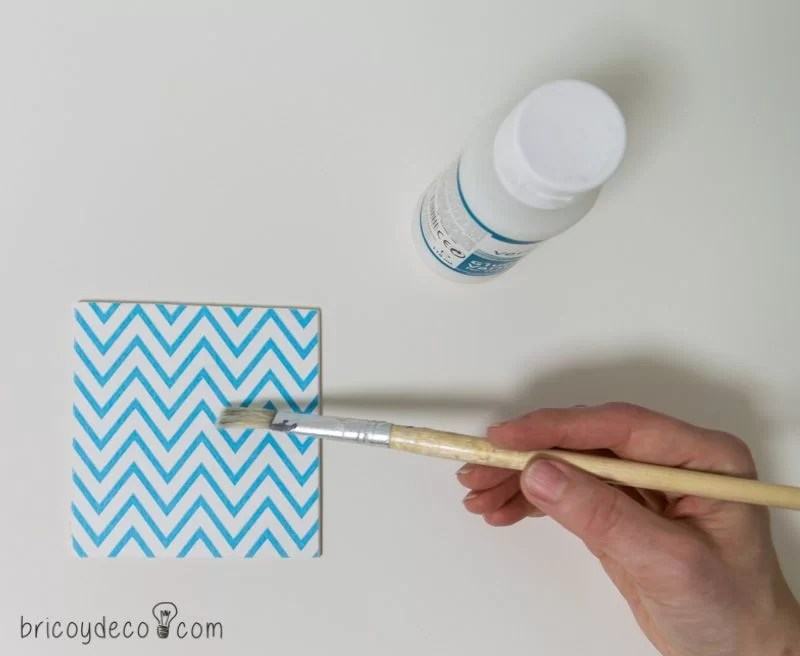
then it paint the squares of plywood with white acrylic paint, in this way it will highlight more the drawing of the napkin.
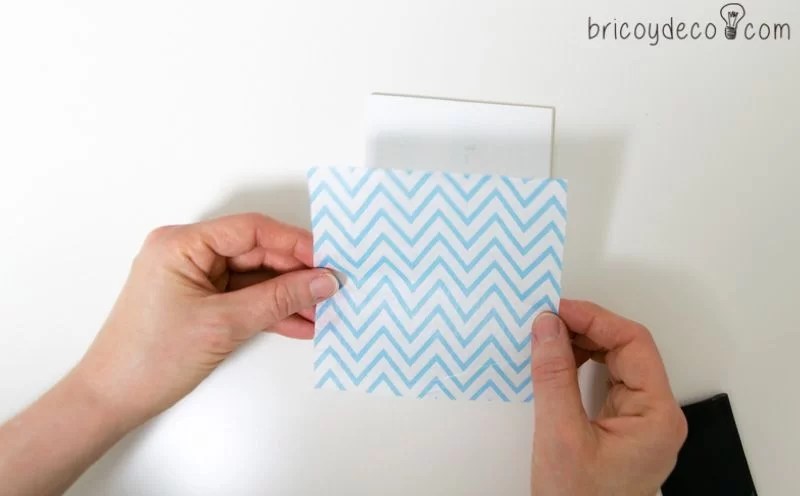
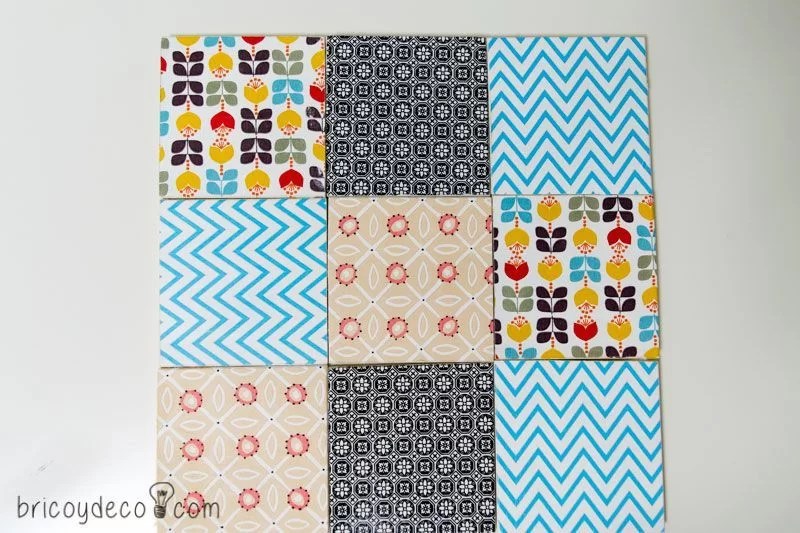
Napkins can be chosen with geometric or mosaic patterns for a tile-like look, as well as floral, patterned, etc. to create a patchwork effect.

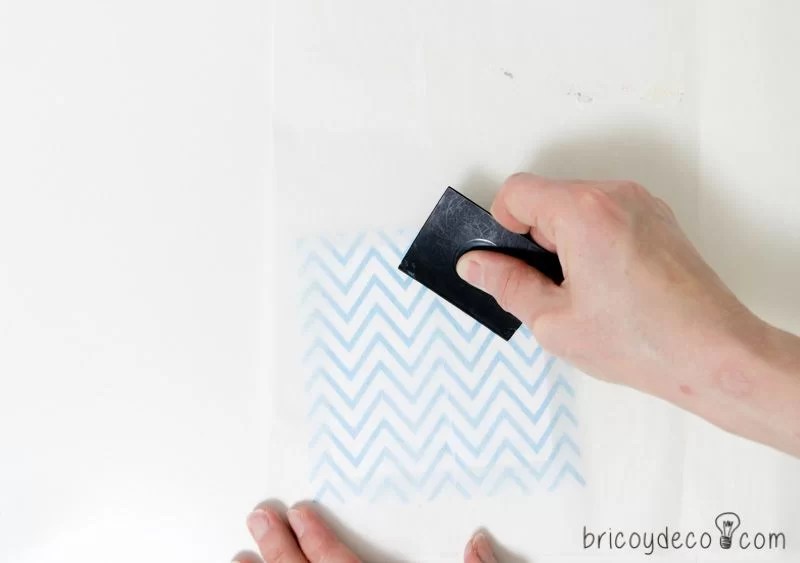
The next step will be cut out the napkin leaving a small margin, remove the layers that are not printed (normally there are two), apply the glue for decoupage on the painted wooden square and place the napkin with the help of a spatula.
It is very important that you do not place the spatula directly on the napkin, but protect it with aluminum foil or baking paper so as not to damage it. In the following image you can see how I have placed parchment paper between the napkin and the spatula (you can also see the whole process in the video tutorial how to do decoupage on wood).
Once the decoupage glue has dried (I recommend leaving it for about 12 hours), it must be varnish the surface to waterproof it with a colorless varnish with a matt or gloss finish. If you want to get a vintage or patchwork tile look, choose a matt varnish, but if you want it to resemble a ceramic tile, then a gloss varnish will be used. This time I have chosen a matte varnish.
The next step will be fix the tiles with adhesive to the wooden or MDF surface or to the wooden tray, depending on the option chosen.

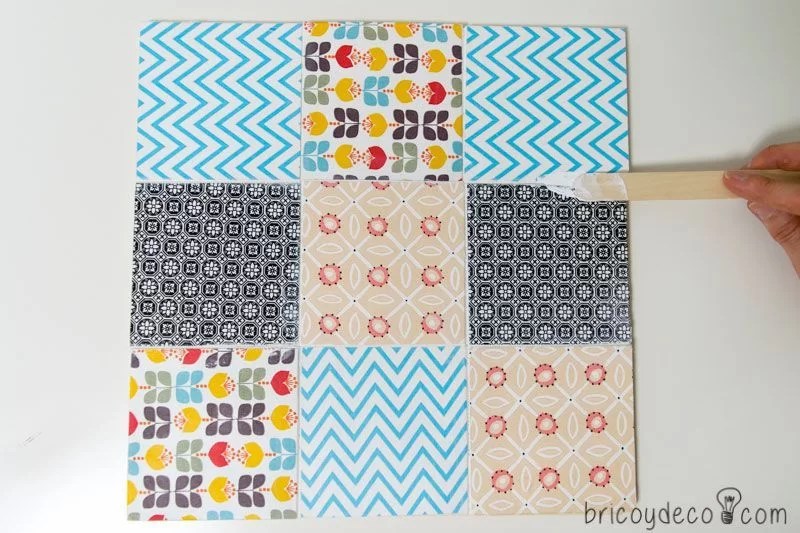
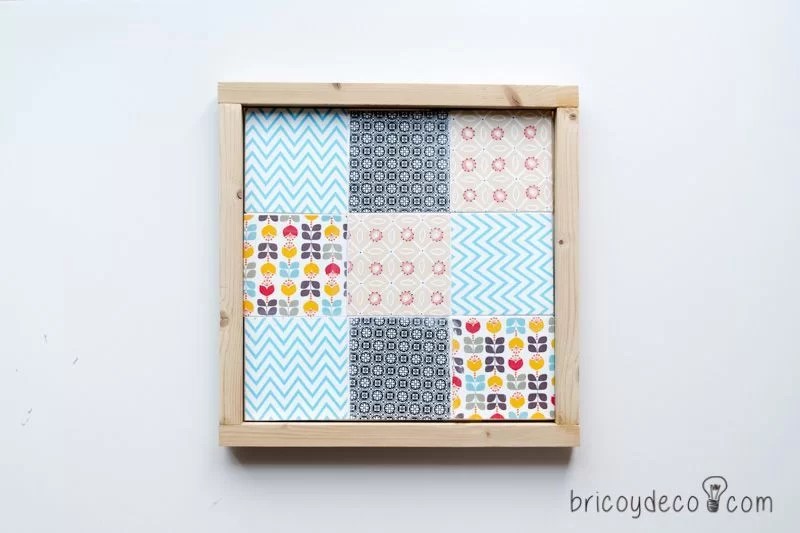
In this image you can see how all the tiles have been together. If you want to leave more space between them, cross braces can be used so that all the joints are the same.
Then it will be grouted with putty (you can see the post how to make a t-shirt and mosaic bag to see step by step how to make the putty).
With the help of a damp cloth or a slightly damp cloth, remove the excess putty so that it only fills the joints.
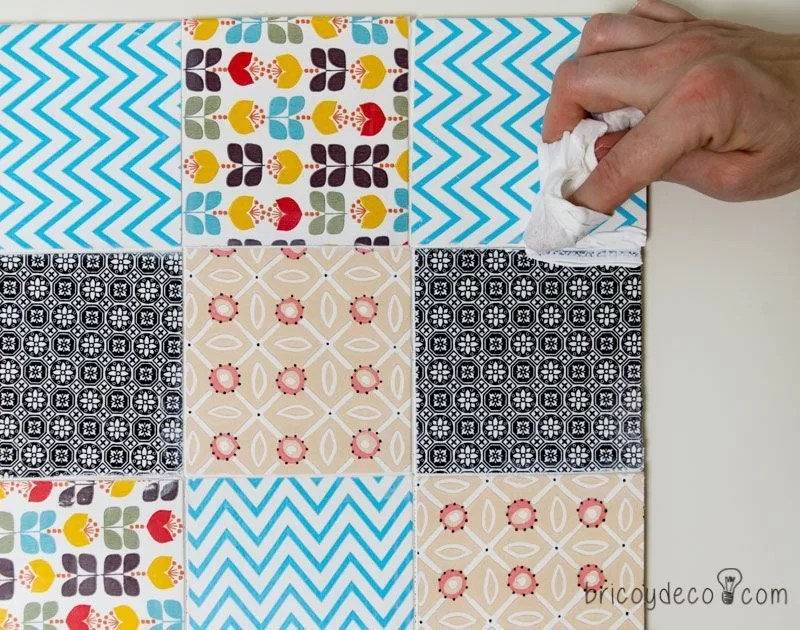
This is how the tray with DIY tiles will look after grouting and with the wooden frame:
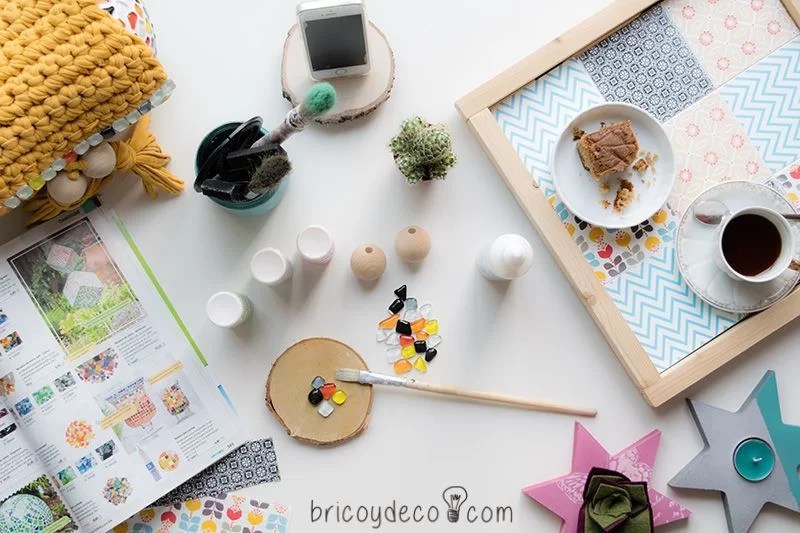
a cover photo
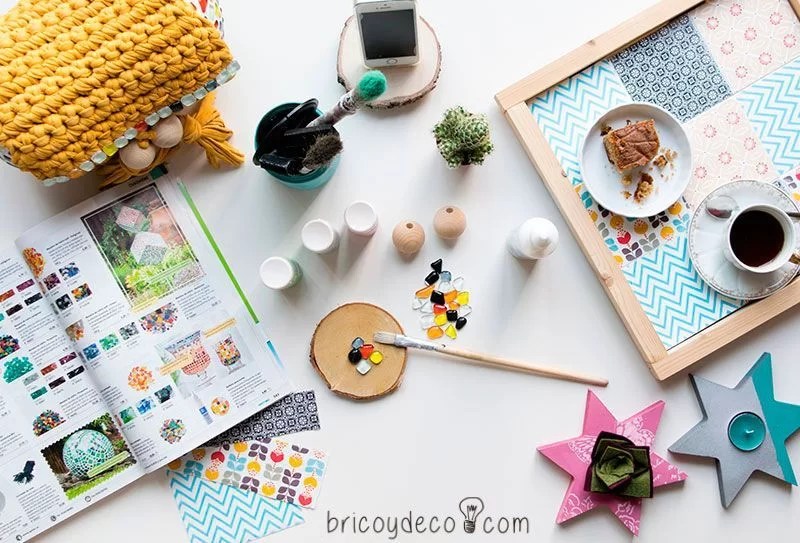
Now I am going to tell you a little secret, between you and me, I am normally very tidy and organized, I like to have a clear table and have breakfast in front of the computer.
But when I’m creative, I get out of hand and end up filling the table with materials with which I do tests and small experiments. I also usually have the Opitec catalog handy as it is a source of inspiration, so I thought I would turn this creative moment into my proposal for the cover of the new Opitec catalogue.
Summarizing…
In case you have missed any of the steps, here is a summary of all of them:
1º.- Buy a tray to decorate or make it with wooden strips.
2º.- Cut square pieces of plywood.
3º.- Paint each piece white and adhere the napkins with glue for decoupage.
4º.- Give one or several coats of varnish to waterproof the surface.
5º.- Adhere the tiles to the tray or to a sheet of wood or MDF.
6º.- Grout the tiles with putty.
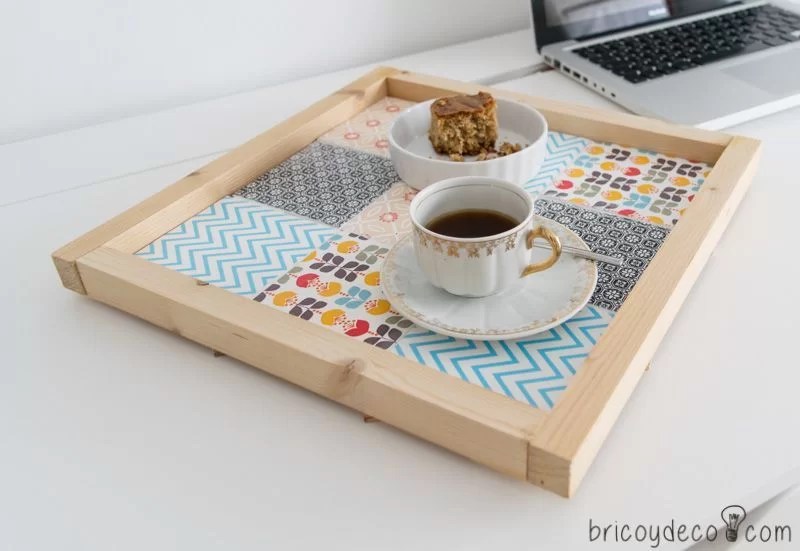
7º.- Show off a tray!
And you? Do you dare to surprise your friends and visitors with this DIY tile tray? Their mouths will drop when you tell them they are made from paper napkins. And finally, what do you think of my proposal for the cover of the new Opitec catalogue?
If you liked this post, you will find more ideas about recycling, decoration and DIY projects at .


