Is there really a special sander for ceilings and walls?
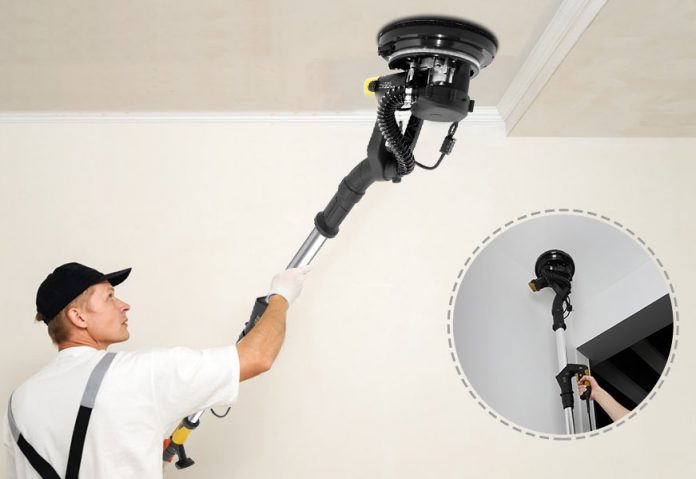
The answer is YES and in this article we will see all the features of this power tool. Well known among construction professionals, but a total unknown in the field of DIY.
Today we will only see the unboxing and we include the corresponding video so that the explanations are more understandable. But soon we will see it in action and we will analyze its behavior.
For this we have chosen the Ginour wall and ceiling sander.
The truth is that it is extremely useful if we need to remove the gotelé or wallpaper from the walls or even smooth the grouting of the laminated plasterboard.
Explained very succinctly, it is an electric sander with a larger sanding surface than conventional sanders, which has a telescopic arm and incorporates automatic suction. But let’s not stop here, let’s see all its features and advantages.
Parts and accessories that compose it
When opening the box, the first thing we find is the sander. When we unpack everything, we will talk about its features.
It comes with a detachable telescopic arm.
A retractable suction tube that covers up to 4 meters.
Two connection adapters.
Large capacity bag for dust collection, with handle.
Twelve different grit sanding discs.
The necessary tools for the correct maintenance of the tool, such as an allen key and a screwdriver.
Two spare brushes, which we will see how to change below.
User manual that, among other languages, comes in Spanish. For me, this is essential.
The guarantee.
And a carrying bag with its handle.

The body of the sander
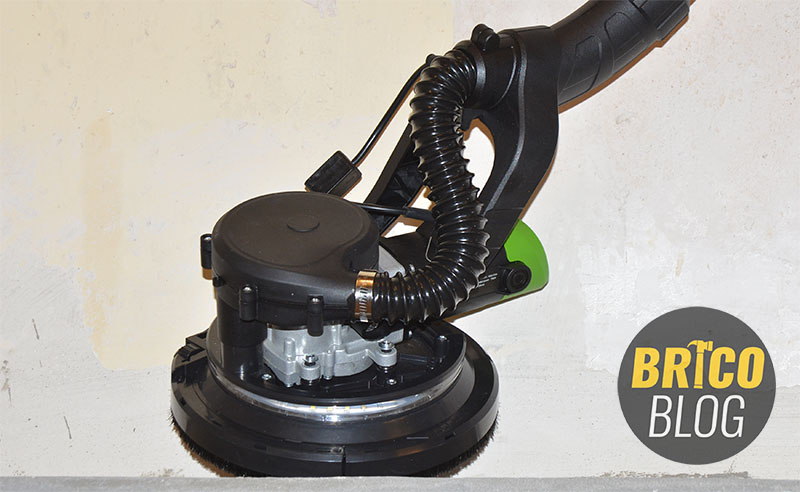
We will start with the body of the sander. Here we have a powerful 750W motor with a 22.5cm diameter head.
The change of the sandpaper is simple and fast, thanks to the velcro system.
It also has an LED lighting system all around it, which is connected with the corresponding switch.
It also has a spring that, if we hook it to the head, keeps the sanding surface perpendicular to the arm of the tool.
However, if we leave it loose, it allows the head to adapt to the angle we need at all times.
An important aspect is that, if we need to sand up to the very edge of the wall or ceiling, we can do it without any problem by removing the perimeter protection.
Replacing the brushes
Do not panic. The change of brushes or carbon brushes are very easy to change. If you know how to use a screwdriver, you know how to change them without problems.
They are housed on both sides of the motor. Just twist the cap and replace them.
Brushes are a consumable part of electric motors and when they wear out they must be replaced.
However, the motors known as brush less do not have this element.

arm elements
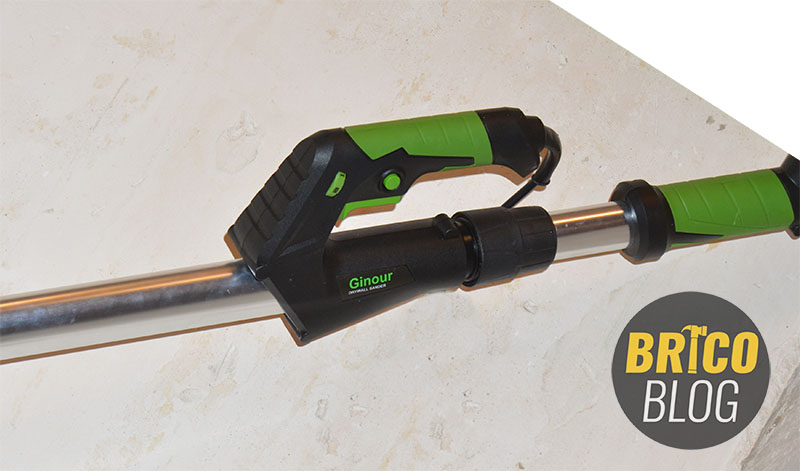
The tool arm, which is telescopic, has two ergonomic handles.
The main handle consists of the actuation trigger, with a trigger lock, which facilitates the continued use of the tool.
And a wheel to select the desired speed. It has 7 speeds ranging from 1,000 to 1,800 revolutions per minute.
It also has the power cord.
The telescopic arm comes disassembled for a more comfortable transport. Just insert it into the main arm, place it at the desired length and screw on the clamp.
automatic suction
The suction tube can be directly connected to the main arm, if we use it in short distances. Or telescopic, if we need to reach further, such as ceilings.
It is connected by means of the adapter that this equipment incorporates. And, at the other end, it is connected to the dust collection bag, which has a large capacity and has a handle to hang it on your shoulder.
The very operation of the sander motor collects the dust produced by sanding in the bag.
However, the wall and ceiling sander can optionally be connected to a DIY vacuum cleaner.
Explanatory video of the Ginour sander
It is normal that there are things that have not been clear to you. The truth is that it is difficult to explain it only with words. For this reason, we include the video below with all the explanations.
Surely, when you see it, you will not have the slightest doubt.
This this is it. It is nothing complicated. However, if you have any questions, feel free to leave a comment. We will answer you as soon as possible.
Soon, when you have placed the laminated plasterboard on the walls and ceiling in our workshop, we will see it in action.
.


