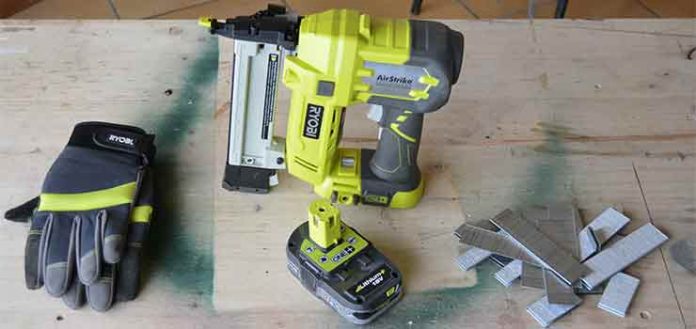
Today we have put together an article about another of the tools in the Ryobi One+ range. This is the battery-powered nailer.
Although it can also be called a stapler, I don’t like to use this term for this tool.
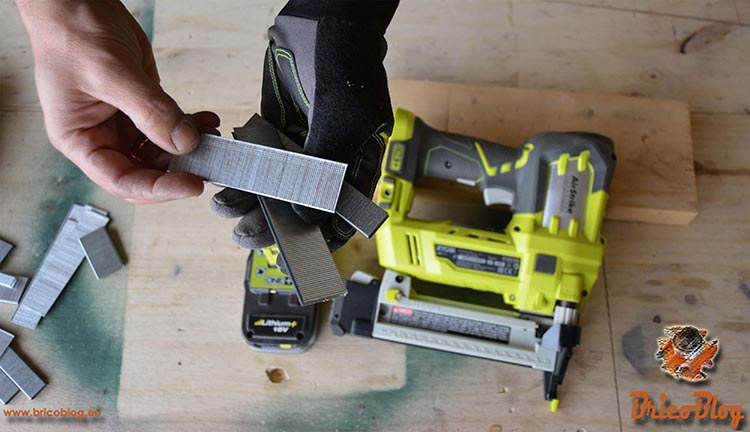
When we talk about a DIY stapler, we usually assume that we are dealing with small-gauge staples. Nevertheless, This nailer or stapler uses staples and spikes up to 38mm in length. To give you an idea, they are the type of staples used by compressed air nailers, powered by a compressor.
Therefore, this nailer, not being for industrial use, can be up to professional use.
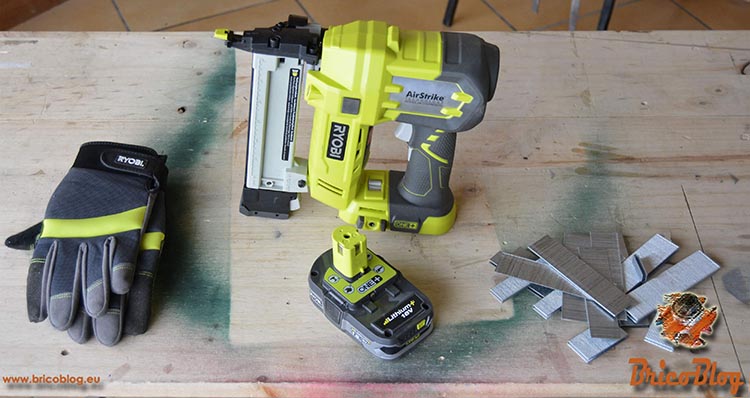
Before continuing, clarify that some of the main types of staplers are manual, electric, and compressed air. And within this last type, there are staplers with a compressor, but we can also find battery-powered ones. Well, this article is going to be dedicated to the latter.
Next we will see the characteristics of this great tool, how practical it can be, and I will tell you the behavior it has had in the tests carried out.
Advantages and characteristics of the battery nailer
Here are just a few of the main advantages that this powerful tool can bring to DIY enthusiasts.
18V battery
Like the entire Ryobi One+ range, it incorporates interchangeable 18V batteries. More than enough power.
Huge time saver
In DIY there are very repetitive tasks, such as putting nails and screwing lag screws. Not always, but on many occasions it is feasible to replace the nails and lag screws with staples or points. In fact, there are many tasks in woodworking where professionals use this tool.
impeccable finish
Regulating the depth, leave the tips flush, or embed them in the wood, to later patch them with a little wood putty, leaving them completely invisible.
autonomy and freedom
The built-in battery allows the nailer to be used anywhere without the need for cables or the existence of an electric current.
Likewise, the battery can be exchanged with that of any other tool in the One+ range.
The autonomy that is from 500 staples of 38 mm mounting the 1.5 Ah battery, the 1400 staples with the 4.0 Ah battery. In any case, more than enough for any DIY job, no matter how demanding.
AirStrike technology
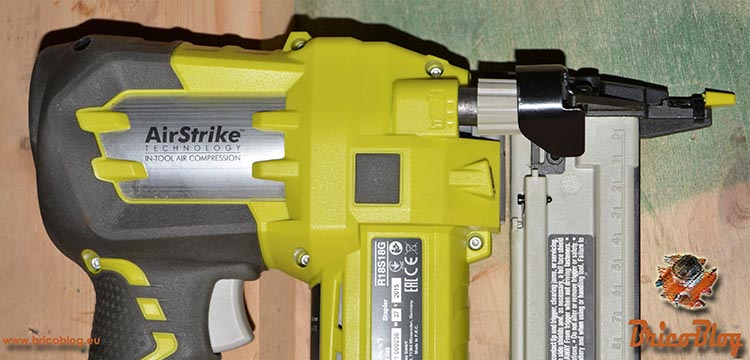
AirStrike technology provides the benefits of compressed air power while eliminating the need for a compressor, air hose, or gas cartridge.
Depth Selection
It has a depth selector, through which we can regulate the depth of the staples and tips.
power selection
Likewise, it has a wheel with which to regulate the impact power of the battery-powered nailer, depending on the hardness of the material.
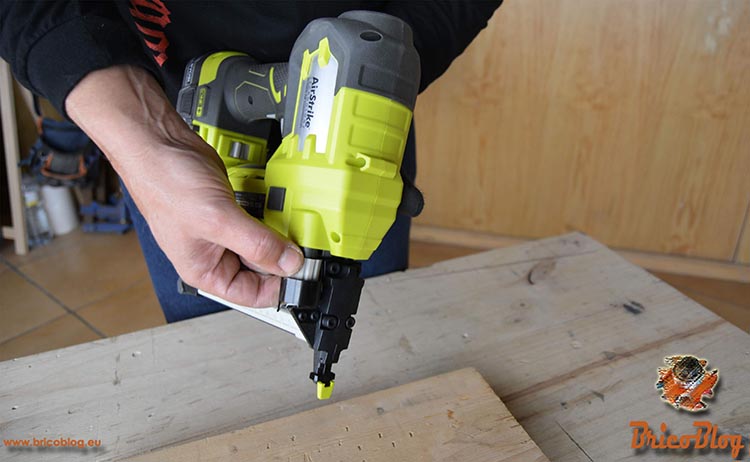
Accidental trigger lockout
It incorporates a blocking system against accidental shots. The firing trigger is not activated while the tool does not have the ejection port pressed.
Sequential and semi-automatic drive system
We have a selector with which to choose between two shooting modes. The sequential one that, keeping the trigger pressed, fires automatically, providing greater speed to the nailing process.
And the semi-automatic or single shot. This mode requires you to lift your finger off the trigger and press it again to fire each new shot.
maximum comfort
Like all Ryobi tools, it comes with a very comfortable yet sturdy handle, making work that much more enjoyable.
Battery Powered Nailer Components
In the following infographic, we break down the different parts and external mechanisms of the R18S18G battery-powered nailer:
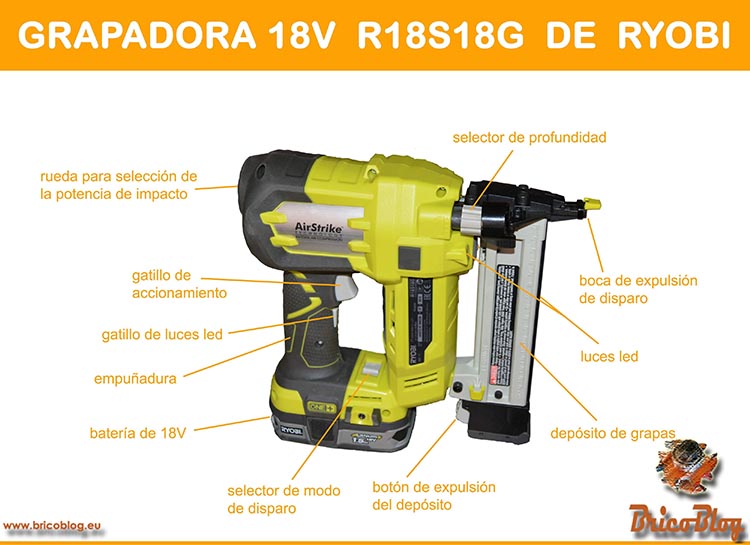
Well, once we have seen all this, we will see it in action.
Tests carried out with the battery-powered nailer
Before going on to comment on my impression of the stapler based on the tests carried out, in addition to some aspects related to its operation, I include below a video of the tests carried out with the 18V stapler.
Where do they sell the 18V stapler
The Ryobi 18V R18S18G Cordless Stapleryou can find it in any center of bauhausof Leroy Merlinas well as in the marketplace of amazon.
Below are the links to both the nailer, the batteries, and Ryobi’s One+ range of power tools, in case you want to buy it or just want to take a look. To do this, you just have to click on the following images:
.
.
Using the battery stapler
The first thing we have to do, obviously, is put the staples in.
EYE, this always has to be done with the battery removed. This way we will avoid accidents.
To do this, we open the charger, insert them and close it.
Depending on the thickness of the material that we are going to work with, we will have to use an adequate length. The staples we have chosen for these tests are 30mm long.
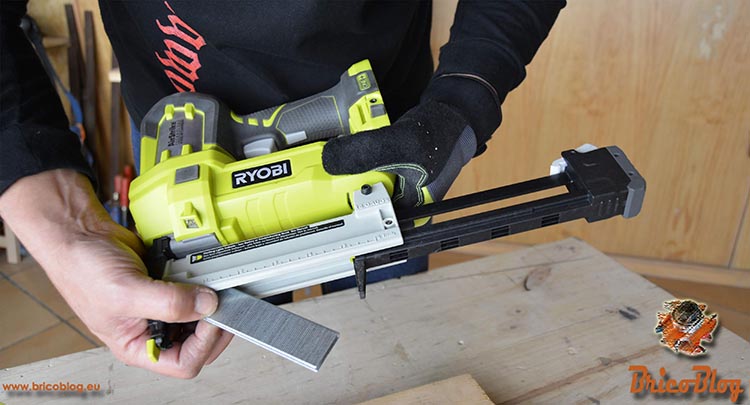
Okay, once that’s done, we press the tip of the tool down, and pull the trigger.
Between shot and shot, you have to release the trigger. This is a safety system to prevent accidents. As long as the machine is not pressed against the material to be stapled, even if we press the trigger, the tool will not fire the staple.
We have just seen the sequential shooting mode. Now we will see what the semi-automatic or “repetition” mode consists of. Therefore, we change the selector.
In this mode, there is no need to release the trigger between shots. Just by supporting the tool, the staple comes out.
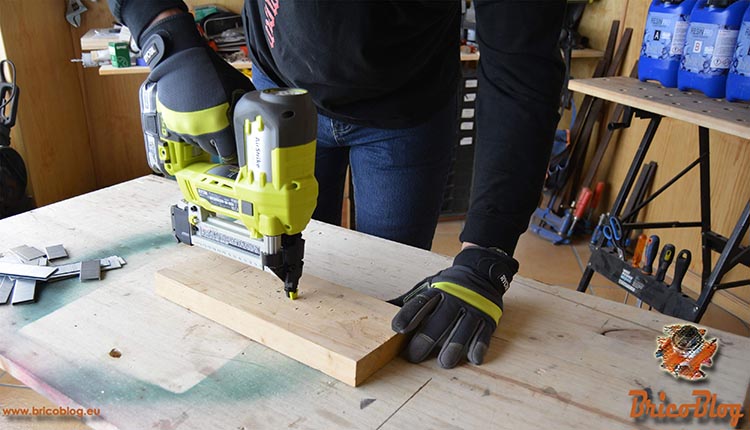
As I mentioned before, with the depth selector, we can adjust the tool so that the staple is more or less sunk into the material. Being able to choose between leaving it flush, or penetrating more and then repairing it with a little paste, remaining completely hidden.
Last chance
According to the manufacturer, this stapler is designed for use with staples only. Therefore, the demonstration of the easy handling of the Ryobi nailer would end here.
However, I have the impression that this tool has more potential. Therefore, it should also work perfectly with tips.
So we changed the staples for 30mm spikes. When loading the nailer with bits, we have to be careful to place them on one of the inside sides of the charger.
We close carefully, and when testing, we verify that, indeed, it has an extraordinary behavior.
Therefore, having tested the Ryobi R18S18G 18V Cordless Stapler, I reiterate the feelings I had at the beginning of these tests, just when I picked it up: it is a tool that far exceeds the expectations of the DIY segment.
next article
Well, before I say goodbye, I will tell you that, in the next article, we will radically change the subject. We’re going to do a DIY project that, quite possibly, you haven’t seen before.
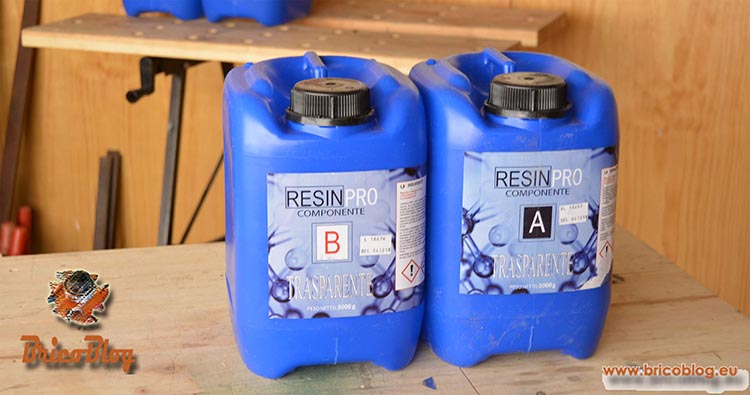
I’ll just give you a hint. The protagonist of this project will be epoxy resin.
Do not miss it. I’m sure you’ll love him.
Other One+ tools
If you enjoy DIY power tools, I suggest you check out these two other articles:
If you enjoy DIY power tools, I suggest you check out these two other articles:
.
Ryobi One+ Driver Drill
.
.
.
Ryobi One+ Multi-Tool
.
.
.


