

.
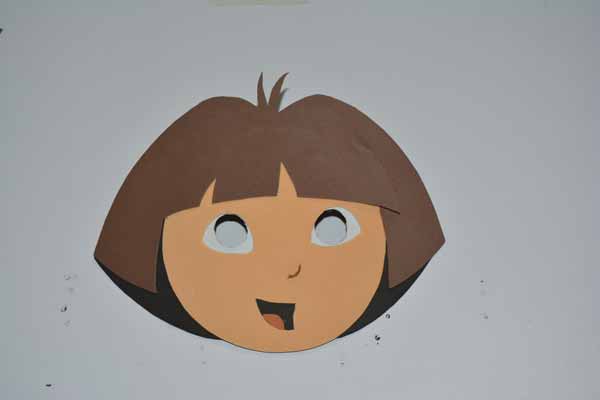
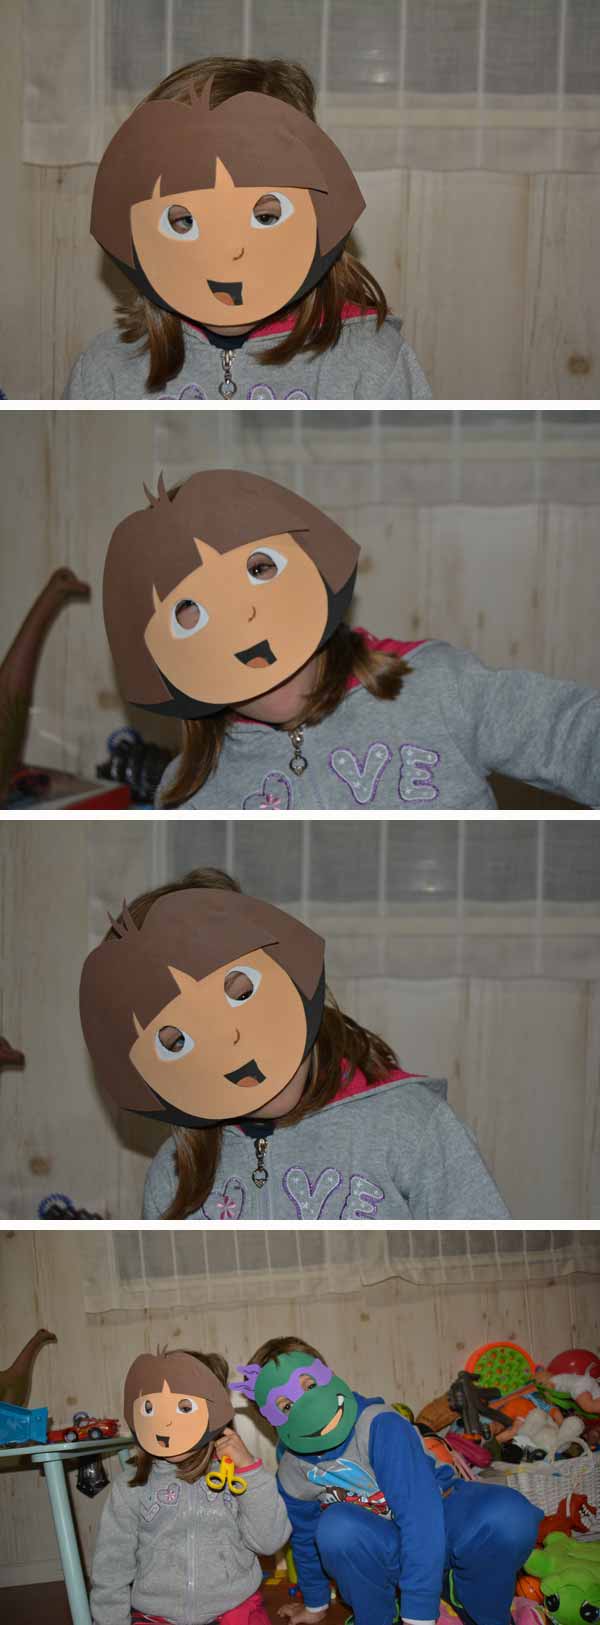
Today we bring you a special craft for Carnival, dedicated to the little princesses of the house. It is a mask of the famous Dora the explorermade in eva rubber.
Is mask forms part of custom complete, which you can do with clothes similar to those of this character and, of course, you should not forget his inseparable backpack and map.
Along the tutorialyou will see that this craft it is done more or less quickly, easily and very, very cheaply.
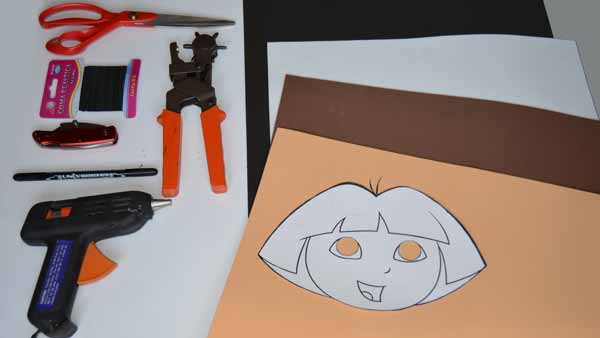
MATERIALS:
- Eva rubber sheets in dark brown, orange brown, black and white.
- Template. (You can download it from our blog, by clicking on the link that appears on the screen).
- Scissors.
- Marker pen.
- Black elastic cord (not too thick).
- Punch.
- Hot melt adhesive gun.
VERY GOOD, LET’S WORK!!
In the first place we will see a very complete video-tutorial in which the whole process is explained step by step.
VIDEO
You can download the template from the link just below. Click on the thumbnail of the mask and download it.

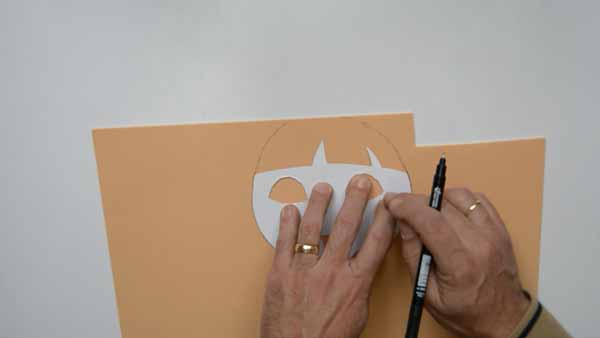
Step 1: The first thing is to mark the eyes on the white EVA foam.
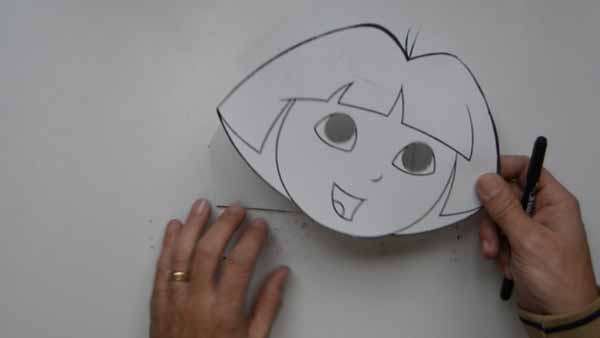
Step 2: Then we finish cutting out the eyes on the template. And we also do the same with the mouth.
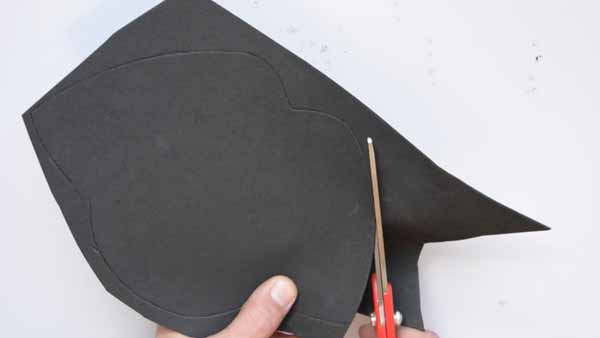
Step 3: Now we transport the template on the black plate, and cut it out.
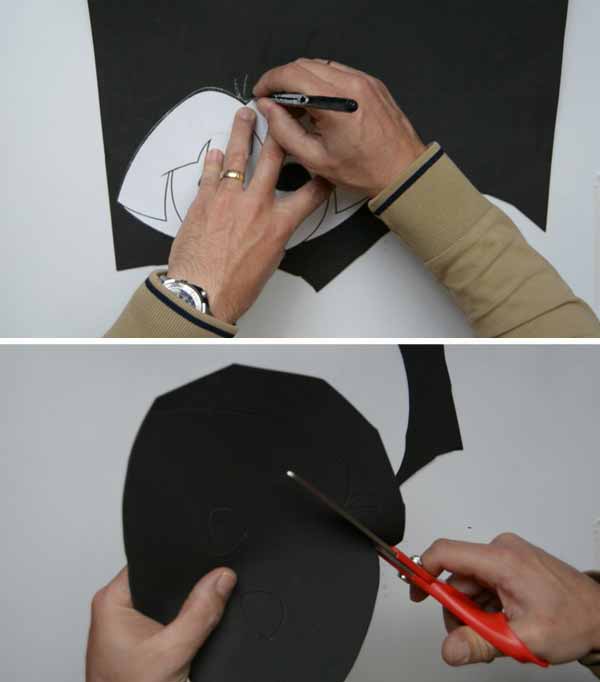
Step 4: We enlarge the size of the eyes and crop them as well. Later you will see why we have done this.
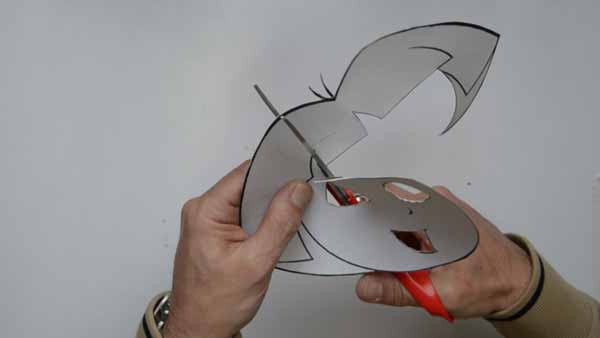
And we remove the hairs from the crown.
Step 5: Now we cut the template separating the hair from the face.
Delete the hair that will go in black, and cut the two strokes. With this we will achieve greater realism.
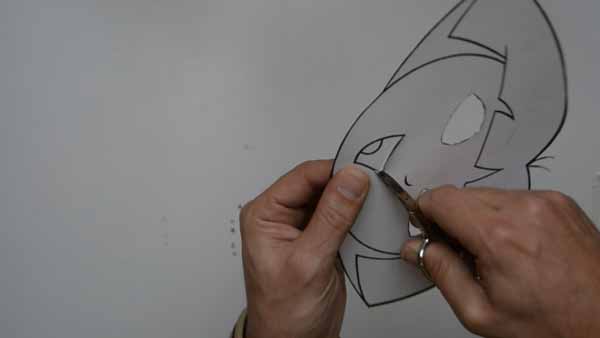
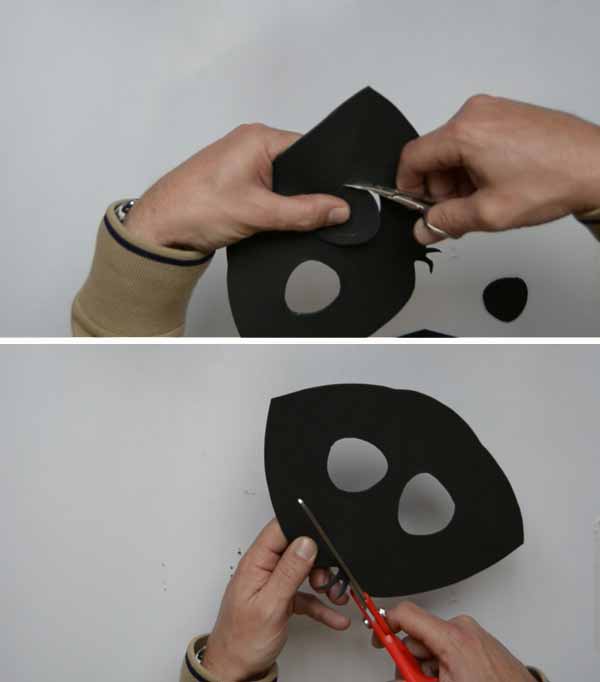
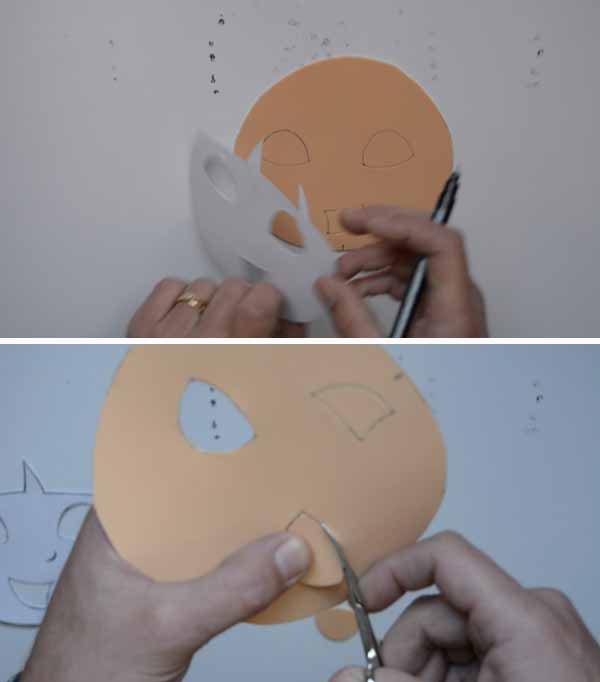
Step 6: Now we have to cut out the white of the eyes, making at the same time, the holes to be able to see. See how we do it.
Step 7: We mark the contour of the face, and cut it out.
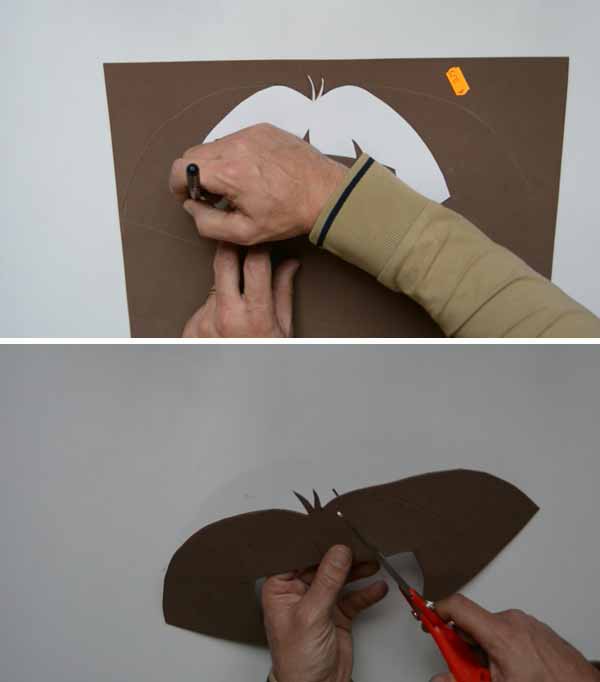
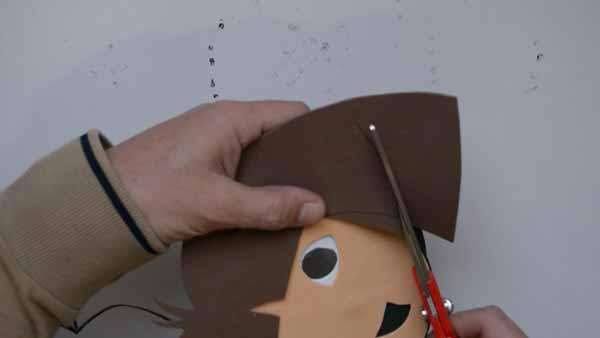
Step 8: On the dark brown EVA rubber, we mark the hair and cut it.
Leave margin on the outside of the hair. Then you’ll see why.
Step 9: On the face, we mark the eyes and mouth, and cut them out.
Step 10: With the help of a marker, and very carefully, we emboss the nose a little.
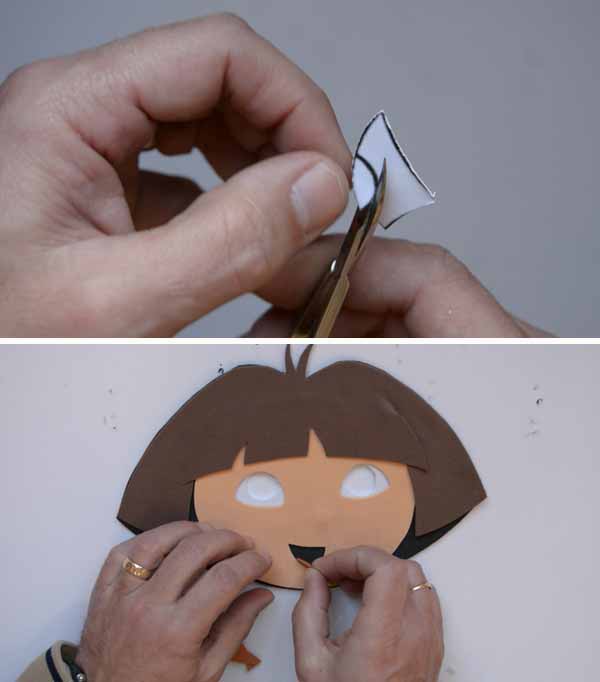
Step 11: We apply adhesive to the face and fill in the back of the nose and glue the face onto the black piece.
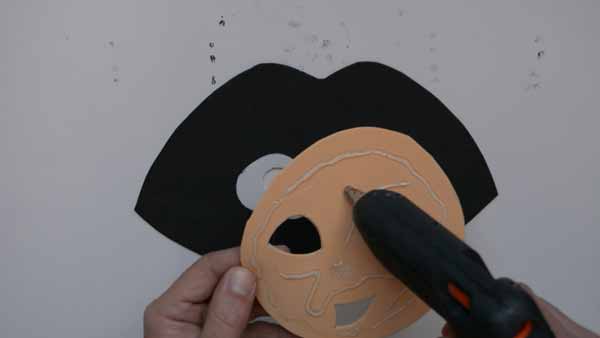
Step 12: We turn it over and glue our eyes.
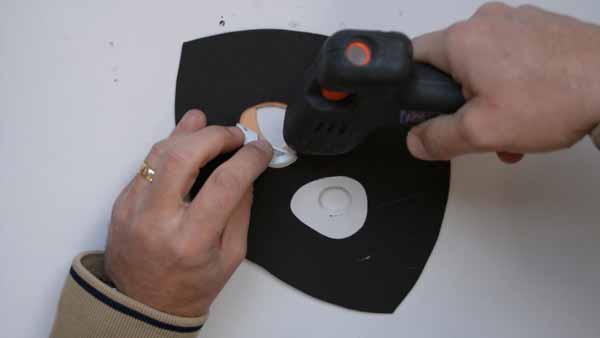
Step 13: Now we glue the hair only at the top.
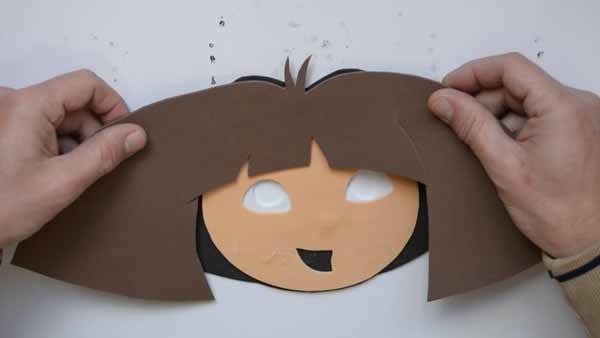
Then we glue the right part, bringing it a little towards the center. This gives depth and realism to the bangs.
We put the template of the hair and mark the layout that it should have, and we go over it with the scissors.
With the left part of the hair, we do the same.
And we finished sticking it.
Step 14: Now we have to make the tongue. We have to cut the template, and the orange foam.
We paste it in place.
Step 15: With a medium brown marker, we paint the nose.
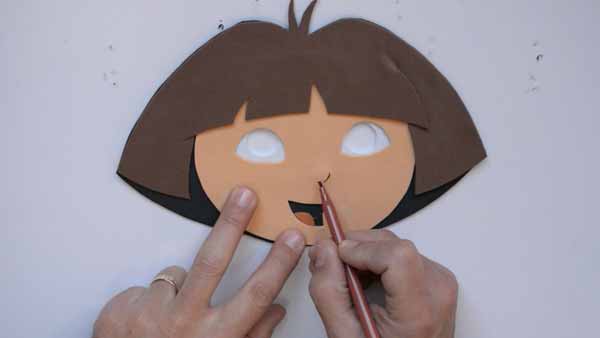
Step 16: Now we review the contour so that it is perfect.
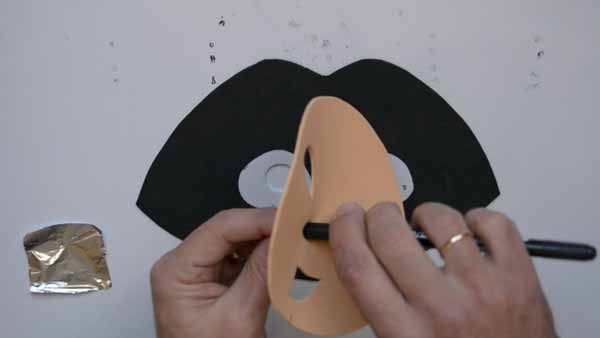
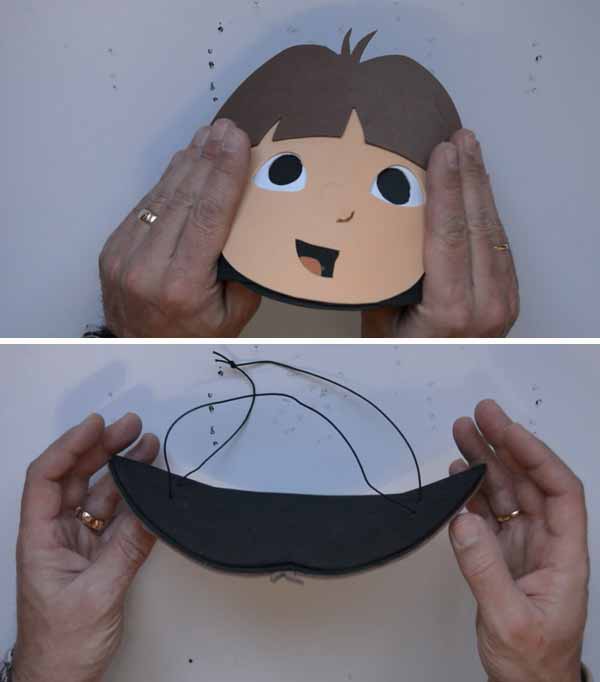
Step 17: We are going to cut a new black piece, which will be used to take the elastic band and give the mask a slightly convex shape so that it adapts better to the face.
Step 18: We mark the holes for the rubber bands, and drill with the hole punch.
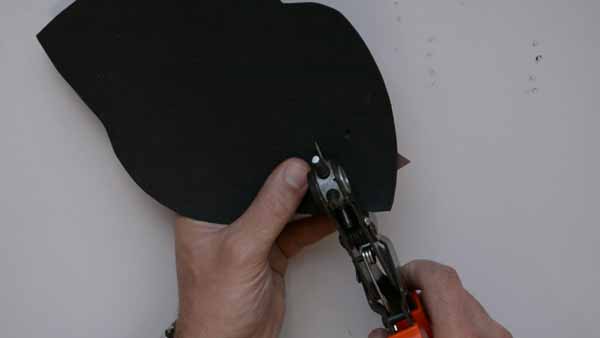
We measure the rubber that we will need, we put it in its place, and we tie.

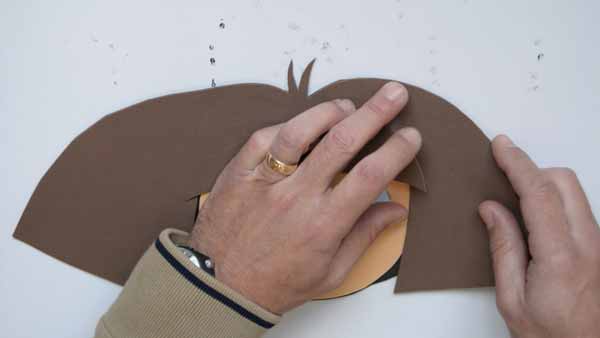
Step 19: We glue the two pieces together. For a minute, which is the time it takes more or less for the adhesive to cool down, we keep the mask giving it the shape we want.
As you can see, once the adhesive has set, the given shape is maintained.
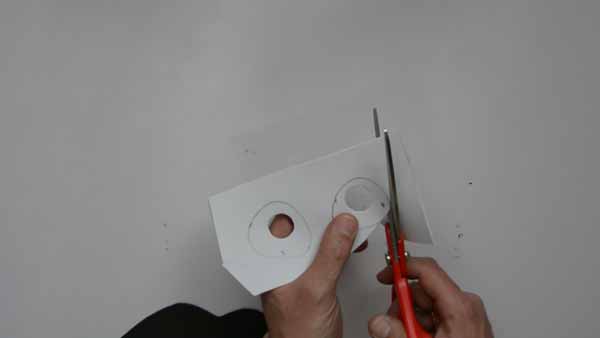
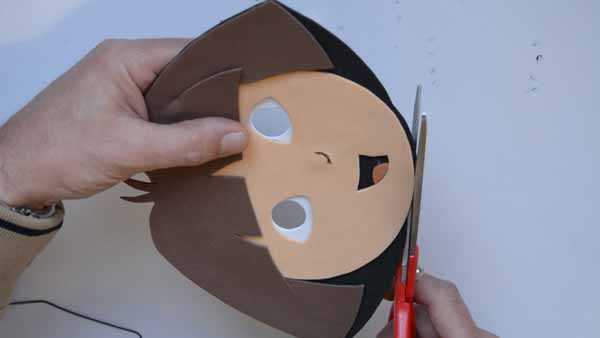
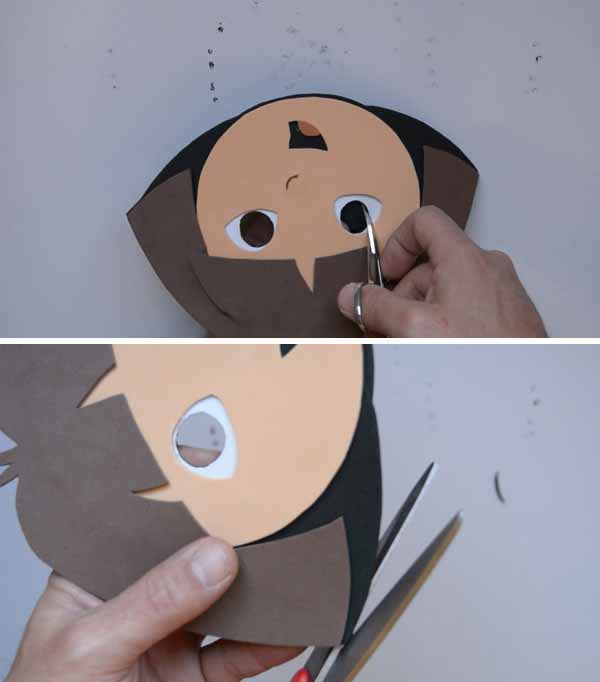
Step 20: We make the holes for the eyes in this last piece that we have glued, and we level it with the scissors.
CLEVER.
HOW HAS IT BEEN?
You may be interested in seeing these other related articles:
ninja turtles carnival mask |
How to make a children’s bat mask |
vampire characterization |
How to make Fred Flintstone costume |
How to make a Peter Pan costume |
.


