

.
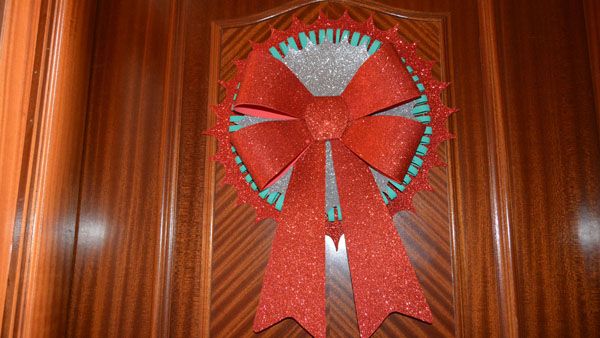
Today we bring you a tutorial that shows how to make an original Christmas garland. It is done in a simple way and with materials that you can get without any problem.
Dress the entrance of your home with the Christmas Spirit that the occasion deserves, and give an endearing welcome to your guests.
VIDEO-TUTORIAL
Summarizing…
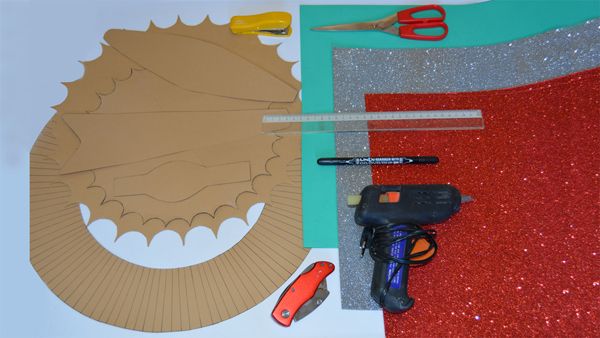
Materials and tools that we will need
• Eva rubber sheets of the colors you want. In our case we have chosen silver and red with glitter, and green.
• Templates. You can download them from our blog.
• Marker pen.
• Scissors.
• Stapler.
• Gun and hot-melt adhesive.
• Cuter.
• Rule.
Let’s go there!
Step 1: The first thing is to download the templates. Below this line you have the links of the six templates necessary to carry out this Christmas garland. You just have to save the images on your hard drive.
Each image corresponds to a part of the Christmas garland.
Step 2: The templates are at a 1:1 scale, that is, at real size. However, all the measurements are listed in the templates themselves.
Print and cut out the templates you just downloaded.
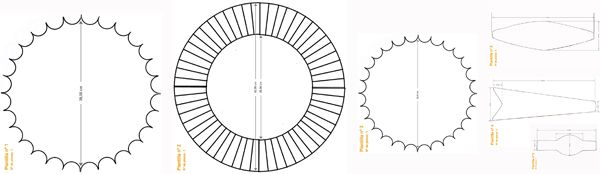
Step 3: Once the templates have been cut out, preferably on cardboard, rather than on paper, we transport the drawing to the EVA foam sheets.
Templates nº 1, 2, 3 and 6, you have to do only one of each.
From number 4, you have to do two.
And from No. 5, four.
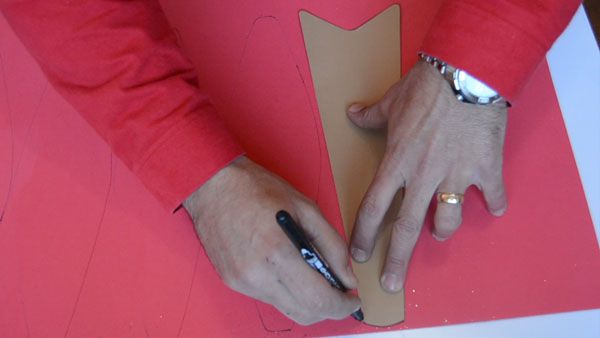
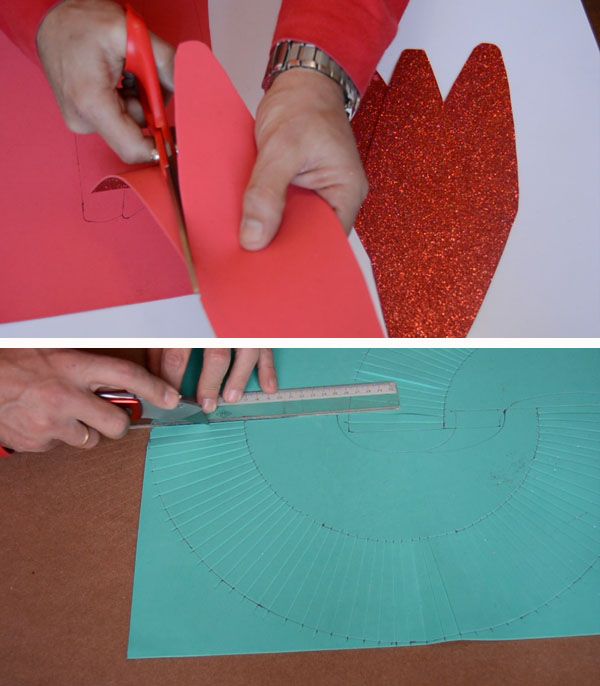
Step 4: Once this is done, we cut them with scissors, all except number 2.
As the latter does not fit into the eva rubber sheet, we will make it in two pieces.
With the cutter and the help of a ruler, we must cut it in a radial direction following the marks that we have made previously.
Once all the marks are cut, we cut the outline with the scissors.
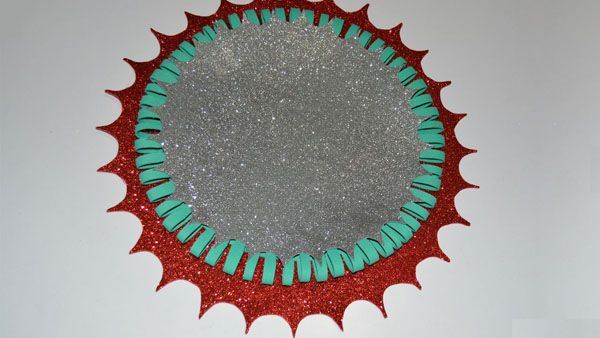
Step 5: We already have cut all the pieces of the garland.
Now we are going to start assembling it.
On the base, which is part no. 1, we glue the two parts of part no. 2. To do this, we will use hot-melt adhesive, which has good adhesion and sets quickly.
So that the subsequent piece does not remain hollow, we must fill the center with one or more scraps.
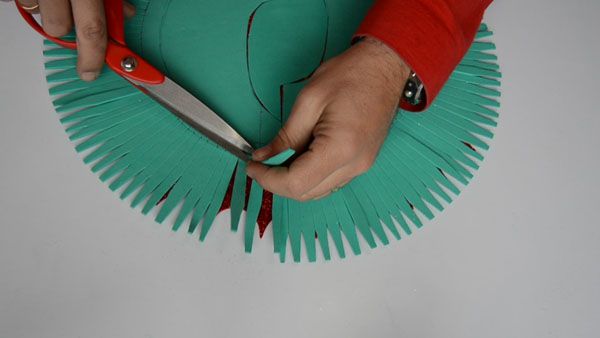
Step 6: To make it look better, we will cut the fringes that we have made alternately. For this we will use the scissors.
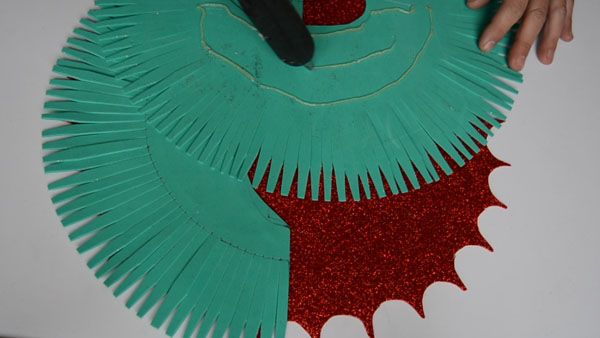
Step 7: Now, we will bend the strips inwards and fix them with the adhesive.
If you stain your fingers, don’t worry, once the adhesive dries, it comes off easily. But be careful not to burn yourself.

Step 8: Now we fix the smaller size rosette on top, that is, piece no. 3.
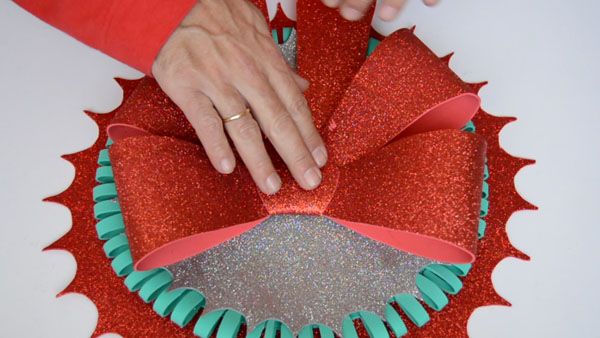
Step 9: Now we have to simulate a loop with pieces no. 4, 5 and 6.
We will staple them on one of the ends of piece 6, pieces 4 and 5. Once the four pieces of No. 5 have been stapled, we turn them forward and staple them again at their other end, thus simulating a loop. Do it the same way it appears in the video.
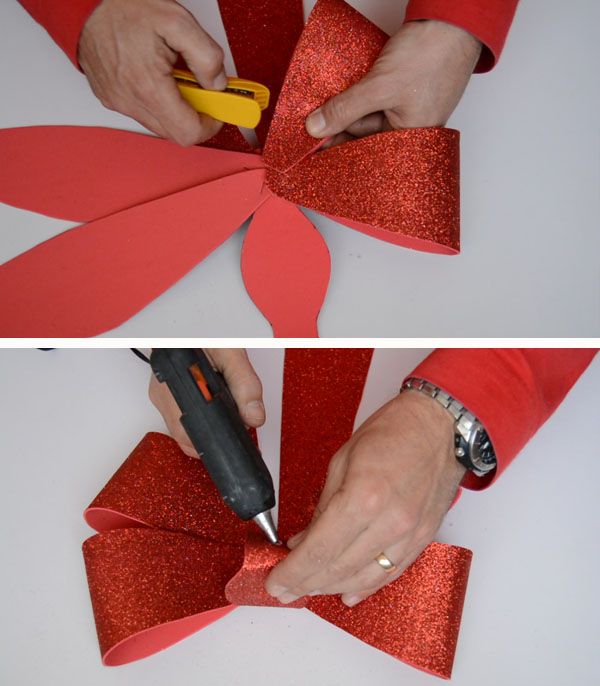
Once all the pieces have been stapled, we will turn piece 6 forward, while bending its other end inwards and fixing it with adhesive, holding it until it dries.
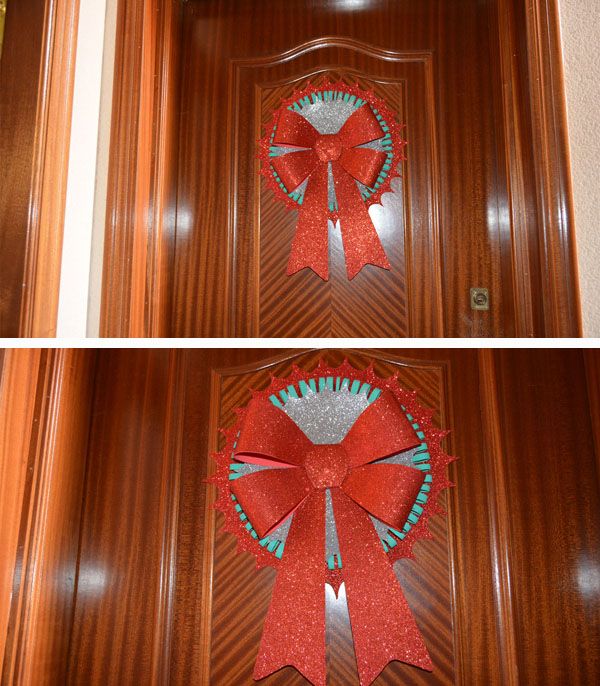
Step 10: Once the bow is finished, we glue it in the center of the body that we had already made.
Very well!!
We just have to put it on the threshold of our home.
Did you like it? Then share it with your friends.


