

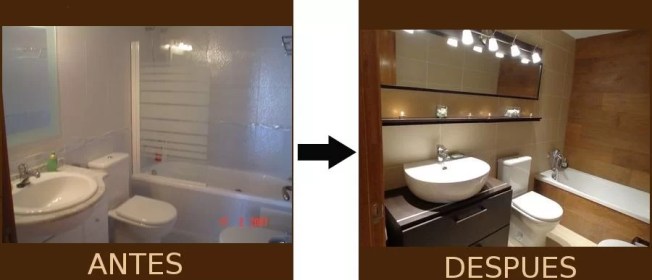
Perhaps you will have noticed that in the month of November I have not published very often, the reason was because I was immersed in the total reform of our other bathroom. Before the summer we reformed the bathroom that had a shower and now we had the one with a bathtub.
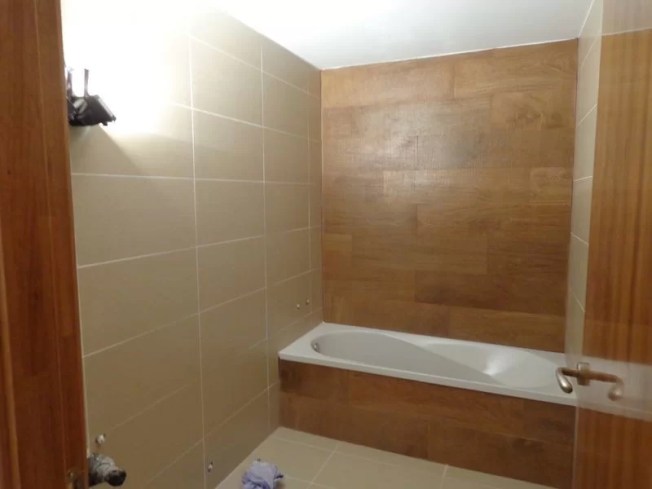
In this case the reform has been practically complete since the only thing we have kept are the toilet and the bidet, which were in good condition. Here you can see images of the bathroom before the reform:
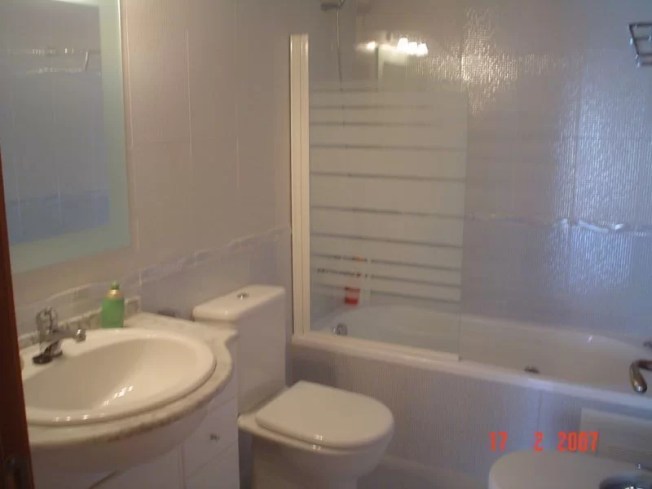
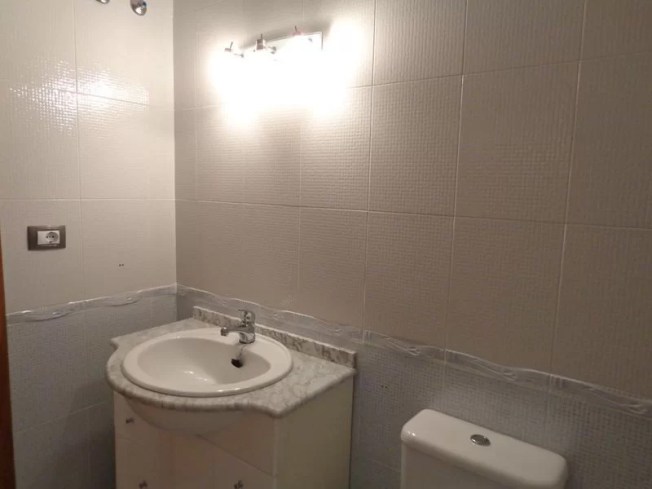
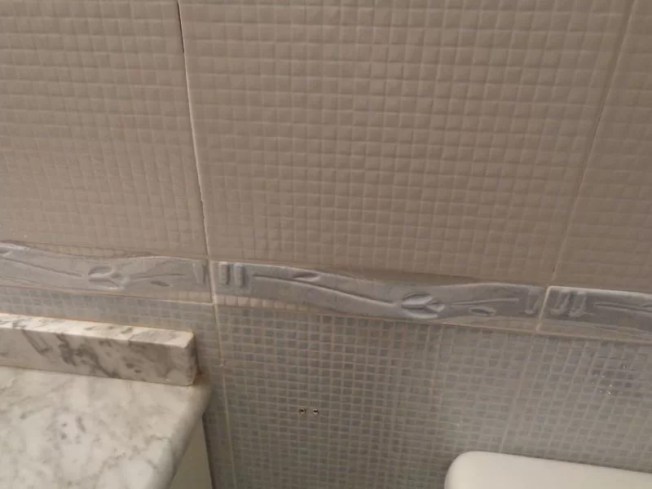
The main reason for the reform was the bathtub renovation since it had to be cleaned with some abrasive product that spoiled the bottom of it. On the other hand, while I didn’t find the bathroom horrible or too old-fashioned, it had a somewhat dated styleso we took the opportunity to give it a totally different air, a touch zen that invites you to relax.
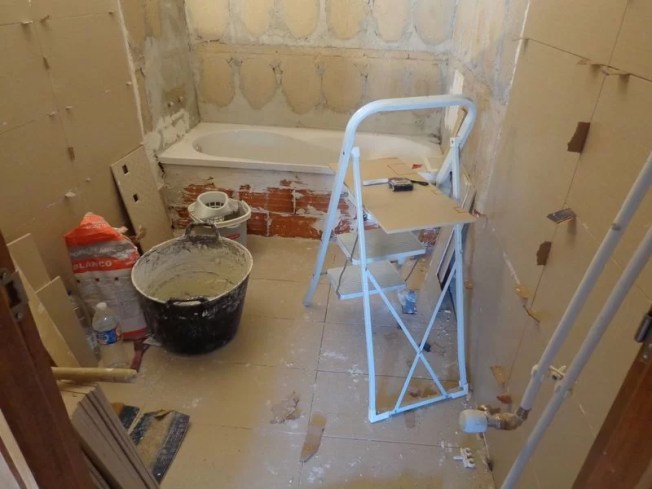
The works
Once the entire toilet was dismantled, the tile on the walls was chipped.
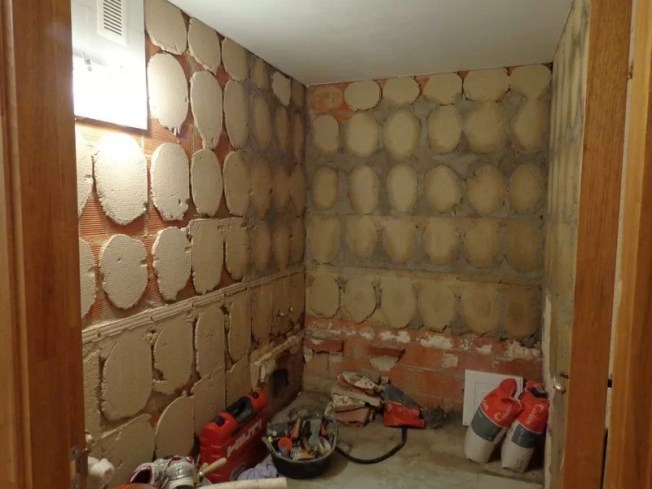
All gaps were then filled with mortar to create a uniform base for the new tile.
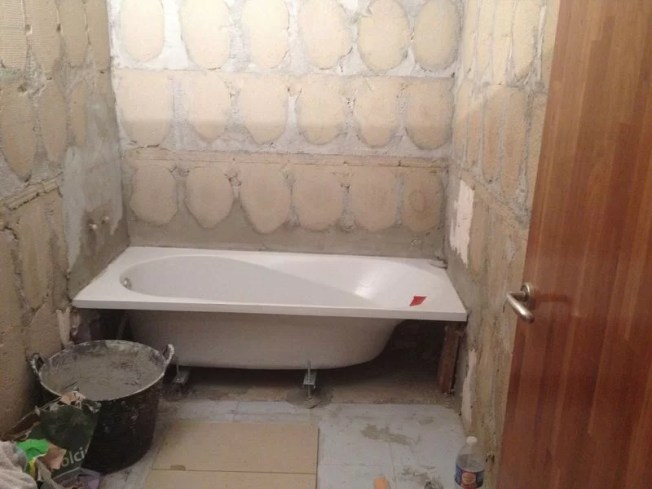
The next step was to lay the floor on top of the existing one and the lining of the walls.
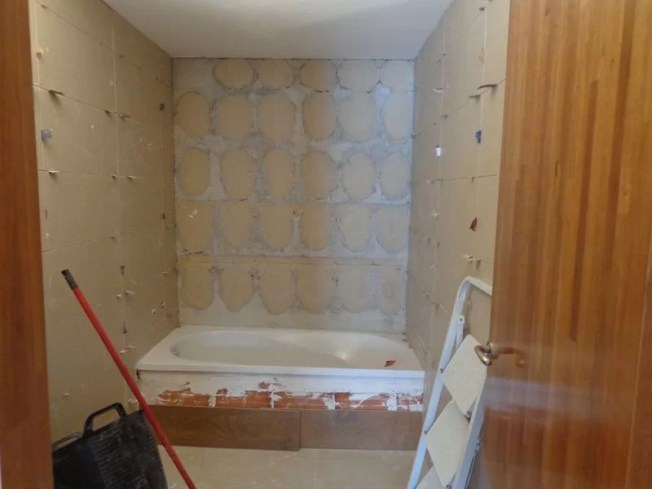
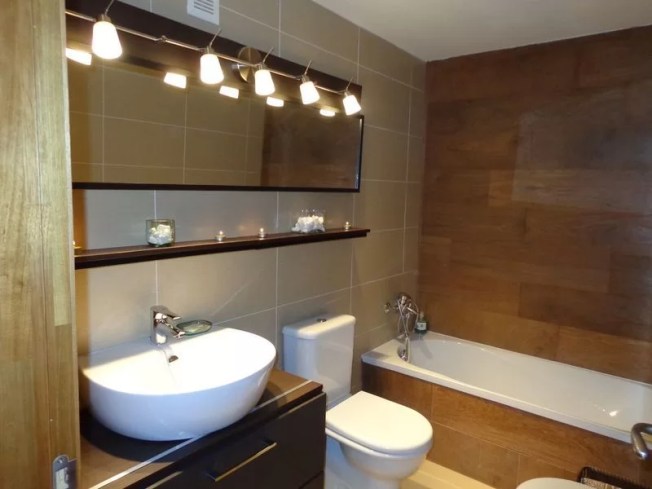
For both the cladding and the floor, the same model of porcelain tile was used, with an elongated format and a light beige color. On the back wall was placed a tile imitating wood, in this way the monotony was broken while adding warmth to the whole.
Once the masonry works were completed, the toilet, taps and washbasin cabinet were reinstalled.
The end result: our zen bathroom
As you can see, the change that the bathroom has given has been spectacular. What I like the most is that feeling of warmth What does he have now and what invites you to spend long times in the bathtub.
The range of earth tones has been used to give it that zen touch we were looking for: beige on the wall and floor coverings, wood tones on the back wall and wenge on the sink unit, mirror and shelf.
The decoration for now is very simple, I would like to add something else but I don’t want to put it simply, but rather something that really catches my attention. For now I have placed some glass vases with white stones inside and some candles.

The sink cabinet is the Ikea Godmorgon model, to which we added a wenge countertop that we made ourselves.
With the light point we also had to do some work. Ideally, it would have been to move it towards the center before putting the tile back on, but we missed it (works things, in the end you don’t know where your head is), so we made a kind of back with a wenge board as a mirror extension and we place the point of light in the center without showing the cables that go behind.
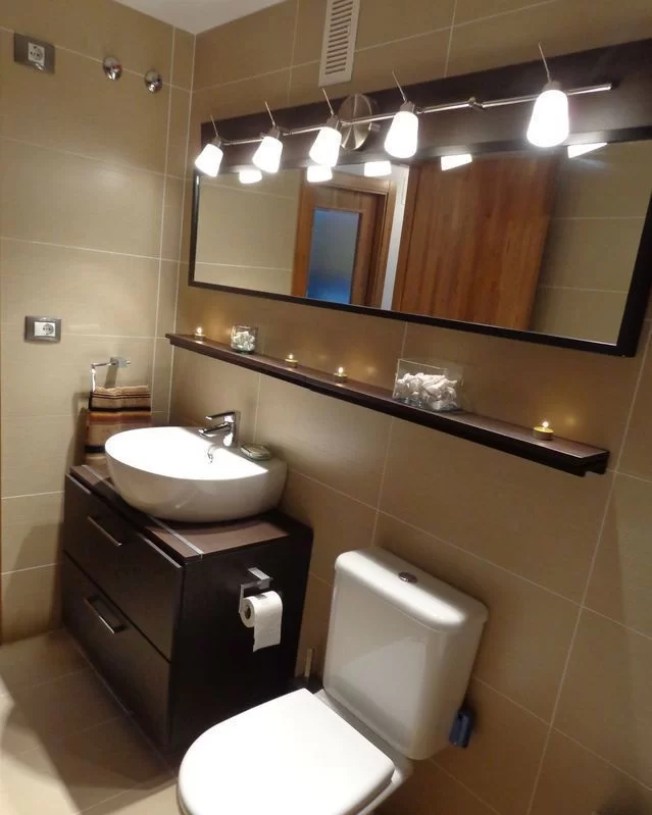
The shelf under the mirror complete the storage areaextending it beyond the washbasin cabinet.
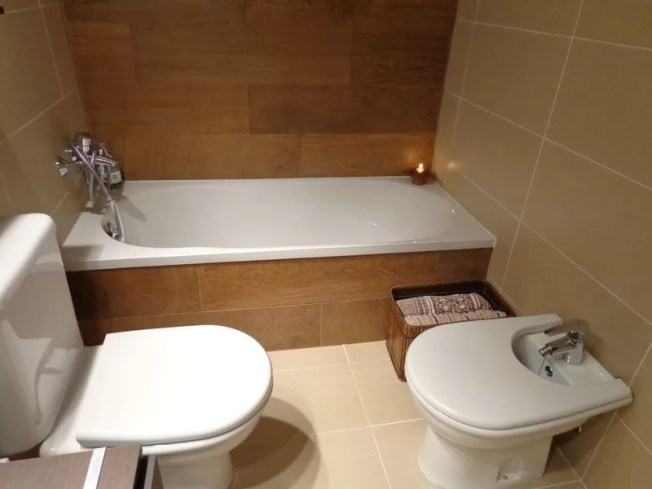
For the Bathroom towels At first I thought of a bamboo towel rail-ladder but the space between the bidet and the bathtub was very tight and placing it on the other side of the bidet was impractical. The solution was to put a basket on the floor since it occupies a space that would otherwise be unused and, furthermore, it does not visually burden the space.
There is still some detail missing and to give it a little more life but I think that at this point you can appreciate the before and after the renovation of our zen bathroom What do you think?
PHOTO GALLERY


