

Surely you know, at least roughly, the tin plating techniqueconsisting of the elaboration of decorative motifs and filigrees through the embossing of tin sheets.
However, most likely you do not know a technique derived from the previous one. It is about the realization of precious and original sheets with motifs and filigrees made with foil.
If you want to know how to do this crafttotally craftin order not to break the delicate aluminum foil, do not stop reading this article.
Of course, it’s worth it. With a little dexterity, the result that can be obtained is impressive.
Necessary materials:
- Drawings or photos of owls.
- Cardboard sheet.
- Foil.
- Glue.
- Pencil.
- Judean bitumen.
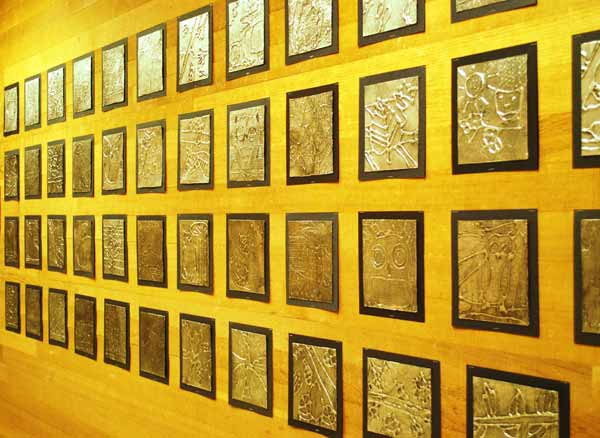
This is one of my favorite projects. sallgood. This is a technique that has been around for a long time, and he has wanted to use it with his 5th grade Art Club students.
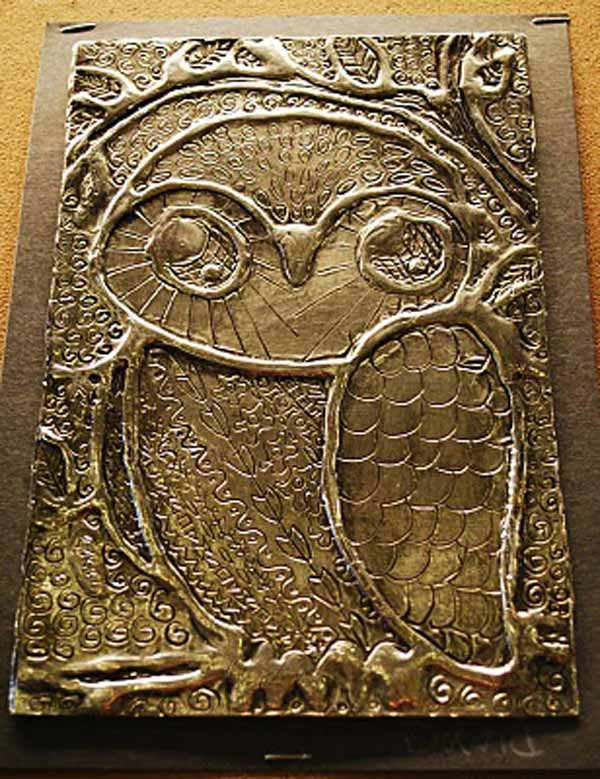
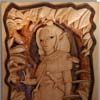
This time it is about owls and leaves.
The first thing is to plan the compositions, paying special attention to all the positive and negative spaces, being sure that they are all interesting.
.
Here are some of the step-by-step instructions:
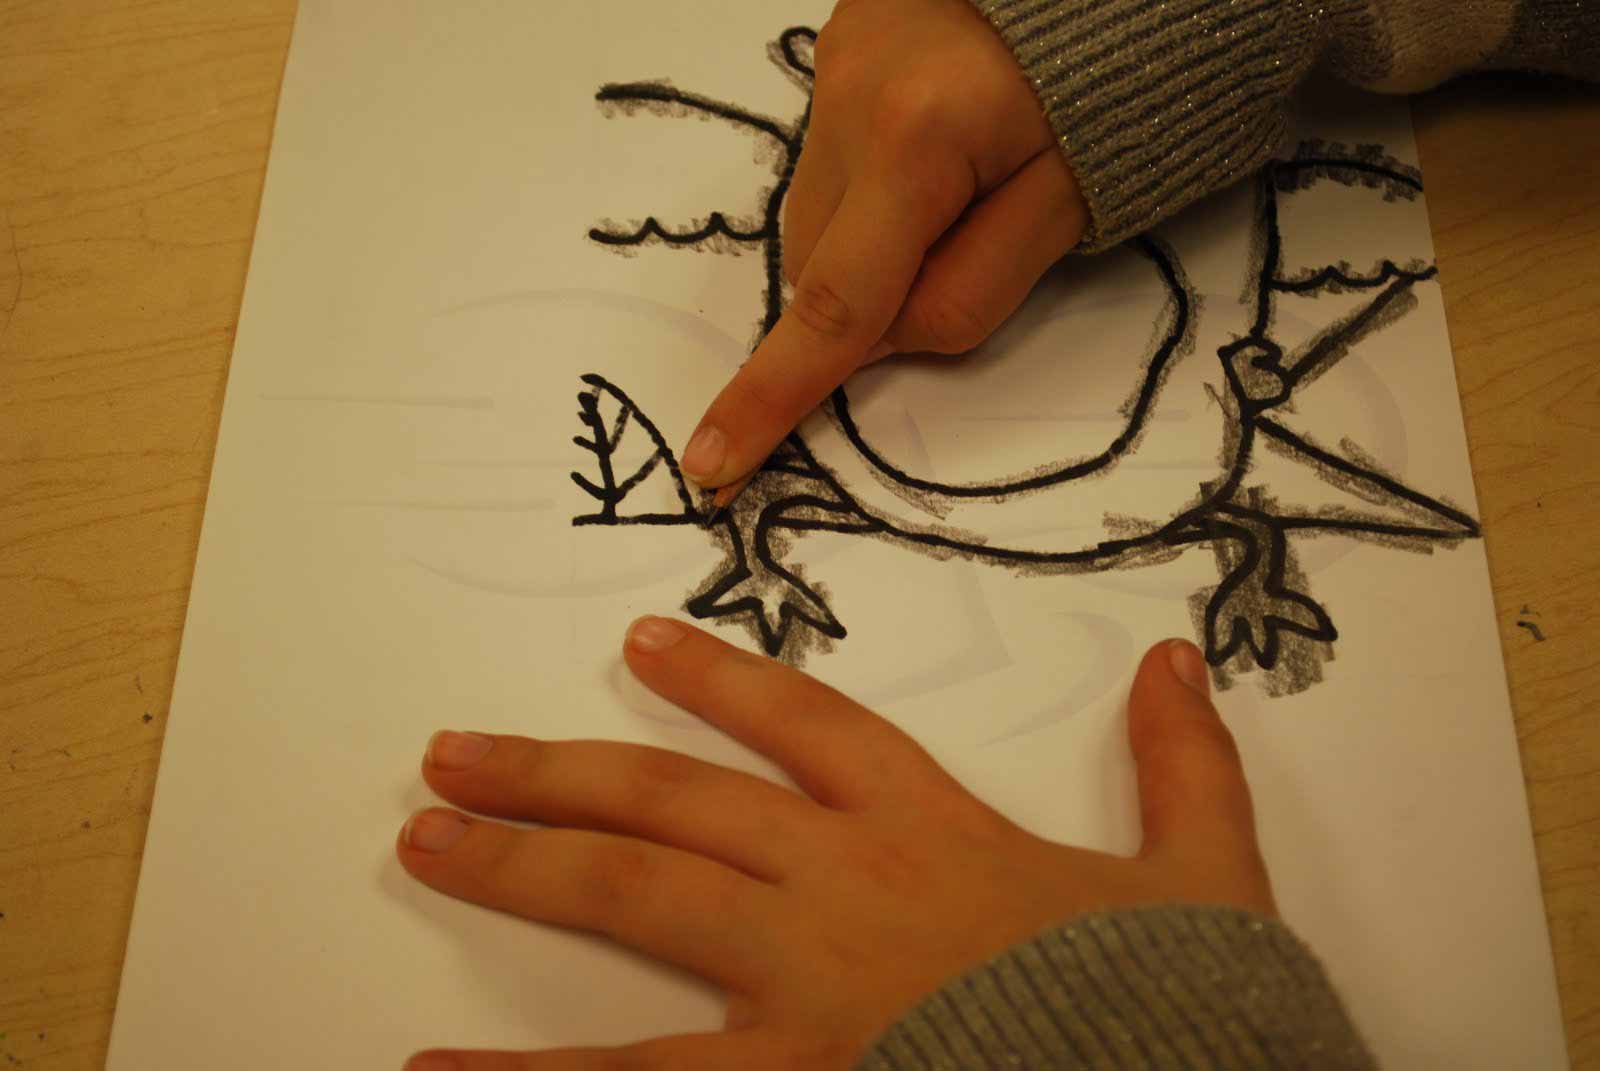
Step 1: Draw your photo on paper the same size as the final cardboard. Draw only the main shapes, not including the details.
Step 2: Go over your drawing in pencil.
Step 3: Flip the finished drawing over. Use the pencil to go over the lines on the back of the paper.
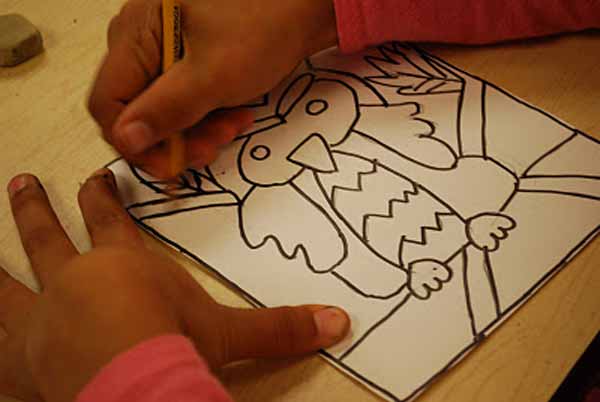
Step 4: Place the drawing on the cardboard and trace on the lines, to transfer the graphite to the cardboard. Or, if you want to speed up this process, simply draw directly onto the cardboard.
Step 5: Go over it with a pencil if necessary, to see the lines clearly.
Step 6: Use a thick glue to go over the lines and let it dry, as in the photo below. Keep in mind that the tail must be embossed so that later, the aluminum foil is also embossed.
One type of glue that could be used, among others, is thermo-adhesive, applying it with a gun. This type of adhesive dries quickly and also does not reduce its size when it cools, leaving it embossed. What we need.
Step 7: Use a glue stick to fix the foil. Leaving the shiny or matte side visible is up to you.
Step 8: Wrap the aluminum foil over the front and back of the cardboard.
Step 9: Press around the lines of glue. To prevent the foil from tearing, use a paper towel to press down and rub the foil over it.
Step 10: Next, use a cotton swab to carefully press up against the glue so that the foil is in the desired shape.
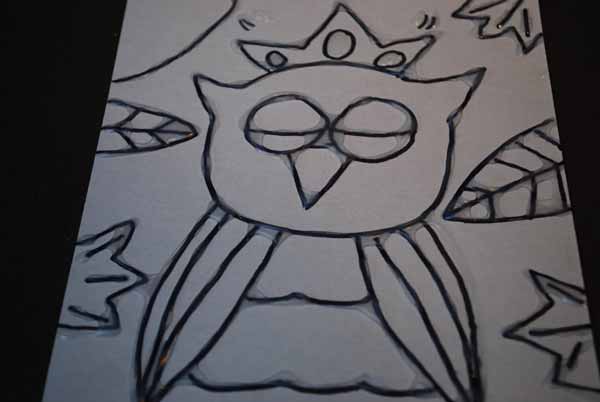
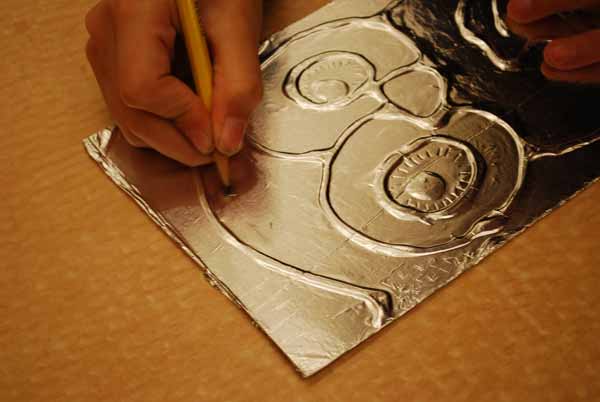
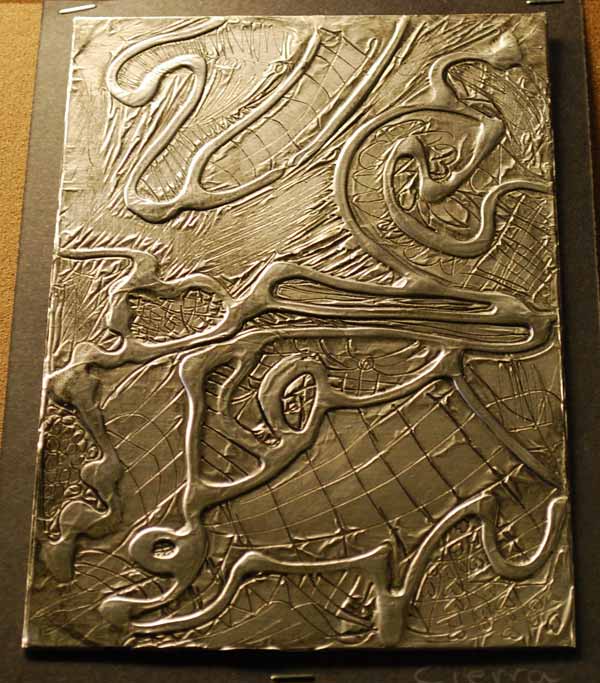
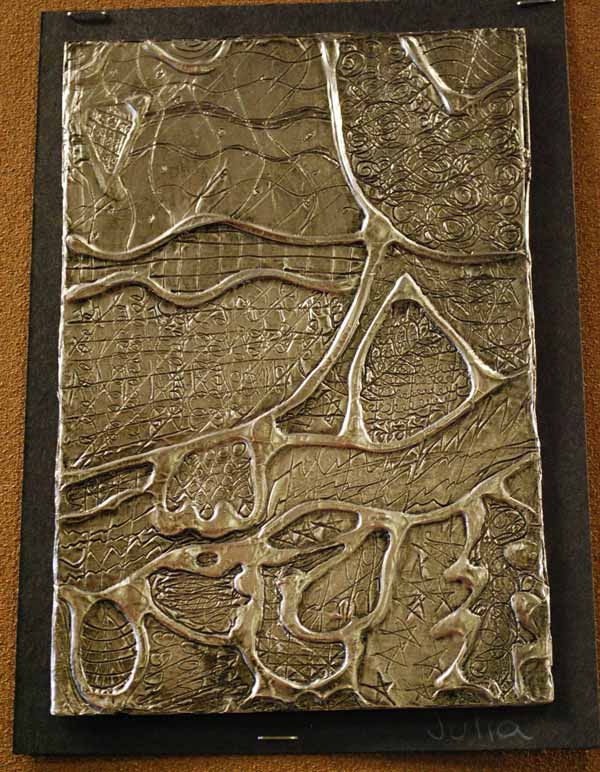
Step 11: Draw patterns in all the spaces with a soft-tipped pencil. Use a variety of line types and pattern scales.
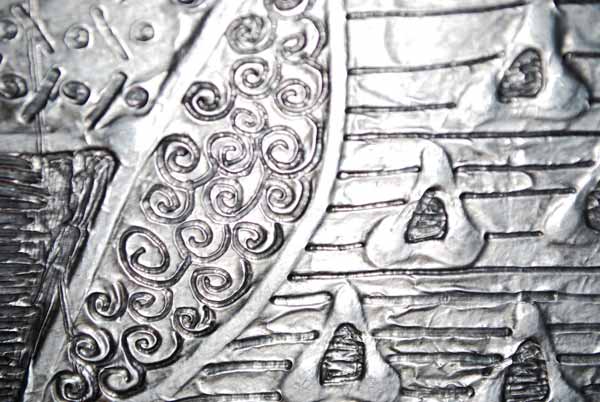
Once you have filled in all the spaces, and pasted the foilrub the entire surface with Judean bitumenwait a few seconds, and pass a cloth to remove the excess.
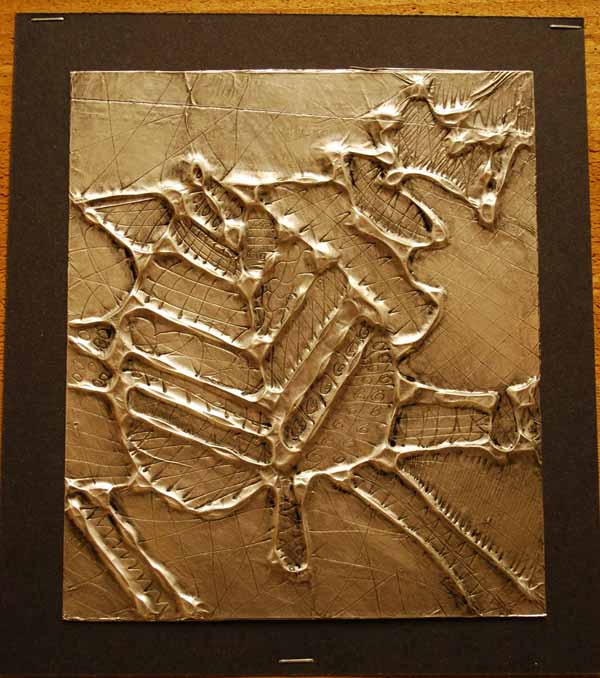
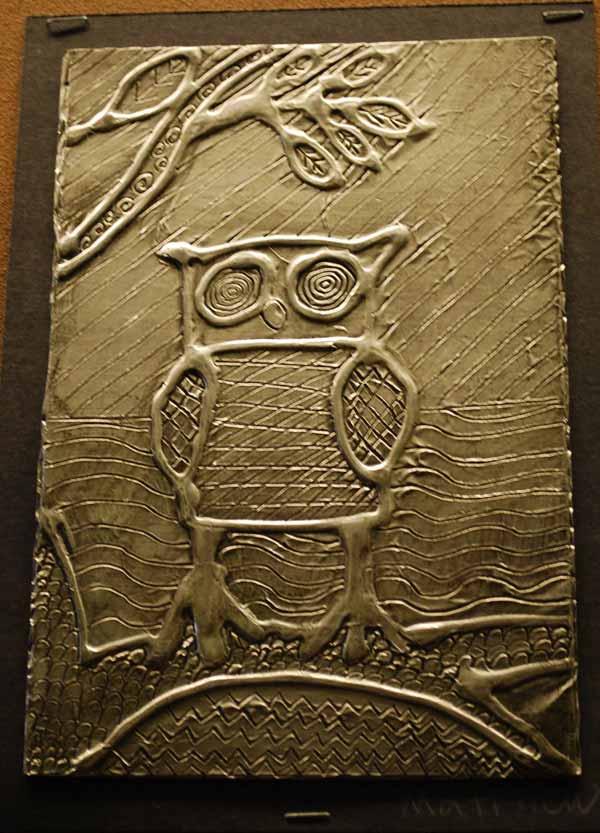
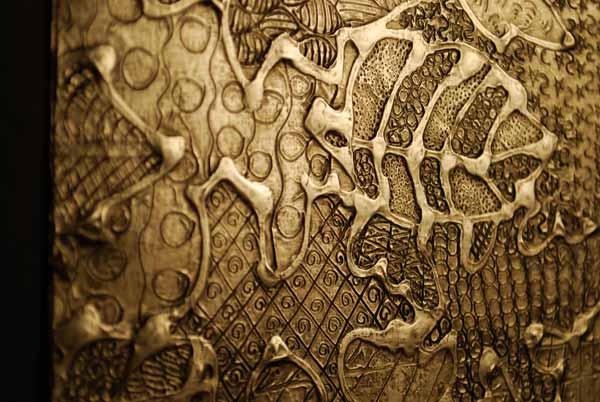
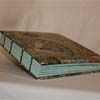
The resulting color will be similar to the look of aged silver, somewhat similar to the color of pewter.
Source: Make It… a Wonderful Life
Did you like it? Then share it with your friends.
You may be interested in seeing these other related articles.
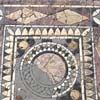
The handmade technique of mosaic |
The art of pottery and ceramics |
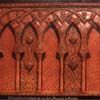
wood carving technique |
The leather embossing technique |
The sewing and binding of books |
bricoblog


