DIY is not only sleight of hand and brute force, but creativity and intuition must also be continuously used, to focus on the development of the different projects and to solve unforeseen events and inconveniences that usually arise on the fly.
Likewise, there is another factor that, if we use it, can make things much easier for us. It is about the knowledge and application of different principles from various academic disciplines.
In today’s article, we are going to turn to mathematics and, specifically, to geometry. We are going to see how easy it is to square exactly at 90º, regardless of the dimensions of the intervening pieces.
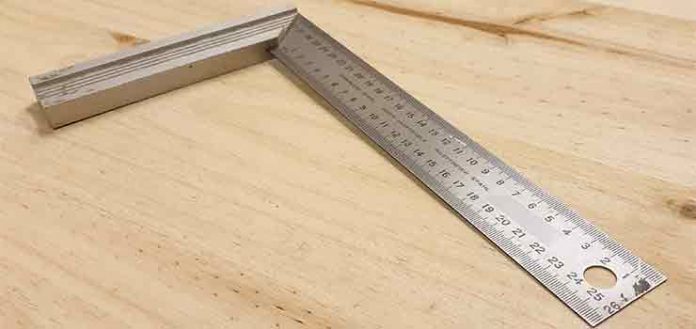
Squaring tools
However, we frequently refer to these principles of physics, geometry, chemistry, among others, as “tricks”.
For all these reasons, today I want to share with you a DIY trick, so that you can make perfect squares, without using the square. Just using a tape measure.
As I was saying, there are many situations in DIY, in which it is necessary to check that the elements are square, that is, that one or more of their angles are at 90º.
The tool that is normally used for this is the square. This operation that, with the aforementioned tool, may seem very simple, sometimes it is not so simple.
Why?
Well, because, when we work with large dimensions, such as a door frame, an insignificant deviation in one of the angles, when reaching the other end, can be converted into several millimeters and even centimeters.

Squaring a door frame
DIY Hack Infographic
The method that I will teach you below is valid and 100% reliable for any size of the elements to be squared, and especially for large squared ones.
The principle of geometry I referred to earlier, and on which I base my DIY trick, states that:
For the 4 angles of a quadrilateral, whether it is a rectangle or a square, to be exactly 90º, the two diagonals must have the same length.
Squareness check infographic.
Therefore, we only have to measure the two diagonals, and correct the position of the sides, until the diagonals are identical. Moment in which we complete the squad.
If you practice DIY more or less on a regular basis, I am sure that this simple DIY trick, sooner or later, will be very useful to you.
Inside measurement of the diagonals.
graphic explanation
In case it has not been completely clear to you, here is an explanatory video in which, in just over two minutes, I talk to you about the subject and show you how to do it.
Squaring tools
I do not want to overlook the tape measure that I have used to carry out this tutorial, since it provides two great advantages for DIY enthusiasts.
On the one hand, being digital, it provides great accuracy in measurements at a glance.
And on the other, it is designed to read distances both outside and inside. Being able to select the function we want at any time.
When I say “interior distances”, I am referring, for example, to interiors of furniture, drawers, door and window openings, etc.
Then I leave you the links of the tools used to make squares, in case you want to know more about them.
As these links lead to the Amazon marketplace, you can even buy them where you want.
Do you know any other DIY tricks?
Leave it in a comment and we will share it with the rest of our followers.
We leave you another trick so that the drill bit does not slip when you start drilling tiles. You can see it at this link Tricks for drilling tiles.
.


